Axminster EBV260BN User manual
211927
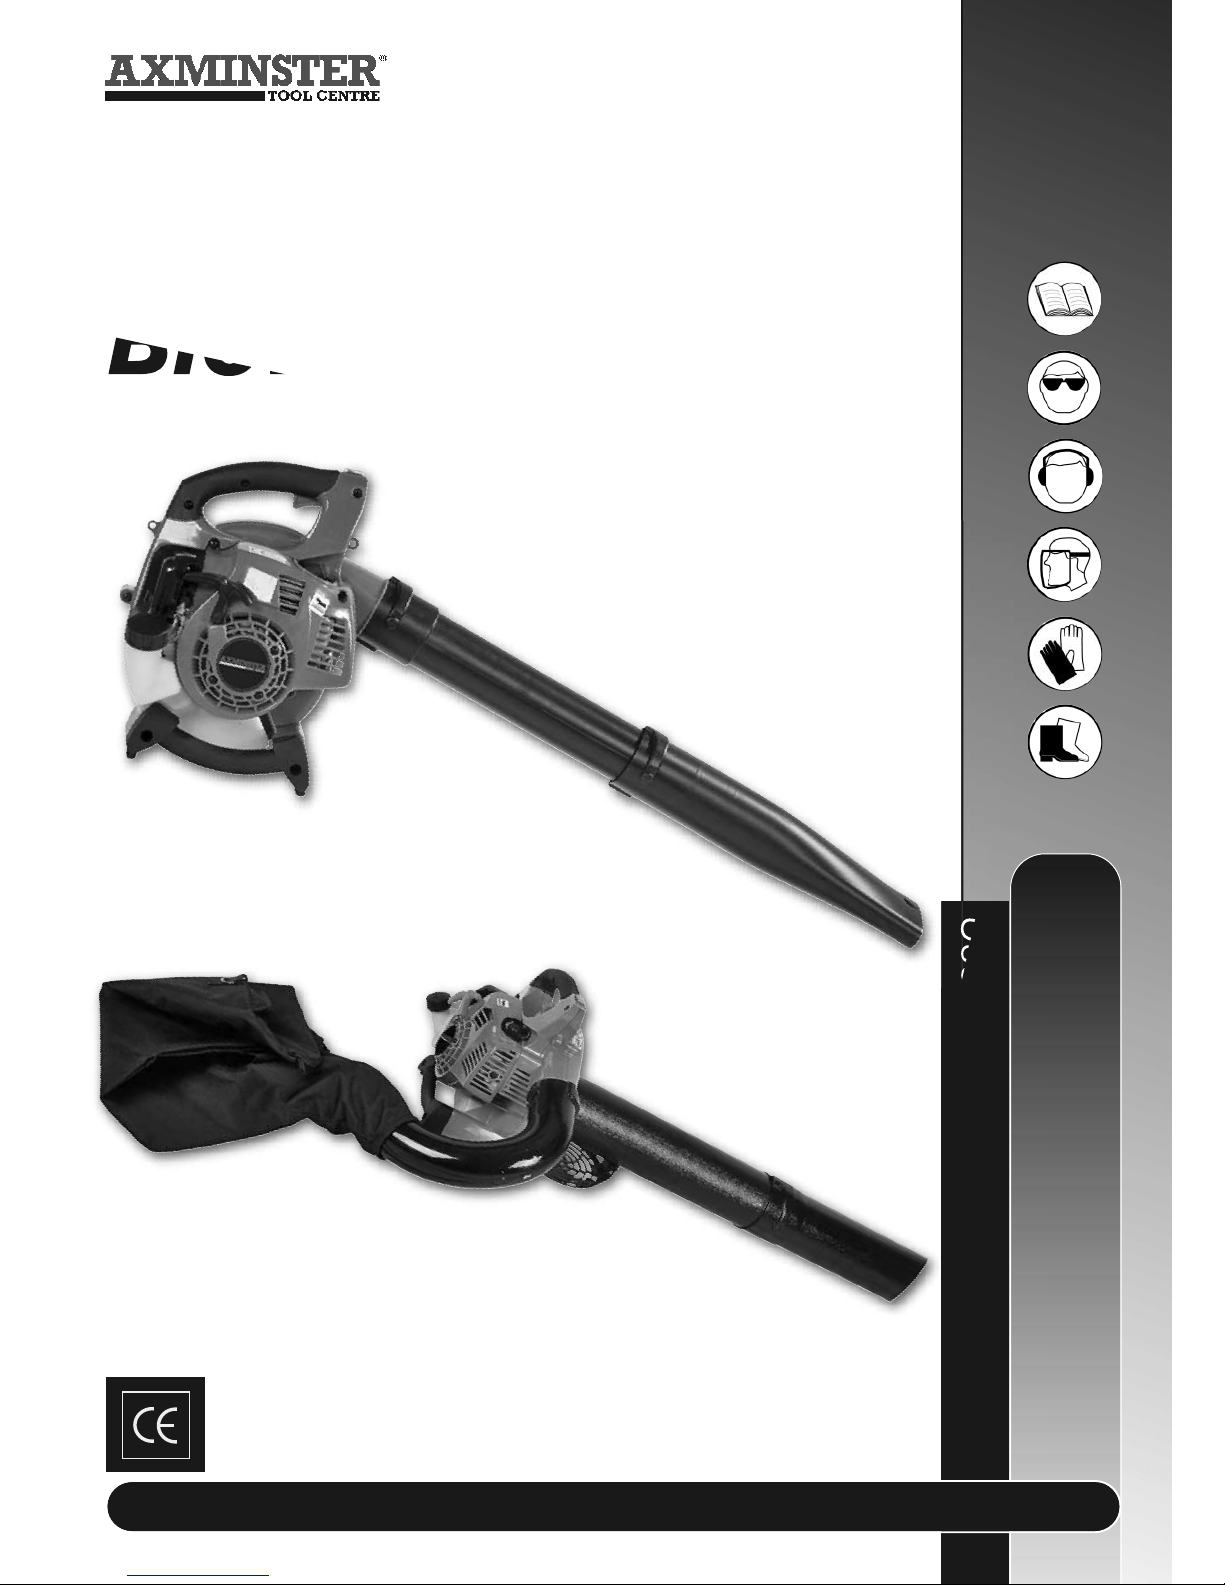
EBV260BN
Blower Vac
User Manual
www.axminster.co.uk
Axminster Reference No:
EBV260BN Part No: 211927

- -
1
INTRODUCTION
EBV260BN engine blower has been designed and built to
deliver superior performance and reliability without
compromise to quality, compromise to quality, comfort, safety,
or durability EBV260BN high performance engines represent
the leading edge of 2-cycle engine technology, delivering
exceptionally high power at remarkably low displacement and
weight . As a professional owner/operator, you’ll soon discover
why EBV260BN is simple in a class by itself!
IMPORTANT!
The information contained in this manual describes available at
the time of production. While every attempt has been made to
give you the very latest information about your
EBV260BN,there may be some differences between your
machine and what is described here . We reserves the right to
make changes in production without prior notice, and without
obligation to make alterations to machines previously
manufactured. Before using this product, consult local
regulation noise restrictions and hours of operation.
CAUTION!
This EBV260BN engine machine is
equipped with a speak-arresting muffler.
Never operate this machine without both the
muffler and spark arrestor installed and
properly functioning!

- -
2
CONTENTS
Attention Statements………………………3
Product Description……………………… 4
Specifications………………………………4
Assembling the Machine……………………5
Mixing Fuel…………………………………8
Filling the Fuel Tank…………………………9
Starting the Machine…………………………10
Adjusting Engine Speed……………………13
Routine Maintenances………………………15
Storage………………………………………17
Troubleshooting………………………………18

- -
3
ATTENTION STAEMENTS
This manual contains special “attention statements” surrounded
by boxes and preceded by the triangular Attention Symbol
Additional attention statements that are not preceded by the
Attention Symbol are:
IMPORTANT!
A statement preceded by the word “IMPORTANT” is one that
possesses special significance.
NOTE:
A statement proceeded by word “NOTE” contains information
that is handy to know and may make your job easier.
Read and follow this manual. Failure to do so
could result in serious injury.
Wear eye and hearing protection at all times during
the operation of this machine
WARNING!
A statement preceded by
WARNING contains
Information that should be
acted upon to prevent
serious bodily injury.
CAUTION!
A statement preceded by
the word “CAUTION”
contains information that
should be acted upon to
prevent machine damage.
- -
4
Do not operate this machine if you are tired, ill or
under the influences of alcohol, drugs, or Medicine.
PRODUCT DESCRIPTION!
The operational procedures described in this manual are
intended to help you get the most from your machine and to
protect you and others from harm. These procedures are general
guidelines only, and are not intended to replace any safely
rules/laws that may be in force in your area. If you have any
question regarding your EBV260BN blower £vacuum, or if
you do not understand something in this manual, your dealer
will be glad to assist you.
WARNING!
Do not make unauthorized
Modifications to this machine
SPECIFICATIONS
Model………………………………………EBV260BN
Dimensions(L×W×H)………………580×355×370
Engine Type……………………………1E34FBN
Cylinder Diameter………………………34mm
Displacement……………………………25.4cc
Fuel…………………………Gasoline/oil mixture 40:1
Carburetor…………Membrane type primer pump
Way of ignition……………………………CDI
Spark plug………………………………RCJ6Y
Starting…………………………………Recoil starter
Fuel Tank Capacity………………………0.5L
Weight…………………………………4.3kg

- -
5
ASSEMBLING THE MACHINE
1. Assembling the vacuum
(1)Nomenclature
Dust bag
Fan cover
(2)Assembly
Open the fan cover, Insert discharging pipe into dust
connect inhale pipe bag from the jaws of the slide
No.1 and No.2 fastener according to the picture
dischargingpipe.
Inhale pipe
NO.1
Inhale pipe
NO.2
Discharging
pipe
Lower handle

- -
6
discharging pipe
Put the discharging pipe to the machine.
2. Install blower machine
(1)Terms
Herein, use screw M5×10
to reinforce.
Stop switch
Throttler lever handle
Starter handle
Lower handleFuel tank
Cleaner cover

- -
7
(2)Install
Put blow pipe B to the machine Put blow A to B by
byrotating rotating
IMPORTANT!
Mix only enough fuel for your immediate needs! If fuel must be
stored longer than 30-days,it should first be treated with a
stabilizer or equivalent product!
Blow pipe A
Blow pipe B
Use screw M5×10 to
reinforce

- -
8
WARNING!
Danger form rotating impeller! Stop the engine before
installing or removing the machine tubes! Never perform any
maintenance or assembly procedures on this machine while
the engine is running.
MIXING FUEL
Fuel requirements
□ Use only fresh, clean fuel
□ Use only fuel with an octane rating of 90 or high
□ Mix all fuel with premium 2-cycles engine oil at a
gasoline/oil ratio of 40:1
CAUTION!
Never attempt to mix fuel in the machine fuel tank!Always mix
all fuels in a clean. approved container!
Some gasoline contain alcohol as an oxy genated! Oxy genated
fuels may cause increased engine operating temperatures! Under
certain conditions, alcohol-based fuels may also reduce the
lubricating qualities of some mixing
oils! Never use any fuel containing more than 10% alcohol by
volume! When an oxygenated fuel must be used fuel containing
an ether-based oxygenates such as MTBE is to be
preferred over alcohol!
Whenever possible use 2-cycle oil or equivalent oil mixed at a
40:1 ratio. Be aware that generic oils and some outboard mixing
oils may note intended for use in high-performance air cooled
2-cycle engines, and should never be used in your engine
machine.

- -
9
WARNING
Danger of fire! Never transfer or store fuels in the presence
Of combustible materials! Before starting the engine, always
move the machine to a clear area at least 10-feet
(3-meters) away form fuels and other combustible materials!
IMPORTANT!
Mix only enough fuel for your immediate needs! If fuel must be
stored longer than 30-days, it should first be treated with a
stabilizer or equivalent product!
FILLING THE FUEL TANK
Remove the fuel cup
WARNING!
Danger of fire and burn injury!
□ Always use extreme care when handling fuel! Fuel is highly
flammable!
□ Never operate this blower if fuel system components are
damaged or are leaking!
□ Never attempt to refuel the engine while it is running !
□ Never attempt to refuel a hot engine! Always allow the
blower engine to cool before fueling!
Table of contents


