manuals.online logo
Brands
  1. Home
  2. •
  3. Brands
  4. •
  5. Axxess
  6. •
  7. Automobile Part
  8. •
  9. Axxess CHTO-013 User manual

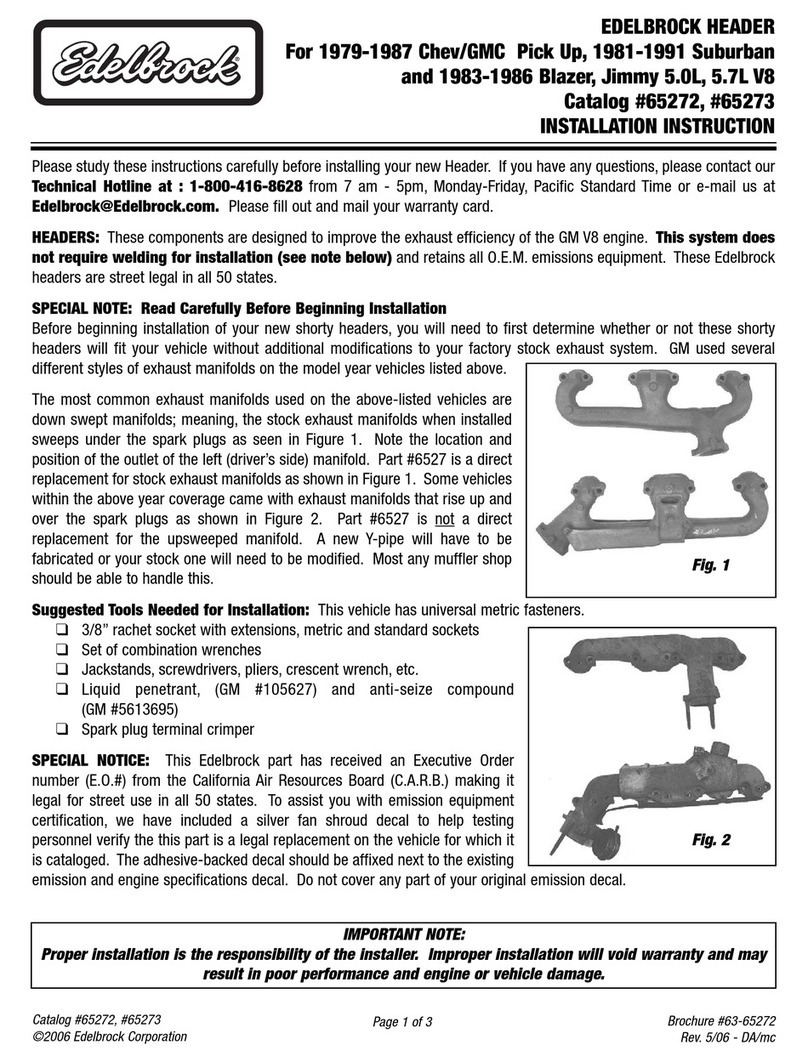
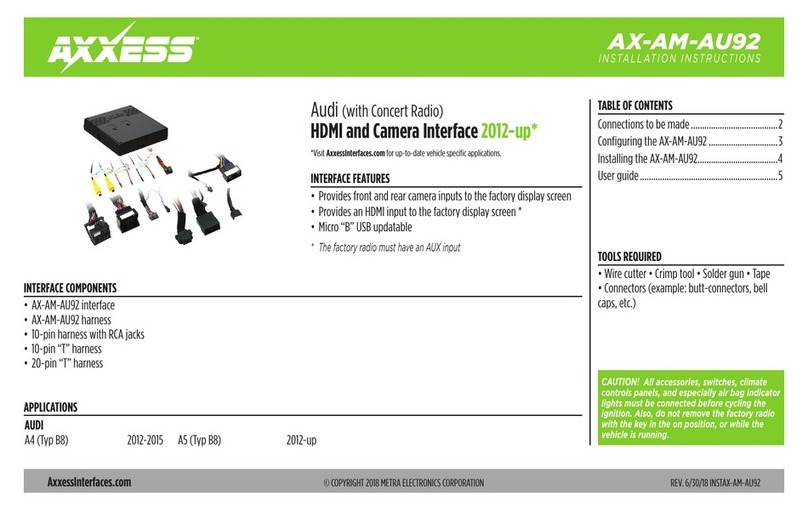
Axxess CHTO-013 User manual

INSTALLATION INSTRUCTIONS FOR PART CHTO-013
METRA. The World’s best kits.™
CAUTION: Metra recommends disconnecting the
negative battery terminal before beginning any
installation. All accessories, switches, and especially
air bag indicator lights must be plugged in before
reconnecting the battery or cycling the ignition.
NOTE: Refer to the instructions included with the
aftermarket radio.
• Providesaccessory(12-volt10amp)
• RetainsR.A.P.(retainedaccessorypower)
• Usedinamplified,non-amplifiedsystems,ordigitalamplifiedsystems
• ProvidesNAVoutputs(parkingbrake,reverse,andV.S.S.)
• ASWC-1harnessincluded(ASWC-1soldseparately)
• Adjustablegaincontrolforoverallvolume(onamplifiedsystems)
• Retainsblindspotdetectionsystem(ifequipped)
• Highlevelspeakerinput
• Micro“B”USBupdatable
• Retainsbalanceandfade
KIT FEATURES • Cuttingtool•Tape•Crimpingtool•Connectors
(example:butt-connectors,bellcaps,etc.)
TOOLS REQUIRED
Chrysler vehicles
2004-up
CHTO-013
APPLICATIONS
See inside front cover
• CHTO-013Interface•16-pinharnesswith
strippedleads•10-pinharnessto22-pinChrysler
harnesswithstrippedleads(A)•10-pinharnessto
22-pinChryslerharnesswithstrippedleads(B)•
4-pinharnesswithstrippedleads
INTERFACE COMPONENTS
CHTO-013
2
From the 16-pin harness
• Connectthe(2)Redwirestotheignition/accessorywireoftheaftermarketradio.
• ConnecttheOrange/Whitewiretotheilluminationwireoftheaftermarket
radio.Iftheaftermarketradiodoesnothaveanilluminationwire,tapeoffthe
Orange/Whitewire.
• ConnecttheBlue/Whitewiretotheampturnonwireoftheaftermarketradio.
• TapeuptheBrownwire.Itwillnotbeusedinthisapplication.
For vehicles with built-in navigation (only), make the following
connections:
• ConnecttheLight Green wiretotheparkingbrakewireoftheaftermarket
navigationradio.
• Connectthe Blue/Pink wiretotheVSSorspeedsensewireofthe
aftermarketnavigationradio.
• Connectthe Green/Purplewiretothereversewireoftheaftermarket
navigationradio.
Only make the following connections if the vehicle is amplified:
• ConnecttheWhitewiretotheleftfrontpositivespeakeroutputofthe
aftermarketradio.
• ConnecttheWhite/Black wiretotheleftfrontnegativespeakeroutputofthe
aftermarketradio.
Continued on next page
Connections to be madeApplications
CHRYSLER
300 2005-2007
Aspen 2007
DODGE
Caliber 2007-2008
Charger 2006-2007
Dakota 2005-2007
Durango 2004-2007
DODGE (continued)
Magnum 2005-2007
Ram1500 2006-2008
Ram2500/3500
2006-2009
JEEP
Commander 2006-2007
Compass 2007-2008
JEEP (continued)
GrandCherokee
2005-2007
Patriot 2007-2008
MITSUBISHI
Raider 2006-2007
HARNESS (A) - LD-CHTO-31
CHRYSLER
200 2011-up
300 2008-2010
Aspen 2008-2009
Sebring 2007-2010
Town&Country
2008-up
DODGE
Avenger 2008-up
Caliber 2009-2012
Challenger 2008-up
Charger 2008-2010
Dakota 2008-2011
Durango 2008-2013
GrandCaravan2008-up
DODGE (continued)
Journey 2009-2010
Magnum 2008-2009
Nitro 2007-2011
Ram1500 2009-2011
Ram2500/3500
2010-2011
RamChassisCab 2011
JEEP
Commander 2008-2010
Compass 2009-up
GrandCherokee
2008-2013
Liberty 2008-2013
Patriot 2009-up
JEEP (continued)
Wrangler 2007-up
MITSUBISHI
Raider 2008-2009
RAM
1500/2500/3500
2012-2012
ChassisCab3500/5500
2012
C/VTradesman
2012-up
VOLKSWAGEN
Routan 2009-2013
HARNESS (B) - LD-CHTO-33
CHTO-013
3
Connections to be made
• ConnecttheGraywiretotherightfrontpositivespeakeroutputofthe
aftermarketradio.
• ConnecttheGray/Black wiretotherightfrontnegativespeakeroutputofthe
aftermarketradio.
• ConnecttheGreen wiretotheradio’sleftrearpositivespeakeroutput.
• ConnecttheGreen/Black wiretotheradio’sleftrearnegativespeakeroutput.
• ConnectthePurplewiretotheradio’srightrearpositivespeakeroutput.
• ConnectthePurple/Blackwiretotheradio’srightrearnegativespeakeroutput.
From the 22-pin Chrysler harness
Note: Use appropriate harness for your vehicle application as shown in
Applications, p.2.
• Connectthe Yellowwiretotheradio’s12-voltbatteryormemorywire.
• Connectthe Blackwiretotheradio’sgroundwire.
• ConnecttheBlue/Whitewiretotheradio’sampturnonwireifpopulatedon
thefactoryside.
For non-amplified vehicles (only), make the following connections:
• Disconnectthe(2)4-pinconnectors,withthePurpleandGreen wiresinit.
• Connectthe4-pinharnesswithstrippedleadstothe4-pinconnector,with
thePurpleandGreenwires,comingfromtheGray22-pinconnector.
• ConnecttheGreenwiretotheradio’sleftrearpositivespeakeroutput.
• ConnecttheGreen/Blackwiretotheradio’sleftrearnegativespeakeroutput.
• ConnectthePurplewiretotheradio’srightrearpositivespeakeroutput.
• ConnectthePurple/Blackwiretotheradio’srightrearnegative
speakeroutput.
Tip: If you are unsure if your vehicle is amplified or not, note that these following
wires will only be populated in the factory harness if non-amplified.
• ConnecttheWhitewiretotheleftfrontpositivespeakeroutputofthe
aftermarketradio.
•ConnecttheWhite/Blackwiretotheleftfrontnegativespeakeroutputofthe
aftermarketradio.
• ConnecttheGraywiretotherightfrontpositivespeakeroutputofthe
aftermarketradio.
• ConnecttheGray/Blackwiretotherightfrontnegativespeakeroutputof
theaftermarket.
From the 12-way harness
• ThisharnessisfortheASWC-1(soldseparately).PleaserefertotheASWC-1
instructionsforprogramming.
Continued on next page
INSTALLATION INSTRUCTIONS FOR PART CHTO-013
METRA. The World’s best kits.™
• Withallconnectionscompletedtotheaftermarketradio,plugthe22-pinharnessintothevehicles
wiringharness.
• Reconnectthenegativebatteryterminal.
• Cyclethekey,byturningtheignitiononfor30seconds.Thenoffandonagaintotesttheradio.
Installing the CHTO-013
• Turntheignitiononifnotalready,andthenturntheradioontoverifythattheradioworks.Check
balanceandfadercontrolsforproperoperation.
For amplified models only:
• Toadjusttheoverallvolumeofyouraudiosystemrotatethepotentiometer,whichislocatedonthe
16-pinsideoftheinterfaceclockwise.
Testing the CHTO-013
Our installation parts and kits make aftermarket stereo and video installation a breeze.

Other Axxess Automobile Part manuals

Axxess OESWC-7552-RF User manual

Axxess

Axxess OESWC-7552-RF User manual

Axxess OESWC-LAN29H User manual

Axxess

Axxess OESWC-LAN29H User manual

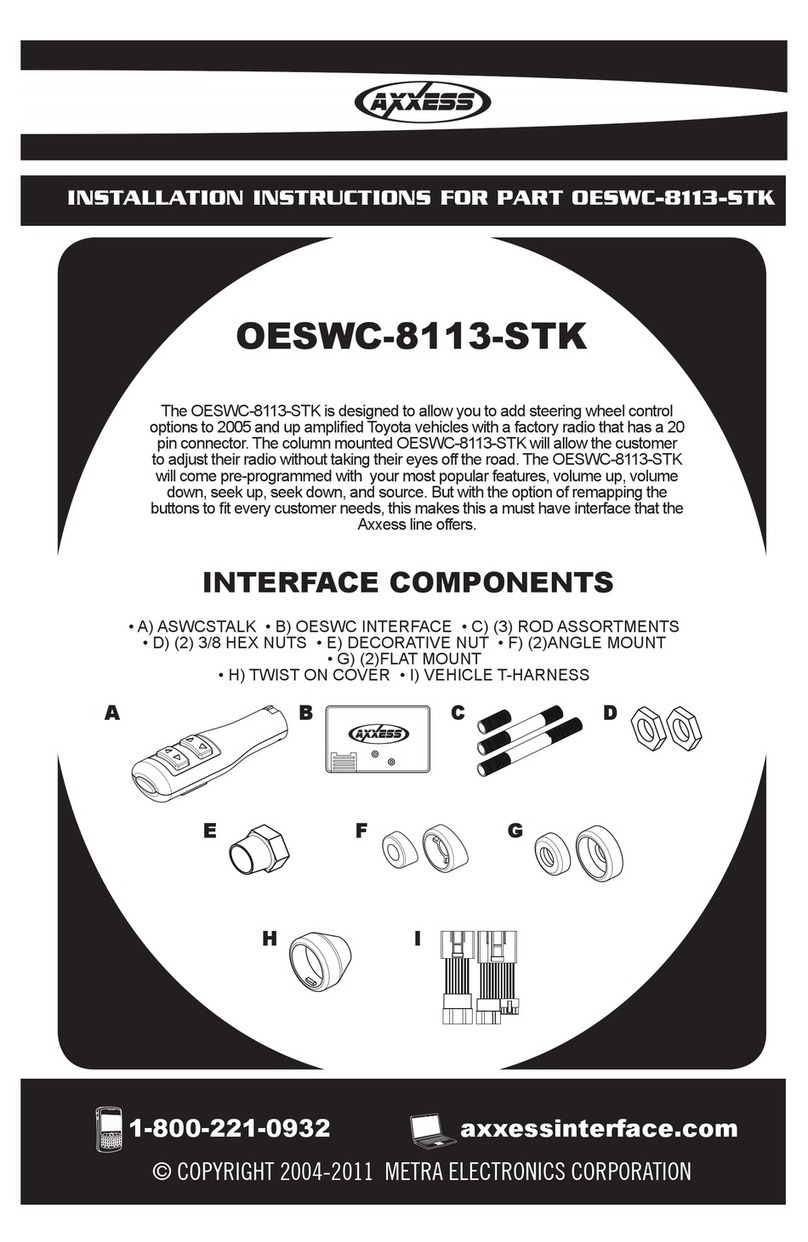
Axxess OESWC-8113-STK User manual

Axxess

Axxess OESWC-8113-STK User manual

Axxess OESWC-1761-RF User manual

Axxess

Axxess OESWC-1761-RF User manual

Axxess OESWC-7552-STK User manual

Axxess

Axxess OESWC-7552-STK User manual

Axxess AX-AM-AU92 User manual

Axxess

Axxess AX-AM-AU92 User manual

Axxess OESWC-LAN29-RF User manual

Axxess

Axxess OESWC-LAN29-RF User manual

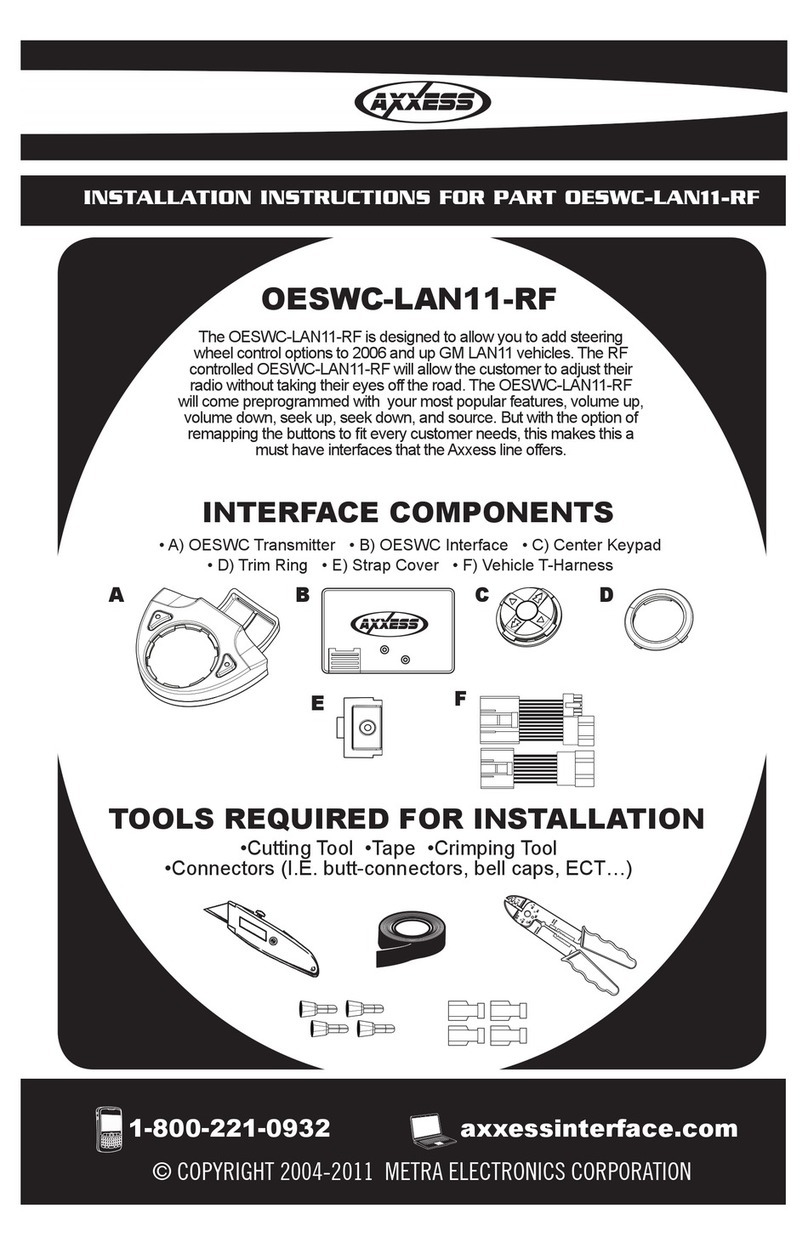
Axxess OESWC-LAN11-RF User manual

Axxess

Axxess OESWC-LAN11-RF User manual

Axxess OESWC-CLASS2H User manual

Axxess

Axxess OESWC-CLASS2H User manual

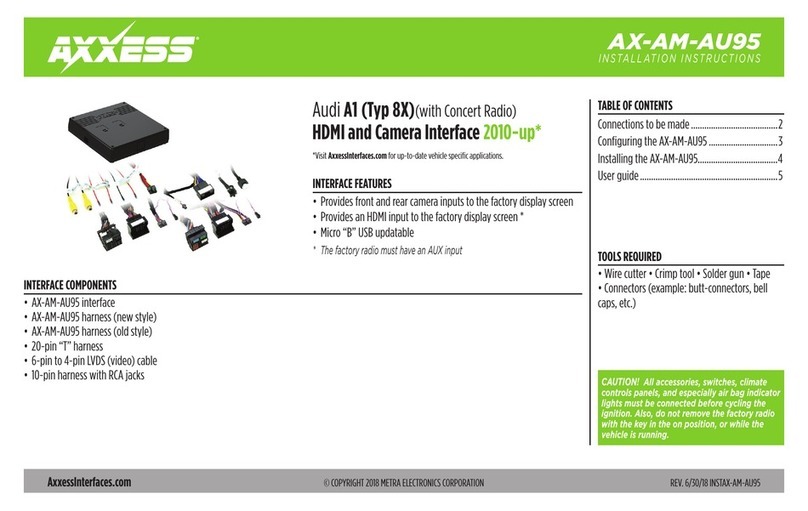
Axxess AX-AM-AU95 User manual

Axxess

Axxess AX-AM-AU95 User manual

Axxess OESWC-CLASS2-RF User manual

Axxess

Axxess OESWC-CLASS2-RF User manual

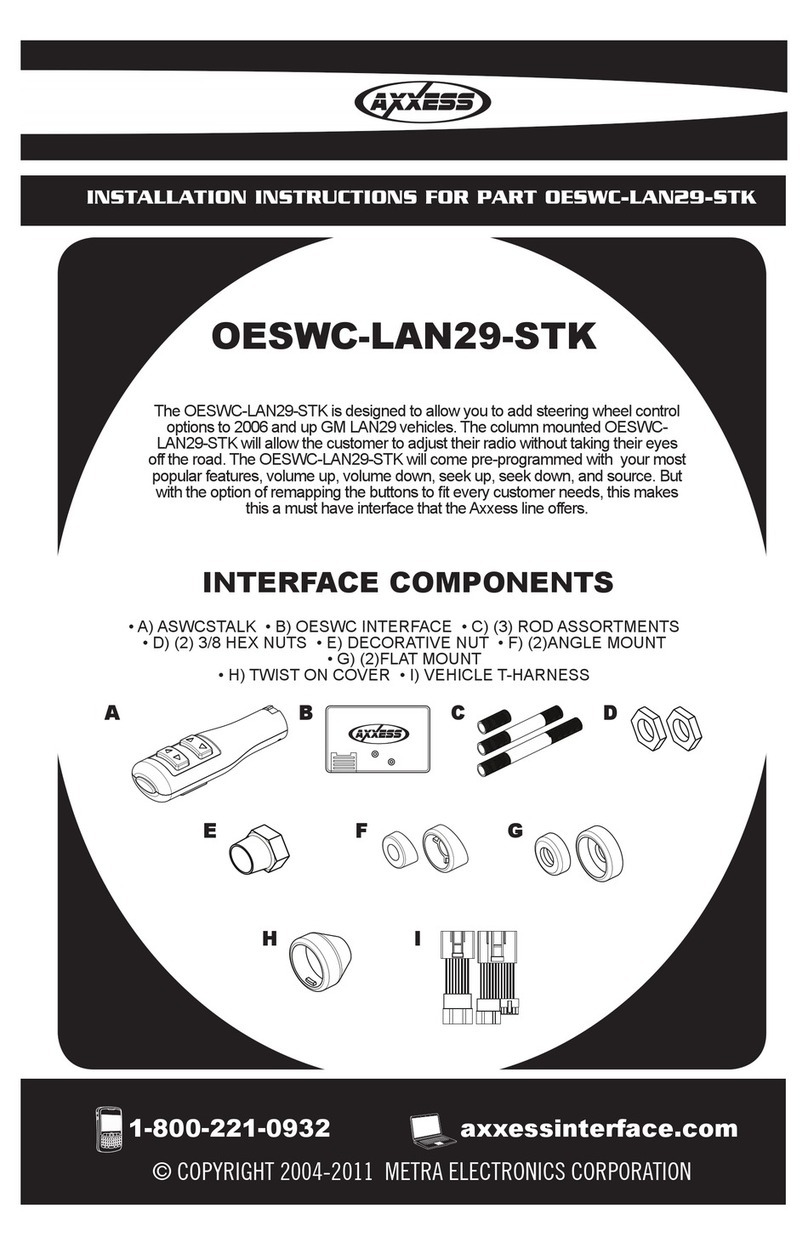
Axxess OESWC-LAN29-STK User manual

Axxess

Axxess OESWC-LAN29-STK User manual

Popular Automobile Part manuals by other brands

Edelbrock PRO-FLO XT 3527 user manual

Edelbrock

Edelbrock PRO-FLO XT 3527 user manual

Jonsered LT2213 Spare parts

Jonsered

Jonsered LT2213 Spare parts

Mitsubishi F4A4 Workshop manual

Mitsubishi

Mitsubishi F4A4 Workshop manual

Meritor TE9000 Service Service manual

Meritor

Meritor TE9000 Service Service manual

PAC SWI-X installation instructions

PAC

PAC SWI-X installation instructions

Edelbrock 7107 installation instructions

Edelbrock

Edelbrock 7107 installation instructions

Edelbrock 47480 installation instructions

Edelbrock

Edelbrock 47480 installation instructions

Edelbrock 9300 Installation supplement

Edelbrock

Edelbrock 9300 Installation supplement

Edelbrock 1551 installation instructions

Edelbrock

Edelbrock 1551 installation instructions

Edelbrock 5588 installation instructions

Edelbrock

Edelbrock 5588 installation instructions

Edelbrock 8147 Supplement

Edelbrock

Edelbrock 8147 Supplement

Murphy MURPHYMATIC AT03069 Specifications

Murphy

Murphy MURPHYMATIC AT03069 Specifications

Air Lift LoadLifter 5000 Ultimate installation guide

Air Lift

Air Lift LoadLifter 5000 Ultimate installation guide

ICON 54000T installation instructions

ICON

ICON 54000T installation instructions

ICON 51201 installation instructions

ICON

ICON 51201 installation instructions

Reese 20K instruction & operation manual

Reese

Reese 20K instruction & operation manual

Edelbrock 68572 installation instructions

Edelbrock

Edelbrock 68572 installation instructions

Yamaha Yamaha Rhino 660 Instruction supplement

Yamaha

Yamaha Yamaha Rhino 660 Instruction supplement

manuals.online logo
manuals.online logoBrands
  • About & Mission
  • Contact us
  • Privacy Policy
  • Terms and Conditions

Copyright 2025 Manuals.Online. All Rights Reserved.