17 | Deutsche Deutsche | 18
Vielen Dank, dass Sie sich für den Kauf eines Produkts von Aycorn entschieden haben.
Bitte lesen Sie das gesamte Handbuch vor der ersten Nutzung sorgfältig durch und
bewahren Sie es für später an einem sicheren Ort auf.
WARNUNG: Strangulationsgefahr. Halten Sie das Gerät, das Netzkabel
und das Netzteil mehr als 1 Meter (3 Fuß) vom Kinderbett entfernt und
außerhalb der Reichweite des Babys. Legen Sie die Kamera oder die
Kabel nicht in das Kinderbett. Bewahren Sie die Kabel außerhalb der
Reichweite von Kindern auf.
VORSICHT: Verwenden Sie nur die in diesem Handbuch angegebenen und mit diesem
Produkt gelieferten Akkus. Es besteht Explosionsgefahr, wenn für dieses Produkt der
falsche Batterietyp verwendet wird. Halten Sie alle Batterien stets von Kindern fern.
Entsorgen Sie Batterien gemäß den örtlichen Umweltgesetzen und -richtlinien.
• Verwenden Sie dieses Produkt ausschließlich wie in diesem Handbuch beschrieben. Jede
andere vom Hersteller nicht empfohlene Nutzung kann zu Bränden, einem elektrischen
Schlag oder zu Verletzungen führen.
• Montage und Einrichtung muss von einem Erwachsenen durchgeführt werden. Halten Sie
beim Zusammenbau kleine Teile von Kindern fern.
• Das Produkt darf nicht von Personen (einschließlich Kindern) mit eingeschränkten
körperlichen, sensorischen oder geistigen Fähigkeiten oder mangelnder Erfahrung und
Kenntnissen verwendet werden, es sei denn, sie wird dabei beaufsichtigt oder wurde darin
unterwiesen.
• Dieses Produkt soll Ihnen helfen, Ihr Baby im Auge zu behalten. Dieses Produkt ist kein
Ersatz für eine verantwortungsvolle und ordnungsgemäße Aufsicht durch Erwachsene.
Auch wenn Sie dieses Produkt verwenden, müssen Sie Ihr Baby dennoch beaufsichtigen,
um für eine dauerhafte Sicherheit zu sorgen.
• Dieses Produkt ist nicht für die Nutzung als medizinisches Überwachungsgerät vorgesehen.
Die Überwachung von Frühgeborenen oder von Babys, bei denen ein hohes Risiko
besteht, sollte immer von qualifiziertem medizinischem Fachpersonal durchgeführt werden.
• Dieses Produkt ist kein Spielzeug. Achten Sie darauf, dass keine Kinder mit dem Gerät
spielen.
• Die Reinigung und Wartung darf nicht von Kindern durchgeführt werden, außer falls diese
laufend beaufsichtigt werden.
• Kinder unter drei Jahren müssen vom Gerät ferngehalten werden oder ständig
beaufsichtigt werden.
• Setzen Sie das Produkt keinem direkten Sonnenlicht, Wärmequellen oder extremer Kälte
Sicherheitshinweise
aus.
• Verwenden Sie das Produkt nicht in der Nähe von Wasser, einer Badewanne, Dusche oder
einem Waschbecken.
• Dieses Produkt darf nur mit den mitgelieferten Netzteilen verwendet werden. Verwenden
Sie keine anderen Ladegeräte oder Netzteile, da dies das Produkt und den Akku
beschädigen kann.
• Verwenden Sie keine Verlängerungskabel mit Adaptern.
• Verlegen Sie das Netzkabel nicht so, dass man darüber stolpern kann. Verlegen Sie das
Netzkabel nicht unter dem Teppichboden und bedecken Sie es nicht mit Teppichen,
Läufern oder Ähnlichem.
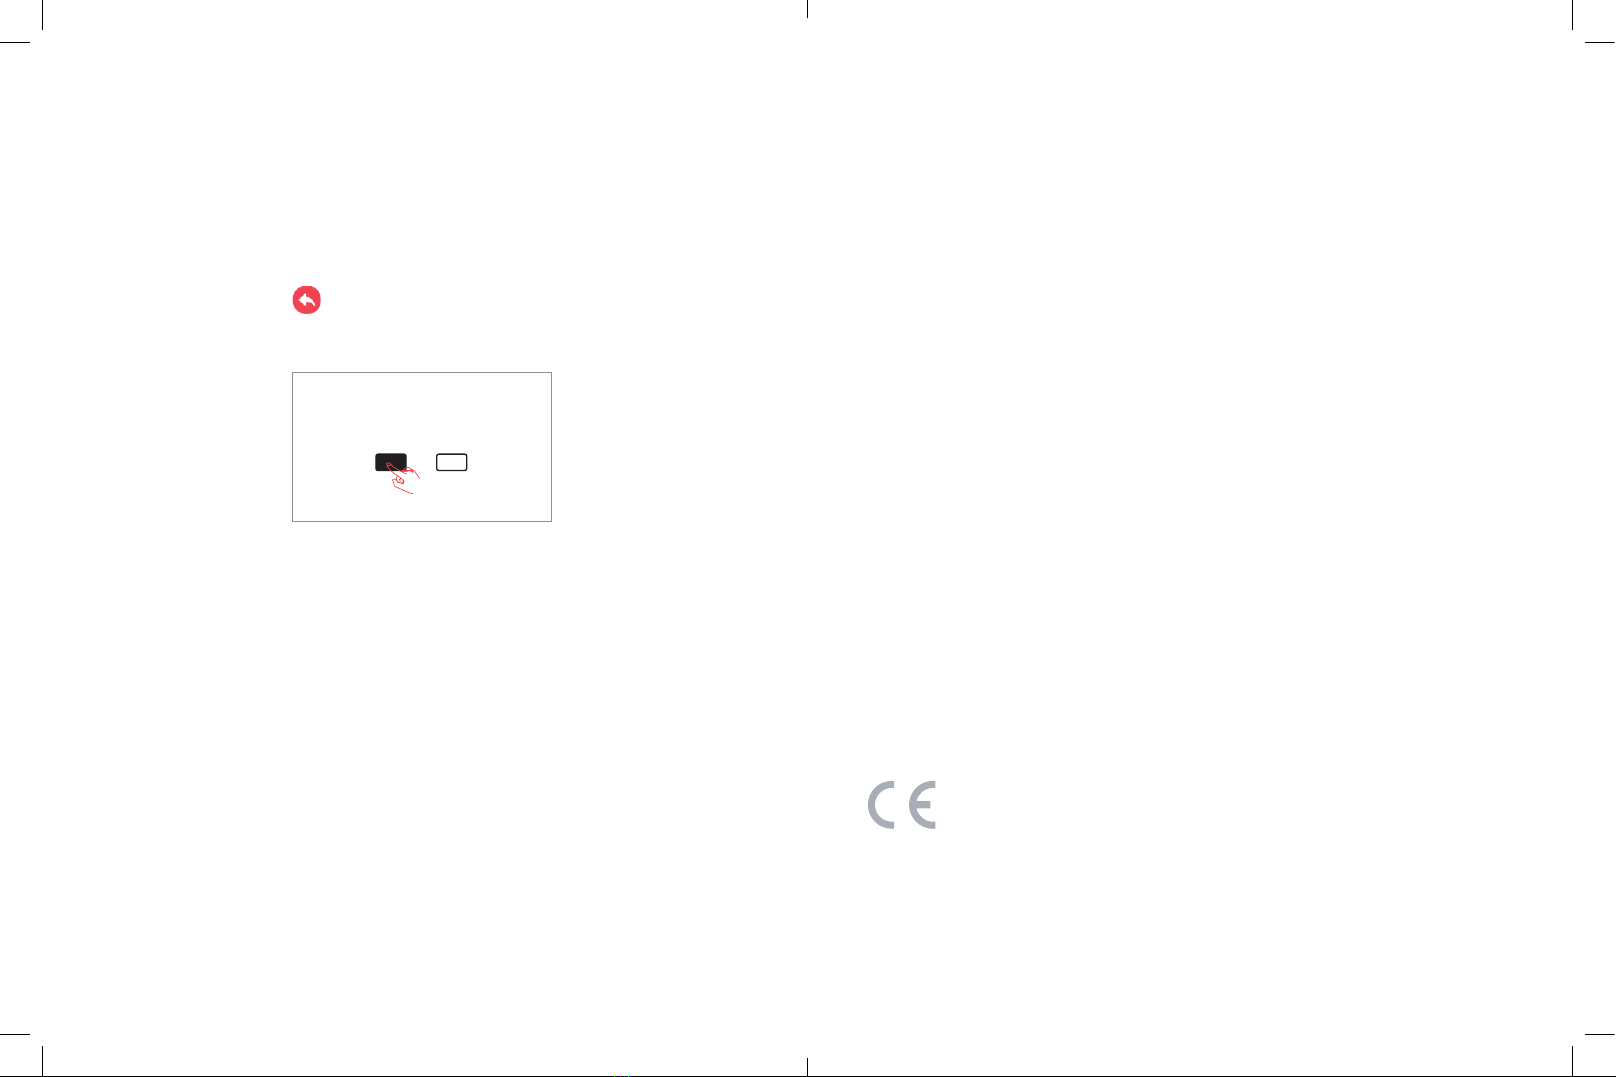
• Stellen Sie die Babykamera und den Monitor aufrecht auf eine trockene, flache und
stabile Oberfläche. Es kann gefährlich sein, das Gerät in einer anderen Position zu
verwenden.
• Decken Sie die Babykamera oder den Monitor nicht mit Handtüchern oder Decken ab.
• Stellen Sie keine Gegenstände auf das Produkt, wenn Sie es nicht verwenden.
• Dieses Produkt ist für den Hausgebrauch und ähnliche Anwendungen vorgesehen. Nicht
im Freien verwenden.
• Ziehen Sie nicht am Netzkabel. Bewegen, tragen oder hängen Sie das Produkt niemals am
Netzkabel.
• Knicken oder wickeln Sie das Netzkabel nicht um das Produkt, da dies dazu führen kann,
dass die Isolierung beschädigt wird oder reißt, insbesondere dort, wo sie in das Produkt
eintritt.
• Betreiben Sie das Produkt nicht, wenn Anzeichen von Schäden am mitgelieferten Produkt
oder Zubehör vorliegen.
• Versuchen Sie nicht, elektrische oder mechanische Komponenten des Produkts zu
reparieren oder einzustellen. Dies kann gefährlich sein und führt zum Erlöschen Ihrer
Garantie.
Wiederaufladbare Batterien
Dieses Produkt wird mit 2000mah - Li-ion-Einwegbatterien geliefert.
BITTE LESEN UND BEWAHREN SIE DIESE WICHTIGEN SICHERHEITSHINWEISE AUF
• Achten Sie darauf, dass Kinder nicht mit den Batterien spielen.
• Versuchen Sie nicht, den Akku selbst zu entfernen oder auszutauschen. Andernfalls
kann der Akku beschädigt werden, was zu Überhitzung, Feuer und Verletzungen
führen kann.
• Verbrennen Sie die Batterie nicht.
• Batterien müssen recycelt oder getrennt vom Hausmüll entsorgt werden. Entsorgen
Sie Batterien immer an einer offiziellen Sammelstelle und gemäß Ihren lokalen
Umweltgesetzen und -richtlinien.