manuals.online logo
Brands
  1. Home
  2. •
  3. Brands
  4. •
  5. Babyhug
  6. •
  7. Baby & Toddler Furniture
  8. •
  9. Babyhug Lilly Happy Dino NUBF0015 User manual

Babyhug Lilly Happy Dino NUBF0015 User manual

STYLE CODE : NUBF0015
Happy Dino
baby furniture
0
Months +
Carrying Capacity
up to 35 kg
Lilly Baby Cot
Bassinet + Cot Shelves for Storage Mosquito Net New Zealand Pine wood
Warning
Make sure that the side rails re closed and locked, when the baby
is in the cot
This product can be used for a child of upto 6 years of age and a maximum
weight of 35 kgs
Adjust the bed board height as per the height/devlopmental phase of the child
Do not keep the cot close to a re or any re source
If the bed board gets wet, please dry it under the fan - do not dry it in the sun
Suggested size for mattress is 120 x 60 cm, thickness should not exceed 10 cm
Please follow all instructions carefully. Ensure that all parts are tted correctly
before using the cot
Don’t use the packing material as a toy
The product outline in this manual is for assembly and operation purposes. On
occasion the physical product might differ from the product outline shown on
account of constant improvements being made to the product for enhanced
customer experience
Maintenance
Before using the cot, please ensure that all part have been securely tted as
explained in the manual.
when dismantling the cot, please follow instructions carefully to avoid
unnecessary damage to the cot.
No. Part Name Used For Qty
1 Fixed headboard To support the bed body 1
2 Extension headboard To support the bed body and used to extend the cot 1
3 Fixed guardrail To support the bed body and x mosquito net 1
4 Front guardrail To support the bed body;part of the guardrail 1
can be opened & closed
5 Bed board For the baby to sleep on 1
6 Cradle For baby under 6 months of age 1
7 Caster wheels Universal wheel - easy and convenient to move 2
8 3 tiered shelf For keeping baby products 1
9 M6*40 rotary bolt Used to set extension headboard 1
10 M6*28 rotary bolt Used to x mosquito net 2
11 M6*40 hex socket bolt Used to assemble baby cot 15
12 M6*35 hex socket bolt Used to assemble cradle 20
13 Bed board supporter Used to support bed board 4
14 Mosquito net rod and Components of mosquito net 1
mosquito net loop
15 Hex socket wrench Used to tighten hex socket bolt 1
16 Instruction manual For assembly and usage of cot 1
Parts List
1 2 34
56 7 8 9
10 11 12 13 14 15
(Do not discard,
needed in maintainance)
Parts Name
(8) 3 tiered shelf (1) Fixed headboard
(3) Fixed guardrail
(6) Cradle
(9) M6*40
rotary bolt
(2) Extension headboard
(7) Caster wheels
(5) Bed board
(4) Front guardrail
Instructions For Assembly And Use
2
1
Assemble the xed guardrail and two
headboards with 5pcs M6*40 hex
socket bolts
Assemble the front guardrail and 2
headboards with 4pcs M6*40 hex
socket bolts (1) Fixed headboard
Important-keep For Reference-read Carefully
You should read the instructions carefully before using the cot.
The product outline in this manual is for assembly and operation purposes. On occasion
the physical product might differ from the product outline shown on account of
constant improvements being made to the product for enhanced customer experience.
3
5
4
6
As depicted in the picture the 4 iron bed
supporters are screwed into the xed
guardrail and embedded nut in front
guardrail. (attention: Please ensure that
the supporters are attached rmly to
prevent the bed from falling)
Fold up the extension headboard and
front frame. The extension headboard
should be attached rmly using the
Rotary bolt M6*40. The Bed board should
be assembled using the bolt M6*40.Push
the caster wheels into the receiving
cylinder of the leg to attach them rmly
in place
Place the bed board on the4 iron bed
supporters and keep it at and steady
As shown in the picture assemble the 3
tiered shelf with 12 nos M6*35 bolts.
Then assemble the shelf and xed side
frame with 4nos M6*40 bolts
2. Fix the cradle on the guardrail for as
shown in the picture
1. Assemble the cradle with 8nos M6*35
hex socket bolts as shown in the picture
Cradle Assembly Steps:
Cradle Assembly
front frame and back
frame + bed board for cradle
left side
frame
M6*35x4 screw
right side frame
for cradle
M6*35 bolt
To Assemble The Mosquito Net
As shown in the picture on the left, use 2nos
M6*28 rotary bolts to pass through the 2 holes
of the mosquito net rod and x in the
corresponding embedded nut which is in the
middle vertical bar on the reverse side of the
xed guardrail. Fix the mosquito net loop into
the tip of the mosquito net rod and open the
mosquito net to cover the cot.
How To Lengthen The Cot And Use The Side Rail
Open the front guard rail:
Turn the connector to the horizontal position
to drop the movable guard rail (please note:
that movable guard rail is part of the front
guard rail). When the movable guard rail is
opened the baby cot can be combined with
the adult bed.
To lock the Guard Rail:
Do the above steps in reverse sequence to
nish locking the front guard rail.
Lengthen the Cot:
First open the movable rail as per the process
outlined above. As depicted in picture A,
remove the rotary bolt used for xing the
extension head-board. Lay down the
extension head-board to nish increasing the
size of the cot as shown in picture B.
Fold back the lengthened Cot:
Do the above steps in reverse sequence to fold
back the lengthened cot to its previous size.
Picture A
Picture B

Other Babyhug Baby & Toddler Furniture manuals

Babyhug Tiny Tots Musical Baby Bouncer User manual

Babyhug

Babyhug Tiny Tots Musical Baby Bouncer User manual

Babyhug Windsor Wooden Cot & Bassinet User manual

Babyhug

Babyhug Windsor Wooden Cot & Bassinet User manual

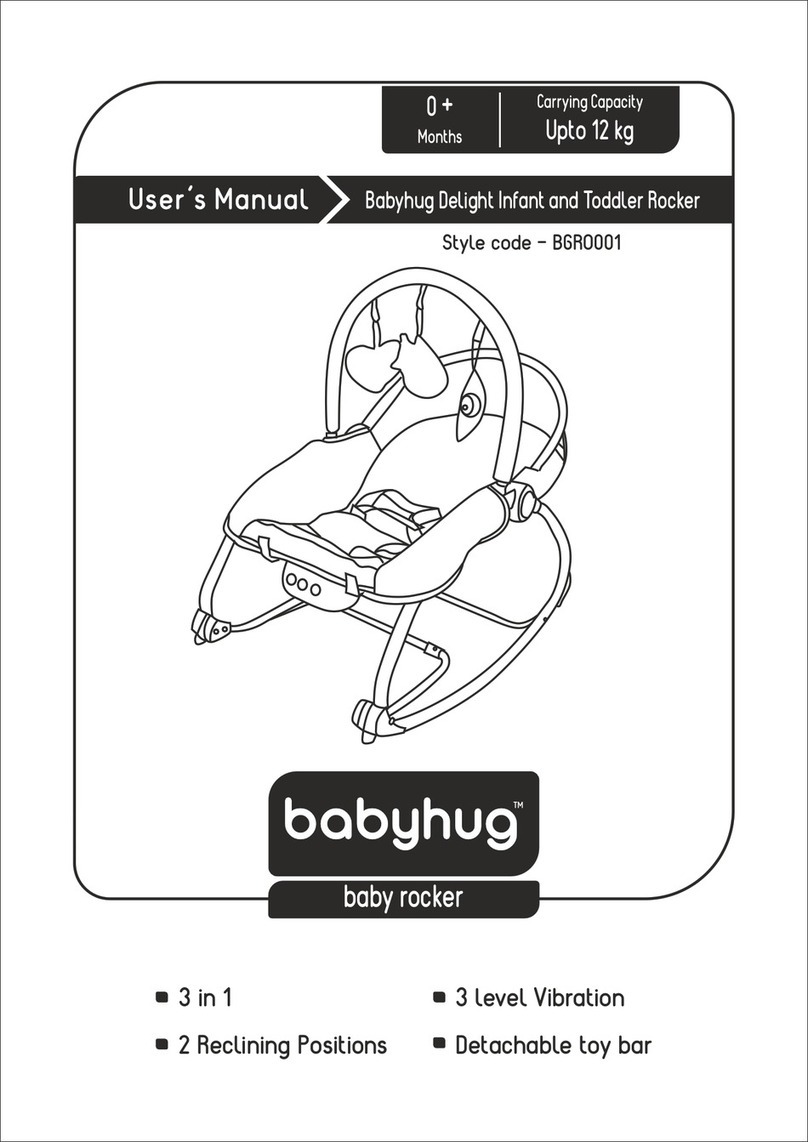
Babyhug BGRO001 User manual

Babyhug

Babyhug BGRO001 User manual

Babyhug Visby NUBF021 User manual

Babyhug

Babyhug Visby NUBF021 User manual

Babyhug Angel Dreams Cradle NUBF013 User manual

Babyhug

Babyhug Angel Dreams Cradle NUBF013 User manual

Babyhug Merlino Cot Bed User manual

Babyhug

Babyhug Merlino Cot Bed User manual

Babyhug NUBF023 User manual

Babyhug

Babyhug NUBF023 User manual

Babyhug NUBF0014 User manual

Babyhug

Babyhug NUBF0014 User manual

Popular Baby & Toddler Furniture manuals by other brands

Graco ISPP027AB owner's manual

Graco

Graco ISPP027AB owner's manual

SAUTHON easy JAZZY JF031A Technical manual

SAUTHON easy

SAUTHON easy JAZZY JF031A Technical manual

Chicco Pocket Lunch Instructions for use

Chicco

Chicco Pocket Lunch Instructions for use

Graco Move'n Soothe Bassinet owner's manual

Graco

Graco Move'n Soothe Bassinet owner's manual

Geuther Trixi 4817 Instructions for assembly and use

Geuther

Geuther Trixi 4817 Instructions for assembly and use

Safety 1st 25127 user guide

Safety 1st

Safety 1st 25127 user guide

BABY DELIGHT Beside Me Dreamer Care Instructions

BABY DELIGHT

BABY DELIGHT Beside Me Dreamer Care Instructions

Kolcraft Preferred Position instruction sheet

Kolcraft

Kolcraft Preferred Position instruction sheet

Gigo MY-PLAY GYM 1139 manual

Gigo

Gigo MY-PLAY GYM 1139 manual

ISLAND EcoChic Assembly manual

ISLAND

ISLAND EcoChic Assembly manual

LITTLE DUTCH LD7089 Instructions for use

LITTLE DUTCH

LITTLE DUTCH LD7089 Instructions for use

mothercare Chevron user guide

mothercare

mothercare Chevron user guide

SAUTHON GALOPIN 68116A Technical manual

SAUTHON

SAUTHON GALOPIN 68116A Technical manual

pottery barn kids ELSIE Assembly instructions

pottery barn kids

pottery barn kids ELSIE Assembly instructions

Graco 4512 owner's manual

Graco

Graco 4512 owner's manual

Dorel MAXI-COSI Instructions for use & warranty

Dorel

Dorel MAXI-COSI Instructions for use & warranty

Costway BE10027 manual

Costway

Costway BE10027 manual

Tutti Bambini Rimini Chest Changer Assembly instructions

Tutti Bambini

Tutti Bambini Rimini Chest Changer Assembly instructions

manuals.online logo
manuals.online logoBrands
  • About & Mission
  • Contact us
  • Privacy Policy
  • Terms and Conditions

Copyright 2025 Manuals.Online. All Rights Reserved.