manuals.online logo
Brands
  1. Home
  2. •
  3. Brands
  4. •
  5. Bakers Pride
  6. •
  7. Grill
  8. •
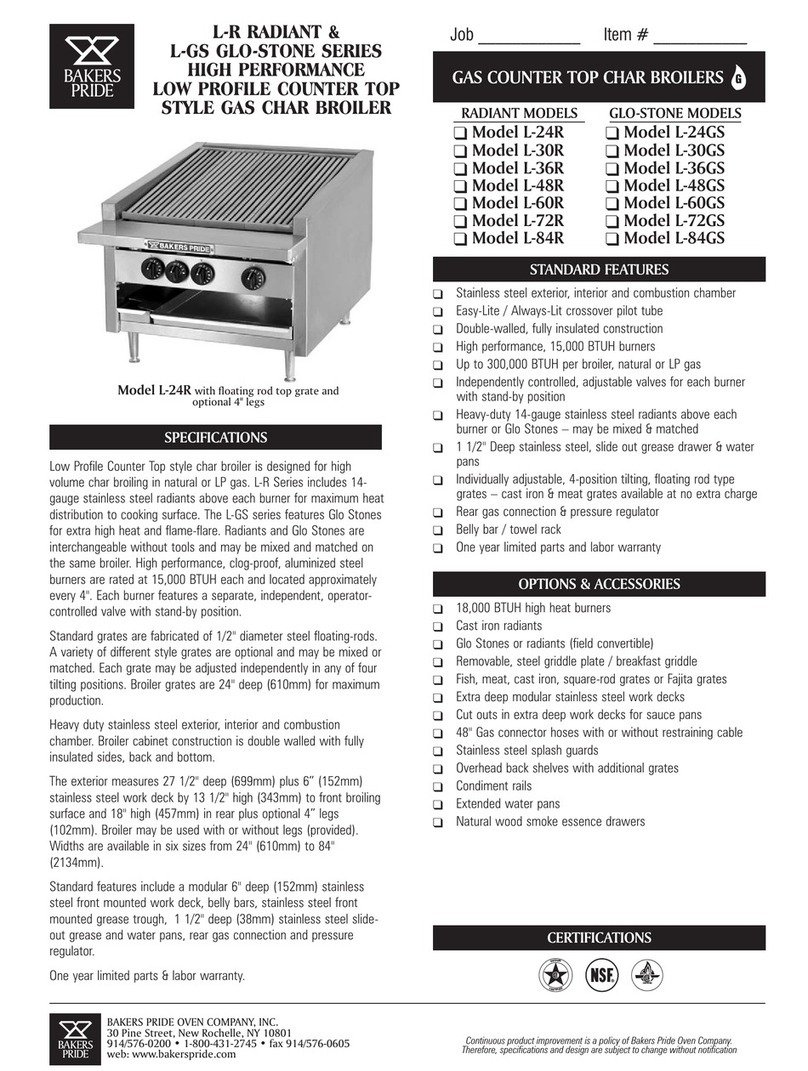
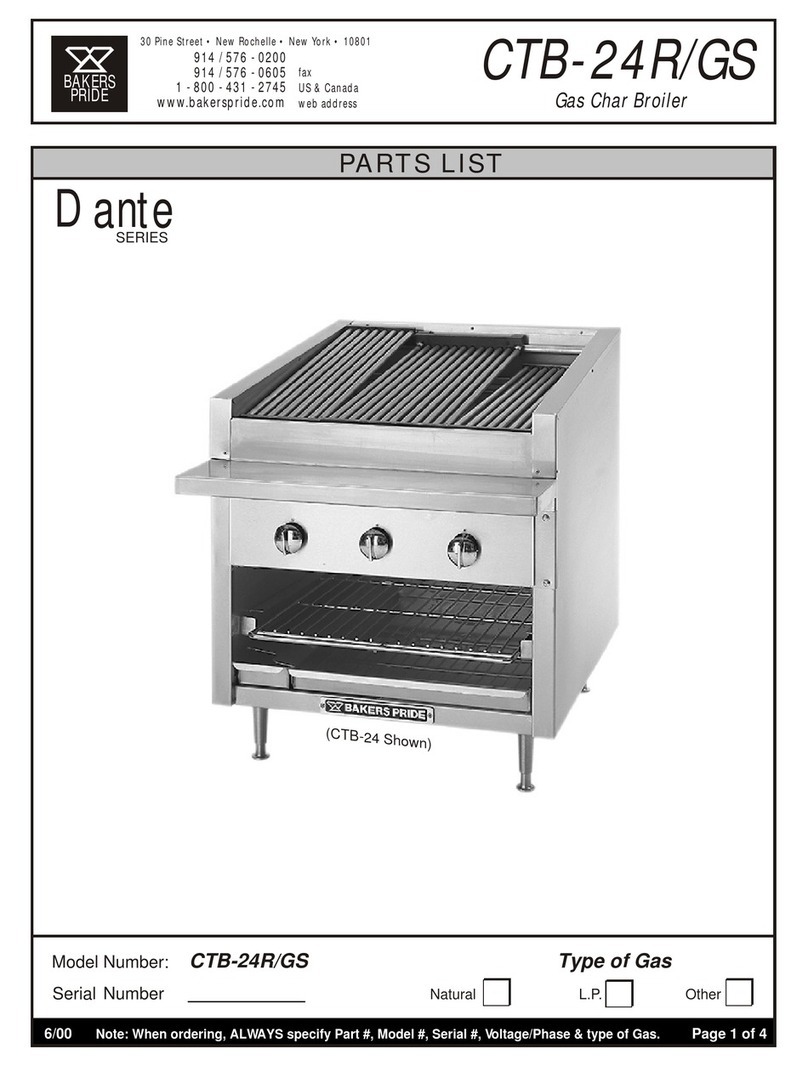
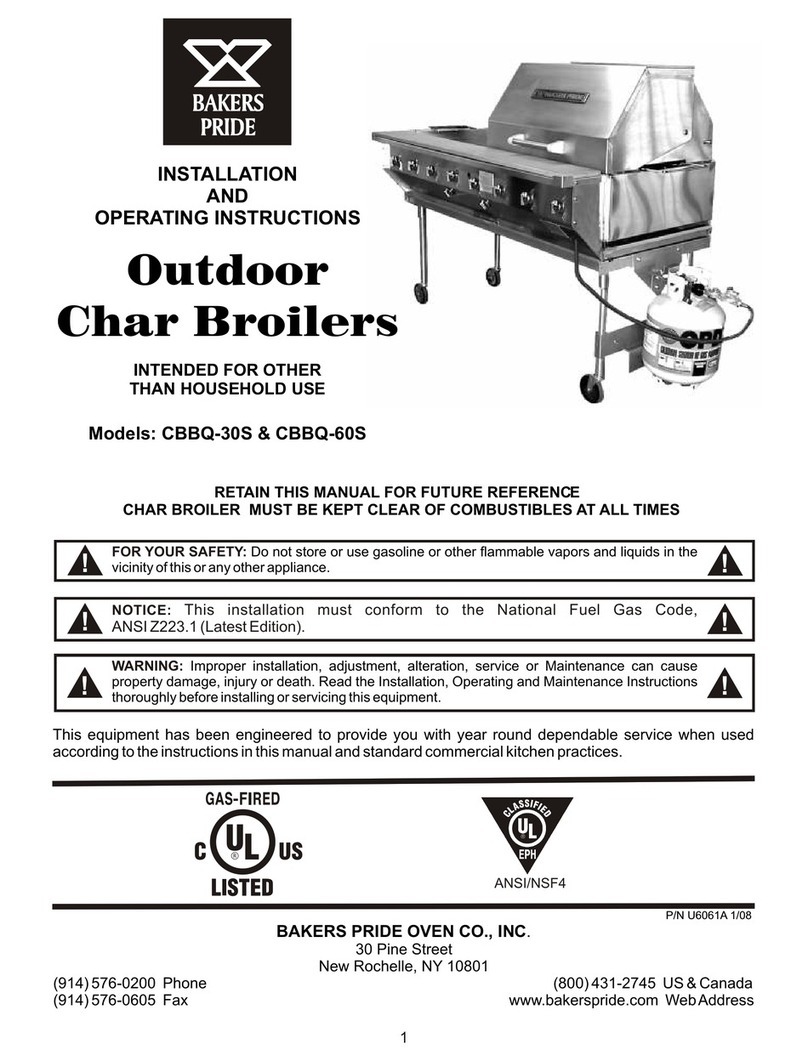
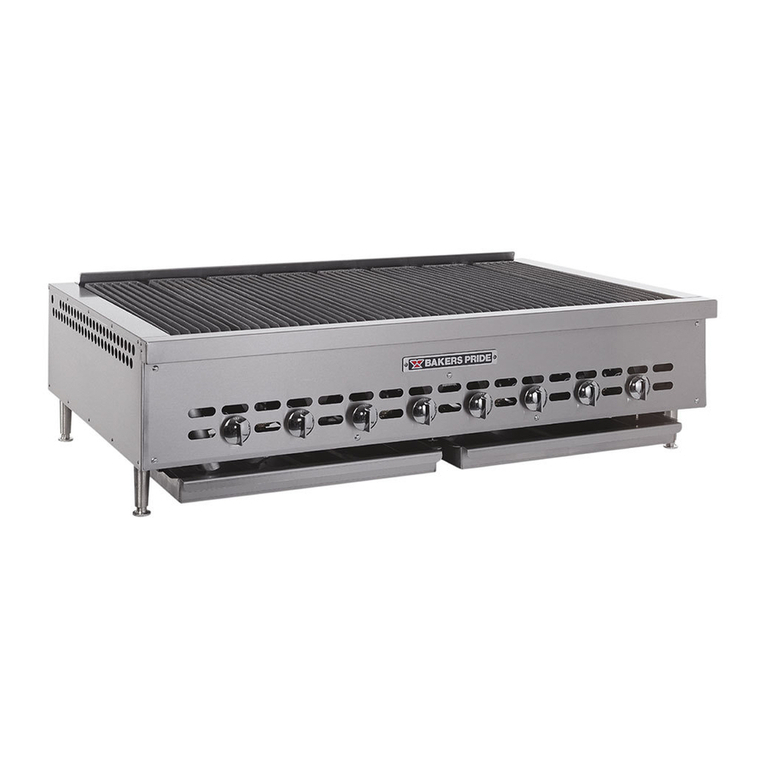
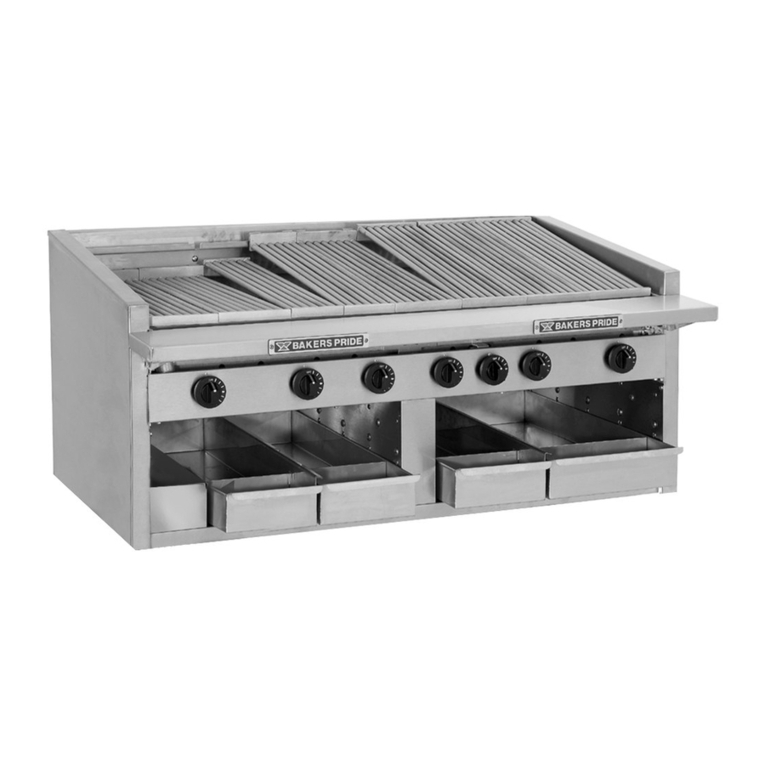
  9. Bakers Pride Dante Series XXE User manual

Bakers Pride Dante Series XXE User manual

BAKERS PRIDE OVEN CO., INC.
30 Pine Street
New Rochelle, NY 10801
+1 (914) 576-0200 Phone (800) 431-2745 US & Canada
+1 (914) 576-0605 Fax www.bakerspride.com Web Address
[email protected] E-Mail Address
This equipment has been engineered to provide you with year round dependable service when used
according to the instructions in this manual and standard commercial kitchen practices.
1
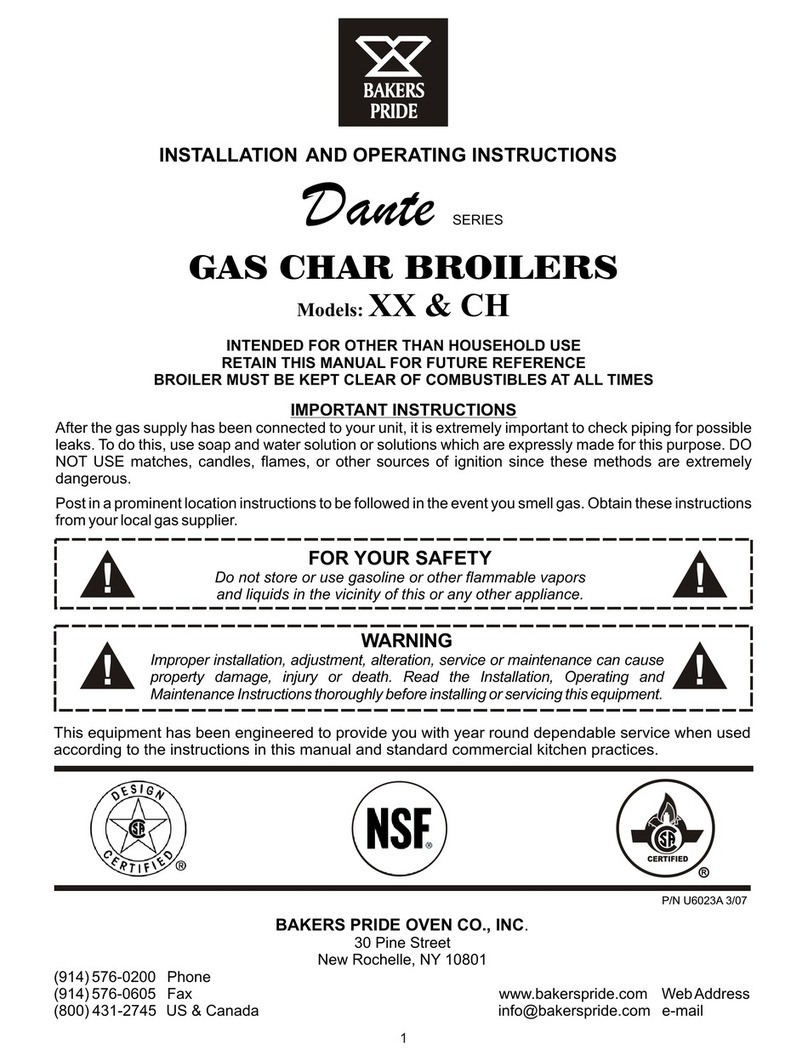
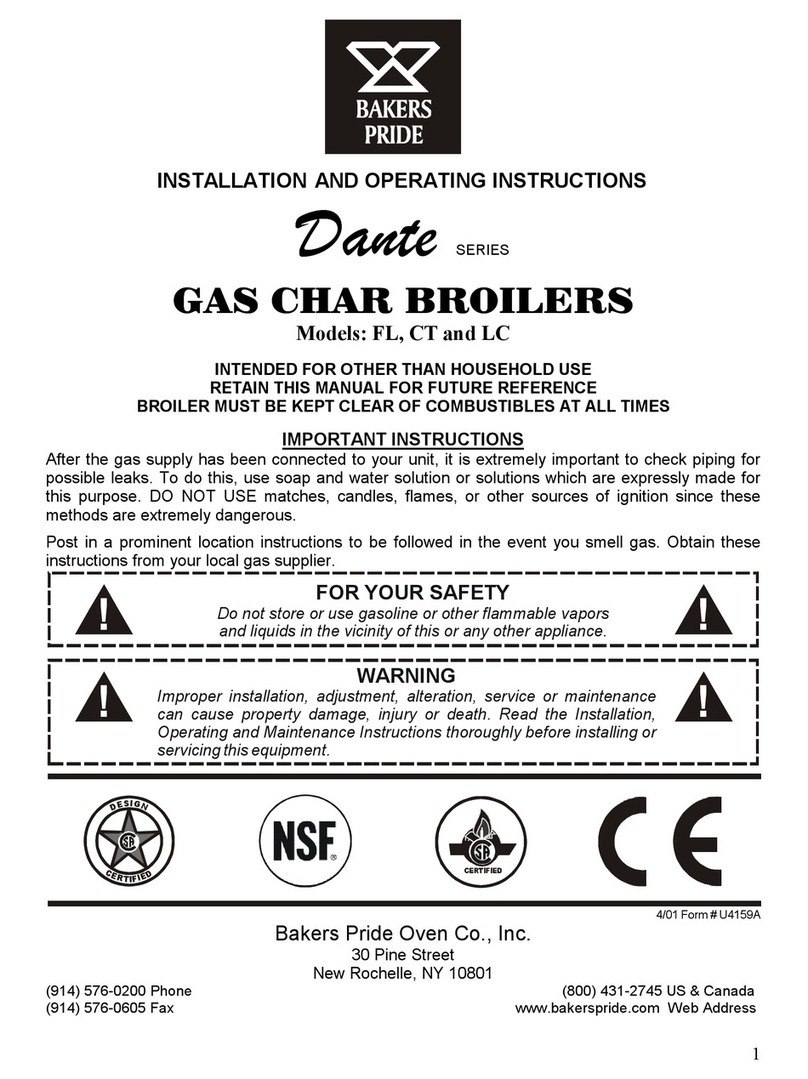
INSTALLATION AND OPERATING INSTRUCTIONS
Dante SERIES
GAS CHAR BROILERS
Model: XXE
INTENDED FOR OTHER THAN HOUSEHOLD USE
RETAIN THIS MANUAL FOR FUTURE REFERENCE
BROILER MUST BE KEPT CLEAR OF COMBUSTIBLES AT ALL TIMES
IMPORTANT INSTRUCTIONS
After the gas supply has been connected to your unit, it is extremely important to check piping for possible
leaks. To do this, use soap and water solution or solutions which are expressly made for this purpose. DO
NOT USE matches, candles, flames, or other sources of ignition since these methods are extremely
dangerous.
Post in a prominent location instructions to be followed in the event you smell gas. Obtain these instructions
from your local gas supplier.
! !
WARNING
Improper installation, adjustment, alteration, service or maintenance can cause
property damage, injury or death. Read the Installation, Operating and
Maintenance Instructions thoroughly before installing or servicing this equipment.
! !
FOR YOUR SAFETY
Do not store or use gasoline or other flammable vapors
and liquids in the vicinity of this or any other appliance.
CERTIFIED
R
P/N U4144A 9/08
2
TABLE OF CONTENTS
I. INSTALLATION INSTRUCTIONS
SECTION ITEM PAGE
1 Installation 2
2 Clearances 3
3 Gas Connection 3
4 Burners 3
5 Radiants 4
6 Top Grates 4
7 Lighting Instructions 4
8 Grease Pan 4
9 Griddle Plate 4
10 Additional Installation Instructions 4
11 Installation with Casters 5
II. OPERATING INSTRUCTIONS
SECTION ITEM PAGE
1 Lighting Procedure 5
2 Broiling 5
III. MAINTENANCE
SECTION ITEM PAGE
1 Service 5
2 Care & Cleaning 5
3 Cleaning Tools 6
4 Troubleshooting Chart 6
IV. ILLUSTRATIONS
ITEM PAGE
Manifold & Valve Assembly Views 7
Parts List w/Exploded Views 8
V. WARRANTY
ITEM PAGE
Bakers Pride Limited Warranty 12
I. INSTALLATION INSTRUCTIONS
1. INSTALLATION:
(A) INSTALLATION of this broiler must conform with the latest edition of National Fuel Gas Code
and/or local codes, ( the American National Standard 2-223.1 in USA and CAN/CGA-B149.1 or 2
Installation Code in Canada). In Europe, this appliance must be installed in conformity with current
regulations and used only in a well ventilated space.
(B) In MASSACHUSETTS, All gas products must be installed by a “Massachusetts” licensed plumber
or gas fitter. Ventilation hoods must be installed in accordance with NFPA-96, current edition, with
interlocks as described in that standard.
3
2. ACCEPTABLE CLEARANCES:
(A) USA and Canada.
Due to intense heat generated by radiation, in USA and Canada these broilers should be installed in non-
combustible locations only, including the areas above the grate level.
MINIMUM CLEARANCE FROM NON-COMBUSTIBLE CONSTRUCTION:
Right Side Left Side Back
50mm(2") 50mm (2") 50mm (2")
(B) European Community Countries
Minimum clearance from: Right Side Left Side Back Floor
Combustible construction 250mm 250mm 250mm 150mm
Non-combustible construction 50mm 50mm 50mm 100mm
3. GAS CONNECTION:
The gas pressure regulator supplied must be installed at the gas inlet of each broiler unless required
otherwise by local codes. Each regulator is adjusted to yield a manifold pressure of 3.5" water column (9
mbar) for natural gas or 10" water column (25 m bar) for propane gas. Units for propane gas are available
for use in USA and Canada only.
Recommended minimum gas supply lines are listed below:
All XXE Models 3/4" (19 mm )
NOTE: A shut off valve in a readily accessible location must be installed on the gas supply line before
connecting it to the unit.
For units using propane gas supply In USA and Canada lines less than' 1/2" (12.7 mm) Inside
diameter should not be used.
On the XXE series, the gas connection is located on the right rear of the unit.
BE SURE TO CAP WHICHEVER SIDE IS NOT CONNECTED.
When making gas pipe connections, pipe joint compound resistant to the action of liquefied petroleum
gases should be used.
The broiler and its individual shutoff valve must be disconnected from the gas supply piping system during
any pressure testing of that system at test pressure in excess of 1/2 psig (3.45 kpa).
The broiler must be isolated from the gas supply piping system by closing its individual manual shutoff valve
during any pressure testing of the gas supply piping system at test pressures equal to or less than 1/2 psig
(3.45 kpa).
4. BURNERS
Check to see that air mixer caps on the front of all burners are adjusted and tightened, allowing half the
opening to show.
To install the burners:
(A) Place the front venturi end of the burner into the valve assembly by fitting the center hole of
the air mixer cap over the brass orifice.
(B) Drop the two ends of the burners over the burner support pins in the front and back of the
chamber.
4
5. RADIANTS
Mount the "A" shaped radiants over the burners with each end mounted on special supports on the front and
rear of the chamber. A radiant should be mounted over eachburner assembly..
6. TOP GRATES
Place a grate over each of the radiants. For normal operation the pointed side of the grate is facing up. For
use with foods that require extra, support, the flat side may be used.
On XXE models, grates can be placed on three levels; two positions are built into the rear of the unit; the third
position requires a special adapter which is supplied with the unit.
The adapter covers only half of the broiler. To cover the entire unit. optional adapters can be ordered.
7. LIGHTING:
Each burner has a standing pilot burner which must be lit before the burners can be lit. To light the pilot
burners:
(A) Turn all broiler valves to off position
(B) Open main gas shut off valve ( provided by customer).
(C) Press. turn counterclockwise and hold the burner control knob to the pilot burner ignition
position.
(D). Using a lit taper, light the pilot burner
(E) Release the knob after 30 seconds. Pilot burner should stay lit.
If the pilot burner does not remain lit, wait for 5 minutes and repeat steps C and D.
Hold the knob pressed longer before releasing.
(F) With a screwdriver adjust the pilot burner flame to about 1/2" (12.7 mm). Turn the adjusting
screw clockwise to reduce or counterclockwise to increase the pilot burner flame.
(G) Each burner may now be adjusted to the desired flame size by turning the individual burner
valve knob.
(H) Turn the knob to the pilot burner ignition position to shut down the main burner.
(I) Turn the knob to off position to shut down the pilot burners.
NOTE: WAIT FIVE MINUTES BEFORE ATTEMPTING TO RELIGHT THE PILOT
BURNERS.
8. GREASE PAN
A grease pan is provided below the burners to hold any grease that drips down past the radiants while
broiling. An additional grease drawer is provided in the front right corner of the grease pan to collect the
grease from the grease drain in the front which in turn drains into the grease collector.
Water is usually added to the grease pan to reduce flare-up and flash back. The . grease drip will extinguish
as it hits the water.
9. GRIDDLE PLATE (optional)
Griddle plates should not cover more than 50% of the BROILING area. Each Griddle Plate fits on top of two
grates. It is not necessary to remove the top grates and radiants before installing the griddle plate.
10. ADDITIONAL INSTALLATION INSTRUCTIONS
(A) Keep the area around the broiler free and clear of combustible materials.
(B) The provision of an adequate air supply to your broiler is essential. Provide for sufficient
outside air to enter the broiling area and assure that this air flow is not obstructed.
(C) Air enters the burner area from the front of your broiler. Assure that this area is kept open and
unobstructed.
(D) Servicing is accomplished through the front and top of the broiler. Assure that this area is
kept unobstructed for proper servicing and operation.
5
11. INSTALLATION WITH CASTERS
(A) Install the casters with wheel brakes on the front of the appliance.
(B) Installation should be made with a connector that complies with the latest edition of the
Standard for Connectors for Movable Gas Appliances (ANS/Z21.69 in USA, CAN/CGA-6.16
in Canada) and a quick disconnect device that complies with the latest edition of the
Standard for Quick Disconnect Devices for use with gas fuel (ANSIZ21.41 in USA, CAN1-
6.9 in Canada). Adequate means must be provided to limit the movement of the appliance
without depending on the connector and any quick disconnect device or its associated
piping to limit the appliance movement.
(C) The restraint should be attached to the center of the back about 1/2" (12.7mm ) from the
bottom.
(D) If disconnection of the restraint is necessary, the restraint should be reconnected after the
appliance has been returned to its originally installed position.
II. OPERATING INSTRUCTIONS
1. LIGHTING PROCEDURES
See Section 7 of INSTALLATION INSTRUCTIONS.
2. BROILING
BROILER TOP GRATE MUST BE HOT ENOUGH TO MAKE BLACK CHAR-MARKS WHEN STARTING
TO BROIL.
Adequate preheating time is necessary for the food to release from the broiler and to cook properly. Allow
the unit to preheat for 20-25 minutes before broiling.
(A) Do not press the juice out of the meat because that will cause dry products.
(B) After broiling, allow the meat to sit covered on a heated platter for 2-5 minutes before cutting.
This will allow the juices to "settle" and the product will be more moist.
(C) Do not use forks or other sharp objects to poke holes in the meat. Do not cut the meat as it
cooks.
(D) Thick pieces of meat require a longer broiling time with less flare-up. Reduce flare up by
trimming excess fat for a longer broil time without burning.
(E) Keep the unit clean. Food caught between the grate will not allow hot air to rise around the
product. This will result in uneven heating and increase the cooking time.
III. MAINTENANCE
1. SERVICE
Shut off the main gas supply before attempting any maintenance on the unit. If required, contact your dealer,
the factory, or a local service company to obtain qualified maintenance and repairs.
2. CARE AND CLEANING
(A) The top grates should be cleaned using a stiff wire brush. If this is done daily, the
accumulation of food and fat caught in the grates and work necessary to keep them clean will
be reduced. Periodically, they should be turned over and brushed and then put back. In the
event that an extra amount of fat is accumulated on the top, due to use of low heat, we
recommend turning up the flame of this section for about an hour, which will burn off much of
the fat and residue and the brushing operation will be easier. Under no circumstances should
the grates be placed in a dishwasher. Soap, water, or any detergents should never be used
on the cast Iron grates.
(B) Front - Sample supplied with the unit or any reputable stainless steel cleaner can be used.
.
6
(C) Inner panels - These are made of aluminized steel. Use hot soapy water and soft nylon scrub
pads to clean the surfaces.
(D) Grease pan and grease collector - Grease pan and collector should be cleaned daily or more
often if necessary.
CAUTION:
(A) Clean the unit only when it is cold.
(B) Always rub with the grains when cleaning.
(C) Do not use abrasive pads for cleaning.
(D) Do not use caustic cleaning compounds on aluminized surfaces.
3. CLEANING TOOLS
Several models of specially designed top grate brushes and grease drain scrapers are available from
Bakers Pride. Contact Bakers Pride for more information.
Burners & pilots will
not turn on
Burners produce
excessive carbon
deposits
Pilot will not remain
lit
Excessive flare-up
Broiler doesn't seem
hot enough
Grates &/or radiants
&/or burners &/or
gas valves warp
Main gas supply to broiler is not
turned on.
Incorrect gas type.
Incorrect gas supply pressure.
Incorrect orifices.
Primary air not adjusted properly.
Pilot flame adjusted incorrectly.
Draft condition.
Improper ventilation system.
Debris or grease clogging pilot
burner or thermocouple.
Pilot safety valve or thermocouple
has failed.
Overload of fatty meat.
Orifices may be dirty/clogged.
Low gas pressure.
Top grates may be dirty/clogged.
If the ventilation is too strong it will
suck heat from the
cooking/broiling surface.
Too many Glo-stones restricting
heat to top grates.(Glo-stone
models only).
Usually improper cleaning
methods ie; users cover grate top
w/sheet pans & crank up heat to
burn-off debris
Turn on main gas supply.
Supply correct type gas.
Call local gas supplier.
Call Bakers Pride authorized service
center.
Adjust air shutter.
Adjust pilot flame.
Remove draft.
Call an HVAC specialist.
Clean debris & grease from pilot burner &
thermocouple.
Replace failed component.
Add water to grease pan.
When unit cools, check & clean orifices.
Increase gas pressure to 5" W.C. (Nat) or
10" W.C. (L.P.)
When unit cools, check & clean top
grates.
Call an HVAC specialist.
Reduce the number of Glo-stones.
Do not "Burn-Off" top grates. This causes
the firebox area to overheat excessively.
*Never cover top grates.
TROUBLESHOOTING CHART
PROBLEM PROBABLE CAUSE SOLUTION
7
IV. MANIFOLD & VALVE ASSEMBLY VIEWS
Air Mixer Cap
Manifold
Air Mixer Cap Hold-down Screw
Valve Handle
Burner Valve
Pilot Burner
Flame Sensor
Air Mixer Cap
Burner
Orifice Holder
Orifice
Manifold
FIGURE 1 XXE SERIES - FRONT VIEW
FIGURE 2 XXE SERIES - SIDE VIEW
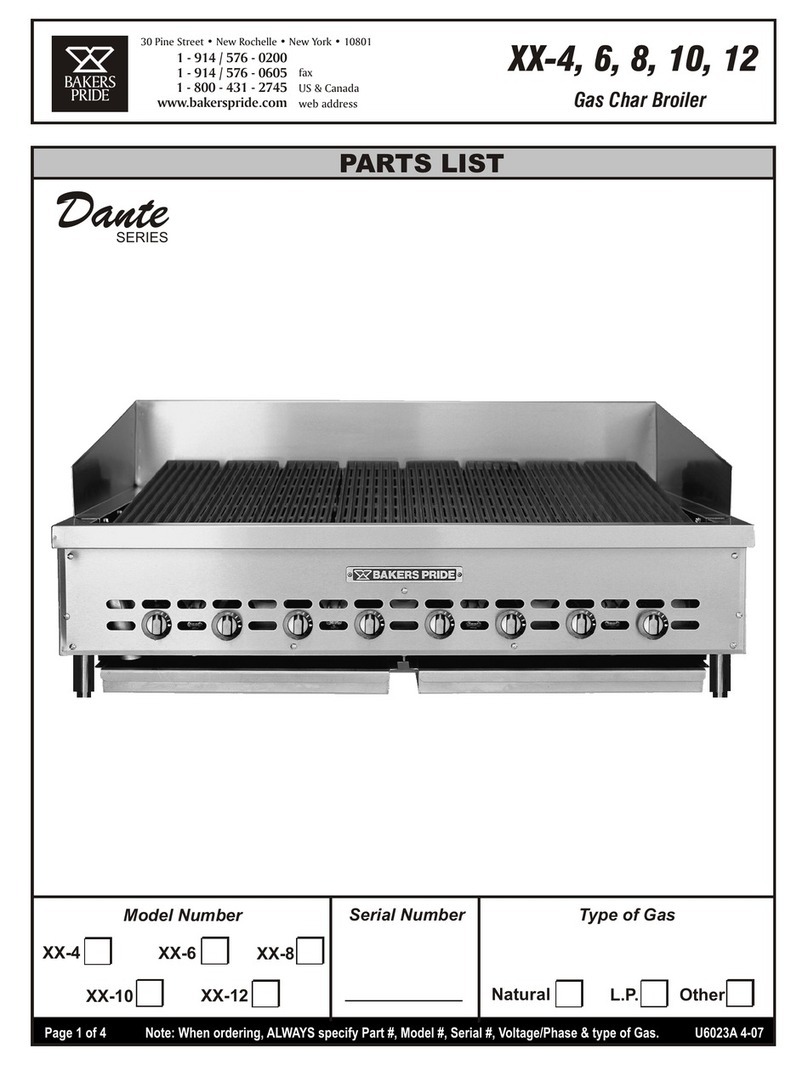
Gas Char Broiler
PARTS LIST
Model Number
30 Pine Street • New Rochelle • New York • 10801
914 / 576 - 0200
914 / 576 - 0605
1 - 800 - 431 - 2745
www.bakerspride.com
fax
US & Canada
web address
BAKERS
PRIDE
XXE-4, 6, 8, 10, 12
Dante
SERIES
XXE-4 XXE-6 XXE-8
XXE-10 XXE-12
Serial Number
Natural L.P. Other
Type of Gas
8
Note: When ordering, ALWAYS specify Part #, Model #, Serial #, Voltage/Phase & type of Gas. U6065A 9/08
Gas Char Broiler
30 Pine Street • New Rochelle • New York • 10801
914 / 576 - 0200
914 / 576 - 0605
1 - 800 - 431 - 2745
www.bakerspride.com
fax
US & Canada
web address
BAKERS
PRIDE
Figure A Exterior / Grates
XXE-4, 6, 8, 10, 12
20
19
18
17
16
15
14
13
12
11
21
1
3
897
24
10
65
9
Note: When ordering, ALWAYS specify Part #, Model #, Serial #, Voltage/Phase & type of Gas. U6065A 9/08
30 Pine Street • New Rochelle • New York • 10801
914 / 576 - 0200
914 / 576 - 0605
1 - 800 - 431 - 2745
www.bakerspride.com
fax
US & Canada
web address
BAKERS
PRIDE
Item Part # Description Item Part # Description
Gas Char Broiler
XXE-4, 6, 8, 10, 12
1
2
3
4
5
6
7
8
9
10
11
12
13
14
15
16
17
18
19
20
21
G1058K
G1056K
G1081X
G1082X
G1083X
G1084X
G1237U
T3033K
T3034K
T3035K
T1036T
T1036T
U1043A
S1394A
S1394X
T1020T
T1006A
T1183T
T1185S
T1172T
T1166T
3rd Level Bracket (XX-10) Optional
3rd Level Bracket (XX-12) Optional, 2 used
Work Deck, S/S (XXE-4) Optional
Work Deck, S/S (XXE-6) Optional
Work Deck, S/S (XXE-8) Optional
Work Deck, S/S (XXE-10) Optional
Work Deck, S/S (XXE-12) Optional
Splash Guard, S/S (XX-4) Optional
Splash Guard, S/S (XX-6) Optional
Splash Guard, S/S (XX-8) Optional
Splash Guard, S/S (XX-10) Optional
Splash Guard, S/S (XX-12) Optional
Grease Pan (XX-4) 20 3/8", 1 used
Grease Pan (XX-6 or 10) 30 7/8", 1 used
Grease Pan (XX-8) 19 5/8", 2 used
Grease Pan (XX-10) 19 1/4", 1 used
Grease Pan (XX-12) 19 1/4", 3 used
Name Plate, 13 1/4", Bakers Pride
Leg, 4" Adjustable (Each)
Leg, 4" Adjustable (Set/4)
Griddle Plate (Optional) 16"
Grate, Top, Flat Cast Iron (5 1/4")
Grate, Fajita Bottom
Grate, Fajita Top
Grate, Meat 10 1/2"
Grate, Fish 10 1/2"
G1011K
G1012K
G1458K
G1459K
G1454K
G1455K
G1456K
G1457K
G1412K
G1474K
G1475K
G1476K
G1477K
G1413K
G1461K
G1462K
G1463K
G1464K
G1414K
G1021U
G1022U
G1023U
G1024U
G1247U
G1055K
G1056K
G1057K
Top Side Trim, SS, Left
Top Side Trim, SS, Right
Outer Side, Left (XXE)
Outer Side, Right (XXE)
Control Panel (XXE-4)
Control Panel (XXE-6)
Control Panel (XXE-8)
Control Panel (XXE-10)
Control Panel (XXE-12)
Top Front Trim (XXE-4)
Top Front Trim (XXE-6)
Top Front Trim (XXE-8)
Top Front Trim (XXE-10)
Top Front Trim (XXE-12)
Outer Back (XXE-4)
Outer Back (XXE-6)
Outer Back (XXE-8)
Outer Back (XXE-10)
Outer Back (XXE-12)
1st/2nd Level Assy (XX-4)
1st/2nd Level Assy (XX-6)
1st/2nd Level Assy (XX-8)
1st/2nd Level Assy (XX-10)
1st/2nd Level Assy (XX-12)
3rd Level Bracket (XX-4) Optional
3rd Level Bracket (XX-6) Optional
3rd Level Bracket (XX-8) Optional
Exterior / Grates
10
Note: When ordering, ALWAYS specify Part #, Model #, Serial #, Voltage/Phase & type of Gas. U6065A 9/08
XXE-4, 6, 8, 10, 12
Gas Char Broiler
Figure C
Burner / Accessories
Note: When ordering, ALWAYS specify Part #, Model #, Serial #, Voltage/Phase & type of Gas. U6065A 9/08
Item Part # Description
30 Pine Street • New Rochelle • New York • 10801
914 / 576 - 0200
914 / 576 - 0605
1 - 800 - 431 - 2745
www.bakerspride.com
fax
US & Canada
web address
BAKERS
PRIDE
Conversion Kit (LP to Nat) Conversion Kit (Nat to LP)
14
15
16
17
18
19
20
21
22
23
24
25
26
27
28
N1010A
R3130A
R3044A
R3023A
T1155T
T1007A
G1470K
M1009A
M1184A
T5017A
T5018U
T5041T
T5016A
T5019V
T5104V
Ferrule, 3/16"
Orifice Hood #44, Nat (XXE)
Orifice Hood #55, LP (XXE)
Orifice Hood, Blank
Radiant, S/S (23") Standard
Radiant, Cast Iron (23") Optional
Heat Shield (XXE-4 uses 5) (XXE-6 uses 7)
(XXE-8 uses 9) (XXE-10 uses 11) (XXE-12 uses 13)
Pressure Regulator, 3/4", 10" WC
Pressure Regulator, 3/4", 3.5" WC
Wire Brush, Chef-Aide, 18"
Spatula, Chef-Aide, 20", Single
Grate Lifter, 3' x 20"
Meat Fork
Steak Turner
Twin Head Grate Brush
1
2
3
4
5
6
7
8
9
10
11
12
13
R1085P
R1086P
R1087P
R1088P
R1186A
N3068P
N5217P
R3128A
M1053A
R3181P
S1301A
L5078A
M1359A
G1472K
M1358A
M1267X
N1007A
Manifold Assy (XXE-4)
Manifold Assy (XXE-6)
Manifold Assy (XXE-8)
Manifold Assy (XXE-10)
Manifold Assy (XXE-12)
Pressure Tap Nozzle Assy
Inlet Gas Pipe (XX)
Valve, Multi Gas Cock
Valve, Junker (Old Style)
Pilot Tubing, 5" (XXE)
Knob, CE Broiler
Burner, Center Feed (XXE)
Pilot Burner
Pilot Burner Mounting Bracket (XXE)
Thermocouple, 10"
Thermocouple (used w/O.S. Junker Valve)
Compression Nut, 3/16", Female
R3130A Hood Orifice # 44, Nat. (XXE-4 uses 4) (XXE-6 uses 6)
(XXE-8 uses 8) (XXE-10 uses 10) (XXE-12 uses 12)
M1184A Pressure Regulator, 3/4", 3.5" WC (Qty. 1)
R3044A
M1009A
Hood Orifice #55, L.P. (XXE-4 uses 4) (XXE-6 uses 6)
(XXE-8 uses 8) (XXE-10 uses 10) (XXE-12 uses 12)
Pressure Regulator, 3/4", 10" WC (Qty. 1)
8
7
65
10
9
1
3
2
4
27
23 24
26
28
25
20 18 19 21
22
11
12
15 16 17
13
14
11
12
WHAT IS COVERED This warranty covers defects in material and workmanship under normal use, and applies only to the original purchaser
providing that:
♦The equipment has not been accidentally or intentionally damaged, altered or misused;
♦The equipment is properly installed, adjusted, operated and maintained in accordance with National and local codes. and
in accordance with the installation instruction provided with the product;
♦The serial number rating plate affixed to the equipment has not been defaced or removed.
WHO IS COVERED This warranty is extended to the original purchaser and applies only to equipment purchased for use in the U.S.A.
COVERAGE PERIOD Full size gas and electric deck ovens: Two (2) year limited parts and labor: Cyclone Convection Ovens: BCO Models: One (1)
Year limited parts and labor; GDCO Models: Two (2) Year limited parts and labor; CO II Models: Two (2) Year limited parts
and labor; (5) Year limited door warranty.
All Other Products: One (1) Year limited parts and labor.
Warranty period begins the date of dealer invoice to customer or ninety (90) days after shipment date from BAKERS PRIDE -
whichever comes first.
WARRANTY This warranty covers on-site labor, parts and reasonable travel time and travel expenses of the authorized service
COVERAGE representative up to (100) miles. round trip, and (2) hours travel time. The purchaser. however, shall be responsible for all
expenses related to travel, including time. mileage and shipping expenses on smaller counter models that may be carried into
a Factory Authorized Service Center, including the following models: PX-14. PX-16, PI8, and BK-I8.
EXCEPTIONS All removable parts in BAKERS PRIDE Char-broilers, including but not limited to: Burners, Grates. Radiants, Stones and
Valves, are covered for a period of SIX MONTHS.
All Ceramic Baking Decks are covered for a period of THREE MONTHS. The installation of these replacement decks is the
responsibility of the purchaser.
The extended Cyclone door warranty years 3 through 5 is a parts only warranty and does not include labor, travel, milage or
any other charges.
EXCLUSIONS
♦Negligence or acts of God,
♦Thermostat calibrations after (30) days from equipment
installation date,
♦Air and Gas adjustments,
♦Light bulbs,
♦Glass doors and door adjustments.
♦Fuses,
♦Char-broiler work decks and cutting boards,
♦Tightening of conveyor chains,
♦Adjustments to burner flames and cleaning of pilot burners,
♦Tightening of screws or fasteners.
♦Failures caused by erratic voltages or gas supplies,
♦Unauthorized repair by anyone other than a BAKERS PRIDE
Factory Authorized Service Center,
♦Damage in shipment,
♦Alteration, misuse or improper installation,
♦Thermostats and safety valves with broken capillary tubes.
♦Accessories - spatulas, forks. steak turners, grate lifters,
oven brushes, scrapers, peels. etc.,
♦Freight - other than normal UPS charges,
♦Ordinary wear and tear.
INSTALLATION Leveling and installation of decks. as well as proper installation and check out of all new equipment - per appropriate
installation and use materials - is the responsibility of the dealer or installer, not the manufacturer.
REPLACEMENT BAKERS PRIDE genuine Factory OEM parts receive a (90) day materials warranty effective from the date of installation by a
PARTS BAKERS PRIDE Factory Authorized Service Center.
This Warranty is in lieu of all other warranties, expressed or implied, and all other obligations or liabilities on the manufacturers part. BAKERS PRIDE
shall in no event be liable for any special, indirect or consequential damages, or in any event for damages in excess of the purchase price of the unit. The
repair or replacement of proven defective parts shall constitute a fulfillment of all obligations under the terms of this warranty.
V. BAKERS PRIDE LIMITED WARRANTY
30 Pine Street New Rochelle, New York 10801
914 / 576 - 0200 ♦ US & Canada: 1 - 800 - 431 - 2745 ♦ fax 914 / 576 - 0605
Form #U4177A 1/07

This manual suits for next models

5

Other Bakers Pride Grill manuals

Bakers Pride DANTE XXE User manual

Bakers Pride

Bakers Pride DANTE XXE User manual

Bakers Pride Dante FLB-48R/GS User manual

Bakers Pride

Bakers Pride Dante FLB-48R/GS User manual

Bakers Pride CH-4 XX-4 User manual

Bakers Pride

Bakers Pride CH-4 XX-4 User manual

Bakers Pride Dante CH-10 User manual

Bakers Pride

Bakers Pride Dante CH-10 User manual

Bakers Pride Dante CTB-60GS User manual

Bakers Pride

Bakers Pride Dante CTB-60GS User manual

Bakers Pride DANTE CG User manual

Bakers Pride

Bakers Pride DANTE CG User manual

Bakers Pride Dante SGBR-2 User manual

Bakers Pride

Bakers Pride Dante SGBR-2 User manual

Bakers Pride Gas Char Broiler F-60R User manual

Bakers Pride

Bakers Pride Gas Char Broiler F-60R User manual

Bakers Pride CH-10J User manual

Bakers Pride

Bakers Pride CH-10J User manual

Bakers Pride COUNTERTOP GAS RADIANT XX-10 User manual

Bakers Pride

Bakers Pride COUNTERTOP GAS RADIANT XX-10 User manual

Bakers Pride Dante SGBR-2 User manual

Bakers Pride

Bakers Pride Dante SGBR-2 User manual

Bakers Pride DANTE Series User manual

Bakers Pride

Bakers Pride DANTE Series User manual

Bakers Pride Dante FLB-36GS User manual

Bakers Pride

Bakers Pride Dante FLB-36GS User manual

Bakers Pride COUNTERTOP GAS RADIANT XX-10 User manual

Bakers Pride

Bakers Pride COUNTERTOP GAS RADIANT XX-10 User manual

Bakers Pride Dante C-48R User manual

Bakers Pride

Bakers Pride Dante C-48R User manual

Bakers Pride Dante CBBQ-30S-CP User manual

Bakers Pride

Bakers Pride Dante CBBQ-30S-CP User manual

Bakers Pride DANTE C User manual

Bakers Pride

Bakers Pride DANTE C User manual

Bakers Pride Dante FLB-60GS User manual

Bakers Pride

Bakers Pride Dante FLB-60GS User manual

Bakers Pride Dante XXE-10 User manual

Bakers Pride

Bakers Pride Dante XXE-10 User manual

Bakers Pride Dante CTB-36GS User manual

Bakers Pride

Bakers Pride Dante CTB-36GS User manual

Bakers Pride Dante XXE-10 User manual

Bakers Pride

Bakers Pride Dante XXE-10 User manual

Bakers Pride Dante CH-10 User manual

Bakers Pride

Bakers Pride Dante CH-10 User manual

Bakers Pride Dante CTB-48GS User manual

Bakers Pride

Bakers Pride Dante CTB-48GS User manual

Bakers Pride CH Dante Series User manual

Bakers Pride

Bakers Pride CH Dante Series User manual

Popular Grill manuals by other brands

Outdoorchef CAIRNS 3 G user guide

Outdoorchef

Outdoorchef CAIRNS 3 G user guide

Hot Shot 52259 Assembly instructions

Hot Shot

Hot Shot 52259 Assembly instructions

MasterChef RSH014348 user guide

MasterChef

MasterChef RSH014348 user guide

Silvercrest SKG 1000 B2 operating instructions

Silvercrest

Silvercrest SKG 1000 B2 operating instructions

Beef Eater Clubman 16440 Assembly and operating instructions

Beef Eater

Beef Eater Clubman 16440 Assembly and operating instructions

Outdoorchef P-420 E MINICHEF user guide

Outdoorchef

Outdoorchef P-420 E MINICHEF user guide

Proficook PC-GG 1128 instruction manual

Proficook

Proficook PC-GG 1128 instruction manual

Silvercrest SRGS 1400 D4 operating instructions

Silvercrest

Silvercrest SRGS 1400 D4 operating instructions

Silvercrest SKG 1000 A1 operating instructions

Silvercrest

Silvercrest SKG 1000 A1 operating instructions

Maxi-matic Elite Platinum LiveSmart XL instruction manual

Maxi-matic

Maxi-matic Elite Platinum LiveSmart XL instruction manual

TriStar RA-2948 instructions

TriStar

TriStar RA-2948 instructions

BlueRhino GBT1509LR owner's manual

BlueRhino

BlueRhino GBT1509LR owner's manual

Char-Griller 72424 owner's manual

Char-Griller

Char-Griller 72424 owner's manual

Silvercrest STR 1000 A1 operating instructions

Silvercrest

Silvercrest STR 1000 A1 operating instructions

Silvercrest SRG 1200 A1 operating instructions

Silvercrest

Silvercrest SRG 1200 A1 operating instructions

FLORABEST FGW 84 A1 Assembly and operating instructions

FLORABEST

FLORABEST FGW 84 A1 Assembly and operating instructions

MasterChef C0NB903A owner's manual

MasterChef

MasterChef C0NB903A owner's manual

MasterChef GRILL TURISMO Assembly manual

MasterChef

MasterChef GRILL TURISMO Assembly manual

manuals.online logo
manuals.online logoBrands
  • About & Mission
  • Contact us
  • Privacy Policy
  • Terms and Conditions

Copyright 2025 Manuals.Online. All Rights Reserved.