○○○○○○○○○○○○○○○○○○○○○○
ii Introduction
SPECIFICATIONS
• Polyphony & multitimbricity
Maximumpolphony:32voices. Multitimbric-
ity: 8 parts (Style/Preset modes) or 16 parts
(Songmode). Eachpartisassignedtoatrack.
InStyle/Presetmode,3tracks(maximum)are
assigned to the keyboard and the other 5 to
the auto-accompaniments.
• Sound Generation
TheSoundsarebasedonsampledwaveforms
(PCM, Wavetables and Subtractive Synthe-
sistechnology)and elaborated bya series of
macrofunctions. Theinstrument’s32oscilla-
tors generate “single” Sounds (32-note poly-
phonic) or “layered” Sounds (16 note poly-
phonic), depending on the number of oscilla-
tors used to elaborate the Sound (1 or 2).
• ROM Sounds
ROM(permanentmemory) contains4Mega-
bytes of ROM Sounds, totalling almost 400
permanent Sounds and Drumkits.
• Sound Edit
PS1500’smacro-editfacilitiespermitrapidand
easy Sound and Drumkit editing to produce
editedSounds(E-Sounds)whicharestoredin
the Presets. The modifications are stored in
the Presets to allow Songs, Styles or Presets
toloadthecorrectsounds. Youcanalsooptto
recall your modified Presets with original
Sounds instead of edited ones.
• Sample-RAM
PS1500 is fitted with a battery-backed Sam-
ple-RAMdedicatedtothestorageofSamples.
PCMSamplekitscanbeloadedintoSample-
RAM from disk, or can be recorded with the
PS1500 sampler,accessedviatheAudio/Vid-
eo Interface.
• Digital Effects Processor
Two Digital Effects Processors, controlled in
real time, enrich the sound with effects (re-
verbsandmodulations). Twodifferenteffects
(1Reverband1Modulation)canbeassigned
to each Preset and an editor is available to
create user-effects which are stored in the
Presets.
• 16 Track Recording Studio
The 16-track Sequencer includes a series of
functions that allow Style, Song/Style and
Song recording (real time system), playback
and editing. Also featured is a Text function
(to display Song lyrics). Song/Style record-
ing allows the rapd recording of an 8-track
songbyusingexistingStyles. Sequencedata
is conserved in the battery-backed System-
RAM.
• Play All Songs, Chain
ThePlayAllSongsfunctionallowsthedirect
playback of all Songs or MidiFiles present on
diskwithoutloadingthedataintomemory. The
Songs or MidiFiles play as a medley which
you can stop at any time with the Play All
Songs button. Song/Styles and Songs fea-
ture the Chain function which allows you to
chaintheSongorSong/Stylesinmemoryand
play them one after the other with a single
command.
• AutomaticAccompaniment
Stylesprovideautoomatic musical accompa-
niment, consisting of 5 tracks. Every Style
has4 Variations. Upto 16 diskbased Styles
(User programmable) can be loaded and au-
tomatically stored in the battery-backed Sys-
tem-RAM.
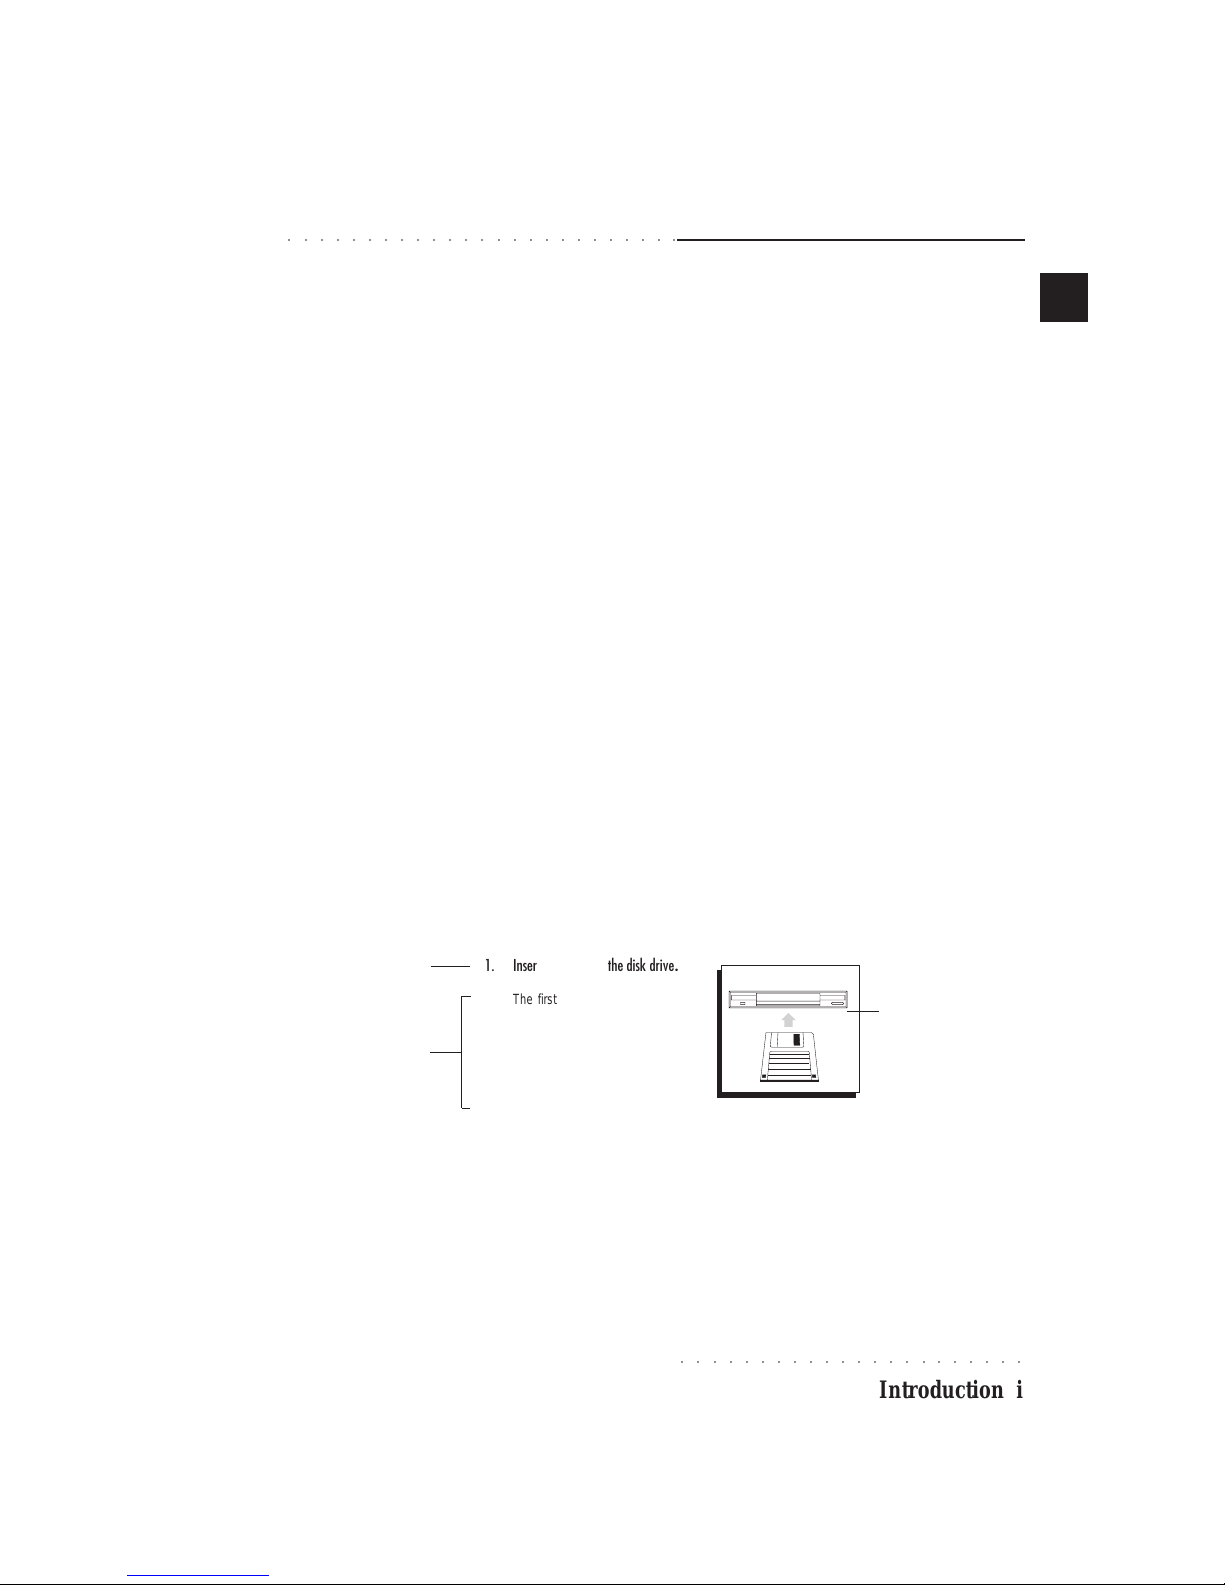
• Disk Drive
Data can be stored on 3.5” HD Floppy disks
on PS1500 format (1.4 Megabytes - Ms-Dos
standard) orAtari/Falcon format (720 Kbytes