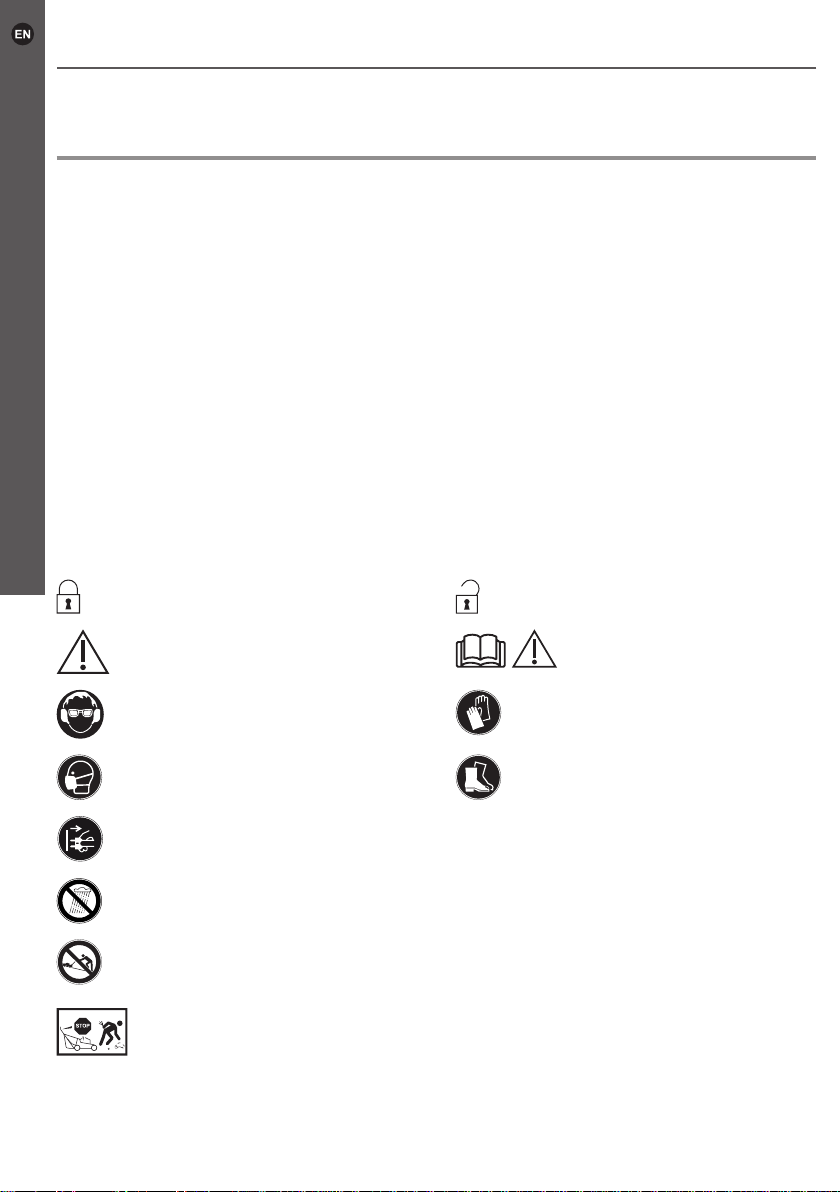
B&Q NMLM1000 User manual

Lawnmower
1000W 32cm
Original Instructions_NMLM1000_GB_BX220IM_V1_20210927
NMLM1000
EAN : 5059340239637
WARNING: Read the instructions before using the product!
BX220IM

2
NMLM1000
Let’s
get started...
These instructions are for your safety. Please read through
them thoroughly before use and retain them for future
reference.
Getting Started... 02
Safety information 03
Your product 10
Before you start 12
In more detail... 17
Product functions 18
Operation 22
Care and maintenance 24
Trouble shooting 29
Recycling and disposal 30
Guarantee 31
Technical specications 33
EC Declaration of conformity 35

3
NMLM1000
Getting Started . . .
Safety information
Safety warnings
1.
If the supply cord is damaged, it must be replaced by a
special cord or assembly available from the manufacturer
or its service agent.
2.
If an extension cord is used, it cannot lighter than H05VV-F,
wire diameter cannot less than 2 x 1.5 mm
2
& max. 75 m
length.
Electrically powered lawnmower safety warnings
IMPORTANT:
Read carefully before use
Keep for your reference
Training
1.
Read the instructions carefully. Be familiar with the controls
and the correct use of the product.
2.
Never allow children or people unfamiliar with these
instructions to use the product. Local regulations can restrict
the age of the operator.
3.
Never operate the product while people, especially children,
or pets are nearby.
4.
Keep in mind that the operator or user is responsible for
accidents or hazards occurring to other people or their
property.
Preparation
1.
While operating the product always wear substantial footwear
and long trousers. Do not operate the product when barefoot
or wearing open sandals. Avoid wearing clothing that is
loose tting or that has hanging cords or ties.
2.
Thoroughly inspect the area where the product is to be used
and remove all objects which can be thrown by the product.

4
NMLM1000
Safety information
Getting Started . . .
3. Before using, always visually inspect to see that the blade,
blade bolt and the blade assembly are not worn or damaged.
Replace worn or damaged components in sets to preserve
balance. Replace damaged or unreadable labels.
4. Before use check the supply and extension cord for signs
of damage or aging. If the cord becomes damaged during
use, disconnect the cord from the supply immediately. DO
NOT TOUCH THE CORD BEFORE DISCONNECTING THE
SUPPLY. Do not use the product if the cord is damaged or
worn.
Operation
1.
Operate the product only in daylight or in good articial light.
2. Avoid operating the product in wet grass.
3. Always be sure of your footing on slopes.
4. Walk, never run.
5. Mow across the face of slopes, never up and down.
6.
Exercise extreme caution when changing direction on slopes.
7. Do not mow excessively steep slopes.
8.
Use extreme caution when reversing or pulling the product
towards you.
9.
Stop the blade(s) if the product has to be tilted for
transportation when crossing surfaces other than grass,
and when transporting the product to and from the area to
be used.
10.
Never operate the product with defective guards or shields,
or without safety devices, for example deectors and/or
grass collector, in place.
11.
Do not tilt the machine when switching on the motor, except
if the machine has to be tilted for starting. In this case, do
not tilt it more than absolutely necessary and lift only the
part, which is away from the operator.

5
NMLM1000
Getting Started . . .
Safety information
12.
Do not start the machine when standing in front of the
discharge opening.
13.
Do not put hands or feet near or under rotating parts. Keep
clear of the discharge opening at all times.
14.
Do not transport the machine while the power source is
running.
15.
Switch on the motor carefully according to instructions and
with feet well away from the blade(s).
16. Stop the product, and remove plug from the socket. Make
sure that all moving parts have come to a complete stop.
• whenever you leave the product,
• before clearing blockages or unclogging chute,
• before checking, cleaning or working on the product,
•
after striking a foreign object. Inspect the product for
damage and make repairs before restarting and operating
the product;
17.
If the product starts to vibrate abnormally (check immediately),
• inspect for damage,
• replace or repair any damaged parts,
• check for and tighten any loose parts.
Maintenance and storage
1. Keep all nuts, bolts and screws tight to be sure the product
is in safe working condition.
2.
Check the grass collector frequently for wear or deterioration.
3.
Be careful during adjustment of the product to prevent
entrapment of the ngers between moving blade and xed
parts of the product.
4. Always allow the product to cool down before storing.
5. Keep tight grip on the handles/gripping surface.
6.
Maintain this product in accordance with these instructions
and keep it well lubricated (where appropriate).

6
NMLM1000
Safety information
Getting Started . . .
7. Plan your work schedule to spread any high vibration tool
use across a longer period of time.
8. When servicing the blades be aware that, even though the
power source is switched o, the blades can still be moved.
9.
Replace worn or damaged parts for safety. Use only genuine
replacement parts and accessories.
Recommendation for class II products
The product should be supplied via a residual current device
(RCD) with a tripping current of not more than 30 mA.
Vibration and noise reduction
To reduce the impact of noise and vibration emission, limit the
time of operation, use low-vibration and low-noise operating
modes as well as wear personal protective equipment.
Take the following points into account to minimize the vibration
and noise exposure risks:
1.
Only use the product as intended by its design and these
instructions.
2.
Ensure that the product is in good condition and well
maintained.
3. Use correct cutting device for the product and ensure they
in good condition.
4. Keep tight grip on the handles/gripping surface.
5.
Maintain this product in accordance with these instructions
and keep it well lubricated (where appropriate).
6. Plan your work schedule to spread any high vibration tool
use across a longer period of time.

7
NMLM1000
Getting Started . . .
Safety information
Emergency
Familiarise yourself with the use of this product by means of this
instruction manual. Memorise the safety directions and follow
them to the letter. This will help to prevent risks and hazards.
1.
Always be alert when using this product, so that you can
recognise and handle risks early. Fast intervention can
prevent serious injury and damage to property.
2. Switch o and disconnect from the power supply if there is
operation again.
Residual risks
Even if you are operating this product in accordance with all
the safety requirements, potential risks of injury and damage
remain. The following dangers can arise in connection with the
structure and design of this product:
1.
Health defects resulting from vibration emission if the product
is being used over long periods of time or not adequately
managed and properly maintained.
2. Injuries and damage to property due to broken application
tools or the sudden impact of hidden objects during use.
3.
Danger of injury and property damage caused by ying
objects.
WARNING! This product produces an electromagnetic
field during operation! This field may under some
circumstances interfere with active or passive medical
implants! To reduce the risk of serious or fatal injury, we
recommend persons with medical implants to consult
their doctor and the medical implant manufacturer before
operating this product!

8
NMLM1000
Safety information
Getting Started . . .
Symbols
On the product, the rating label and within these instructions you will nd among others
the following symbols and abbreviations. Familiarise yourself with them to reduce hazards
like personal injuries and damage to property.
V~ Volt (alternating voltage) cm3Cubic centimetre
W Watt /min or min-1 Par minute
Hz Hertz mm Millimetre
A Ampere kg Kilogram
dB(A) Decibel (A-rated) m/s2Metres per second
squared
yyWxx Manufacturing date code:
Year of manufacturing (20yy)
and week of manufacturing
(Wxx).
IPX4 Protection against solid
foreign bodies as well as
against splashed water
from all directions
L Litre
Lock / to tighten or secure Unlock / to loosen
Caution / Warning. Read the instruction
manual.
Wear hearing protection.
Wear eye protection. Wear protective gloves.
Wear respiratory protection. Wear protective,
slipresistant footwear.
87
Switch the product o and disconnect it from the power supply before
assembly, cleaning, adjustments,maintenance, storage and transportation.
Do not expose the product to rain or wet conditions.
Mow across the face of slopes, never up and down.
Inspect the area where the product is to be used and remove all objects
which could be thrown by the product. If objects are hidden while operating
stop the motor and remove them.

9
NMLM1000
Getting Started . . .
Safety information
Objects thrown by the product could hit the user or other bystanders.
Always ensure that other people and pets remain at a safe distance from
the product when it is in operation. In general, children must not come
near the area where the product is.
Beware of sharp blades. Blades continue to rotate after the motor is
switched o. Remove plug from mains before maintenance or if cord is
damaged.
Keep supply exible cord away from cutting device.
Cutting device continues to rotate after the product is switched o. Wait
until all components have completely stopped before touching the product.
Pay special attention when working on the cutting device!
96
Guaranteed sound power level value in dB.
This product is of protection class II. That means it is equipped with
enhanced or double insulation.
87
The product complies with the applicable European directives and an
evaluation method of conformity for these directives was done.
WEEE symbol. Waste electrical products should not be disposed of with
household waste. Please recycle where facilities exist. Check with your
Local Authority or local store for recycling advice.
UK Conformity Assessed.
NMLM1000
NM - Brand name, LM - Lawn mower, 1000 - Rated power input

10
NMLM1000
Safety information
Getting Started . . .
Your product
1
2
3
4
5
9
8a
6
11
10a
13
12
14 15
16
8
17a
17b
17
18
7
Your product
10

11
NMLM1000
Getting Started . . .
Your product
1. Handle
2. Upper handle bar
3. Mounting set (x 2)
a. Knob *
b. Bolt *
4. Lower handle bar
a. Screw (x 2)
5. Support
6. Transportation handle
7. Air vents
8. Wheel (x 4)
a. Knob with bolt(x 4)
b. Mounting plate *
9. Hook *
10. Grass catcher
a. Handle
b. Top part *
c. Bottom part *
11. Deector guard
12. Cord clip (x 2)
13. Interconnection cord
14. Lock-o button
15. Cord strain relief
16. Start lever
17. Cutting device (blade)
a. Spindle
b. Bolt
18. Rear discharge chute
NOTE: Parts marked with * are not shown in this overview. Please refer to the
respective section in the instruction manual.
Unpack
1. Unpack all parts and lay them on a at, stable surface.
2. Remove all packing materials and shipping devices if applicable.
3. Make sure the delivery contents are complete and free of any damage. If you that
parts are missing or show damage do not use the product but contact your dealer.
Using an incomplete or damaged product represents a hazard to people and property
4.
Ensure that you have all the accessories and tools needed for assembly and operation.
This also includes suitable personal protective equipment.
You will need
(items not supplied)
> Suitable personal protective equipment
> Suitable wrench
> Suitable crosshead screwdriver
> Extension cord for outdoor use
> Lubrication oil

12
NMLM1000
Getting Started . . .
Before you start
Assembly
WARNING! The product must be fully assembled before operation! Do not
use a product that is only partly assembled or assembled with damaged parts!
Follow the assembly instructions step-by-step and use the pictures provided
as a visual guide to easily assemble the product! Ne branchez pas l’outil dans
une alimentation électrique tant qu’il n’est pas complètement assemblé !
Do not connect the product to power supply before it is completely assembled!
NOTE: making adjustments. Keep them secure to avoid loss.
Wheel assembly
WARNING! Always check the mounting plates (8b) before assembling the
wheels. Never attach the wheel on a damaged or loose mounting plate. The
wheels must be assembled on the same height level. Using a product with
wheels assembled on dierent height level may cause damage of the cutting
unit (e.g. cutting device, spindle etc.) or unsatisfactory result.
1. Align the axle hole of the wheel (8) with one of the three height adjustment holes in
the mounting plate (8b).
2. Insert the knob with bolt (8a) and tighten it to secure the wheel (Fig. 1).
3. Repeat the assembly for the other three wheel assemblies (8).
4.
Ensure the four wheels are assembled on the same height level and rotate smoothly.

13
NMLM1000
Getting Started . . .
Before you start
Fig. 1
5. Place the lawnmower on its side when tightening each wheel.
Important: Ensure all four wheels are securely tightened before each use.
8a 8 8b

14
NMLM1000
Getting Started . . .
Before you start
Lower handle bar
1.
Insert the lower handle bars (4) into the slots on both sides of the lawnmower
housing (Fig. 2).
2.
Use the 2 screws (4a) provided to lock each handle into position in the deck (Fig. 2).
4
4a
Fig. 2

15
NMLM1000
Getting Started . . .
Before you start
Upper handle bar
1. Attach the upper handle bar (2) to the lower handle bars (4) and align the holes in
the upper handle bar with the ones in the lower handle bars (Fig. 3).
2. Secure the upper handle bar (2) with the mounting sets (3) to the lower handle bars
(4) and tighten the knobs (3a) clockwise (Fig. 3).
Fig. 3
3. Fix the power cord (13) with the cord clips (12) to the handle bars (2, 4) (Fig. 4).
Fig. 4
NOTE: There are two handle height positions in the lower handle bar. Ensure
the upper handle is assembled on the same height level on both side of lower
handle.

16
NMLM1000
Getting Started . . .
Grass catcher
1. Align the fronts end of the top part (10b) and the bottom part (10c) of the grass box.
Clip the two halves together starting at the front.
2.
Once the front clips on either side are secure, work back on either side to secure
each clip. This method will help to keep the two halves of the box aligned.
3. Fit the handle (10a) into the top of the grass box.
4.
Before you t the grass box onto the mower you mast ensure that the motor is
switched o and the blade is not rotating. The grass box must be attached to the
two hooks on the mower. Open the grass deector (11) with one hand and attach
the grass box with the other hand as shown in Fig. 6. The grass deector is held
against the grass box by a spring.
Fig. 5
Fig. 6
Before you start

17
NMLM1000
In more detail . . .
Before you start
Product functions 18
Operation 22
Care and maintenance 24
Trouble shooting 29
Recycling and disposal 30
Guarantee 31
Technical specications 32
EC declaration of conformity 34
In more
detail...

18
NMLM1000
In more detail . . .
Product functions
Intended use
This electric lawnmower NMLM1000 is designated with a rated input of 1000 Watts.
1. The product is intended for mowing grass in domestic gardens only. It must not be
used to mow unusually high dry grass or wet grass, e.g. pasture grass; for shredding
leaves or mulching.
2.
For safety reasons it is essential to read the entire instruction manual before rst
operation and to observe all the instructions therein.
3. This product is intended for private domestic use only, not for any commercial trade
use. It must not be used for any purposes other than those described.
Cutting height adjustment
Adjust the cutting height according to the needs of your lawn. The cutting height depends
on the kind of lawn and its actual height. When mowing high grass, start with the maximum
cutting height and make a second cut with lower cutting height.
WARNING! Always check the mounting plates (8b) before assembling the
wheels. Never attach the wheel on a damaged or loose mounting plate.
The wheels must be assembled on the same height level. Using a product with
wheels assembled on dierent height level may cause damage of the cutting
unit (e.g. cutting device, spindle etc.) or unsatisfactory result.

19
NMLM1000
In more detail . . .
Product functions
Fig. 7
1.
Release the start lever (16) and disconnect the product from the power supply before
adjusting the height of the wheels.
2. Loose the knob with bolt (8a) and remove them together the wheel (8).
3. Align the axle hole of the wheel (8) with the required height adjustment hole in the
mounting plate (8b) and tighten the knob (8a) (Fig. 7).
4. Repeat the height adjustment for the other three wheel assemblies (8) (Fig. 7).
5.
Ensure the four wheels are assembled on the same height level and scroll smoothly
without stuck or blockage.
20mm
40mm
60mm
8a 8b

20
NMLM1000
In more detail . . .
Handle bar adjustment
1.
Disconnect the plug from the extension cord and loosen the knobs (3b) anti-clockwise
to fold the handle assembly for storage (Figs. 8, 9).
2.
Ensure the power cord (13) is not squeezed, and then tighten the knobs (3b) clockwise.
Fig. 8 Fig. 9
Product functions
Table of contents
Other B&Q Lawn Mower manuals
Popular Lawn Mower manuals by other brands

Toro
Toro GrandStand Multi Force 78597 Operator's manual

Simplicity
Simplicity Snapper Fast Cut ZT18440KH Dealer setup & adjustment instructions

Murray
Murray 405600x50A Instruction book

Craftsman
Craftsman 536.270320 - 13.5 HP 30 in. Deck owner's manual

Husqvarna
Husqvarna V548 Operator's manual

Toro
Toro Super Recycler 20383 Operator's manual