manuals.online logo
Brands
  1. Home
  2. •
  3. Brands
  4. •
  5. banks
  6. •
  7. Automobile Part
  8. •
  9. banks iDash 1.8 User manual

banks iDash 1.8 User manual

09/26/18 PN 97674 v.1
iDash®1.8 for Banks Bus 1
Quick Start Guide
Banks Six-Gun, Economind Tuner
and SpeedBrake vehicles.
THIS MANUAL IS FOR USE WITH SYSTEM 61401, 61402, 61403, & 61404
Gale Banks Engineering
546 Duggan Avenue • Azusa, CA 91702
(626) 969-9600 • Fax (626) 334-1743
Product Information & Sales: (888) 635-4565
Customer Support: (888) 839-5600
Installation Support: (888) 839-2700
bankspower.com
©2018 Gale Banks Engineering
Owner’sManual
with Installation Instructions
For more information:
Bankspower.com/iDash
297674 v.1
6-Pin OR 8-Pin
Connector to
Banks Bus 1
Products
OBD-II
Connector
Figure 2
Figure 1
*Only on Ford 6.0
*Remove Only
if replacing
iDash/IQ 4.3”
or 5.0”
Fuse Tap
Connection
to Fuse #22
4-pin
Connector
to iDash 1.8
Banks Bus 1
For iDash 4.3/5.0 replacement only:
1. Uninstall the Banks IQ, Banks Bridge
Module, and the OBD-II cable (for the
Banks IQ Bridge Interface).
See Figure 1 & 2.
For all installations:
2. Connect the OBD-II Cable for the
iDash 1.8” (see Figure 2) to your
vehicle’s OBD-II port.
3. Connect the 6-Pin/8-Pin (Application
Dependant) of the OBD-II Cable to the
Power Tuner/ SpeedBrake.
4. Connect the 4-Pin connector of the
OBD-II Cable to the iDash 1.8”
(See Figure 2).
Ford 6.0 Power Stroke Applications
For any OBD-II Cable for the Ford 6.0L
(See Figure 4), a connection has to
be made to the fuse panel (Fuse #22)
using a fuse tap.
• Remove the Panel to reveal the fuse
panel below the steering wheel and
remove Fuse #22. See Figure 4.
• Apply the provided fuse tap before
reinstalling. See Figure 5
• Route the female terminator
connector to the fuse tap.
See Figure 5
Figure 5
Figure 4
*REMOVE
97674 v.1 3
If installing multiple iDash 1.8”.
A. Remove any extra terminators.
Only one is needed for all iDash 1.8”
connected. See Figure 5, Step 6A.
B. Use Y- Cable(s) to connect all the
iDash 1.8”. See Figure 5, Step 6B.
Refer to the iDash 1.8” Installation
manual for more detailed
instructions on iDash 1.8” install.
Secondary Secondary Primary
Terminator
Jumper
(HW Rev 2 only)
Y-Cable
OBD-II CONNECTION DETERMINES
PRIMARY iDASH.
Step
A
Step
B
Figure 3
iDash Button Function SixGun and EconoMind Setup
To load the Tuner layout navigate to:
• Menu -> Gauge Layout -> Tuner
-> *Select*
To change power level:
• Press the up or down arrow.
PRESS to decrease power level.
PRESS to increase power level.
% Power
Added
SELECT button
Hold to... :
- Save and return
to Gauge Screen
UP button
Hold to... :
- Rapid scroll
(Value Selection)
DOWN button
Hold to... :
- Rapid scroll
(Value Selection)
- Start/Stop
(Datalog Mode)
BACK button
Press to... :
- Create Laps/
Markers
(Data Log Mode)
Hold to... :
- Return to Gauge
Screen
Gale Banks Engineering
546 Duggan Avenue • Azusa, CA 91702
(626) 969-9600 • Fax (626) 334-1743
Product Information & Sales: (888) 635-4565
Customer Support: (888) 839-5600
Installation Support: (888) 839-2700
bankspower.com
PRESS to change Speed Settings
HOLD to change SpeedBrake Mode
PRESS to change Speed Setting
PRESS to change SpeedBrake Strength
HOLD to change SpeedBrake Mode
PRESS to change SpeedBrake Strength
% Braking
Strength
Tuner / SpeedBrake Auto Switch:
• The "Tuner Auto Switch" feature
allows you to have the "Tuner"
layout and "SpeedBrake" layout
switch automatically while driving.
See section 12 of iDash 1.8 Owner’s
Manual 97654 for more details.
SpeedBrake Setup
• To load the SpeedBrake layout
navigate to:
Menu -> Gauge Layout ->
SpeedBrake -> *Select*
• To switch between SpeedBrake
modes press and hold the up
button for 2 seconds.
SpeedBrake Manual Mode:
• Press the up and down button to
switch between low, medium and
high settings.
• To enable/disable the “Foot Brake”
navigate to:
Menu -> Banks Modules->
SpeedBrake -> FootBrake:
-> *Select*
SpeedBrake Auto Mode:
• Press the up and down button
to adjust the speed set point in
increments of 5 mph (from 25-75)
Trouble Shooting Note:
• If you do not have any communication
with the Tuner or SpeedBrake (RPM is
always “--” ) go to:
Menu-> Settings-> Vehicle
Selection-> Banks Bus 1
Application -> *Select*
Other manuals for iDash 1.8

3

Other banks Automobile Part manuals

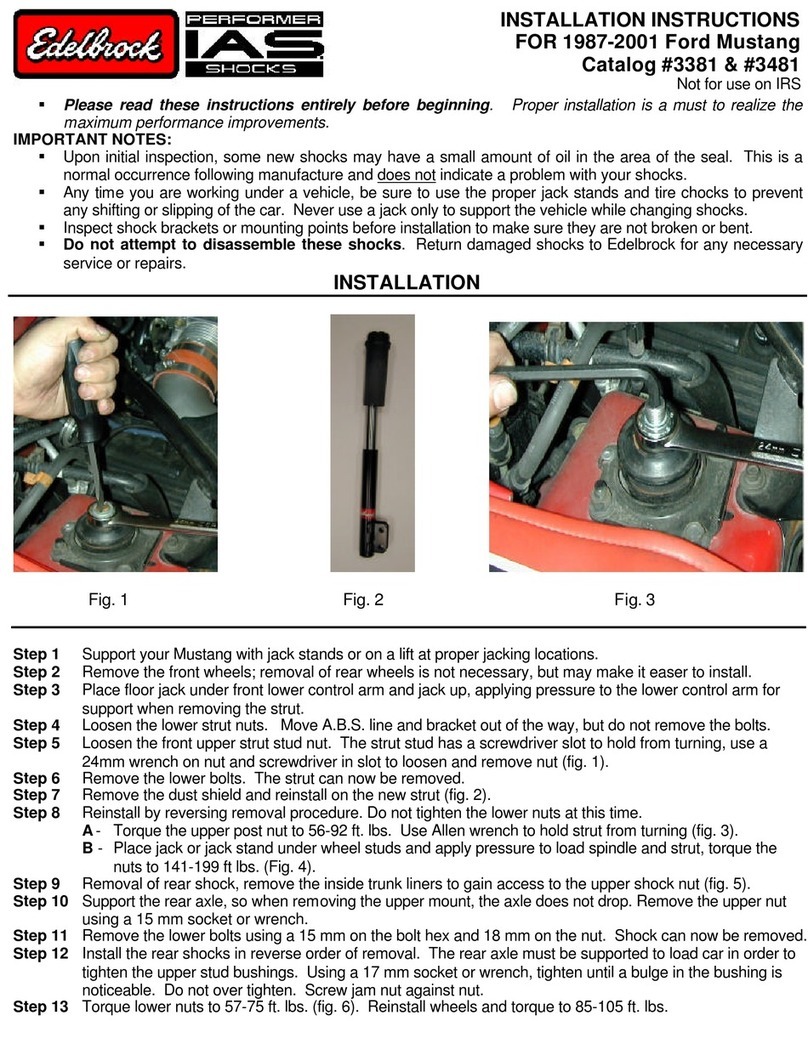
banks Banks Split-Dual Monster F250 User manual

banks

banks Banks Split-Dual Monster F250 User manual

banks Power Stinger User manual

banks

banks Power Stinger User manual

banks six-gun User manual

banks

banks six-gun User manual

banks Ram-Air User manual

banks

banks Ram-Air User manual

Popular Automobile Part manuals by other brands

BBK 1612 installation instructions

BBK

BBK 1612 installation instructions

Murphy M5081 Series owner's manual

Murphy

Murphy M5081 Series owner's manual

Mitsubishi Lancer Evolution IV installation manual

Mitsubishi

Mitsubishi Lancer Evolution IV installation manual

Edelbrock Harley Nitrous Systems 63-0052 installation instructions

Edelbrock

Edelbrock Harley Nitrous Systems 63-0052 installation instructions

BENDIX AH-4 AIR HYD INTENSIFIER manual

BENDIX

BENDIX AH-4 AIR HYD INTENSIFIER manual

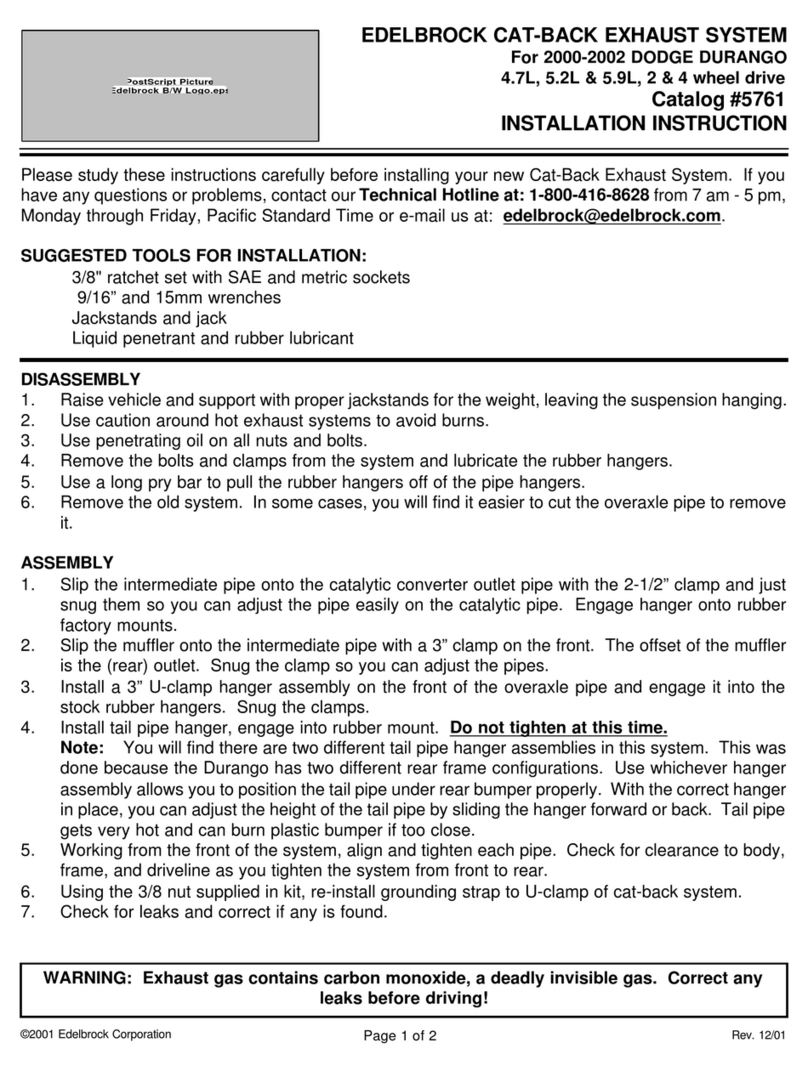
Edelbrock 5761 installation instructions

Edelbrock

Edelbrock 5761 installation instructions

Havis-Shields Rear Partition w/ Exit Hatch P-REAR-2 installation instructions

Havis-Shields

Havis-Shields Rear Partition w/ Exit Hatch P-REAR-2 installation instructions

Edelbrock E-TEC 170 installation instructions

Edelbrock

Edelbrock E-TEC 170 installation instructions

Edelbrock 2161 installation instructions

Edelbrock

Edelbrock 2161 installation instructions

Brink 6273 Fitting instructions

Brink

Brink 6273 Fitting instructions

Edelbrock 5721 installation instructions

Edelbrock

Edelbrock 5721 installation instructions

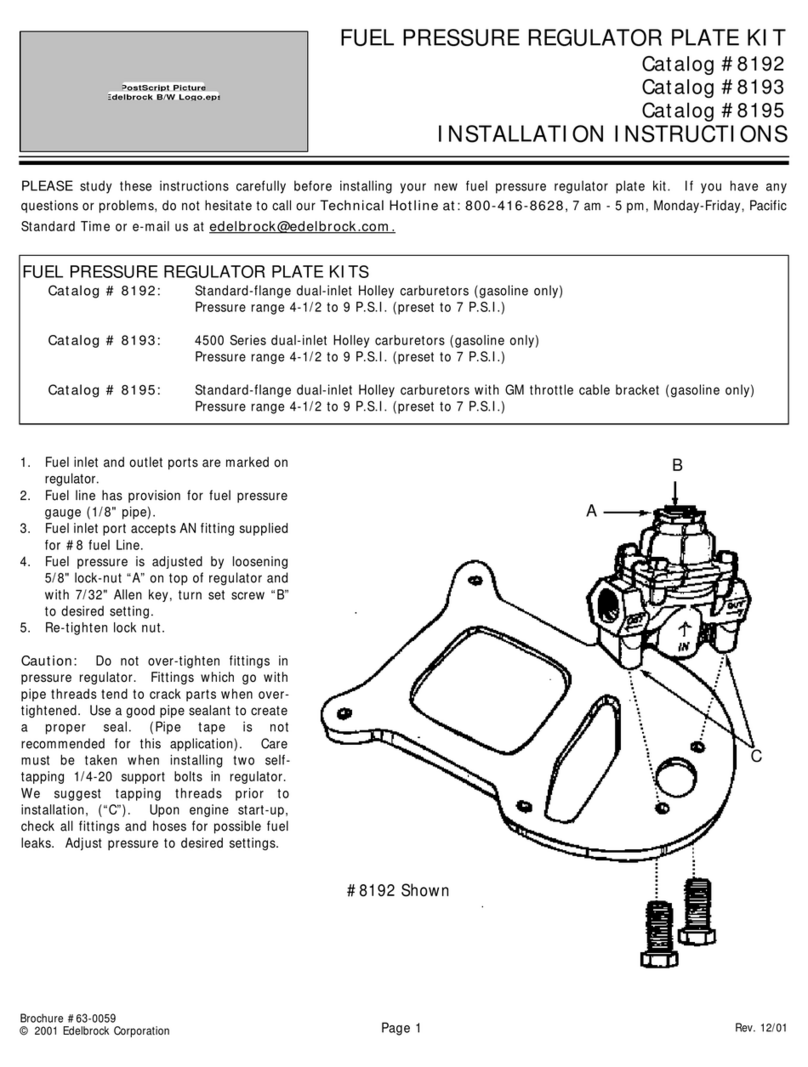
Edelbrock Performer Series 8059 installation instructions

Edelbrock

Edelbrock Performer Series 8059 installation instructions

Warn Industries xd9000i Installation and operator's guide

Warn Industries

Warn Industries xd9000i Installation and operator's guide

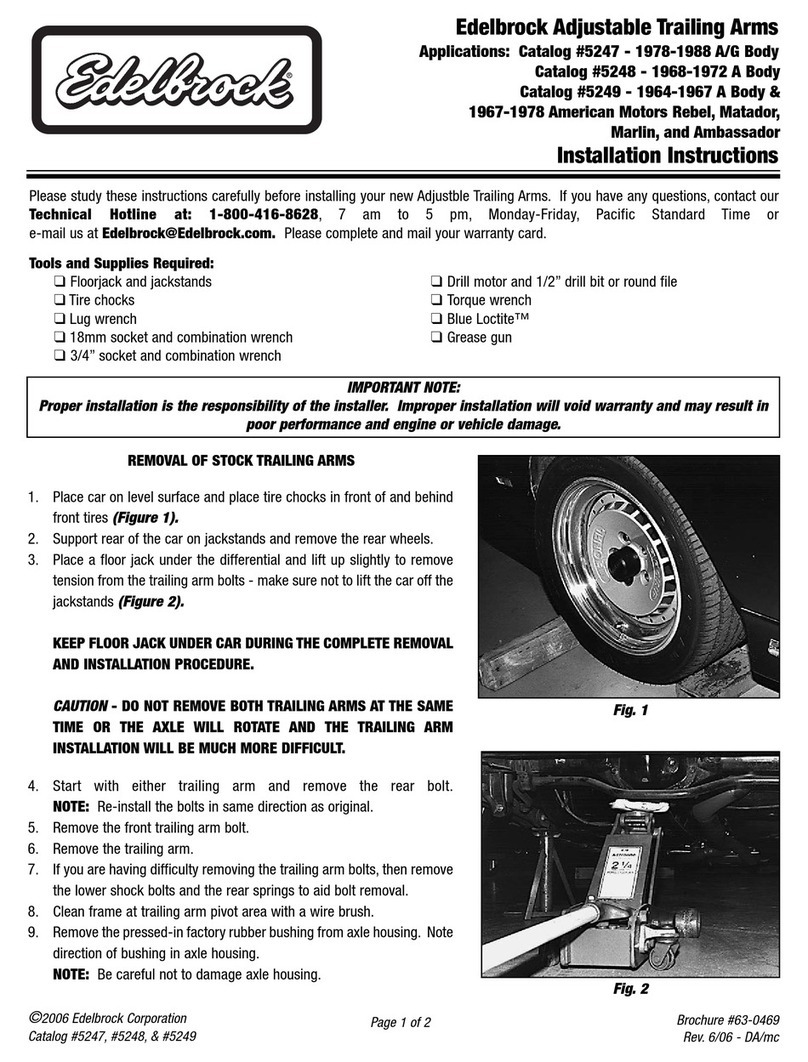
Edelbrock 71850 owner's manual

Edelbrock

Edelbrock 71850 owner's manual

Metra Electronics 95-8211 installation instructions

Metra Electronics

Metra Electronics 95-8211 installation instructions

Active E36 installation instructions

Active

Active E36 installation instructions

SAF SKRS 9042 SK 500 plus System maintenance and repair manual

SAF

SAF SKRS 9042 SK 500 plus System maintenance and repair manual

Witter HN72U FITTING INSTRUCTION

Witter

Witter HN72U FITTING INSTRUCTION

manuals.online logo
manuals.online logoBrands
  • About & Mission
  • Contact us
  • Privacy Policy
  • Terms and Conditions

Copyright 2025 Manuals.Online. All Rights Reserved.