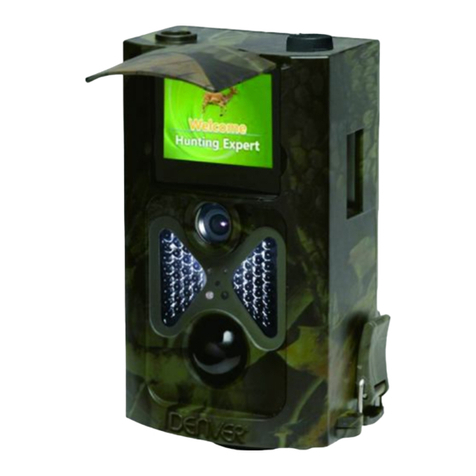
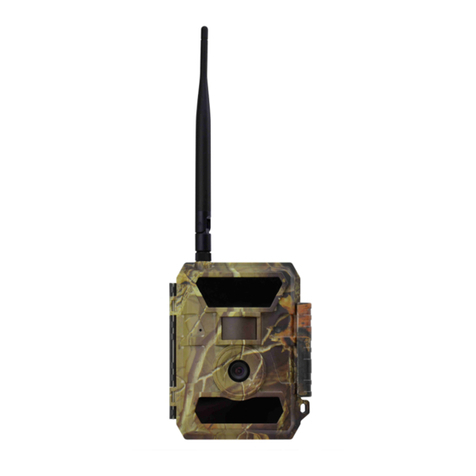
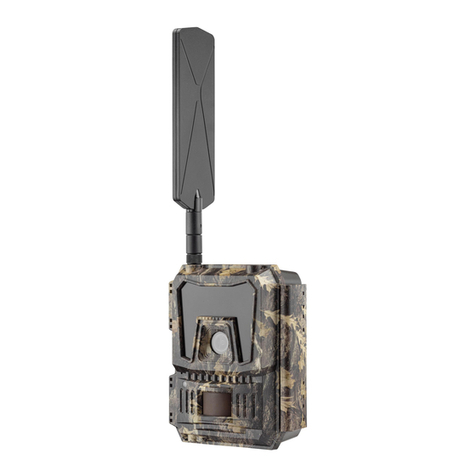
Barn Owl RangeCam User manual

What You’ll Need:
• Camera
• Smart Phone/Computer
• Credit Card
• IMEI and SIM (Preinstalled) numbers
• SD Memory Card
45385
23026
49569
0
45385
23026
49569
0
SIM NUMBER
Quick Setup:
1. Scan the camera QR Code with your
smartphone camera app.
2. Click the link that appears in your
camera app to register your account
and automatically add your camera’s
IMEI and SIM.
3. The SIM card is preinstalled in your
camera. It is the white chip that is
plugged into the left of the camera
display.
4. Enter your billing details.
Manual Setup:
1. Unlatch and Open Camera.
2. Identify IMEI/SIM Numbers.
3. Register: Type app.barnowl.tech
in your web browser or scan the
QR code found on your camera
box.
4. Type in the IMEI/SIM numbers.
5. Insert SIM and press until it
clicks into place.
6. Enter your Billing Details.
3: Test & Deploy
Steps:
1. Attach Antenna(s).
2. Insert SD Card and AA Batteries.
3. Send a Test Photo and set Toggle
Switch to “ON”.
4. Deploy.
Pro Tip:
Not all cameras are equipped with QR codes for
activation like the one show below. Check the front of
the box or inside the enclosure door.
If your camera does not have a QR code, you must
follow the Manual Setup process.
Insert SD Card: Bottom
Slot, Label Facing You. Insert batteries
as shown.
SIM is
preinstalled
here.
Toggle Switch
Screw in
antenna(s)
as shown.
86245683945235734
IMEI NUMBER
45385
23026
49569
0
45385
23026
49569
0
SIM NUMBER
Test Photo: Steps
We recommend taking a Test Photo to make
sure your camera is transmitting before
leaving your site.
1. Set Toggle Switch to “Setup”.
2. Wait for “Searching” message to
disappear from camera display.
3. Press OK button to send Test Photo.
“Send FTP” will show up on the display, followed
by “Send Succeed”. This conrms that your camera
is receiving signal and transmitting directly to your
Barn Owl HQ Account.
4. Set Toggle Switch to the “ON” position.
Your camera is ready to transmit and
camera settings can be updated in your
Barn Owl HQ account by typing app.
barnowl.tech in your web browser.
Note:
When camera is switched ON, the camera display will
shut off.
USER GUIDE
RangeCam
Premium & Mega Solar Panels:
1. Charge for 8-10 hours with power adapter or USB
connector via 5V IN Port.
2. Then connect Solar Panel to Camera via 12V OUT Port.
Premium & Mega Solar Panels: Standard Panels:
1. Charge Your Solar Panel:
Standard Solar Panels:
1. Charge for 8-10 hours with power adapter or USB
connector via 12V IN Port.
2. Then connect Solar Panel to Camera via 12V OUT Port.
OUT 12V : Connect Solar Panel to Camera OUT 12V : Connect Solar Panel to Camera
Power Adapter
5V DC IN : Power Source 12V DC OUT : To Camera
TEST BUTTON CHARGE INDICATOR
12V DC IN : Power Source 12V DC OUT : To Camera
TEST BUTTON CHARGE INDICATOR
USB Connector
2. Create Account | Activate Camera
45385
23026
49569
0
Ul-
45385
23026
49569
0
86245683945235734
IMEI NUMBER
(EXAMPLE ONLY)

Camera Group A
Camera 1 Camera 2
All Photos
Cameras Map Status
Camera Settings
Camera Profile
AI & Alerts
Image Gallery
Remove Camera
Barn Owl: Camera Settings
Trigger Settings:
Your camera settings determine how and when photos are taken. Click the 3 dots
on your camera to update settings–pictured on the right. Barn Owl cameras can
capture images via motion, periodically, or on-demand. For the best experience, we
recommend updating settings via Barn Owl HQ and not on the camera body.
Types of Triggers:
• Motion Trigger:
When “ON”, camera automatically triggers on motion.
• Trigger Delay:
Time delay between motion-triggers.
Displayed as: HH:MM:SS
• Periodic Trigger:
Time delay between automatically-recurring triggers, regardless of motion.
Displayed as: HH:MM
• Trigger Window:
Time window where the camera will operate, according to the camera’s clock.
Displayed as: HH:MM-HH:MM
Example:
You want 3 scheduled images per day at 8am, 12pm, and 4pm.
Example Settings:
1. Set Your Periodic Trigger to: 04:00.
- The camera will trigger every 4 hours.
2. Turn Trigger Window to ON and set for: 08:00-16:00.
- The camera will trigger between 8am and 4pm.
Pro Tip:
Increase your image quality with the “Photo Size” option in the app.
Note: Higher quality images use more data.
Pro-Tip:
To avoid false motion triggers, make sure to minimize the amount of unnecessary
moving objects, like tree branches, directly in front of the camera lens.
Help Guide:
Visit: BarnOwl.Tech/FAQ for a full list of common questions and instructions.
Visit: Help.BarnOwl.Tech for instructions on Barn Owl HQ, camera hardware, and
troubleshooting tips.
Warranty & Returns
We offer a 45-Day return policy. If you are not satised with your camera, contact
support for a full refund. The Limited Warranty covers Camera and Solar Panel
defects in material or workmanship under normal use during the Warranty Period of
2 years from date of purchase.
Barn Owl Care
For a small monthly fee per camera, Barn Owl will provide a lifetime warranty for
theft and accidental damage. For more information on Barn Owl Care, please see the
Billing tab under Main Menu > Account and Billing or contact us directly.
Contact Info
Sales: (720) 594-5533
Support: (720) 594-3649
support@barnowl.tech
Click the camera icon
below an image to
trigger your camera
on-demand.
Note:
The camera should
respond within 30
seconds if it’s in the
ON position and the
SMS Setting is set
to “Instant.”
Access camera
settings and alerts
by selecting the three
dots below an image.
Access group
options by selecting
the three dots in the
camera group label.
Check camera status,
signal, and battery
life.
USER GUIDE
Barn Owl HQ
Status
Select Main Menu
to check billing and
account details.
Other Barn Owl Scouting Camera manuals


