For any assistance or further information,
go online at bathstore.com
Date modified 04/10/2017
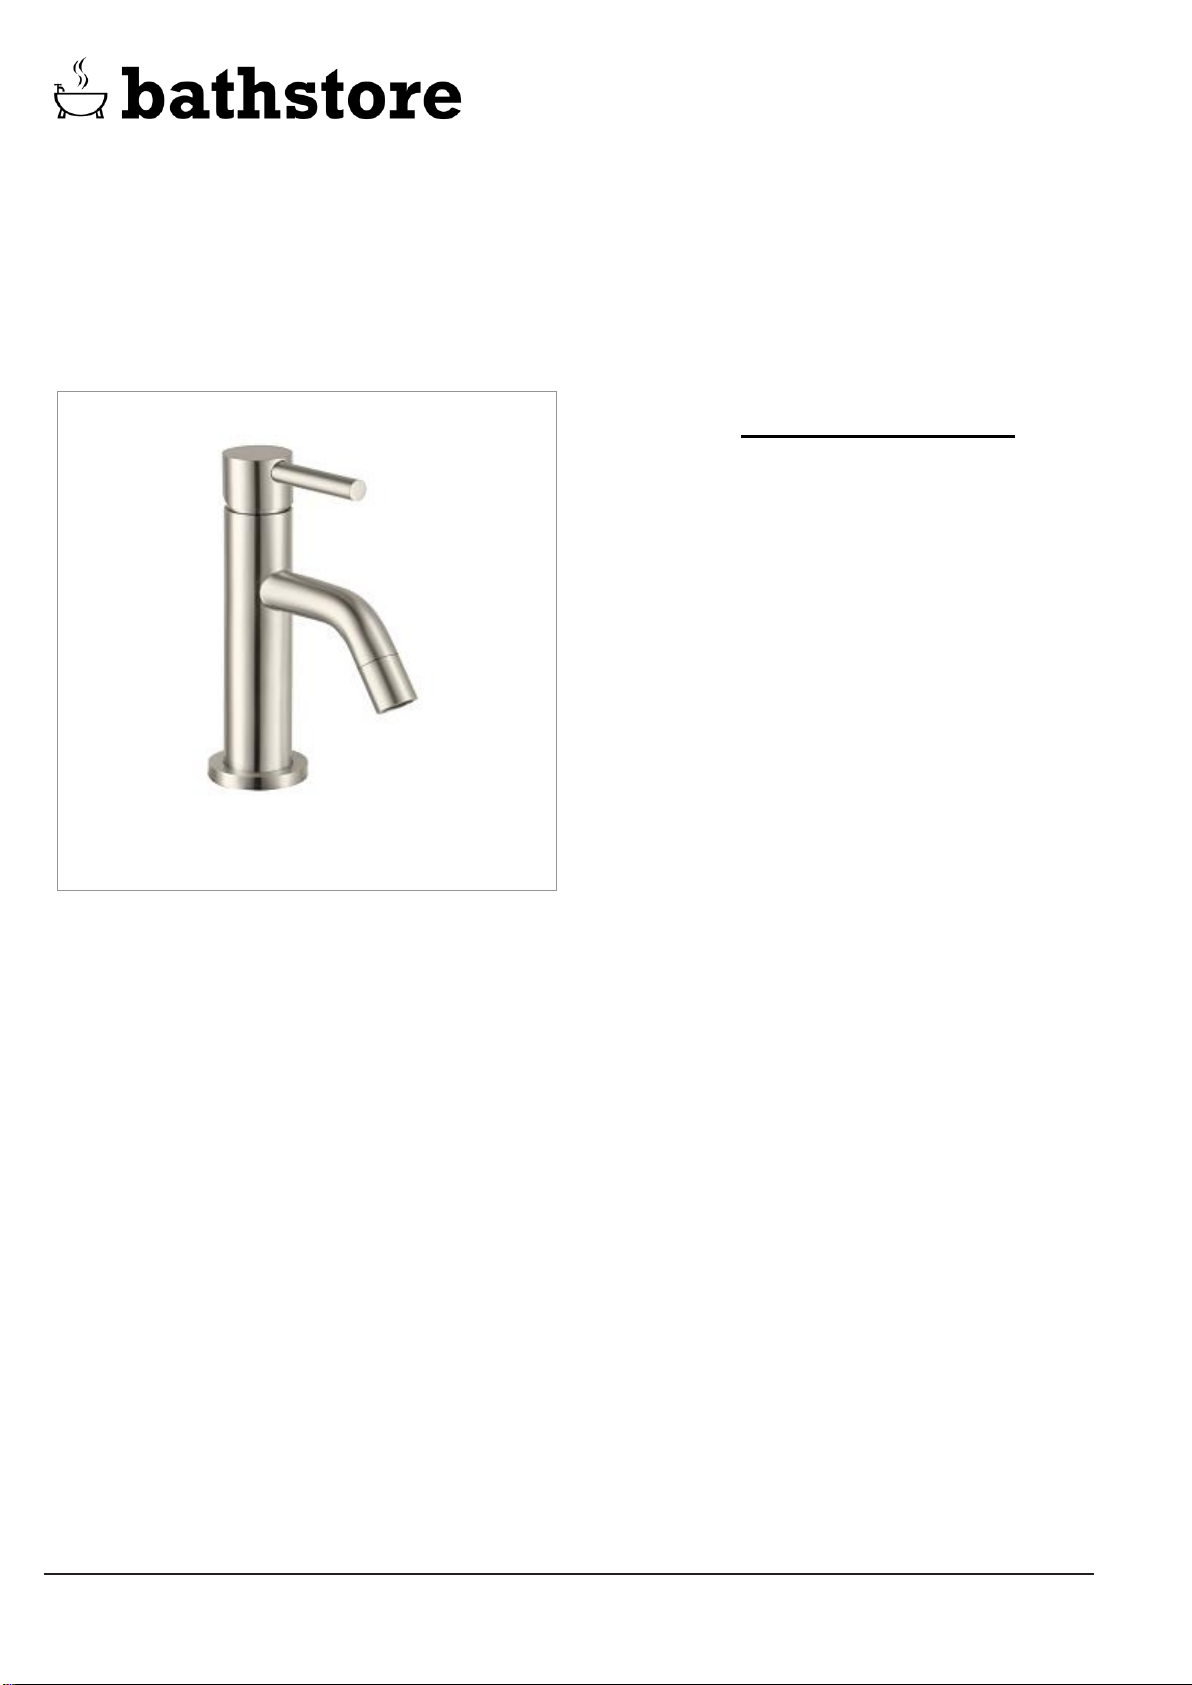
FORGE
stainless steel mini basin mixer
20004010565
INSTALLATION GUIDELINES
1. Installation should be carried out by a competent engineer, in
accordance with water regulations.
2. If isolating valves aren’t already fitted, fit them to the inlet feeds.
3. Before installation, ensure supply pipes are flushed clean. Debris or
loose particles will affect the efficiency of the ceramic disc cartridge.
Failure to flush through pipe work before installation of taps may
cause serious damage to the ceramic disc cartridge and can cause
the tap to drip for which bathstore will not be liable.
4. Hot & cold pressures should be equally balanced.
5. To prolong the life of the cartridge in hard water areas and reduce
servicing periods we recommend that a suitable water softener is
fitted.
Remember to turn off the mains water supply before connecting to any
existing pipe work.
Screw the flexible pipes into the mixer body and fully hand tighten. Place the
mixer in position to see if pipework needs altering.
After making any necessary alternations to the pipework, pass the mixer base
ring and washer over the flexible pipes and threaded stud to form a seal on the
sink top. Pass the tails and fixing stud through the hole in the basin from above,
and place the mixer in position on the basin.
Slide the C-shaped black washer and then the metal retaining plate up the tails
and secure screwing the fixing nut finger tight.
Check that the mixer body is correctly positioned to the rear and tighten fixing
but. The tap needs to be fixed firmly but do not over tighten as damage may be
caused to the basin.
Hot water should be connected to the left inlet when the tap is viewed from the
front.
ATTENTION
Having first checked all new connections, turn on the mains water supply, close
all taps except the new mixer and as the system starts to refill check for leaks.
Once you have satisfied yourself that there are no leaks, switch on the water
heating.
DIMENSIONS:
Height of the body 158mm
Reach of the spout 89 mm
CARE AND MAINTENANCE:
To maintain the appearance of this product, ensure that it is regularly
cleaned only using a clean, soft damp cloth. A solution of warm water
and a mild detergent may be used where necessary, and then the
fitting rinsed thoroughly and wiped dry. Any other cleaning action will
invalidate your warranty.
If the mixer tap has a diffuser it should be unscrewed and cleaned
periodically in warm water.
Abrasive cleaners, scouring cleaners and acidic cleaners must not be
used under any circumstances. Avoid contact with all solvents
(including chlorinated solvents, ketones or acetones as these may
result in surface deterioration or etching). Read the instructions on any
cleaning product before using it to ensure that it won’t damage the
surface.
Isolate the water to the tap before performing any form of internal
maintenance.
CLEANING THE CARTRIDGE
The cartridge should give trouble free service, but in the event of any
problems, servicing is straight forward.
Use an Allen key to loosen the screw on the handle but do not remove
it. Pull off the handle and unscrew the cover. Using the correct size
spanner unscrew and remove the retaining nut. Pull out the cartridge
taking note of it orientation. Wash the cartridge with clean running
water and make sure that any trapped debris has been removed. Dry
and lightly grease the seal (only use silicone grease) and replace the
cartridge followed by the nut, cover and handle.


