bauhaus 50381/5392230A User manual
B
rugsanvisning
Instruction manual
DK
GB
B
rugsanvisning
Model 50381/5392230A

2
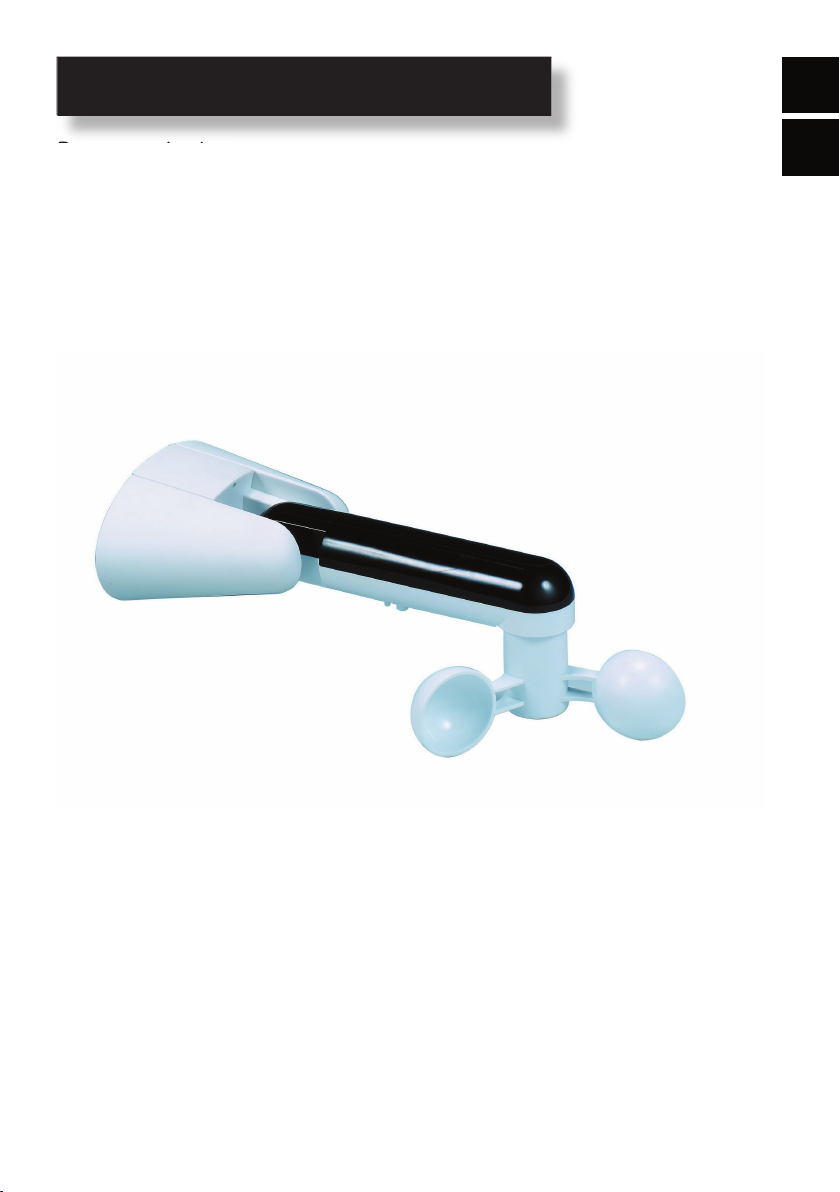
VINDVAGT
ADVARSEL! LÆS MANUALEN FØR
INSTALLATION OG BRUG AF PRODUKTET.
Forsøg aldrig at adskille eller reparere
produktet.
VIGTIG INFORMATION!
Læs hele manualen grundigt igennem før
samling og/eller brug af dette produkt. Følg
manualen nøje, og opbevar den til senere
brug.
Tekniske speci� kationer
Spænding: 230 V~50 Hz
Nominel eff ekt: 0,3 W
Kapslingsklasse: IP44
Vindvagt model: Dooya DC116
Maks. RF-sendeeff ekt: 10 dBm
Senderfrekvens: 433.92 MHz
Beskyttelse mod elektrisk stød: Class II
Montering
Vindvagten skal monteres hvor den bliver
påvirket af samme vind som markisen.
Der skal være minimum 0,5 m afstand til
markisen. Vindvagten skal monteres af en
autoriseret elektriker.
Brug
Foretag aldrig ændringer på produktet.
Brug aldrig produktet ved temperatur under
0
°
C.
Brug i frostvejr kan ødelægge produktet.
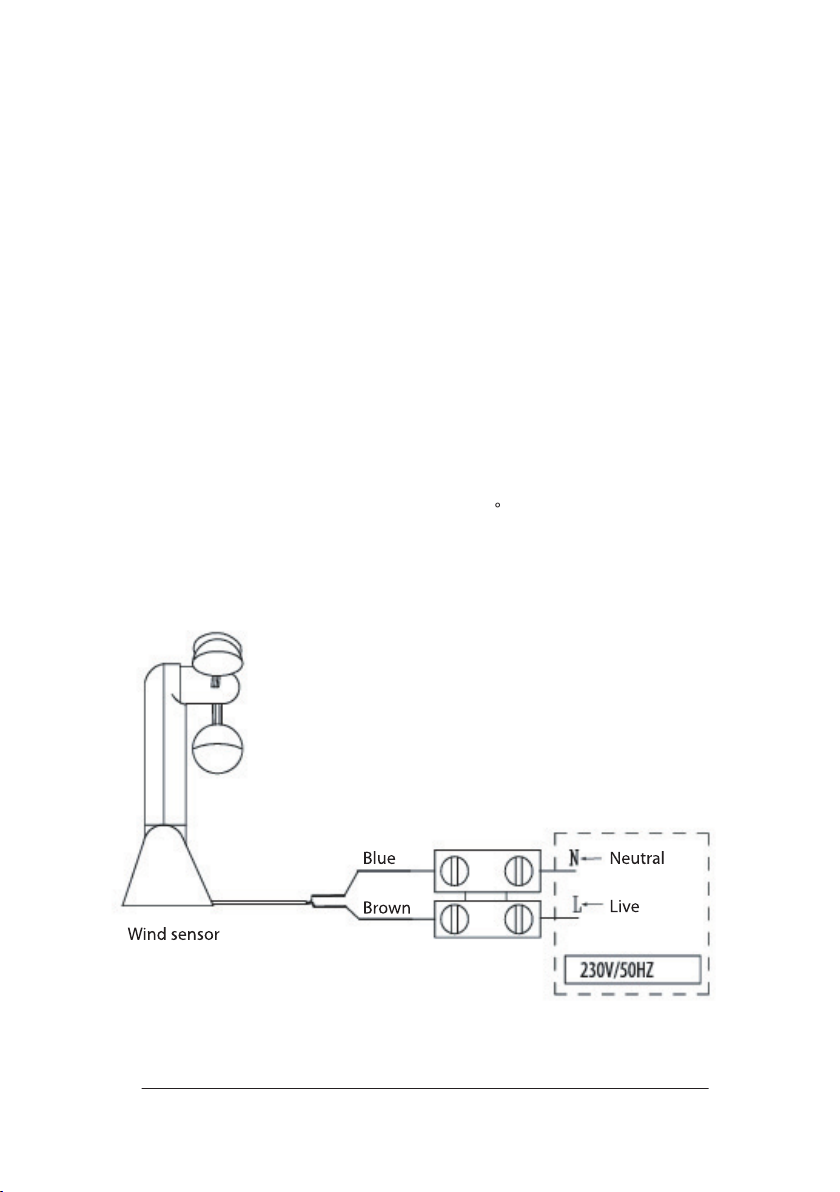
Teknisk installation
Vindvagt
Neutral
Fase
Blå
Brun
3
DK
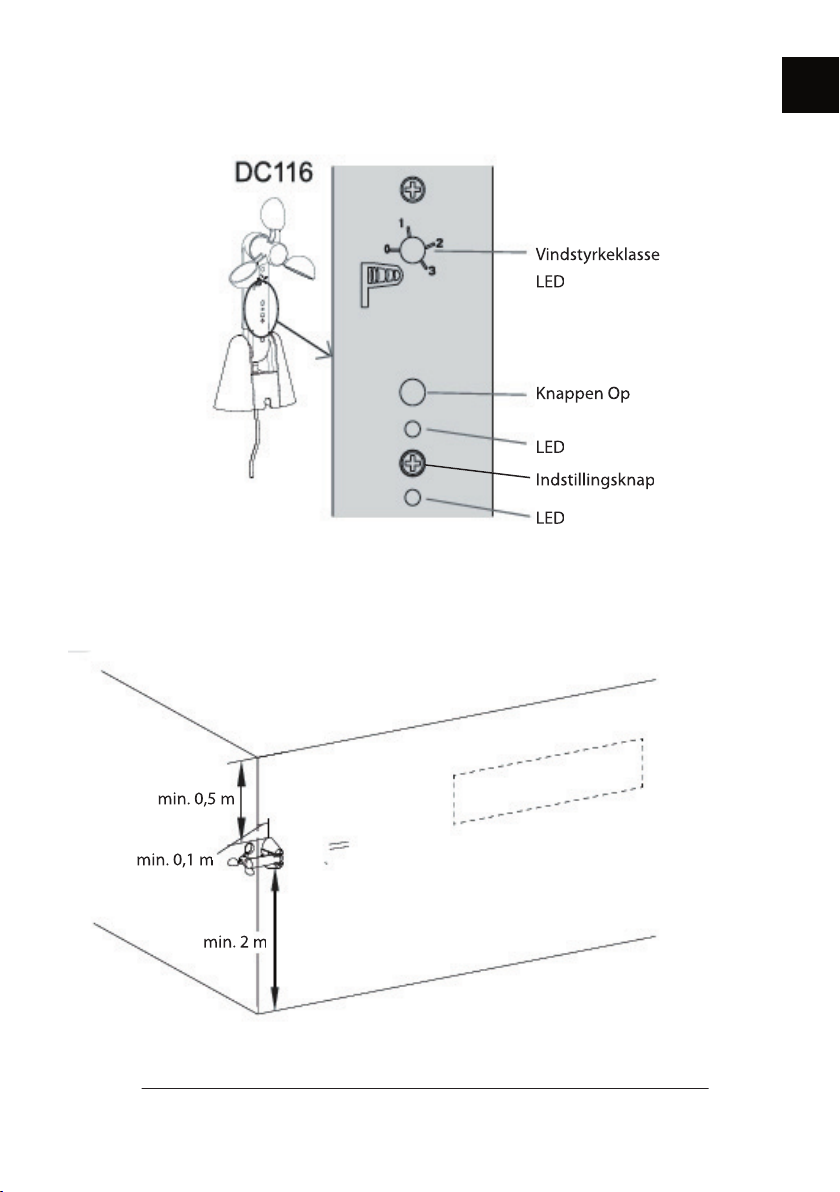
Knapper
Vindstyrkeklasse
LED
Knappen Op
Indstillingsknap
LED
Optimal installationsposition
min. 0,5 m
min. 0,1 m
min. 2 m
LED

4
Installationsposition
Installationsposition
Installationsposition
5
DK
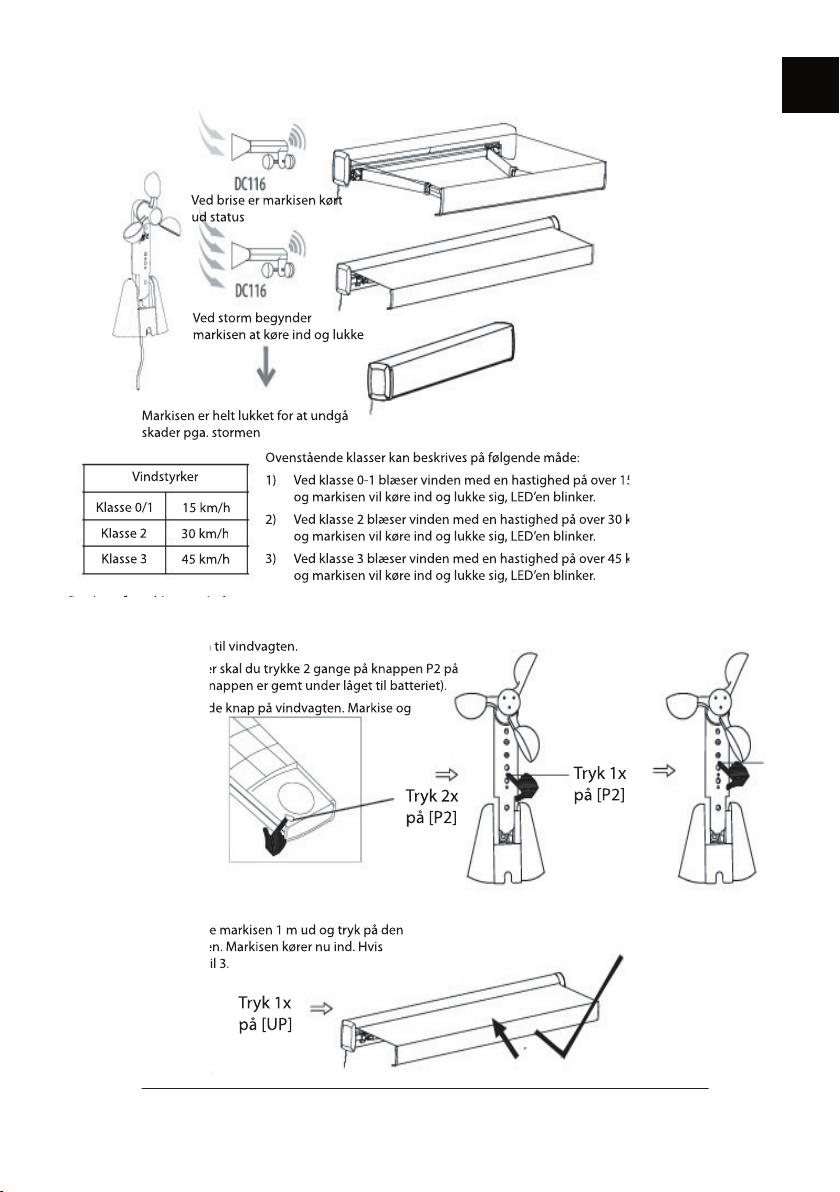
Betjening
Ved brise er markisen kørt
ud
status
Markisen er helt lukket for at undgå
skader pga. stormen
Ved storm begynder
markisen at køre ind og lukke
Vindstyrker
Klasse 0/1
Klasse 2
Klasse 3
15 km/h
30
km/h
4
5 km/h
Ovenstående klasser kan beskrives på følgende måde:
1) Ved klasse 0-1 blæser vinden med en hastighed på over 15 km/h,
1) Ved klasse 0-1 blæser vinden med en hastighed på over 15 km/h,
og markisen vil køre ind og lukke sig, LED’en blinker.
2)
Ved klasse
2
blæser vinden med en hastighed på over 30 km/h,
blæser vinden med en hastighed på over 30 km/h,
og markisen vil køre ind og lukke sig, LED’en blinker.
3) Ved klasse 3
blæser vinden med en hastighed på over 45 km/h,
blæser vinden med en hastighed på over 45 km/h,
og markisen vil køre ind og lukke sig, LED’en blinker
.
Parring af markise og vindvagt
Parring af markise og vindvagt
1. Tænd for strømmen til markisen.
2. Tænd for strømmen til vindvagten.
2. Tænd for strømmen til vindvagten.
3. Inden for 5 sekunder skal du trykke 2 gange på knappen
3. Inden for 5 sekunder skal du trykke 2 gange på knappen
P2
på
ernbetjeningen (knappen er gemt under låget til batteriet).
ernbetjeningen (knappen er gemt under låget til batteriet).
Tryk derefter på den tynde knap på vindvagten. Markise og
Tryk derefter på den tynde knap på vindvagten. Markise og
vindvagt er nu parret.
Test af vindvagt
Udfør kontrol, ved at køre markisen 1 m ud og tryk på den
Udfør kontrol, ved at køre markisen 1 m ud og tryk på den
lange knap på vindvagten. Markisen kører nu ind. Hvis
lange knap på vindvagten. Markisen kører nu ind. Hvis
ikke, så gentag punkt 1 til 3.
ikke, så gentag punkt 1 til 3.
Tryk 2x
på [P2]
Tryk 1x
på [P2]
Tryk 1x
på [UP]

6
Servicecenter
Bemærk: Produktets modelnummer
skal altid oplyses i forbindelse med din
henvendelse.
Modelnummeret fremgår af forsiden på
denne brugsanvisning og af produktets
typeskilt.
Når det gælder:
• Reklamationer
• Reservedele
• Returvarer
• Garantivarer
• www.schou.com
Miljøoplysninger
Elektrisk og elektronisk udstyr
(EEE) indeholder materialer,
komponenter og stoff er, der kan
være farlige og skadelige for
menneskers sundhed og for miljøet, når
aff aldet af elektrisk og elektronisk udstyr
(WEEE) ikke bortskaff es korrekt. Produkter,
der er mærket med en ”overkrydset
skraldespand”, er elektrisk og elektronisk
udstyr. Den overkrydsede skraldespand
symboliserer, at aff ald af elektrisk og
elektronisk udstyr ikke må bortskaff es
sammen med usorteret husholdningsaff ald,
men skal indsamles særskilt.
Produceret
i P.R.C.
Fabrikant:
Schou Company A/S
Nordager 31
DK-6000 Kolding
Alle rettigheder forbeholdes. Indholdet i denne vejled-
ning må ikke gengives, hverken helt eller delvist, på
nogen måde ved hjælp af elektroniske eller mekaniske
hjælpemidler, f.eks. fotokopiering eller optagelse,
oversættes eller gemmes i et informationslagrings- og
-hentningssystem uden skriftlig tilladelse fra Schou
Company A/S.
7
DK
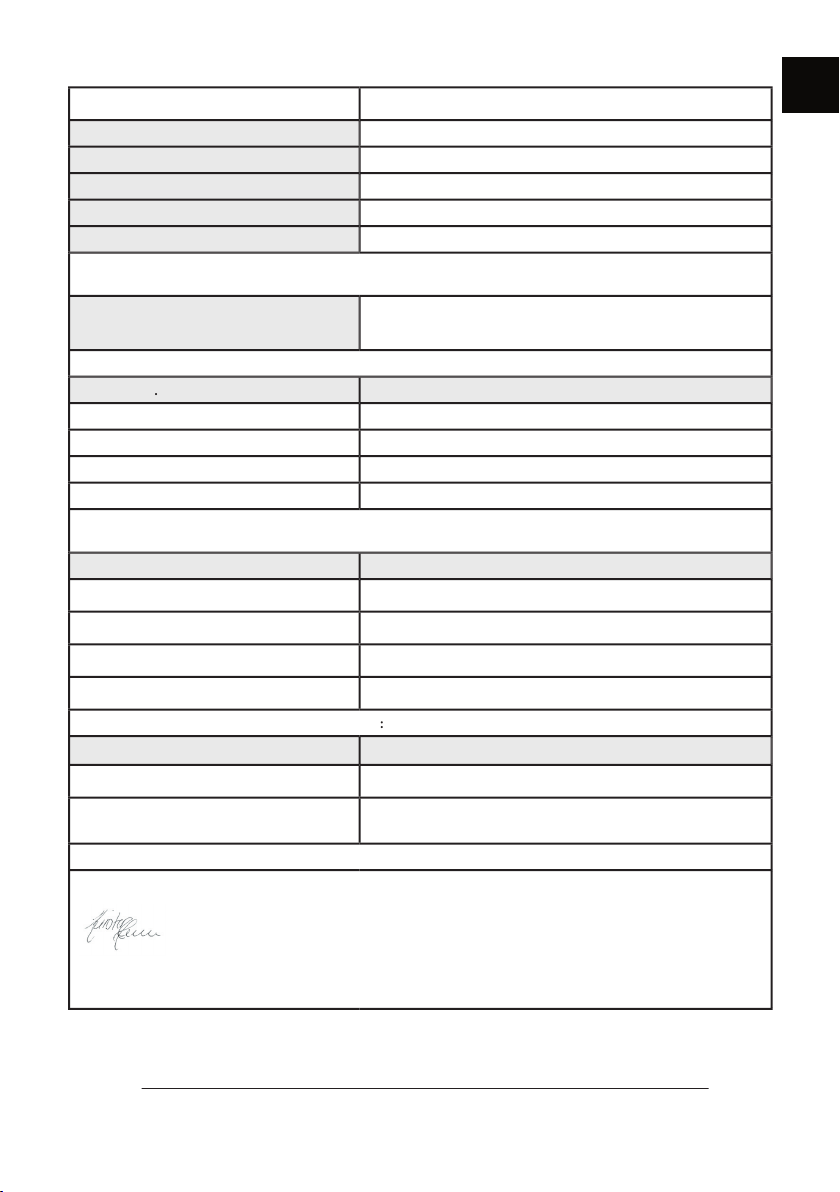
Fabrikant:
Firmanavn:
Schou Company A/S
Adresse
Nordager 31
Postnummer
6000
By
Kolding
Land
Danmark
Denne overensstemmelseserklæring er udstedt med producenten som eneansvarlig, og producenten erklærer
herved, at produktet
Produktidenti� kation:
Vindvagt. 230 V, 50 Hz
Art.-nr. 50381
er i overensstemmelse med bestemmelserne i følgende EF-direktiv(er) (inklusive alle gældende ændringer)
Reference-nr
.
Titel
2014/53/EU
Radioudstyrsdirektivet
2014/35/EU
Lavspændingsdirektivet
2012/19/EU
WEEE
2011/65/EU
RoHS-direktivet
Referencer af standarder og/eller tekniske speci� kationer gældende for denne overensstemmelseserklæring, eller
dele heraf:
Harmoniseret standard nr.
Navn på standard
EN 300 220-2 V3.1.1:2017
EN 62479:2010
EN 60730-1:2011
EN 50663:2017
Andre standarder og/eller tekniske speci� kationer
:
Standard eller teknisk procedure
Titel på standard eller teknisk procedure
Udkast EN 301 489-1 V2.2.0:2017
Udkast EN 301 489-3 V2.1.1:
2017
(1) Hvor det er muligt, skal der refereres til de gældende dele eller bestemmelser i standarden eller den tekniske speci� kation.
Kolding 25/11/2021
Kirsten Vibeke Jensen
Product Safety
Manager
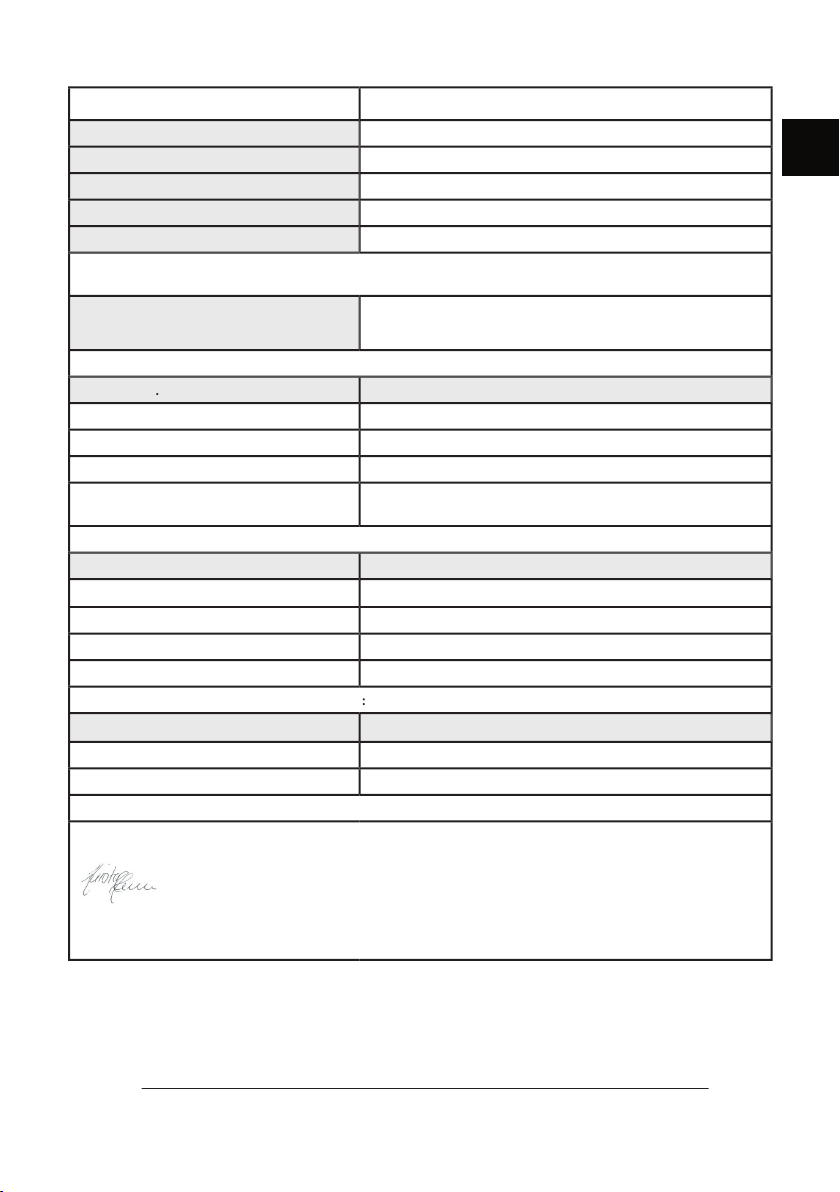
EF-OVERENSSTEMMELSESERKLÆRING
8
WIND SENSOR
WARNING! READ THE MANUAL BEFORE
INSTALLING AND USING THE PRODUCT.
Never try to dismantle or repair the
product.
IMPORTANT INFORMATION!
Read the entire manual carefully before
assembling and/or using this product. Follow
the manual carefully and save it for future
reference.
Technical speci� cations
Voltage: 230 V~50 Hz
Rated power: 0.3 W
Protection class: IP44
Wind sensor model: Dooya DC116
Max. RF transmitting power: 10 dBm
Transmitter frequency: 433.92 MHz
Protection against electric shock: Class II
Installation
The wind sensor must be installed in a
location where it will be subject to the same
wind conditions as the awning. There must
be a minimum distance of 0.5 m to the
awning. The wind sensor must be installed by
an authorised electrician.
Use
Never modify the product.
Never use the product at temperatures
below 0
°
C.
Use in freezing weather can damage the
product.
Technical installation
Wind sensor
Neutral
Live
Blue
Brown

9
GB
Buttons
Wind strength class
LED
UP button
Adjustment button
LED
Optimal installation position
min. 0.5 m
min. 0.1 m
min. 2 m
LED

10
Installation position
Installation position
Installation position

11
GB
Operation
During a breeze, the
awning is in the open
position
The awning is fully retracted to prevent it
being damaged by the storm
During a storm, the awning
retracts
Wind forces
Class 0/1
Class 2
Class 3
15 kph
30
kph
4
5 kph
The above classes can be described as follows:
1) For class 0-1 the wind blows at a speed of over 15 kph.
The awning retracts and the LED � ashes.
2)
For class
2
the wind blows at a speed of over 30 kph.
The awning retracts and the LED � ashes.
3) For class 3
the wind blows at a speed of over 45 kph.
The awning retracts and the LED � ashes
.
Pairing the awning and wind sensor
Pairing the awning and wind sensor
1. Switch on the power to the awning.
2. Switch on the power to the wind sensor.
2. Switch on the power to the wind sensor.
3. Within 5 seconds, press the
3. Within 5 seconds, press the
P2
button on the remote control
twice (the button is concealed under the battery cover).
twice (the button is concealed under the battery cover).
Then press the slim button on the wind sensor.
Then press the slim button on the wind sensor.
Testing the wind sensor
Testing the wind sensor
Perform a check by extending the awning 1 m and then
Perform a check by extending the awning 1 m and then
pressing the long button on the wind sensor. The awning
pressing the long button on the wind sensor. The awning
retracts. If this does not happen, repeat points 1 to 3.
retracts. If this does not happen, repeat points 1 to 3.
Press
[P2]
twice
Press
[P2]
once
Press
[UP]
once
The awning and wind
sensor are now paired.
12
Service centre
Note: Please quote the product model
number in connection with all inquiries.
The model number is shown on the front of
this manual and on the product rating plate.
For:
• Complaints
• Replacement parts
• Returns
• Guarantee issues
• www.schou.com
Environmental information
Electrical and electronic equipment
(EEE) contains materials,
components and substances that
may be hazardous and harmful to
human health and the environment
if waste electrical and electronic equipment
(WEEE) is not disposed of correctly. Products
marked with a crossed-out wheeled bin are
electrical and electronic equipment. The
crossed-out wheeled bin indicates that waste
electrical and electronic equipment must
not be disposed of with unsorted household
waste, but must be collected separately.
Manufactured in P.R.C.
Manufacturer:
Schou Company A/S
Nordager 31
DK-6000
Kolding
All rights reserved. The content of this manual may not
be reproduced, either in full or in part, in any way by
electronic or mechanical means, e.g. photocopying or
publication, translated or saved in an information storage
and retrieval system without written permission from
Schou Company A/S.
13
GB
Manufacturer:
Company name
Schou Company A/S
Address
Nordager 31
Postal code
6000
City
Kolding
Country
Denmark
This declaration of conformity is issued under the sole responsibility of the manufacturer and herewith declares
that the product
Product identi� cation:
W
ind sensor. 230 V, 50 Hz.
Item no. 50381
is in conformity with the provisions of the following EC directive(s) (including all applicable amendments)
Reference no
.
Title
2014/53/EU
Radio Equipment Directive
2014/35/EU
Low Voltage Directive
2012/19/EU
WEEE
2011/65/EU
Restriction of the use of certain hazardous substances in electrical
and electronic equipment
References of standards and/or technical speci� cations applied for this declaration of conformity, or parts there of:
Harmonized standard no.
Title of the standard
EN 300 220-2 V3.1.1:2017
EN 62479:2010
EN 60730-1:2011
EN 50663:2017
Other standards and/or technical speci� cations
:
Standard or technical procedure
Title of the standard or technical procedure
Draft EN 301 489-1 V2.2.0:2017
Draft EN 301 489-3 V2.1.1:2017
(1) Where appropriate, the applicable parts or clauses of the standard or the technical speci� cation shall be referenced.
Kolding 25/11/2021
Kirsten Vibeke Jensen
Product Safety
Manager
EC DECLARATION OF CONFORMITY
21-12
Table of contents
Languages:


