be bionic bebionic3 Manual
technical information

2
technical information

3
Contents
1.0 Introduction...........................................................................................................04-07
1.1 In the Case
1.2 Principal Dimensions
1.3 Specifications
2.0 bebionic Grips...................................................................................................... 09-19
2.1 Factory Settings
2.2 Program Switch
2.3 Thumb Adjustment
2.4 Opposed Grips
2.5 Non-Opposed Grips
2.6 Further Grips and Hand Positions
3.0 bebionic Glove......................................................................................................21-25
3.1 How to fit a bebionic Glove
3.2 Removing a bebionic Glove
3.3 Care Instructions for bebionic Glove
4.0 Connections & Compatibility................................................................................... 27-35
4.1 Wrist Options
4.2 Battery Options
4.3 Power Information
4.4 System Connections
4.5 System Compatibility
5.0 bebalance ........................................................................................................... 37-49
5.1 Introduction
5.2 Installation
5.3 Start Up
5.4 Language Selection
5.5 Radio Frequency Dongle Configuration
5.6 Operating Modes
5.7 Hand Configuration
5.8 Grip Selection
5.9 Advanced
6.0 Additional Information, Warranty, Repairs and Returns...............................................51-63
6.1 Gaiter Removal
6.2 Gaiter Refitting
6.3 Clevis Link Replacement
6.4 Quality Assurance
6.5 Warranty
6.6 Returns
04
1.0 Introduction
This document contains important information
for the correct use and set up of the bebionic3
hand. Please note some images may differ
as this document applies to both the medium
and large size hands. Read this document
thoroughly before fitting a bebionic3 hand.
A bebionic system is completed by adding from
a selection of compatible system components
including electrodes (or other input devices),
battery systems, wrists and cables. We
recommend RSLSteeper / SteeperUSA
components.
The bebionic3 hand is designed for mild to
moderate activities. Avoid use in situations with
heavy loads, vibrations or impacts.
Key:
Text with this symbol contain important
safety information.
WARNING
!CAUTION
Text with this symbol highlights potential
sources of damage to the hand.
The bebionic hand contains Electrostatic
Sensitive Devices. Any disassembly on this
hand must be carried out by RSLSteeper
authorised personnel in an Electrostatic
Protected Area (EPA). Failure to do this
could cause ESD damage which will affect
the reliability of the product and could
impact product warranty.
WARNING
We do not recommend the use of carbon
fibre materials in fabricating a prosthetic arm
due to electrical conductivity. If however it
is used then it is important to ground the
carbon fibre lamination.
WARNING

05
1.1 In the Case
1. 2.
3.
4.
5.
6.
7.
1. bebionic Radio Frequency (RF) Dongle
2. bebionic3 Hand
3. bebionic Tool Kit
4. bebionic in-car Charger
5. bebalance Programming Software
6. bebionic3 User Guide
7. bebionic3 Technical Information

06
1.2 Principal Dimensions
Principal Dimensions Large Medium
A Middle Finger Tip to Hand Base 7 7⁄8” (200mm) 7 1⁄2” (190mm)
B Thumb Tip to Hand Base 4 7⁄8” (125mm) 4 3⁄4” (121mm)
C Max Chassis Width (no glove) 3 5⁄8” (92mm) 3 1⁄4” (84mm)
D Diameter of Chassis at Wrist 2” (50mm) 2” (50mm)
Palm Circumference (no glove) 8 5⁄8” (220mm) 8” (204mm)
Maximum Opening Width - Tripod Grip 4 1⁄8” (105mm - with glove) 4 1⁄8” (105mm - with glove)
Thumb Swing Through Angle 68o68o
X EQD Only 1⁄4” (5mm) 1⁄4” (5mm)
B
D
X
A
C
X

07
1.3 Specifications
†Build height comprises of thumb tip to base of hand measurement, followed by the build height for each wrist option.
The second number refers to the minimum allowance for the mating wrist unit.
*Denotes side of hand, Insert L for a left hand, or R for a right hand.
Part Number Build Height †Weight Description
BBHLG*QD 4 7/8” + 1”
(125mm + 25mm)
1lb 5oz
(598g) bebionic3 Large Hand with EQD Wrist
BBHLG*QD-MF 6 1⁄8” + 1”
(155mm + 25mm)
1lb 8oz
(698g) bebionic3 Large Hand with Multi-Flex Wrist
BBHLG*SW 4 7/8” + 1/2”
(125mm + 12mm)
1lb 4oz
(577g) bebionic3 Large hand with Short Wrist
BBHMD*QD 4 6/8” + 1”
(121mm + 25mm)
1lb 5oz
(591g) bebionic3 Medium Hand with EQD Wrist
BBHMD*QD-MF 6” + 1”
(151mm + 25mm)
1lb 8oz
(691g) bebionic3 Medium Hand with Multi-Flex Wrist
BBHMD*SW 4 6/8” + 1/2”
(121mm + 12mm)
1lb 4oz
(570g) bebionic3 Medium Hand with Short Wrist
Large Medium
maximum power grip force 140.1N 140.1N
maximum tripod grip force 36.6N 36.6N
maximum key grip force 26.5N 26.5N
maximum time to open or close - tripod grip 0.5 seconds 0.5 seconds
maximum time to open or close - power grip 1.0 seconds 1.0 seconds
maximum time to open or close - key grip 1.0 seconds 1.0 seconds
maximum static load - hook grip 99lb 3oz (45kg) 99lb 3oz (45kg)
maximum load individual finger - hook grip 55lb 2oz (25kg) 55lb 2oz (25kg)
maximum finger tip extension load 13lb 3oz (6kg) 13lb 3oz (6kg)
maximum safe vertical load taken through knuckles 198lb 6oz (90kg) 198lb 6oz (90kg)

08
2.0 bebionic grips

09
The bebionic3 hand provides 14
different grip patterns, allowing the
user to have a more complete device
to assist them in their day to day life.
The hand has two selectable thumb
positions: opposed and
non-opposed.
Opposed places the thumb in
opposition to the fingers on the hand,
allowing grips like Pinch and Power.
Non-Opposed places the thumb
parallel with the fingers of the hand
and allows grips like Key and Finger
Point.
Opposed Non-Opposed
10
The hand is supplied preset in Mode 4. This provides
two input operation with proportional control of grip and
speed. Speed and grip force are set to maximum.
To alternate between the default and alternative grip
pattern, an OPEN OPEN signal must be applied (i.e. the
hand must be fully opened, the signal relaxed and then
a second open signal supplied). To alternate between
the primary grip pattern table and secondary grip pattern
table, press the Program Switch for less than two
seconds. The Auto Grip feature is turned off.
Introduction
Primary Opposed
Default - Tripod
Alternative - Power
Primary Non-Opposed
Default - Key
Alternative - Finger Point
Secondary Opposed
Default - Active Index
Alternative - Tripod
Secondary Non-Opposed
Default - Column
Alternative - Mouse
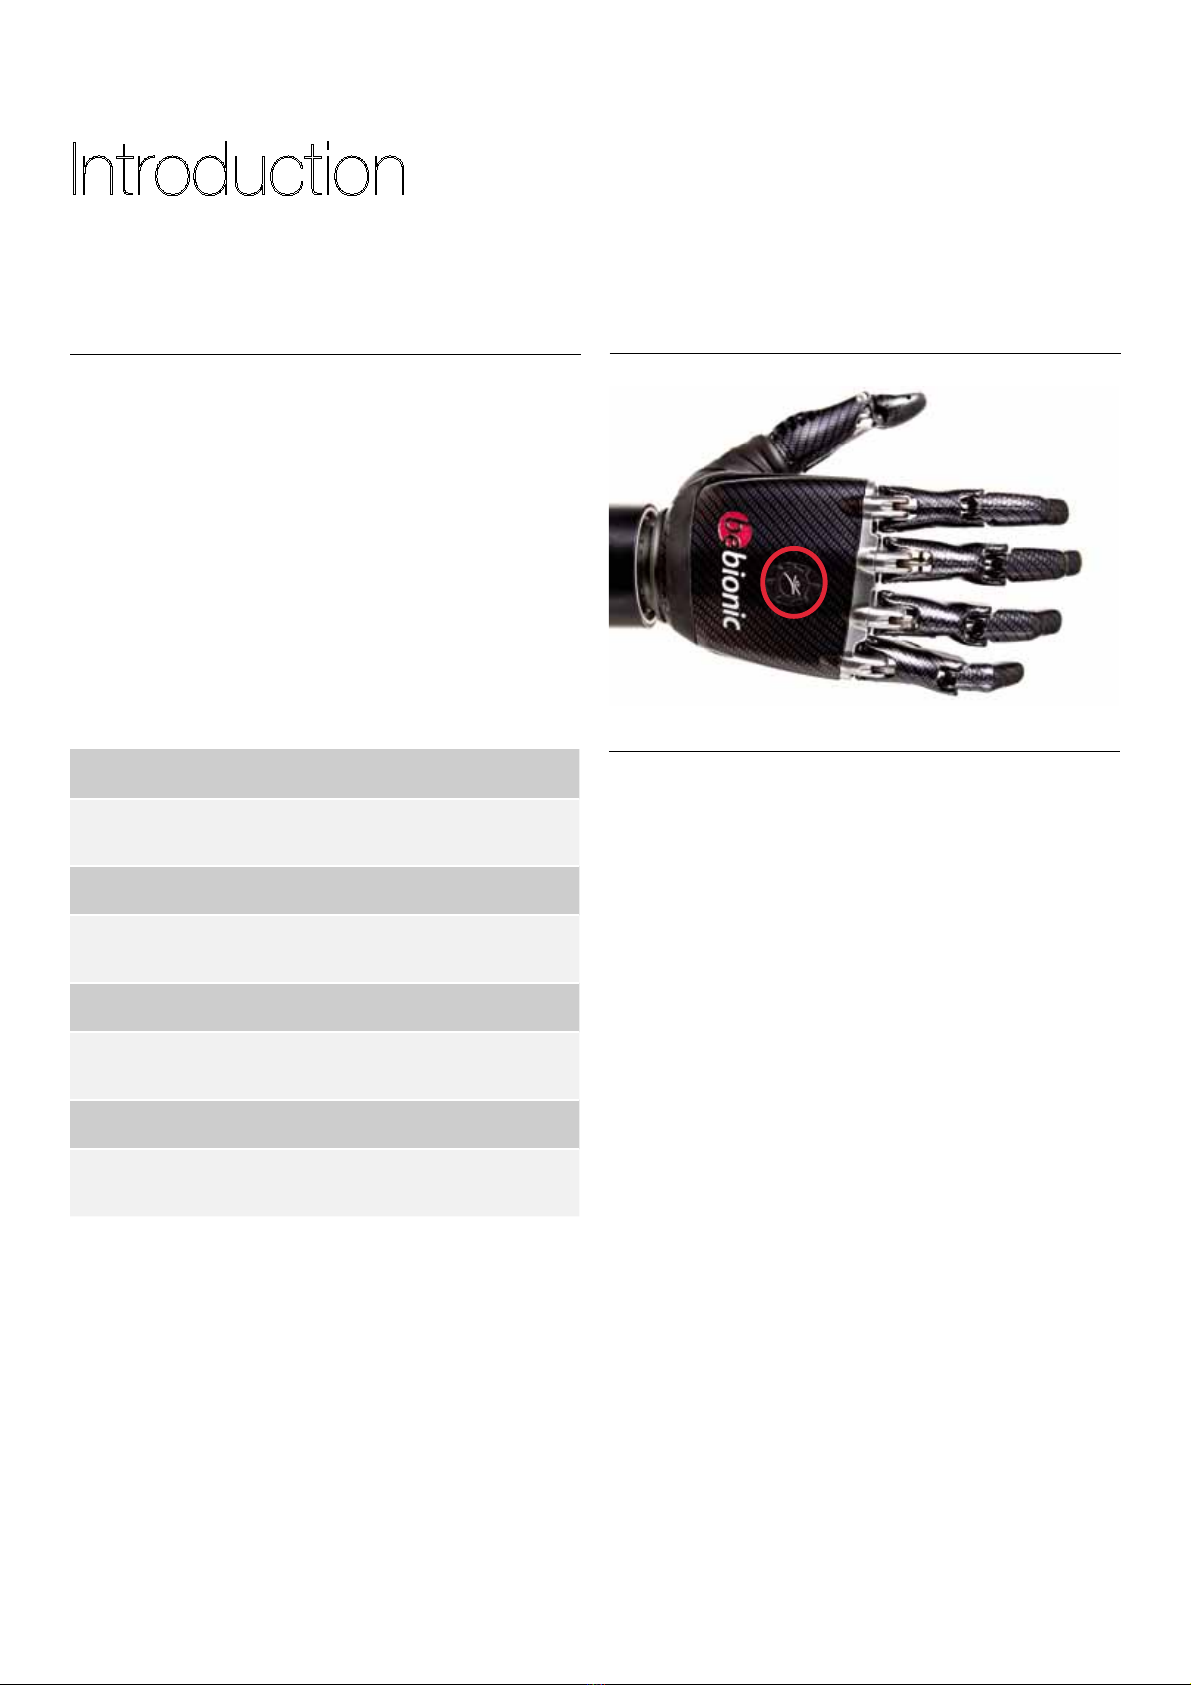
A Program Switch is provided on the back of the hand.
This has four functions;
1. Switch the hand ON and OFF
A single press for approximately three seconds will
switch the hand OFF. A single press for more than two
seconds will switch the hand ON.
2. Alternate between the primary and secondary
grip patterns
When the hand is switched ON, a single press of less
than two seconds will alternate between the primary and
secondary grip patterns. This will be accompanied by
a short bleep and vibration (if activated on bebalance).
3. Enable / disable the in-hand RF dongle
With the hand switched ON, a single press for more
than four seconds will enable the RF module. Pressing
the switch again for more than two seconds or
disconnecting the power to the hand will disable the RF
module.
4. Enter / exit glove mode as follows
With the hand switched OFF, press the switch until the
thumb begins to drive in. Then release the switch.
2.2 Program Switch
2.1 Factory Settings
Table of contents
Other be bionic Medical Equipment manuals


