MIC / LINE Switches
To connect a microphone to either channel of the DXA-4, set the
corresponding MIC/LINE switch to MIC. To connect a line level
output from a mixer to the DXA-4, set the MIC/LINE switch to LINE to
activate a 40 dB pad. This attenuates the signal to the proper level so
that it will not overdrive the input of your camcorder.
Trim Controls
Camcorders use automatic gain control (AGC) to adjust the optimum
audio level for recording. If your camcorder has no way of disabling
this feature, the adapter can still be used to adjust the input levels but
will not override the AGC circuitry. The DXA-4 trim controls should
normally be set as high as possible to achieve the maximum signal
to noise ratio. If necessary, adjust either the left or right trim control
to balance both inputs so they are of equal amplitude. Try to avoid
adjusting the trim controls on the adapter while recording as this may
introduce contact noise from turning the potentiometers - instead, set
the levels prior to recording.
If your camcorder allows you to switch the AGC off, you can use this
option for manual control over the audio levels. For the best signal to
noise performance, the trim controls on the DXA-4 should normally
be set as high as possible. If necessary, adjust either the left or right
volume control to balance both inputs so they are of equal amplitude.
Then set the desired recording level with the manual level control on
the camcorder. Use this same control (not the adapter controls) to
ride the levels during recording.
As a guide, the recording levels should be no higher than -12 dBFS
(-12 dBV below maximum). Please refer to your camcorder’s user
manual for more information on setting the proper recording levels.
Record
You are now ready to record your audio. With the use of a quality
professional microphone, you should be able to get very clean audio
for superb sound. Happy recording!
©2008 BeachTek Inc.
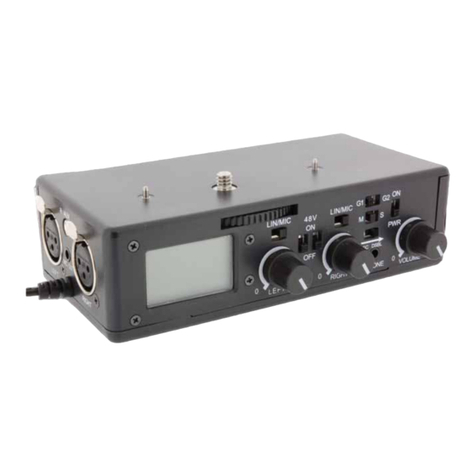
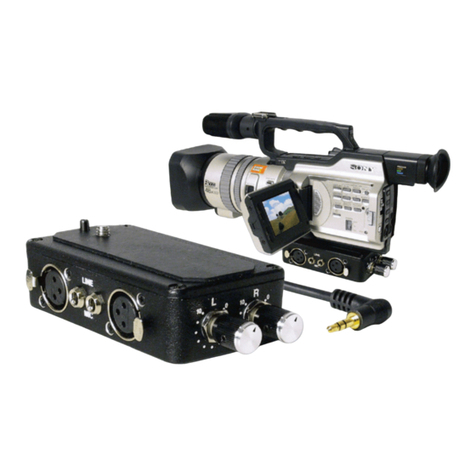
The DXA-4 (DXA-4P) Dual XLR Adapter allows you to attach two
balanced XLR audio devices to your camcorder. Each input signal is sent to a
MIC/LINE switch to allow you to set the proper level, then to an audio control to
adjust attenuation. The balanced input signal is then converted to an unbalanced
output through an impedance matching transformer. Finally, the output signal is
sent through an attached shielded cable terminating in a stereo mini-plug that
connects to your camcorder’s microphone jack.
The auxiliary input allows you to attach wireless microphones that use standard
mini-plug connectors. This signal is sent to the right channel.
A switch lets you select between stereo or mono operation. For stereo operation,
the adapter sends the left input signal to the left channel and the right input to
the right channel. The two channels are never mixed allowing you to access
both channels during editing for maximum versatility. For mono operation, both
channels are mixed together - ideal when using only one audio source to give
you two channel recording.
We recommend the use of sensitive condenser type microphones for the best
results. Dynamic microphones usually do not have sufficient output levels and
may result in an excessive amount of hiss from the high level of amplification
necessary by the camera’s audio preamps. Microphones with a sensitivity rating
of greater than -40 dBV are ideal.
Operation
Mount the DXA-4 securely to the tripod bushing on the under
side of your camcorder. Connect the cable from the DXA-4 to the
camcorder’s microphone jack. Be sure to set the input of the camera
to “MIC”. The camcorder’s onboard microphone should now be
disabled. You are now ready to attach external audio devices to the
adapter.
AUX Input
To attach audio devices with mini-jack connectors, use the AUX input
on the adapter. This sends the signal to the right input and you should
therefore disconnect any cables from the right XLR connector to
avoid interference.
MONO / STEREO Switch
Normally you would use the STEREO position when recording from
two audio sources and MONO when using a single sound source.
When in MONO mode, be sure to keep the volume control for the
unused channel fully clockwise to reduce the loading effect on the
working channel.
