manuals.online logo
Brands
  1. Home
  2. •
  3. Brands
  4. •
  5. BED BATH & Beyond
  6. •
  7. Indoor Furnishing
  8. •
  9. BED BATH & Beyond Bedside User manual

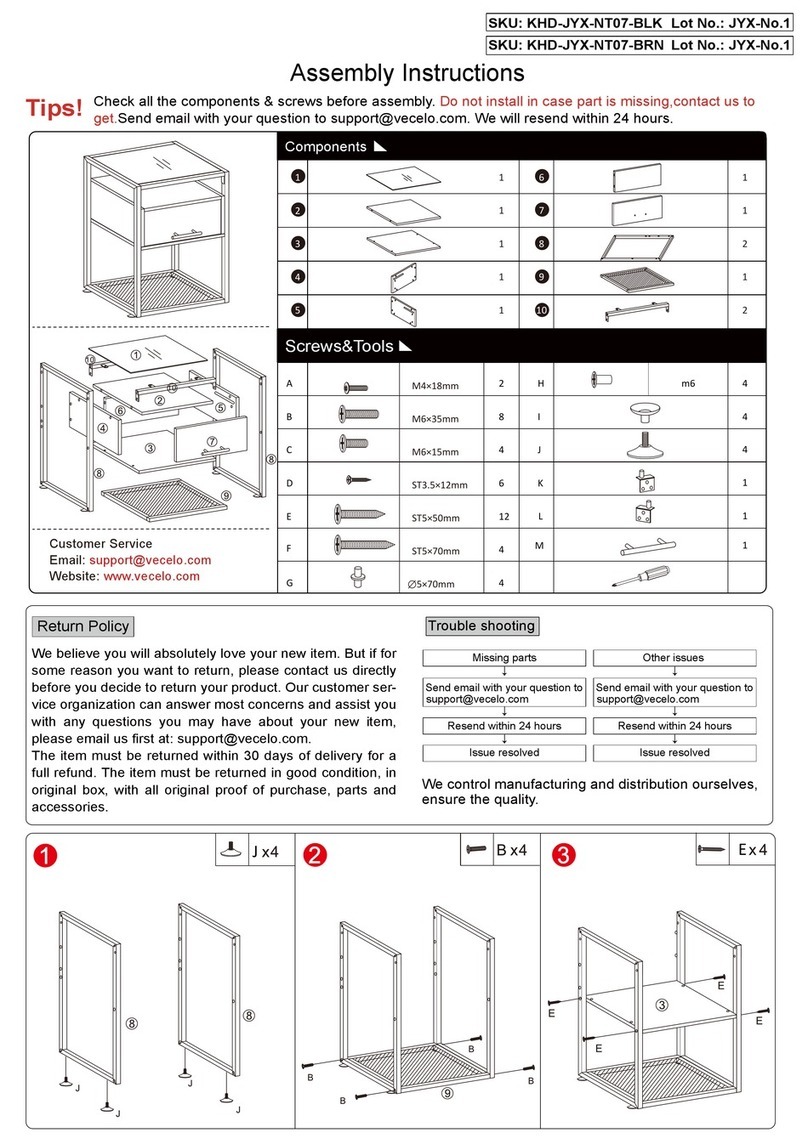
BED BATH & Beyond Bedside User manual

1
2
please read the entire manual before starting to assemble
and/or using this product.follow the manual thoroughly and
keep it for further reference.
IMPORTANT INFORMATION!
It is important that any product which is assembled using any kind of screw is re-tightened
2 weeks after assembly,and once every 3 months - in order to assure stability through-out
the lifespan of the product.
For regular maintenance and cleaning of the product, for the frame, please use a rag dipped
in neutral detergent to fully wipe it, and then dry it with a clean rag.For glass materials, wipe
with a rag dampened with water glass cleaner, and then dry with a dry rag.
Do not use an electric screwdriver, and do not use too much force when installing, because
the board is easy to break.
IMPORTANT !
Overturned furniture can cause serious or fatal crush injuries. To prevent tipping over, be sure
to use the wall attachment, if not included with this product. Please purchase the wall
attachment that fit your wall. If unsure, seek professional advice. Please read and follow each
step of the instructions carefully.
ANTI-TOPPLE WARNING !
Try to find a partner to install
with you, which can speed up
the installation efficiency and
shorten the time.
IMPROVE EFFICIENCY !
In order to avoid scratching this
furnuture should be assembled
on a soft layer-could be a rug.
AVOID SCRATCHES!
A x 50 B x 66
7 x 31 mm
C x 24 D x 14
E x 8 F x 6 H x 26
J x 13
G x 9
8 x 30 mm
15 x 11 mm 3.5 x 14 mm
K x 1
6 x 74 mm 4 x 25 mm 4 x 35 mm
3
Please prepare the following tools
1
2
3
3
4
4
5
6
12
7
8
12
9
9
9
10
10
11
11
4
Board Identification
5
6
12
5
6
5
1
- Insert wood dowels (C) into
panel (5) & (6) .
- Attach panel (5) to (6) and lock
with cam (B) .
- Attach panel (12) to (5) & (6)
with screw (G) .
6 x 74 mm
E x 2
8 x 30 mm
C x 2 B x 4
4 x 25 mm
G x 4
15 x 11 mm
B
E
C
B
G
G
12
LEFT
RIGHT
LEFT
RIGHT
6
2
123
- Attach foot (F) to panel (5) & (6)
with screw (H) .
- Screw the cam bolt (A) into the
panel (5) & (6) .
F x 6
4 x 35 mm
H x 24
7 x 31 mm
A x 14
H
F
ROTATE 180°
A
(Attention:Cam bolt & Insert
nut need to be put together)
5
6
5
6
1
2
1
212
7
3
6 x 74 mm
E x 2
8 x 30 mm
C x 2 B x 4
15 x 11 mm
- Insert wood dowels (C) into
panel (1) & (2) .
- Attach panel (1) to (2) and lock
with cam (B) .
- Attach panel (12) to (1) & (2)
with screw (G) .
B
E
C
B
G
G
12
4 x 25 mm
G x 4
LEFT
RIGHT
1
2
10
11
X2
X2
8
4
123
7 x 31 mm
A x 30
- Screw the cam bolt (A) into the
panel (1) & (2) & (10) & (11).
A
(Attention:Cam bolt & Insert
nut need to be put together)
LEFT
RIGHT
8
7
10
11
X2
9
5
- Attach panel (7) to (8) and lock
with cam (B)
- Insert wood dowels (C) into
panel (10) & (11) .
- Attach panel (10) to (11) and
lock with cam (B) .
1 2 3
6 x 74 mm
E x 4
8 x 30 mm
C x 2 B x 8
15 x 11 mm
E
CB
B
B
B
E
LEFT
RIGHT
3X2
4X2
10
6
1 2 3
- Screw the cam bolt (A) into the
panel (3) .
- Insert wood dowels (C) into
panel (3) & (4) .
A
(Attention:Cam bolt & Insert
nut need to be put together)
C
7 x 31 mm
A x 4
8 x 30 mm
C x 16
3
4
4
X2
11
7
- Fix part (J) to plate (3) & (4)
using screw (D) as shown.
ROTATE 180°
3.5 x 14 mm
D x 12
D
J
D
J X 12
7
8
3
3
12
8
- Attach panel (3) to (7) & (8) and
lock with cam (B).
15 x 11 mm
B x 4
B
7
8
5
6
3
3
13
9
- Attach panel (5) & (6) to (3) &
(7) & (8) and lock with cam (B).
B
15 x 11 mm
B x 10
4
4
5
6
14
10
15 x 11 mm
B x 4
- Attach panel (4) to (5) & (6) and
lock with cam (B).
B
9
9
9
15
11
- Place glass panel (9) at the slots
of part (J) and fix it .
- Insert the lamp trough into the
glass
K x 1
J
1
2
3
4
4
3
7
8
16
12
15 x 11 mm
B x 14
- Attach panel (1) & (2) to (3) &
(4) & (7) & (8) and lock with cam
(B).
B
10
11
10
11
5
6
1
2
17
13
15 x 11 mm
B x 16
- Attach panel (10) & (11) to (1) &
(2) & (3) & (5) & (6) and lock with
cam (B).
B
3
3
18
14
- Installation complete.
19
15
1.Connected power adapter to the RGB control box .
-Specifications of battery:cr2025 3v
-LED lamp with effective remote control distance of 5 meters
2.Take out the remote control gasket
3.Align romote controller to the RGB Control box to adjust the
color mode
20
16
Click to display
settings view
Adjust the color
Click spuare icon
to adjust the color
Click to shift
the interface
Switch the
color wheel
Click to show
the lamp list
APP PROGRAM USAGE
Scan two-dimensional code download APP
Connect LED color strip and controller,
power on controller
Scan two-dimensional code download APP:
Start APP, search and connect controller
Enjoy the Bluetooth wireless control
experience
1
2
3
4
LED mobile phone Bluetooth
controllerProduct Features
- LED Bluetooth controller is directly via
mobilephone control remote distance can reach
20m without the need to set up, easy to connect
open the software within 5 seconds you can
automatically connect the controller
- Flow the rhythm of the music changes
- Group control
- Brightness, speed addition and subtraction
- Maximum can be 10 meters RGB(W) strip
- The software shows that the text is based
onthe language of the mobile phone set up
automatic transformation of Chinese and English
Animation Effect:
- Colorful gradient
- All kinds of monchrome, double color gradient
- All kinds of monochrome, double color,colorfull
flashing
- Colorful jump
- Follow the thythm of the music chagnes
Product Paramters:
- Bluetooth: BLEV4.2
- Input Voltage:4.5~26V
- Working Temp:-25~75℃
- Size:43*22*11mm
- Weight:30g
-Max Power:144W(24V)

Other BED BATH & Beyond Indoor Furnishing manuals
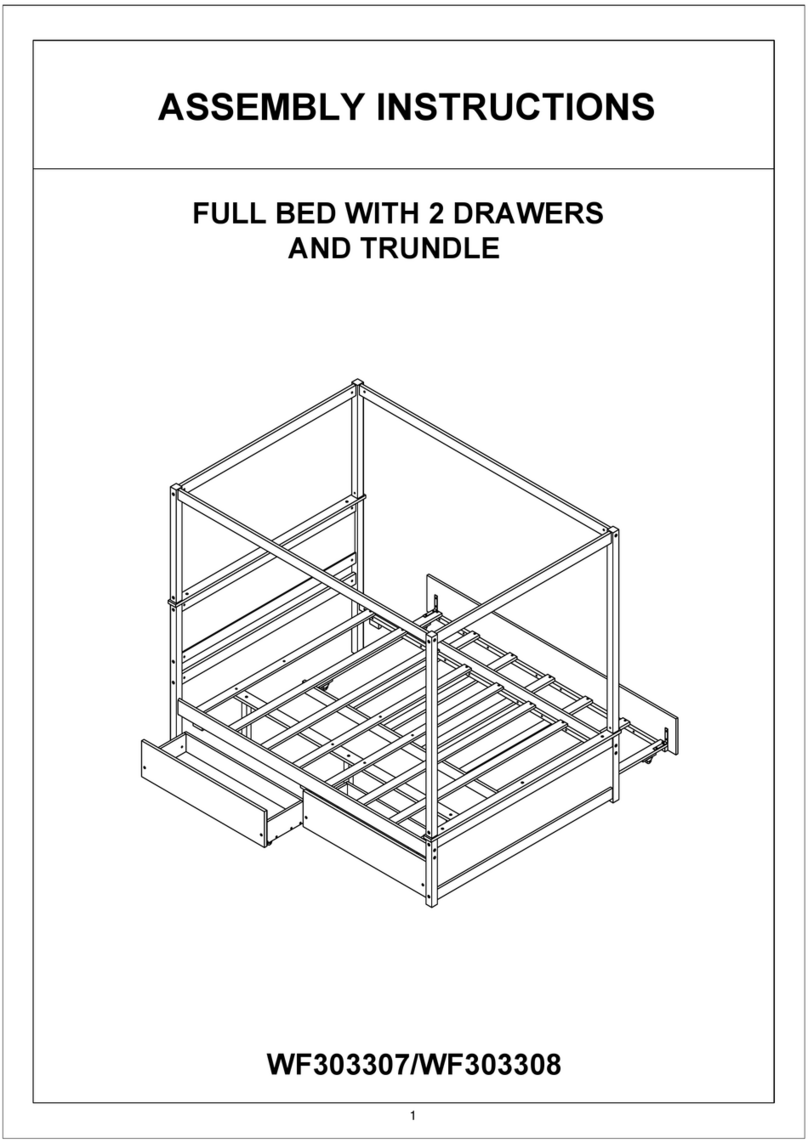
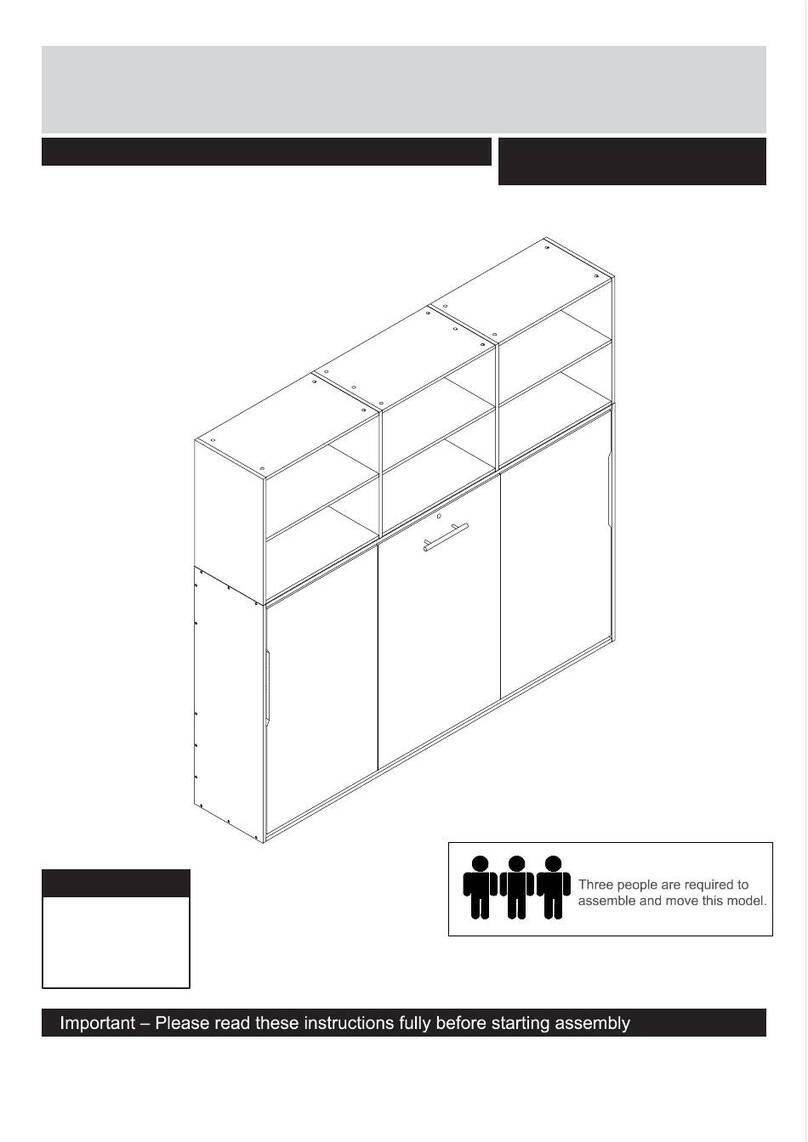
BED BATH & Beyond WF303307 User manual
BED BATH & Beyond

BED BATH & Beyond WF303307 User manual

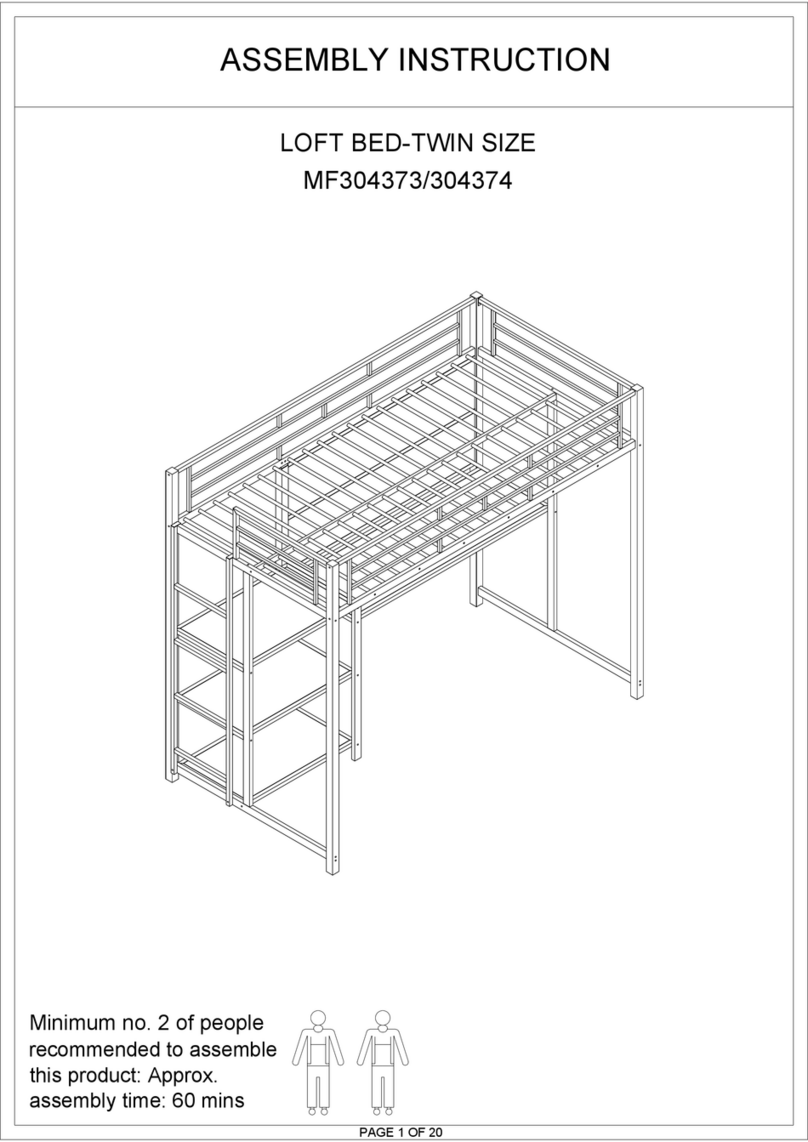
BED BATH & Beyond MF304373 User manual

BED BATH & Beyond

BED BATH & Beyond MF304373 User manual

BED BATH & Beyond CM669T54-MT-3X User manual

BED BATH & Beyond

BED BATH & Beyond CM669T54-MT-3X User manual

BED BATH & Beyond BEE & WILLOW home User manual

BED BATH & Beyond

BED BATH & Beyond BEE & WILLOW home User manual

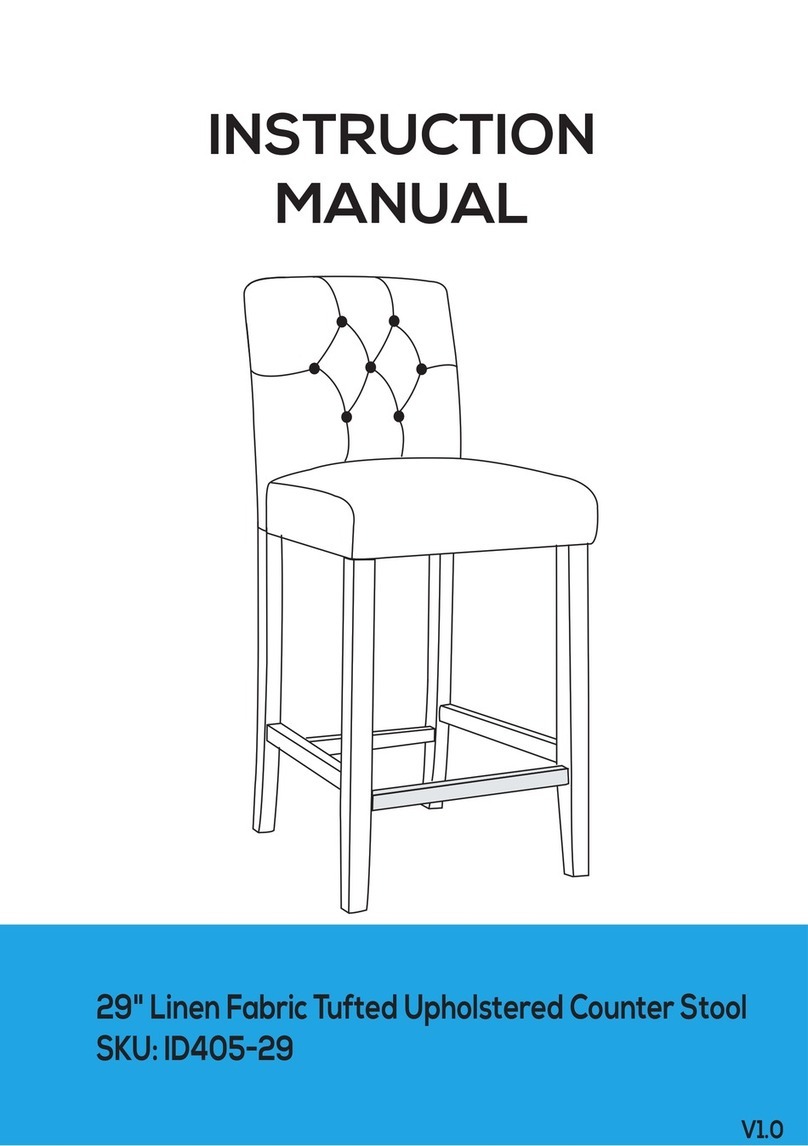
BED BATH & Beyond ID405-29 User manual
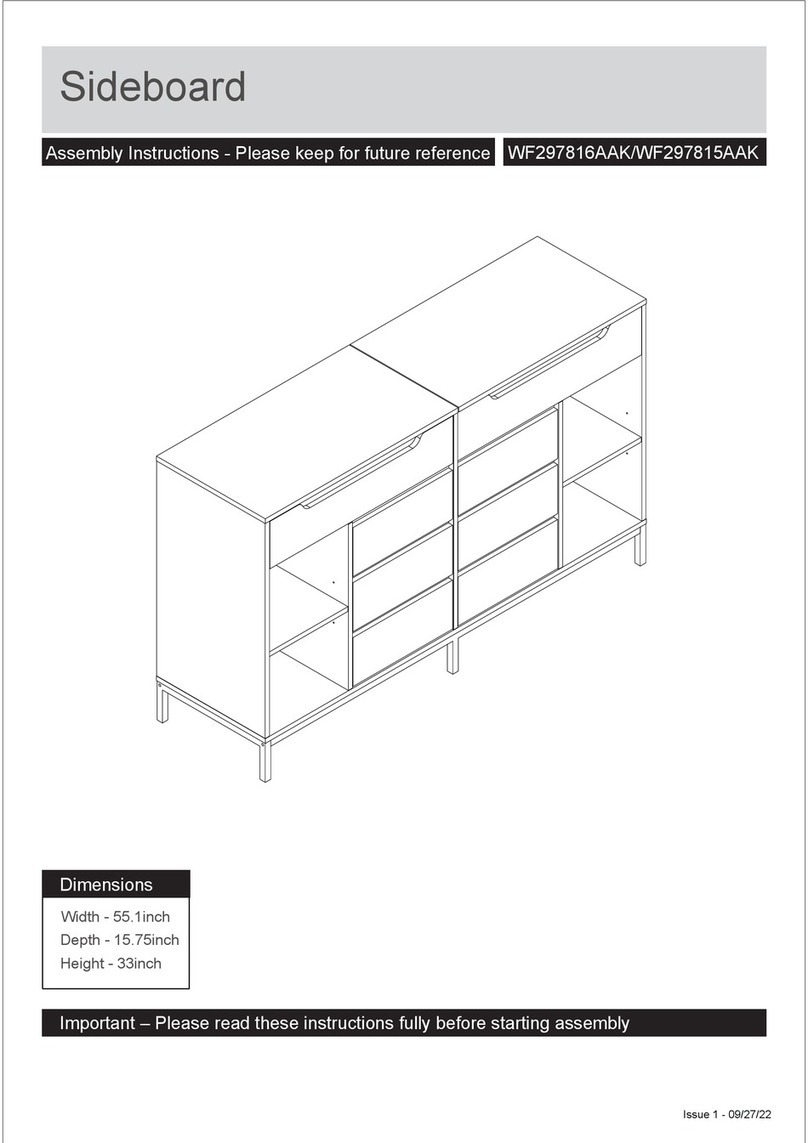
BED BATH & Beyond

BED BATH & Beyond ID405-29 User manual

BED BATH & Beyond Murphy WF650111474 User manual

BED BATH & Beyond

BED BATH & Beyond Murphy WF650111474 User manual

BED BATH & Beyond AN1114 User manual

BED BATH & Beyond

BED BATH & Beyond AN1114 User manual

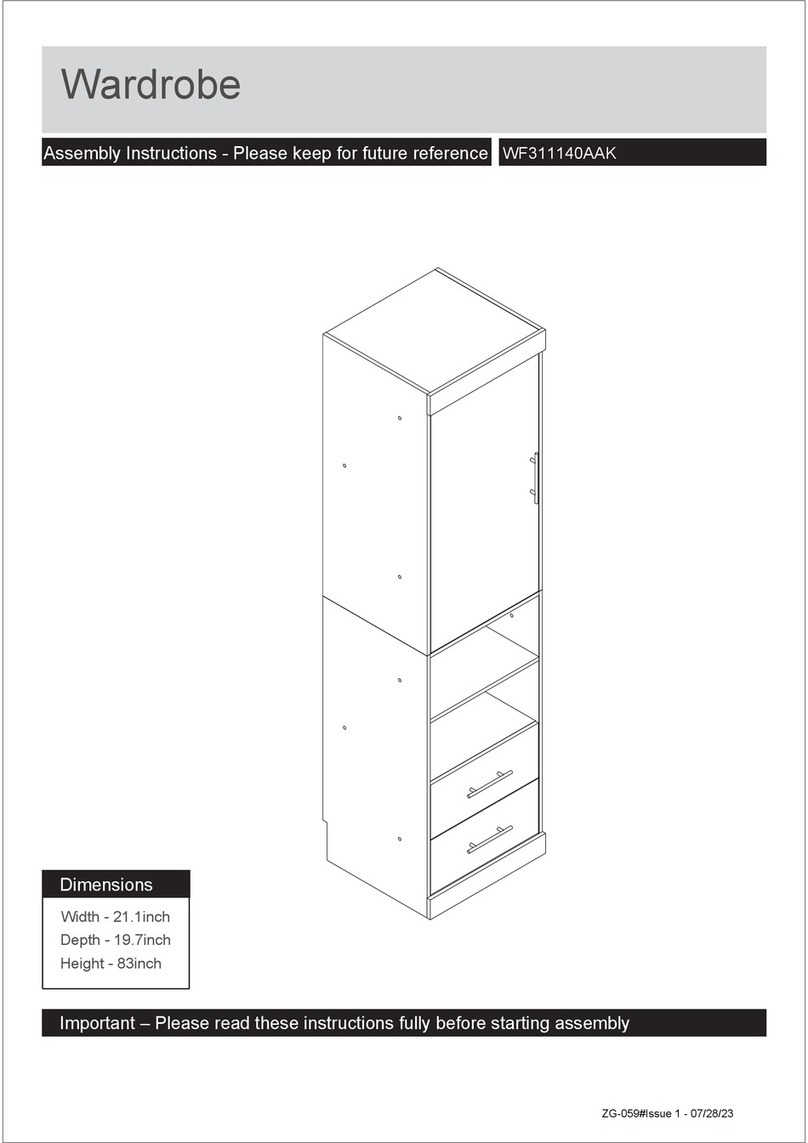
BED BATH & Beyond WF311140AAK User manual

BED BATH & Beyond

BED BATH & Beyond WF311140AAK User manual

BED BATH & Beyond WF306306AAA User manual

BED BATH & Beyond

BED BATH & Beyond WF306306AAA User manual

BED BATH & Beyond KHD-JYX-NT07-BLK User manual

BED BATH & Beyond

BED BATH & Beyond KHD-JYX-NT07-BLK User manual

BED BATH & Beyond WF310379 User manual

BED BATH & Beyond

BED BATH & Beyond WF310379 User manual

BED BATH & Beyond WF307312AAE User manual

BED BATH & Beyond

BED BATH & Beyond WF307312AAE User manual

BED BATH & Beyond HEFTRLWF-01FBMXWUD User manual

BED BATH & Beyond

BED BATH & Beyond HEFTRLWF-01FBMXWUD User manual

BED BATH & Beyond C1024 User manual

BED BATH & Beyond

BED BATH & Beyond C1024 User manual

BED BATH & Beyond GSI22X3 User manual

BED BATH & Beyond

BED BATH & Beyond GSI22X3 User manual

BED BATH & Beyond C3063 User manual

BED BATH & Beyond

BED BATH & Beyond C3063 User manual

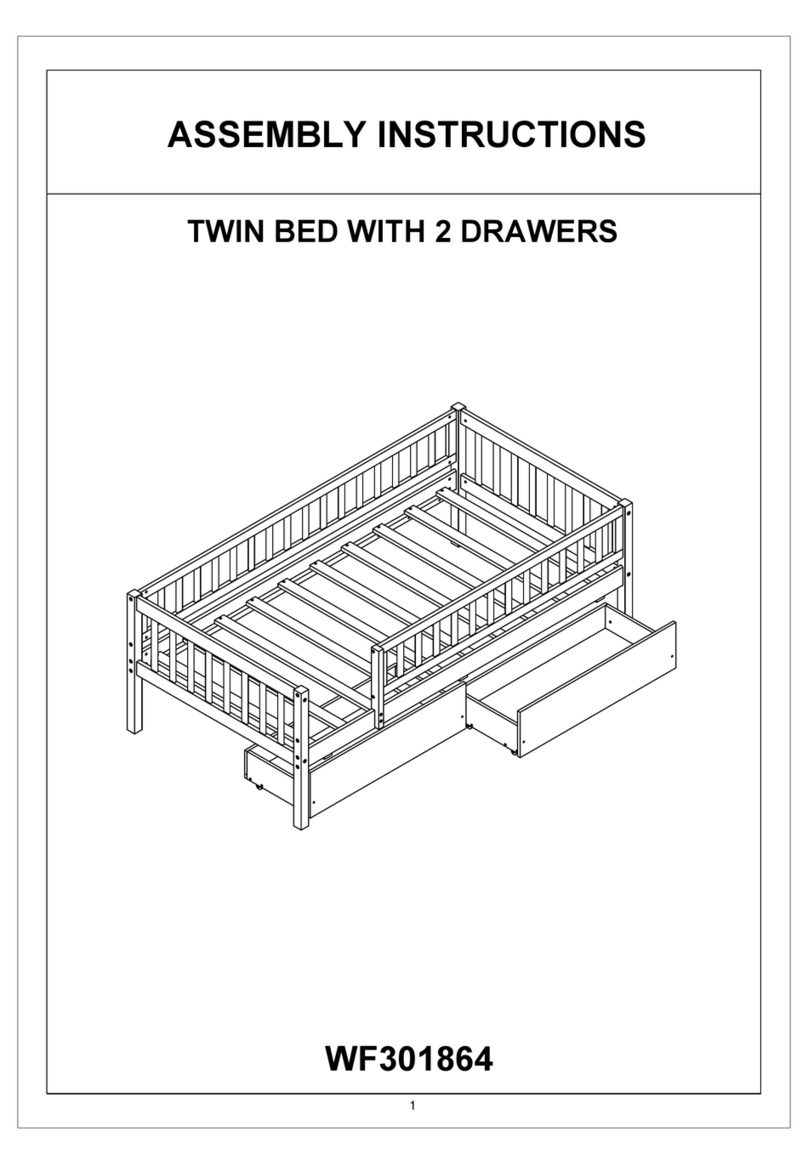
BED BATH & Beyond WF301864 User manual

BED BATH & Beyond

BED BATH & Beyond WF301864 User manual

BED BATH & Beyond C3012T43-HKW/AGY-5X User manual

BED BATH & Beyond

BED BATH & Beyond C3012T43-HKW/AGY-5X User manual

BED BATH & Beyond WF303092 User manual

BED BATH & Beyond

BED BATH & Beyond WF303092 User manual

BED BATH & Beyond FALCON WF306943 User manual

BED BATH & Beyond

BED BATH & Beyond FALCON WF306943 User manual

BED BATH & Beyond BM296142 User manual

BED BATH & Beyond

BED BATH & Beyond BM296142 User manual

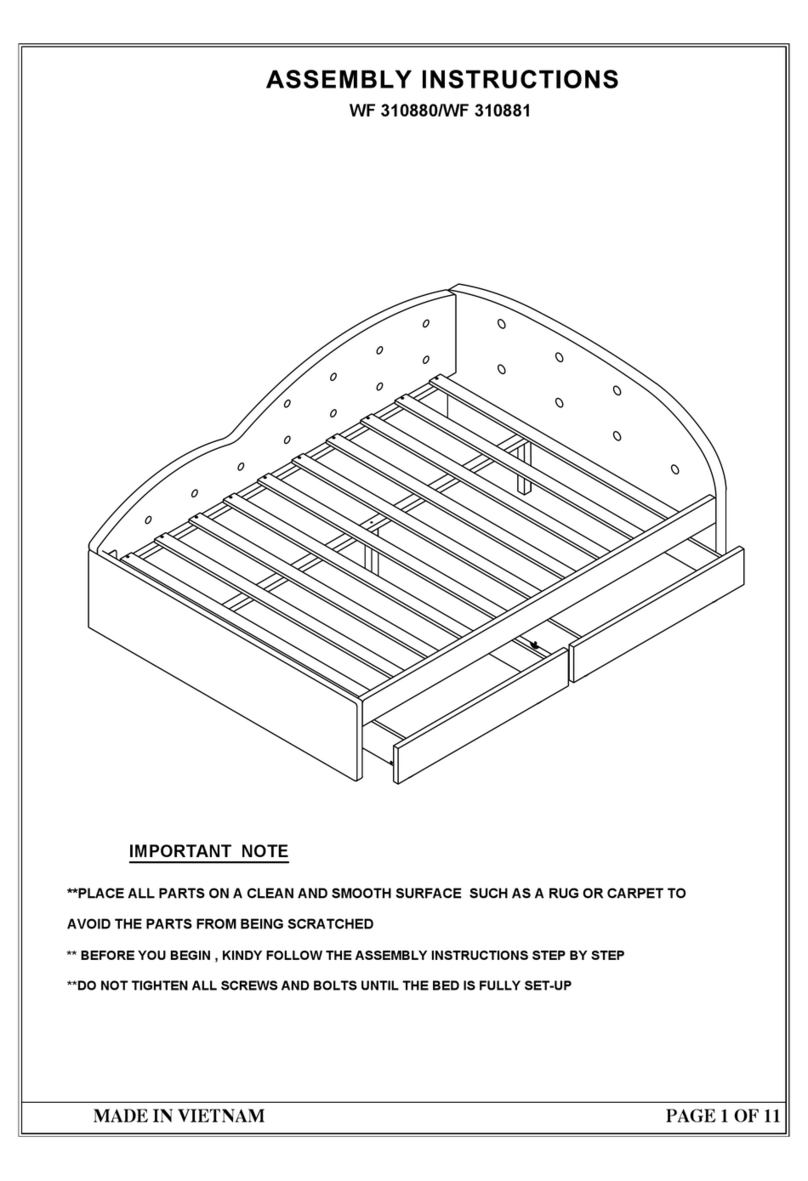
BED BATH & Beyond WF 310880 User manual

BED BATH & Beyond

BED BATH & Beyond WF 310880 User manual

BED BATH & Beyond PP298024 User manual

BED BATH & Beyond

BED BATH & Beyond PP298024 User manual

BED BATH & Beyond WF297816AAK User manual
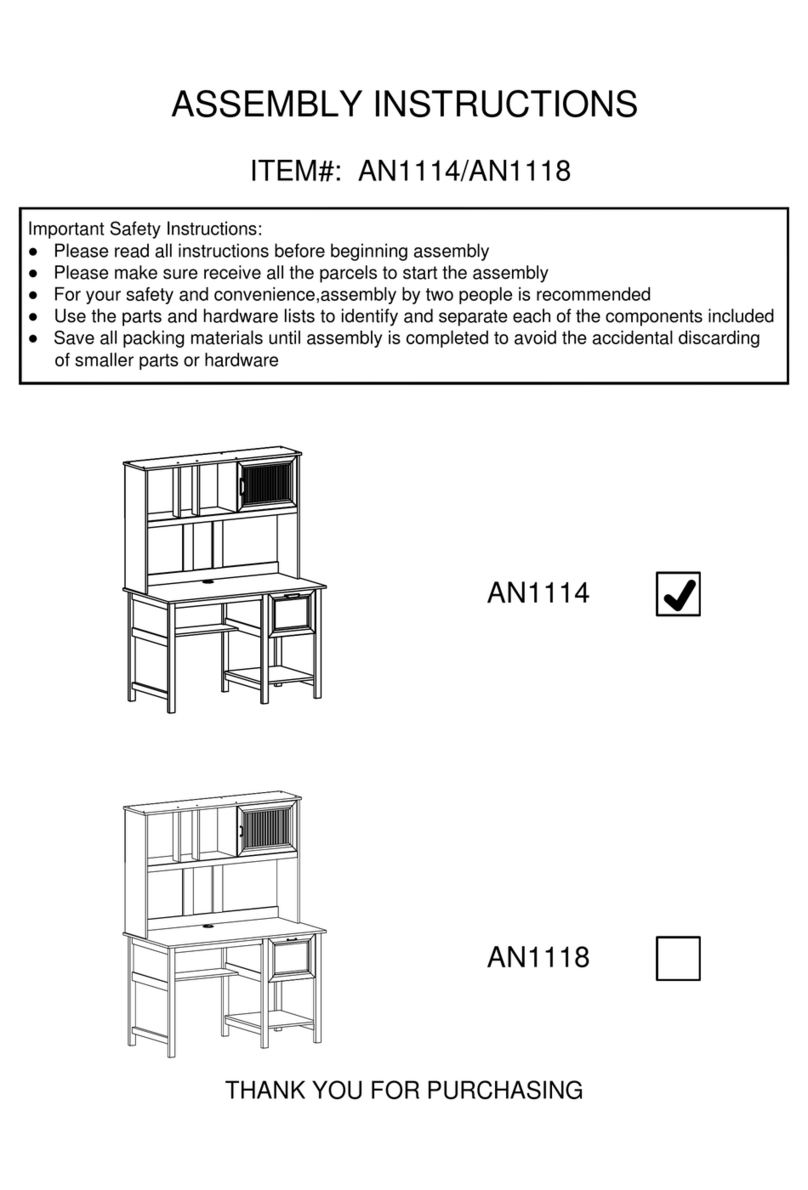
BED BATH & Beyond

BED BATH & Beyond WF297816AAK User manual

Popular Indoor Furnishing manuals by other brands

BIRCH LANE HXW-CK501-1BLK Product instructions

BIRCH LANE

BIRCH LANE HXW-CK501-1BLK Product instructions

MARCKERIC 14713 Assembly instructions

MARCKERIC

MARCKERIC 14713 Assembly instructions

Coaster 509428LTGRY Assembly instructions

Coaster

Coaster 509428LTGRY Assembly instructions

OVE KANSAS 18 installation manual

OVE

OVE KANSAS 18 installation manual

SIHOO DORO-C300L-A3 Product installation guide

SIHOO

SIHOO DORO-C300L-A3 Product installation guide

Next CAILIN 499981 Assembly instructions

Next

Next CAILIN 499981 Assembly instructions

CARELIINE SAVVY 6200 Manual and user guide

CARELIINE

CARELIINE SAVVY 6200 Manual and user guide

Octane Seating Seat Connector Kit instructions

Octane Seating

Octane Seating Seat Connector Kit instructions

MELINERA 305911 Instructions for use

MELINERA

MELINERA 305911 Instructions for use

Schildmeyer Diona 647250 Assembly instructions

Schildmeyer

Schildmeyer Diona 647250 Assembly instructions

CARTOTECNICA GIOLAN Assembly instructions

CARTOTECNICA

CARTOTECNICA GIOLAN Assembly instructions

Williams-Sonoma Wire Cage For Carson 12in Shades Assembly instructions

Williams-Sonoma

Williams-Sonoma Wire Cage For Carson 12in Shades Assembly instructions

IKEA BESTA ENON AA-204866-4 Assembly instructions

IKEA

IKEA BESTA ENON AA-204866-4 Assembly instructions

Sony SU-27HX1 instructions

Sony

Sony SU-27HX1 instructions

Home Styles 88 5527 15 quick start guide

Home Styles

Home Styles 88 5527 15 quick start guide

Moe's VE 1001-03 Assembly instructions

Moe's

Moe's VE 1001-03 Assembly instructions

HumbleCrew CT642 Assembly instructions

HumbleCrew

HumbleCrew CT642 Assembly instructions

RIGHT ANGLE NewHeights 4 LT Series Assembly

RIGHT ANGLE

RIGHT ANGLE NewHeights 4 LT Series Assembly

manuals.online logo
manuals.online logoBrands
  • About & Mission
  • Contact us
  • Privacy Policy
  • Terms and Conditions

Copyright 2025 Manuals.Online. All Rights Reserved.