Dishwasher / User’s Manual 9 / 34
EN
3Installaton
To make the product ready for use,
make sure that the electrcty, tap water
supply and water dranage systems are
approprate before callng the Authorsed
Servce Agent. If they are not, call a
qualfed techncan and plumber to have
any necessary arrangements carred out.
C
Preparaton of the locaton
and electrcal, tap water and
waste water nstallatons at the
place of nstallaton s under
customer's responsblty.
B
Manufacturer shall not be held
responsble for damages arsng
from processes carred out by
unauthorsed persons.
A
Pror to nstallaton, vsually
check f the product has any
defects on t. If so, do not have
t nstalled. Damaged products
cause rsks for your safety.
C
Make sure that the water nlet
and dscharge hoses are not
folded, pnched or crushed
whle pushng the product nto
ts place after nstallaton or
cleanng procedures.
When placng the product, pay attenton
not to damage the floor, walls, ppng, etc.
Do not hold the product from ts door or
panel to move t.
Approprate nstallaton
locaton
•Place the product on a sold and flat
floor that has suffcent load carryng
capacty! The product must be
nstalled on a flat surface n order for
the door to be closed comfortably and
securely.
•Do not nstall the product at places
where temperature may fall below
0ºC.
•Place the product on a rgd floor. Do
not place t on a long ple rug or smlar
surfaces.
B
Ensure the power cable does
not get trapped under the
product.
•Make sure that you select a locaton
that wll allow you to load and unload
the dshes n a fast and comfortable
manner.
•Install the product n a place close
to the tap and the dran. Select the
nstallaton locaton by consderng
that t wll not be changed after the
connectons are made.
Connectng water supply
•Do not use old or used water nlet
hose on the new product. Use the new
water nlet hose suppled wth the
product.
•Connect the water nlet hose drectly
to the water tap. Pressure comng
from the tap should be mnmum 0.3
and maxmum 10 bars. If the water
pressure exceeds 10 bars, a pressure
relef valve should be nstalled n
between.
•Open the tap completely after makng
the connectons to check for water
leaks.
A
For your safety, close the water
nlet tap completely after the
washng programme s over.
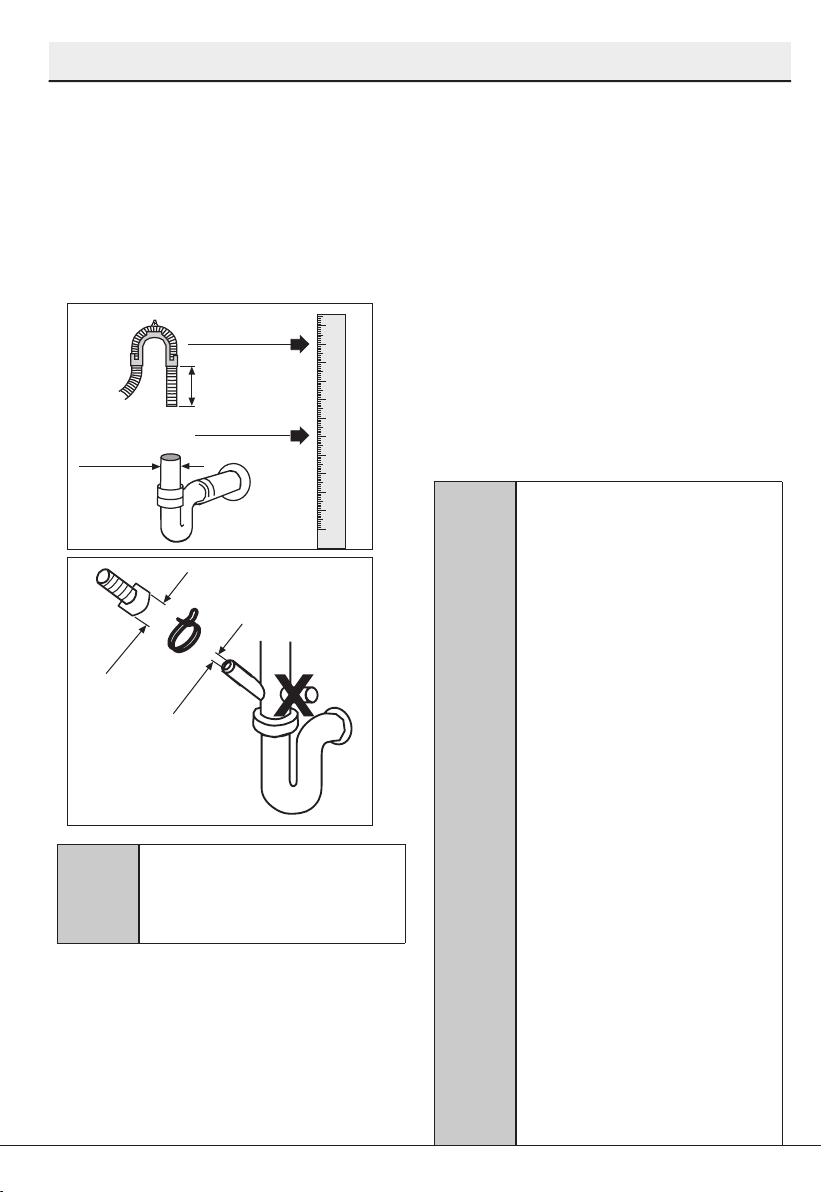
Connecton to the dran
Water dscharge hose can drectly be
connected to the dran hole or snk’s
dranage. The length of ths connecton
must be mn. 50 cm and max. 100 cm from