Table
of
Contents
1
General
information...............
4
NEMEN
nama
handaan
ANN
4
Technical
specifications
.......................
5
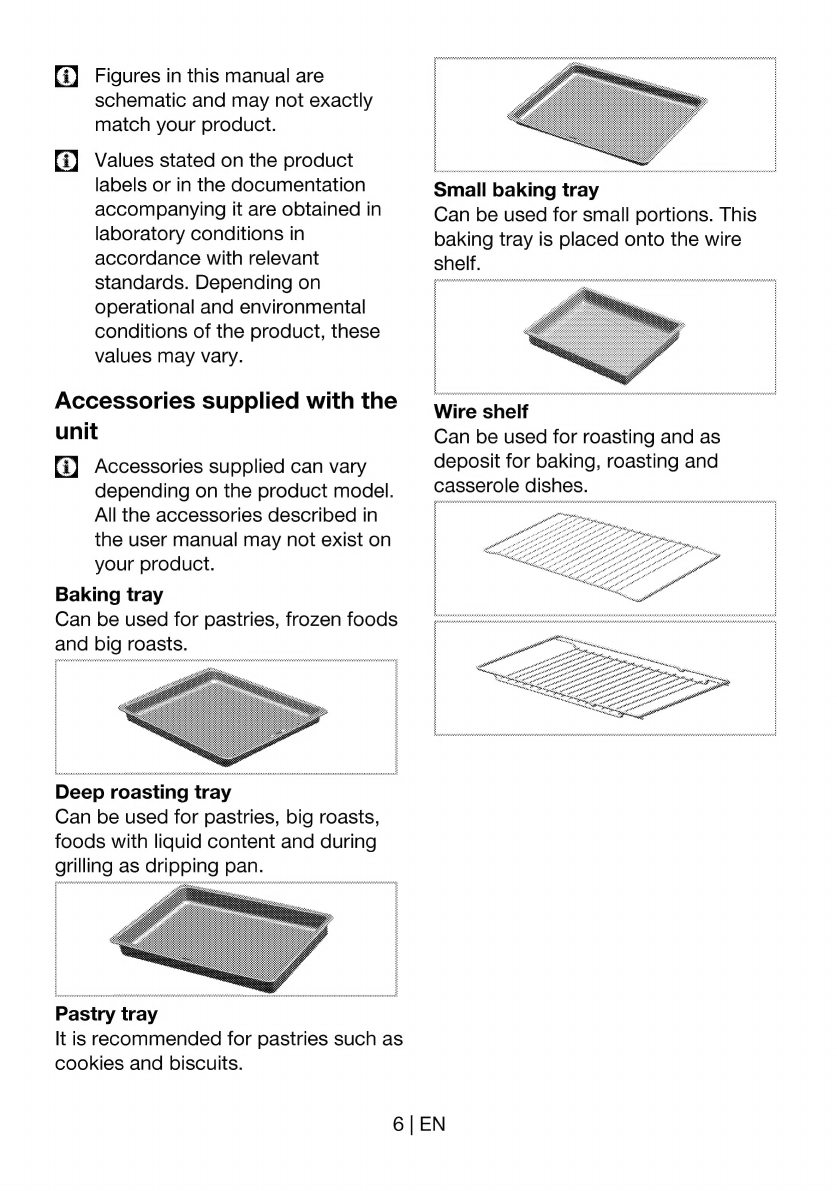
Accessories
supplied
with
the
unit.......
6
2
Safety
instructionsS.................
8
General
Safety............ccccsseccssseesseeeeeeeeees
8
Safety
when
working
with
electricity
.9
mended
WSC
AA
AA
9
Safety
for
children..............................
9
3
Installation...
10
Before
installation
...............................
10
Installation
and
connection.................
10
Disposal
aaa
ANAN
ANA
12
Disposing
of
packaging
material
.....12
Disposing
of
the
old
product
...........
12
Future
Transportation
......................
13
4
Preparation
.......::cccscseeseeseeees
14
Tips
for
saving
energy
...................ssan.
14
Initial
operation
..................
14
First
cleaning
of
the
appliance.........
14
Initial
heating
...................................
14
5
How
to
use
the
hob
.............
16
General
information
on
cooking..........
16
HOW
to
USC
NODS
eesisdeaccvecesieerecertnetacdy
ys
17
6
How
to
operate
the
oven
.....
18
General
information
on
baking,
roasting
and
Gnl
Ornan
18
How
to
use
the
electric
oven
..............
19
How
to
operate
the
top
oven
part.......
21
How
to
operate
the
grill
-Top
oven
.....21
Top
oven
cooking
times
table
for
el]
|
ele
AA
ARA
22
Maintenance
and
care
.........
23
General
information
............................
23
How
to
clean
the
hob..........................
23
Cleaning
the
control
panel
..................
23
Cleaning
the
oven
...................
23
Removal
top
oven
door
......................
24
Removing
the
door
inner
glass
...........
25
Replacing
the
oven
lamp
....................
25
8
Troubleshooting
...................
26
9
Guarantee
and
Service
........
27
3
|
EN