11/35 EN
Refrigerator / User Guide
3Installation
3.1. Right place for installation
Contact the Authorized Service for the
product's installation. To ready the product
for installation, see the information in the
user guide and make sure the electric and
water utilities are as required. If not, call an
electrician and plumber to arrange the utilities
as necessary.
B
The manufacturer
assumes no responsibility for any
damage caused by the work carried
out by unauthorized persons.
B
The product’s power
cable must be unplugged during
installation. Failure to do so may result
in death or serious injuries!
A
If the door span is too
narrow for the product to pass,
remove the door and turn the product
sideways; if this does not work,
contact the authorized service.
vibration.
the heater, stove and similar sources of heat
and at least 5 cm away from electric ovens.
or keep in damp environments.
circulation to function efficiently.
remember to leave at least 5 cm distance
between the product and the ceiling and the
walls.
with temperatures below -5°C.
3.2. Attaching the plastic wedges
Use the plastic wedges in the provided with
the product to provide sufficient space for air
circulation between the product and the wall.
To attach the wedges, remove the screws on
the product and use the screws provided with the
wedges.
Attach 2 plastic wedges on the ventilation cover
as shown in the figure.
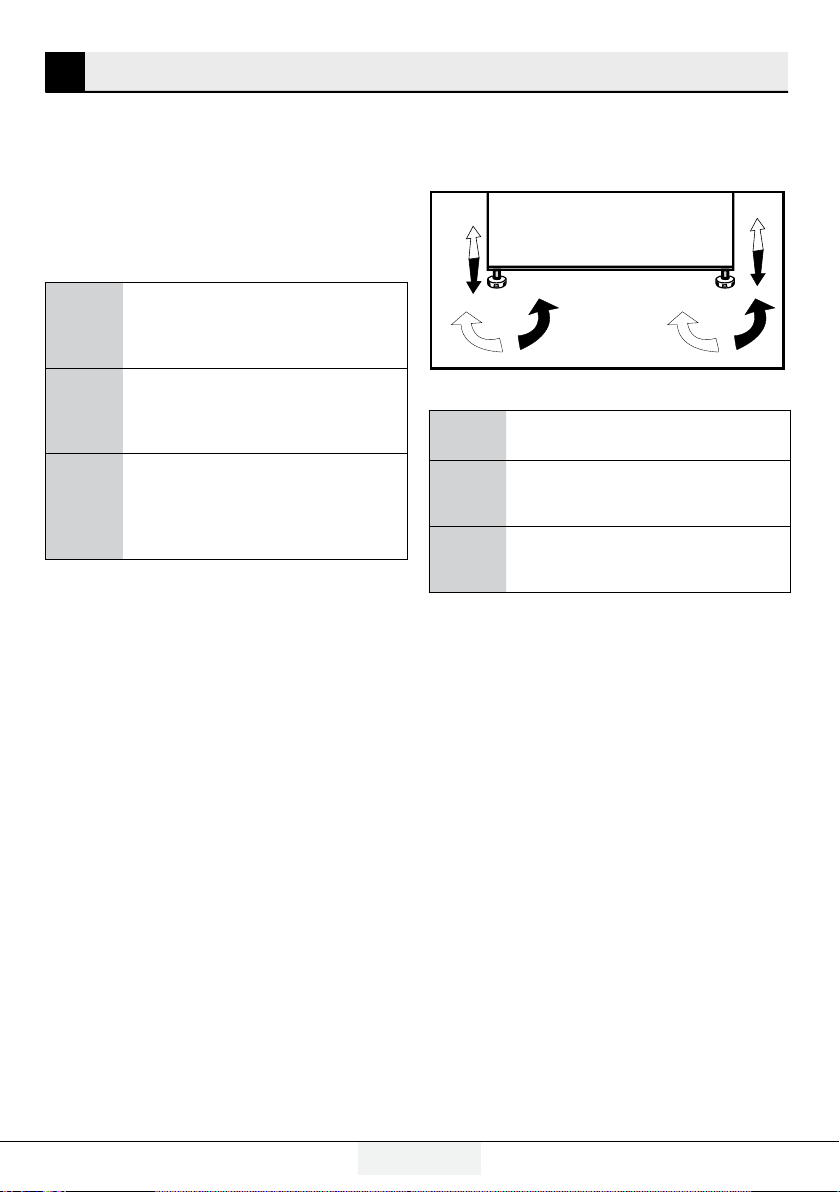
3.3. Adjusting the stands
If the product is not in balanced position,
adjust the front adjustable stands by
rotating right or left.
3.4.Power connection
ADo not use extension or
multi sockets in power connection.
BDamaged power cable
must be replaced by Authorized
Service.
CWhen placing two coolers in adjacent
position, leave at least 4 cm distance
between the two units.
Our firm will not assume responsibility
for any damages due to usage without
earthing and power connection in
compliance with national regulations.
The power cable plug must be easily
accessible after installation.
Do not use multi-group plug with or
without extension cable between the wall
socket and the refrigerator.
Your product requires adequate air
circulation to function efficiently. If
the product will be placed in an alcove,
remember to leave at least 5 cm
clearance between the product and the
ceiling, rear wall and the side walls.
If the product will be placed in an
alcove, remember to leave at least 5
cm clearance between the product and
the ceiling, rear wall and the side walls.