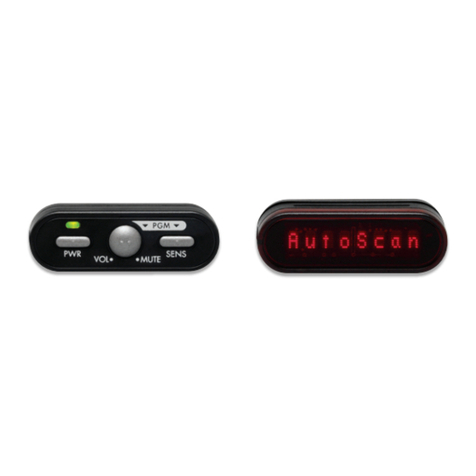
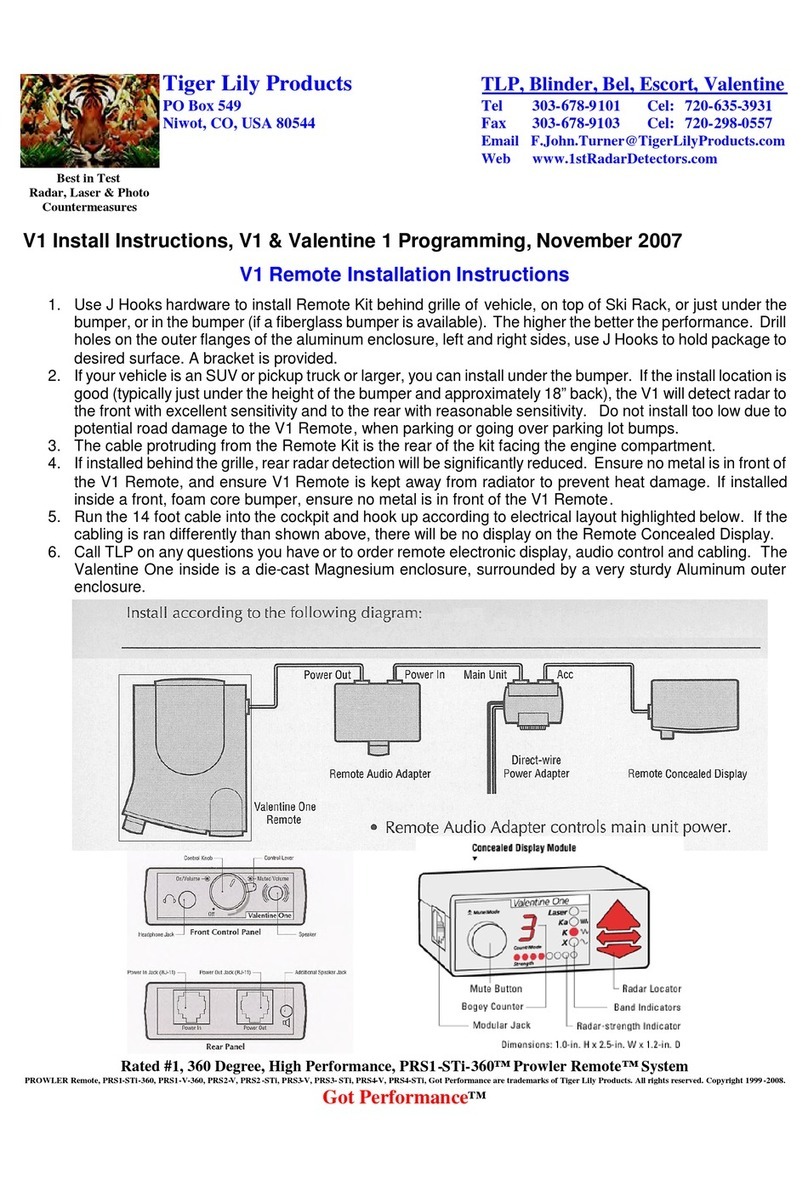
When the laser sensors (two front and one rear) of LP905 have been connected
and installed, the user display of your RX75 will automatically recognize their
connection.
Upon power up, the typical test sequence will occur, plus the words: “BLOCK ON”
will appear. This serves to confirm that your RX75 is setup to receive incoming
laser signals in the same manner as before installation of the LP905.
You can set up your RX75 to only receive incoming laser signals by changing the
Laser option in the program mode. To do this, simply enter the Program mode
by pressing both the CITY and MUTE buttons simultaneously. Press the CITY
button to move to the“Bands”category, and press the MUTE button to choose
the“LSR”(laser) option. Once there, press and hold the Mute button to toggle
through the following options:
LSR Bl k (Laser“Blockers”On factory default)
LSR ON (Receive Only)
LSR OFF (Laser Off)
Once the Laser “Blocking”sensors are installed and connected, your RX75
Remote display will provide the following messages:
LSR BLK Setting
“F La s e r Bl o c k ”– front laser sensors are “Blocking”.
“R La s e r Bl o c k ”– rear laser sensor is “Blocking”
LSR ON Setting
“F La s e r ”– front laser sensors are receiving a laser signal.
No“Blocking”of the laser signal is occurring.
“R La s e r ”– the rear laser sensor is receiving a laser signal.
No“Blocking”of the laser signal is occurring.
Error Messages
“Ls r F ERR”One or both of the front sensors are not working properly,
or have been disconnected.
“Ls r R N/A”The rear sensor is not installed, or is not working properly.
When a laser signal is encountered, one of the following messages will be
displayed along with the normal Laser alert tone.
1. F LASER BLOCK ING – front laser sensors are“Blocking”an incoming
laser signal.
2. R LASER BLOCKING – the rear laser sensor is“Blocking”the
encountered laser signal.
3. F LASER – the two front laser sensors are receiving a laser signal.
No“Blocking”of the laser signal is occurring.
4. R LASER – the rear laser sensor is receiving a laser signal.
No “Blocking”of the laser signal is occurring.
Disarming the LaserPro 905’s “Blocking” Technology
If you have programmed the LP905 to “Block”all incoming laser signals, it is
possible to turn them off temporarily once you have verified your speed. In some
cases disarming is advisable since some traffic laser guns display “JAM”codes to
the officer. By disarming the laser “Blocking”feature once you have adjusted
your speed, you may avoid any undue attention.
To disarm the laser sensors during an alert, simply press the Mute button twice
during the alert on your BEL radar detector, or the installed remote mute button.
The display will show “BLOCK OFF”to confirm that the sensors are now in
“receive”only mode. Once the sensors have been disarmed, all sensors will be
in receive only mode for approximately one minute. During this period, if a
second laser signal is encountered, the LP905 will display the “F LASER”
or “R LASER” message.
Approximately one minute after you disarm the laser “Blockers”, they will
automatically reset.This reset will include an audible tone, and a “BLOCK ON
”
message on your display. Once this happens, the display will revert to your
previous Pilot mode (i.e. AutoScan, Highway or City modes).
Error Indicators
The LaserPro 905 is in constant communications with each of its components.
During the start-up sequence, all components are checked. If any problems exist
(i.e., cable becomes disconnected, etc.) a corresponding message will displayed
through your radar detector.
Error messages include:
1. “REAR BLOCK ERROR”confirms the rear sensor is disconnected.
2. “FRONT BLOCK ERROR”confirms the front sensor is disconnected.
Operating LP905 in Conjunction with BEL PRO
Dash Detector
Operating LP905 in Conjunction with
BEL PRO Remote (Model RX75)
14210_Beltronics_905 Manual 10/12/05 10:02 AM Page 3
