Benjie BJ-M23 User manual

Guide to professional digital recorder
BENJIE BJ-M23 8 GB
Thank you for what you use the recorder!
Before using this product, please carefully read the instruction manual to ensure you can use it
correctly.
In the process of preparing this manual we have tried to be accurate, but we cannot be held
responsible for this information is that it is true and reliable. If You found bugs, please, please
forgive and correct. If you find any problems in the process of using the product, please contact
us. Thank you for your cooperation.
Statement
Please use in the process, backup your own data. The company covers the guarantee of the unit itself,
but does not guarantee the accuracy and data integrity. The company does not accept any responsibility
for the repairs, battery replacement, work with personal data or other incidents caused by the loss or
damage to data, and assumes no responsibility for other indirect losses. Also, we can not guarantee full
understanding by users of this manual. Thus, the company is not responsible for unexpected events that
may occur in the process of operation and management are not responsible for damage caused to third
parties and cannot accept any other claims. The device software will occupy some space of internal
memory capacity, and a nominal amount will have the difference with the stated - this is normal).
Note:
This device has a function of saving electricity, it is activated after a certain time, if no any operations
within a certain period of time. At this point, the display screen will be black. For example, if there are
no operations for one minute, the unit will turn off automatically; all functional keys and corresponding
functions should work with the running of the display (except the record button) when the device is in
"screen Saver", you must first press the function key screen dimming, and then act.

1. USB interface: date transfer / charging.
2. Next key: short time pressing - next track, Long time pressing - fast forward.
3. (+): volume up.
4. (-): volume down.
5. Prev key: short time pressing - last track, long time pressing - fast back.
6. Display.
7. Recording key: press to record, save the recording contents.
8. Mode key: Play / Pause / Set up / Power on / Power off.
9. Speaker.
10. Microphone: recording microphone.
11. Multi-function button: volume button / menu button, when playing; long time pressing - can adjust
the volume, when pause; short time pressing - can set up.
12. Power button: power on (long time no using, switch the button to closing position).
13. SD card slot.
14. Earphone jack.

Power On / Power Off
Slide the power switch to the "On" position and the device will automatically boot. If the power switch
for a long time is in the "On" position, then boot the device long press the "Play" button. In the loaded
state, press and hold the "Play" button for 3 seconds to turn off the recorder - such a disconnect
operation has memory function breakpoint. To turn off the recorder, You can also slide the switch right
to the Off position. If you are not using the device for a long time, please slide the power switch in the
"Off" position to save battery from discharge.
Recording / Save Recording contents
Depending on model, pressing the "Record" button, the recorder starts recording, the recording
interface will give appropriate advice on the record. To pause or continue recording, short press the
"Play" button.
Save the recording: in recording status, click on the "Record" button, the recorder will automatically
save the current record file in record type * * * .MP3 (WAV) for playback of the current file press "Play"
button.
File Delete
To remove a single file: to select music file or recording file, press "V" button to delete the file directly.
You can also select "Delete all" or "Delete" and then click the "Play" button, click "Last" (Next) to select
"Yes" or "No". Select "Yes" and press the "Play" button to confirm the deletion. Select "No" and press
the "Play" button to exit the delete mode. When deleting files, do not power off the recorder forcibly,
otherwise it may cause damage to the file system.
Play / Pause
To play a recording or music playback, press the Play button to begin playback, press again to pause
playback. During playback, press and hold "M" button (Menu) to display the playback options (short
press "M" may display to the previous menu).
1. Click on the "Play" button to enter the sound setting mode, EQ select to enter the sound
settings (music, classic, jazz, hip-hop, funk, rock).
2. In playback mode, long press "M" button to enter cyclic mode of playback including single
composition, all files, or three ways of playing).
3. Click "Play" to enter the mode variable speed playback. In this mode, adjustable playback speed
between + 0 (normal play) to fast, without changing tone, you can also decrease the playback
speed without changing the pitch.
4. Click "Play" to enter the repeat settings there are three options: "repeat Mode", "Frequency of
retry" and "retry Interval".
1) For repeat mode, you must enter the settings of playback in the playback state and press "M" button,
then click "Last" ("Next") to select "Repeat menu" ("Menu repeat"), and then select "Repeat mode"
("repeat Mode"), press the "Play" button to confirm the action. Return to the player interface, there You
can see "AB" in the lower left corner. The symbol "A" will be blinking, make a short press on "Next" to
confirm the action, the Character "a" will stop flashing and the symbol "B" will flash as long as you set
the start time of the playback. Then click "Next" ("Next"), character "B" will stop flashing, the icons "A-B"
appears, the endpoint will be installed. The device will play between intervals "A" and "b" repeatedly.
Everything will return to normal when the set time is reached, playback and symbols "A-B" will
disappear automatically.

2) Repeat Frequency
In playback state, press "M" button to enter the setup mode playing, press the "Previous / Next" (Next /
Previous) to select the repeat options, and then select the "Repeat frequency" ("repetition"), then click
"Play" to confirm, then press "+" or "-" to adjust the number of repeats. Snooze can be set between 1-
10. Click "Play" to confirm.
3) Repeat Interval
In playback state, press "M" button to enter the setup mode playback, press Previous / Next button to
select the repeat options, and then select "repetition Interval", then press "Play" button to confirm,
press "+" or "-" button to set the repeat interval. It can be set between 1-10. Click "Play" to confirm.
Change Song
In playing, press Previous / Next to switch tracks.
Volume Adjust
Able to play music or play a recording file, press "+" or "-", the LCD display will display number, press "+"
or "-" to adjust volume up or down. Click the "Play" button to save the volume settings.
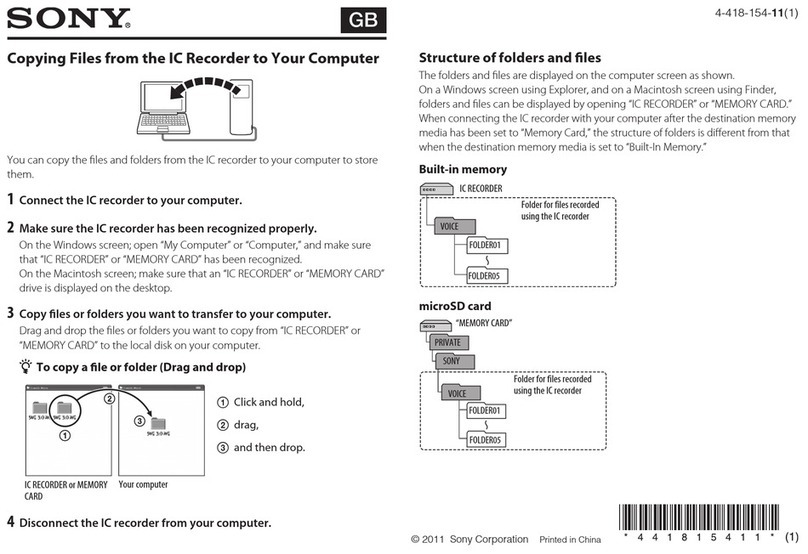
Connect PC
Connect the machine to the computer using USB cable, select "data Transfer and charging". Please
unmount the removable disk using "safely remove hardware and eject media" on the computer to
prevent data loss.
Setting
Recording Setting
Recording Format
Go to the settings of recording format, select the format of MP3 or PCM by pressing the buttons
Previous / Next. Then click "Play" to save and exit.
Recording Bit Rate
Select the recording format is MP3, there are three options: 32kbps - 128kbps (higher is better, but
takes more space), select one and click "Play" to save and exit.
Select the recording format PCM, there are four options: 512kbps - 1536KBPS (higher is better, but takes
more space), select one and click "Play" to save and exit.
Settings voice control
Log in to the settings in the voice Mode control and select "On" or "Off", then press "Play" button to
confirm and exit.
Monitor settings
Sign in monitor settings, select "On" or "Off", then press "Play" button to confirm and exit.

Off on time
Select settings menu off Timer and press "Play" button to log in. Select "Off" to deactivate this function.
Select "On" and no matter what time you took from 1 to 99, the device will be forced off when it
reaches the off time. Press the "+" or " - " to set time, then press the "Play" button to confirm and save.
Setup screen
Brightness
Go to display Settings, select Brightness, press the button to enter and adjust the brightness using the
buttons "+ " /" - ", then click "Play" to confirm.
The backlight timer
Go to display Settings, select backlight Timer, press the "Play" button to enter, select the off time of the
backlight with the buttons Previous / Next then click "Play" to confirm.
Set the date and time
In the settings menu using the buttons Previous / Next, select date and time then click "Play" to enter
the menu and set the date and time using the buttons Previous / Next and "+ " and " - ", then click
"Play" to confirm.
Language
In the settings menu, using the buttons Previous / Next to select Language, then press the "Play" button,
next buttons Previous / Next select the desired language, then click "Play" to confirm.
View the version and date of software
In the settings menu, using the buttons Previous / Next, select Information then press the "Play" button.
Memory capacity
In the settings menu, using the buttons Previous / Next, select Information, press the "Play" button,
then use buttons Next / Previous, select the menu item Free space on the drive and click the
"Play"button.
Formatting a memory card
If you need to format the recorder in the settings menu, using the buttons PREV / Next, select Format
device, then click the "Play" button and select "Yes" or "No", then press "Play" button to confirm the
action. Please use this function carefully, as you then will not be able to recover the data.
Reset to factory settings
If you mix up some of the settings in use, it is possible to restore factory default settings, it is necessary
to enter in the settings menu and buttons Previous / Next to select Factory setting, then press the "Play"
button. The recorder will start restoring factory default settings.
Charging
When the display shows low battery, please charge the recorder using the USB cable connecting the
recorder to a computer or charger. Avoid strong discharge of the battery. Not super cool and not
overheat the recorder.
Specification
Size: 86 mm * 21mm * 10mm

LCD: OLED 128*64
USB interface: USB2.0 HIGH SPEED
Memory: 8 GB (extended memory)
Battery: built-in 260mA \ h Li-battery
OS: Window98 or above
SIN: 88DB
Distortion: 0.05%
Recording format: MP3/WAV
Recording quality: WAV: 512 - 1536 KBPS (PCM format), MP3: (32 64 128 kbps)
Earphone output: stereo earphone, 32 Ohm, frequency: 20HZ-20KH
Music format: MP3/WMA/WAV/APE or FLAC
Using temperature: 5 degree - 40 degree.
Table of contents
Popular Voice Recorder manuals by other brands
Ampro
Ampro 745 Career manual
Panasonic
Panasonic AJ-HPD2500 brochure
Olympus
Olympus ls-11 - With RS30 Wireless Remote Samson CH700 LS11... owner's manual
Sony
Sony DCR-IP45 - Micromv Digital Camcorder quick start guide
Philips
Philips POCKET MEMO DPM6000 user manual
Gossen MetraWatt
Gossen MetraWatt 4000M operating instructions
