Beresford Capella User manual

1
BeresfordCapellaHeadphoneAmplifier
Owner’sReferencemanualREV‐1.7
Introduction
TheCapellaisahigh‐endheadphoneamplifierdesignedforaudiophilelistening.It
canacceptaudiosignalsfromananaloguesource.AuniquefeatureoftheCapella
arethevariousrotarycontrols.Togethertheyhelpyoutoadjustyourheadphones
forthemostpleasantlisteningexperience.TheCapellaissuitableforusewith
headphonesfrom12Ohmsto600Ohms.
BoxContent
Thefollowingitemsareincluded:
UserManual
PowerCord
ACtoDCpowersupply
BeresfordCapellaHeadphoneamplifier

2
ImportantSafetyInstructions
ReadtheseinstructionsHeedallwarningsFollowallinstructions
‐Toreducetheriskoffireorelectricalshock,donotexposethisapparatustorain
ormoisture.
‐Protectthepowercordfrombeingwalkedonorpinched.
‐UnplugtheCapellafromthemainsduringlightningstormsorwhenunusedfor
longperiodsoftime.
‐SwitchOFFyourequipmentbeforeconnectingtheCapellatoanything.
‐Therearenouser‐serviceablepartsinsidethisproduct.Referallservicingto
qualifiedservicepersonnel.Thereisauserreplaceableinternalfuseinsidethe
Capella.However,thisfuseshouldnotbereplacedwithoutfirstconsultingthe
factoryservicecentreforadvice.
‐SwitchofftheCapellawhenitisnotbeingused.
Cautionlisteningtooloudly
Notethatlisteningtoheadphonesatextremelyloudlisteninglevelsmaydamage
yourhearing.Enjoyyourmusic,enjoytheCapella,butprotectyourears.
UsageNotes
SwitchONtheCapellabeforeswitchingONanyotherequipmentconnectedtothe
LINEOUToftheCapella.Thisistoavoidanyrelayswitchonnoises.
Waitatleast20secondsbeforeyoupowerontheCapellaafterpoweringitoff.
Waitanother8secondsfortheprotectionrelaytodisengage,beforeanyaudiowill
beaudible.Inthecaseofamalfunction,pleasepowertheunitoff,waitfor20
seconds,andthenpoweritbackon.Iftheissuepersists,pleaseconsultthe
troubleshootingtableorcontactus
WhatvoltagescanIruntheCapellaon?
TheincludedpowersupplyistheonerecommendedforusewiththeCapella.Ifyou
dodecideorneedtousetheCapellawithadifferentpowersupply,donotusethe
CapellaonaDCvoltagehigherthan15Voltsregulated.Failuretoobservethis
cautionarynotewillvoidyourwarranty.TheCapellaisalsocapableofoperating
froma12Voltsbatterypack.Contactusforfurtheradviceifrequired.

3
FrontPanelControls
1234567891011
1.PowerON/OFFSwitch
2.PowerStatusIndicator
3.GainAdjustmentKnob
4.LowFrequencyDampingAdjustmentSelector(4positions)
5.HighFrequencyAdjustmentKnob
6.6.35mmHeadphoneSocket
7.DepthAdjustmentKnob
8.BalanceControlKnob
9.VolumeControlKnob
10.PeakDetectorLEDs
11.3.5mmINPUTSocket
1.PowerOn/Off
LiftingthePowerSwitchtotheupwardspositionswitchesONtheCapella.
2.PowerLED
ThePowerStatusIndicatorturnsgreenwhenthepowerswitchisintheupwards
position,andthepowersupplyiscorrectlyconnected.

4
3.Gain
InordertooptimallysetthegainoftheCapella,usetheGainControltoadjustthe
signalleveloftheaudioonInput‐1orInput‐2.TurntheGainControltowardsthe
leftforlessgain,ortowardstherightformoregain.
TheGainControlcentrepositionissetfor32Ohms,whilstthemaximumsettingis
setfor600Ohms.Youcanalsoadjusttheheadphoneamplifiergaintoproperly
driveheadphonesthatareverysensitiveorrequireadditionalpower.
4.Damping
Differentheadphonesizesandmaterialconstructionrequireadifferentlevelof
dampingoftheconesinordertogetthebestbasspossible.The4‐positionrotary
Dampingswitchoffersfourpossibleoptionstogetabettercontrolledbasssound.
5.HF
Someheadphonesareeithertoobright,ornotbrightenoughintheHFrange.
TurntheHFControltotheleftiftheforalesspronouncedhighfrequencyoutput.
TurntheHFControltotherightifyourequireamoredetailedHFoutput.
6.HeadphoneOutputConnection
ConnectyourheadphonestotheCapellausingastereo6.35mmplug.Usea3.5
mmto6.35mmstereoadapterifyourheadphonesterminateintoa3.5mmplug.
7.Depth
Someheadphonesareeithertoolaidback,ortooforwardsounding.TheDepth
Controlallowsyoutoadjustthedepthofthesound.
TurntheDepthControltotheleftifyourequireamorelaidbacksound.
TurntheDepthControltotherightifyourequireamoreforwardsound.
8.Balance
TheBalanceControlvariesthesoundoutputlevelbetweentheLandRchannels.
9.Adjustingthevolume
RotatingtheVolumeKnobclockwiseorcounter‐clockwisewillincreaseordecrease
thevolumelevel.Theactualheadphonevolumeleveldependsontheheadphones’
sensitivity,theinputsignallevel,andtheHeadphoneGainsetting.

5
10.PeakDetectorLED
TherearetwoPeakDetectorLEDsbehindtheVolumeControlknobthatwilllight
upwhentheinput‐1orinput‐2signalisreachingclippinglevel.Turndownthelevel
ofthesignalcomingintotheCAPELLAinputswherethatispracticallypossibleifthe
PeakDetectorLEDsareconstantlyON.
11.Input‐1
Youcanconnectaportableaudiodeviceviaitsheadphoneoutputsockettothe
3.5mmInput‐1byusinga3.5mmto3.5mmstereocable.Theanaloguesignalwill
beamplifiedandsenttotheheadphoneandVariableLINEOUToutput.
BackPanelConnectors
1213141516
12.GroundConnection
13.StereoRCAInputSocket
14.VariableRCAOutputSocket
15.DCInputSocket
16.DCpass‐throughOutputSocket
12.Ground
TheseparateGroundconnectionpointonthebackoftheCapellacanbeconnected
totheGroundterminalofasourcedeviceoraudioamplifier,ifthereisone
provided.Thismightberequiredinsomeinstallationswhereanoticeablehumis
presentintheaudiosignal.

6
InputSignalConnections
TheCapellasupportstwodifferentkindsofanalogueinputconnections.Depending
onyourintendedusage,pleaseconnecttherequiredoutputsourcestotheCapella.
13.AUXIN(Input‐2)
YoucanconnectanaudiodevicewithRCAanalogueoutputsintotheCapellaAUX
INusingapairofRCA/PHONOcables.Theanaloguesignalwillbeamplifiedand
senttotheheadphoneandVariableLINEOUToutput.
Notes:
The3.5mmInput‐1socketandtheRCAInput‐2socketcannotbeused
simultaneously.Whenastereo3.5mmconnectorispluggedintotheInput‐1
socket,theInput‐2socketismuted.Whenpluggingandunplugginga3.5mm
connectorintotheInput‐1socket,donotleavetheconnectorpartiallypluggedin.
14.VariableLINEOUT
TheCapellacanbeusedasapre‐amplifierbyconnectingtheLINEOUTtoapower
amplifierorapairofactivespeakers.TheoutputleveliscontrolledbytheVolume
Knob.Theoutputismutedwhenaheadphoneispluggedin.
Note:OnlytheVolumeControlandBalanceControlareactiveontheLINEoutput.
15.DCinputsocket
InserttheDCplugfromtheCapellapowersupplyintothisDCsocket.
16.DCoutputsocket
Inserta2.1mmto2.1mmDCplug‐to‐plugflyleadinthissocketandconnectthe
otherendtotheDCinputsocketofoneofourrecentDACsifyouwishtoshareone
powersupplybetweentwounits.Allofourpowersupplieshaveenoughheadroom
topowertwoofourowndevices.
Installation
InserttheCapellaintoyouraudiosystembyfirstconnectingtheCapellatoan
analogueaudiosource.AnalogueaudiosourceswouldincludetheRCAsingle
endedoutputofaCDplayer,DVDplayer,tuner,phonopreamplifier,oroutputsof
apreamplifier.YoucanintegratetheCAPELLAintoanexistingconnectionbetween
youraudiosourceandanadditionaldevice.Bywayofexampleofanamplifieras

7
anadditionaldevice,thischapterdescribeshowtointegratetheCAPELLAintoan
existingconnection.
PullouttheplugofthestereoRCAcablefromtheinputINontheamplifier.
ConnectthisplugtotheAUXINontheCAPELLA.
ConnectasecondstereoRCAcabletotheinputINontheamplifierandtotheLINE
OUTontheCAPELLA.
UsetheVolumeControlontheCAPELLAtoadjusttheaudiolevelofthesignal
goingtotheamplifier.
QuickStartGuide
Pluginyourheadphonestothefrontpanel,makingsuretheVolumeControlis
turneddown.
PlugtheCAPELLApowersupplyintoanACpowerpoint.
OncetheCAPELLAhasbeenswitchedON,wait8secondsforthemutingrelayto
switchoffbeforeturninguptheVolumeControl.
HeadphoneGainSelection
Foroptimalsoundquality,youcanadjusttheGainsettinginordertoproperly
matchthesensitivityandimpedanceoftheheadphonesinuse.Theruleofthumb
forselectingthepropergainlevelistofindacomfortablelisteningvolumethat
utilizestheupperrangeoftheVolumeKnob.Itisgenerallybettertohavethe
VolumeKnobsettoahighvolumelevelwhenadjustingtheGainControl.
NOTE:whenadjustingtheGainControlwithoutasignalbeingpresent,thegain
biasingvoltagemightbeaudibleasafaintscratchingnoise.Thisisquitenormal.
Ifthegainissetfartoohighincomparisontotheactualgainneededfora
particularheadphoneimpedance,circuitnoisewillbeover‐amplifiedandmight
becomeaudible.Turnthegaindowntoamoreappropriategainlevelinthatcase.
Atthispointyoushouldbereadytoenjoythebenefitsofhighendaudioplayed
throughtheCAPELLAHeadphoneAmplifier.
‐Pleasecontact[email protected]ifyouhaveanyquestionsnotaddressed
inthisreferencemanual.
Table of contents
Other Beresford Amplifier manuals
Popular Amplifier manuals by other brands

S.M.S.L
S.M.S.L DO400 user manual
AMB Laboratories
AMB Laboratories Mini3 manual
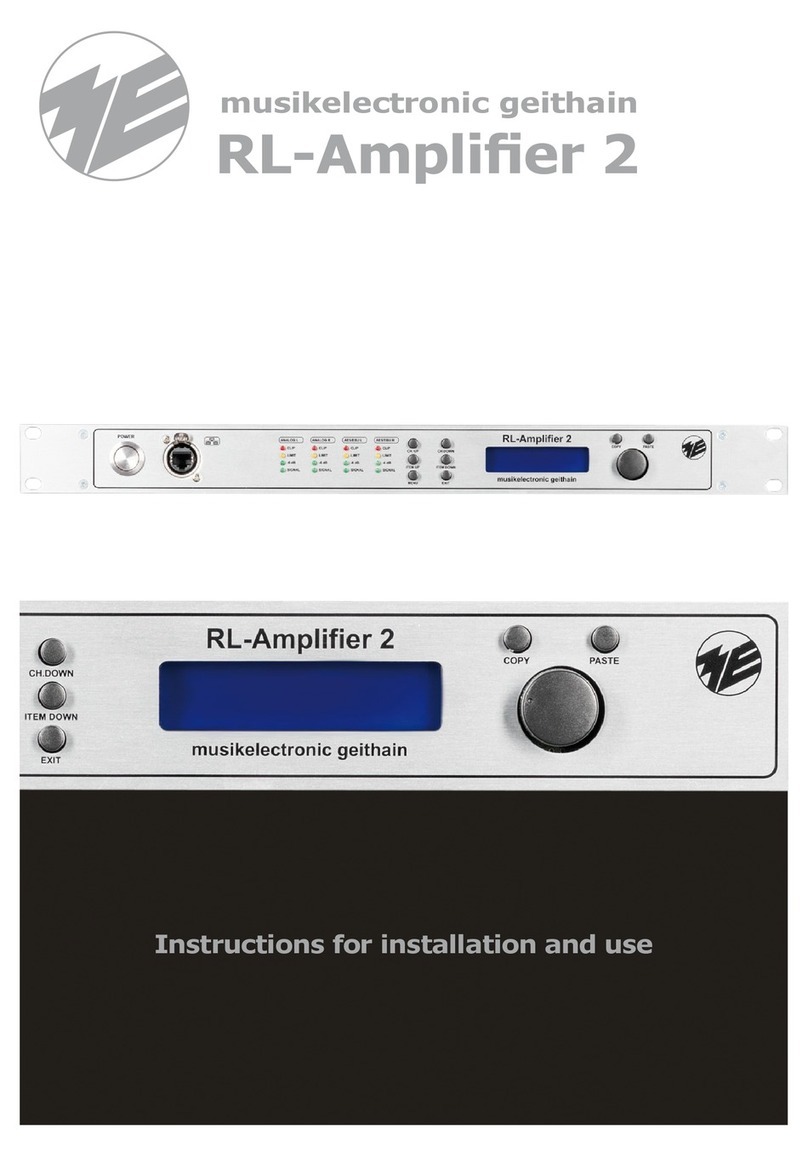
musikelectronic geithain
musikelectronic geithain RL-Amplifier 2 Instructions for installation and use
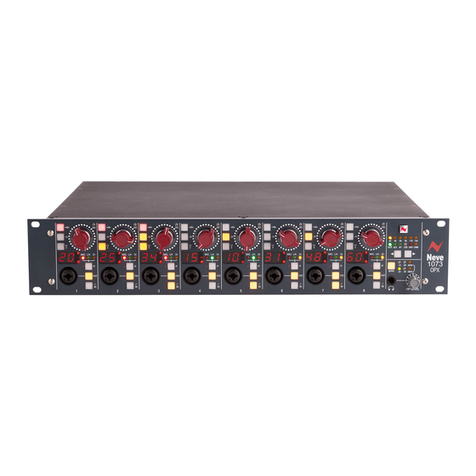
Neve
Neve 1073 OPX user manual
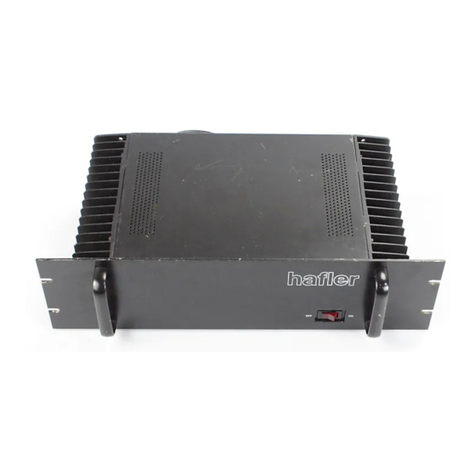
Hafler
Hafler P230 Assembly and operation instructions
Crescend
Crescend P10-DE1-C5-001 Series user manual


