Berger + Schröter LW800 GOLF PRO User manual
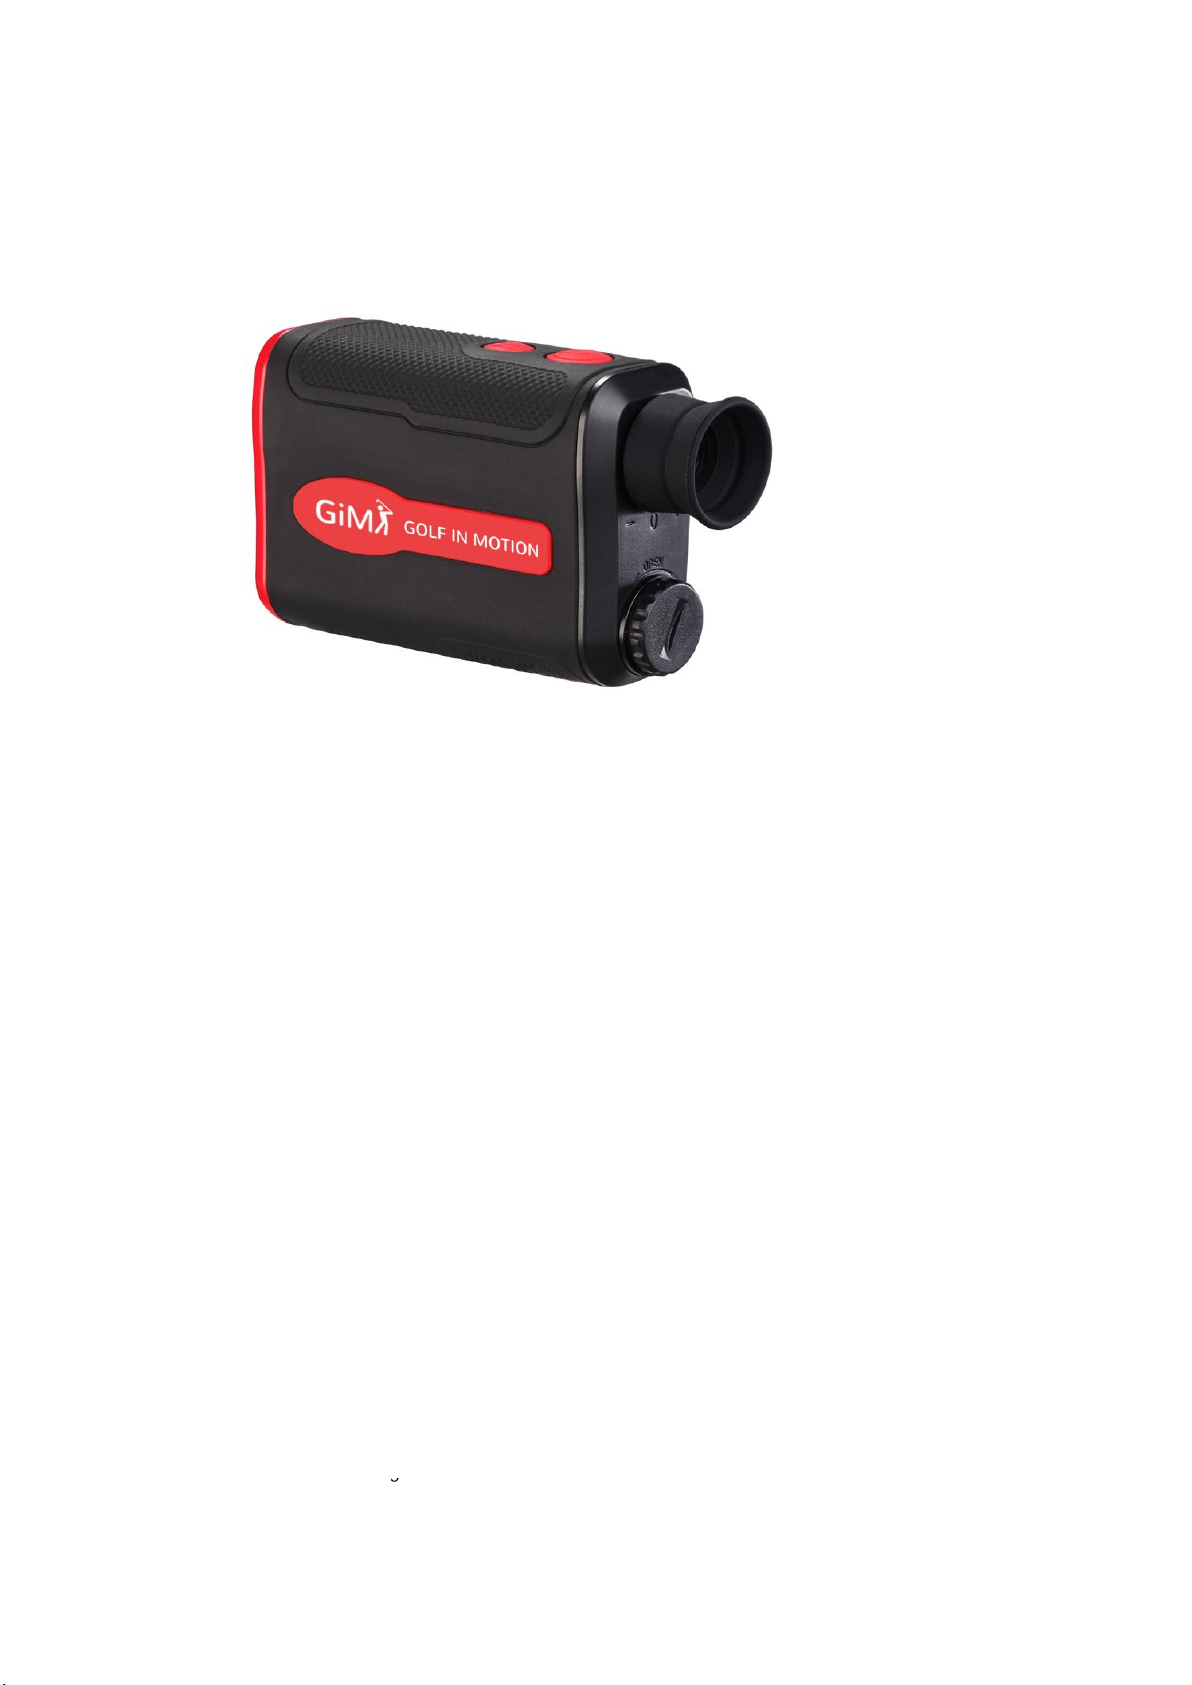
Range Finder LW800 GOLF PRO User Manual
LW800 PRO range finder integrates the advanced technology of Emission Projection Display
(EPD), to replace traditional Transmission Display LCD screen, which upgrades products
performance in below two points:
1)Emission Projection Display Screen solves the problem of unable to recognize reading
from rangefinder in dark circumstance.
2)The optics light transmittance has been improved to a great extent, higher glass
transparency.
LW800PRO also added foldable eyepiece cover for the convenience of eyeglasses users.
Measure range: 5-800m
Features:
Objective lens diameter: 21mm
Magnification power: 6X
Field of view: 7.2°
Eye relief: 16mm
Resolution: +/- 0.5m when
distance <200m.
+/-1m when distance >200m.
Max range: 800M
Min range: 5M
Unit: Meter/Yard
Battery: 3V(CR2)
Waterproof: IPX4
Size:
Length: 105mm
Width:
37mm(up)
33mm(bottom)
Height: 70mm
Weight: 155g

Attention: This product is high precision optic products, things listed below but not limited to will
cause unrecoverable problems to products, which will not be covered by warranty.
For example:
1. Expose products outside with surrounding temperature above 50 Celsius degree or below
-10 Celsius degree
2. Soak products in water
3. Drop rangefinder or do other physical damage to products
4. Dismantle products
I. Instruction
I.1 Inserting battery
I.1.1 counterclockwise to open battery lid
I.1.2 inserting 3V battery of CR-2 type, negative polar downward
I.1.3 clockwise to put back on battery lid and tight it
I.2 Eyepiece cover: this eyepiece is foldable, suitable for users without (graphic 1) and with
(graphic 2) eyeglasses.
When need to use products with eyeglasses, please fold the eyepiece cover outward like
graphic 2 to ensure a good field of view for eyeglasses wearer.
Please set the eyepiece cover according to specific using situation.
Without eyeglasses
(graphic 1)

With eyeglasses
(graphic 2)
I.3 Internal LCD display screen
Press power key
The default mode is “ranging”for first time to start rangefinder
I.4 Diopter adjustment
After setting of eyepiece cover, start the rangefinder. View through the rangefinder eyepiece to
check scenery, turn the eyepiece cover left and right to make the scenery as clear as the character
on the display screen.
I.5Automatic Brightness Adjustment
Emission Projection Display(EPD) technology is applied to achieve red back
light display with brightness automatic adjustment according to surrounding lighting brightness.
I.6 Unit conversion
Long press key to change unit between Metric and Yard
I.7 Low power warning

When battery power is too low, the low battery icon will appear all the time to remind user to
change battery.
II. Ranging Operation
II.1 Mode choosing
Short press key to choose between “Ranging”, “Fog”“Pinlock”, “Golf distance
correction”, “Horizontal distance measure”and “Vertical height”circularly.
Ranging mode
Pin lock mode
Golf distance correction
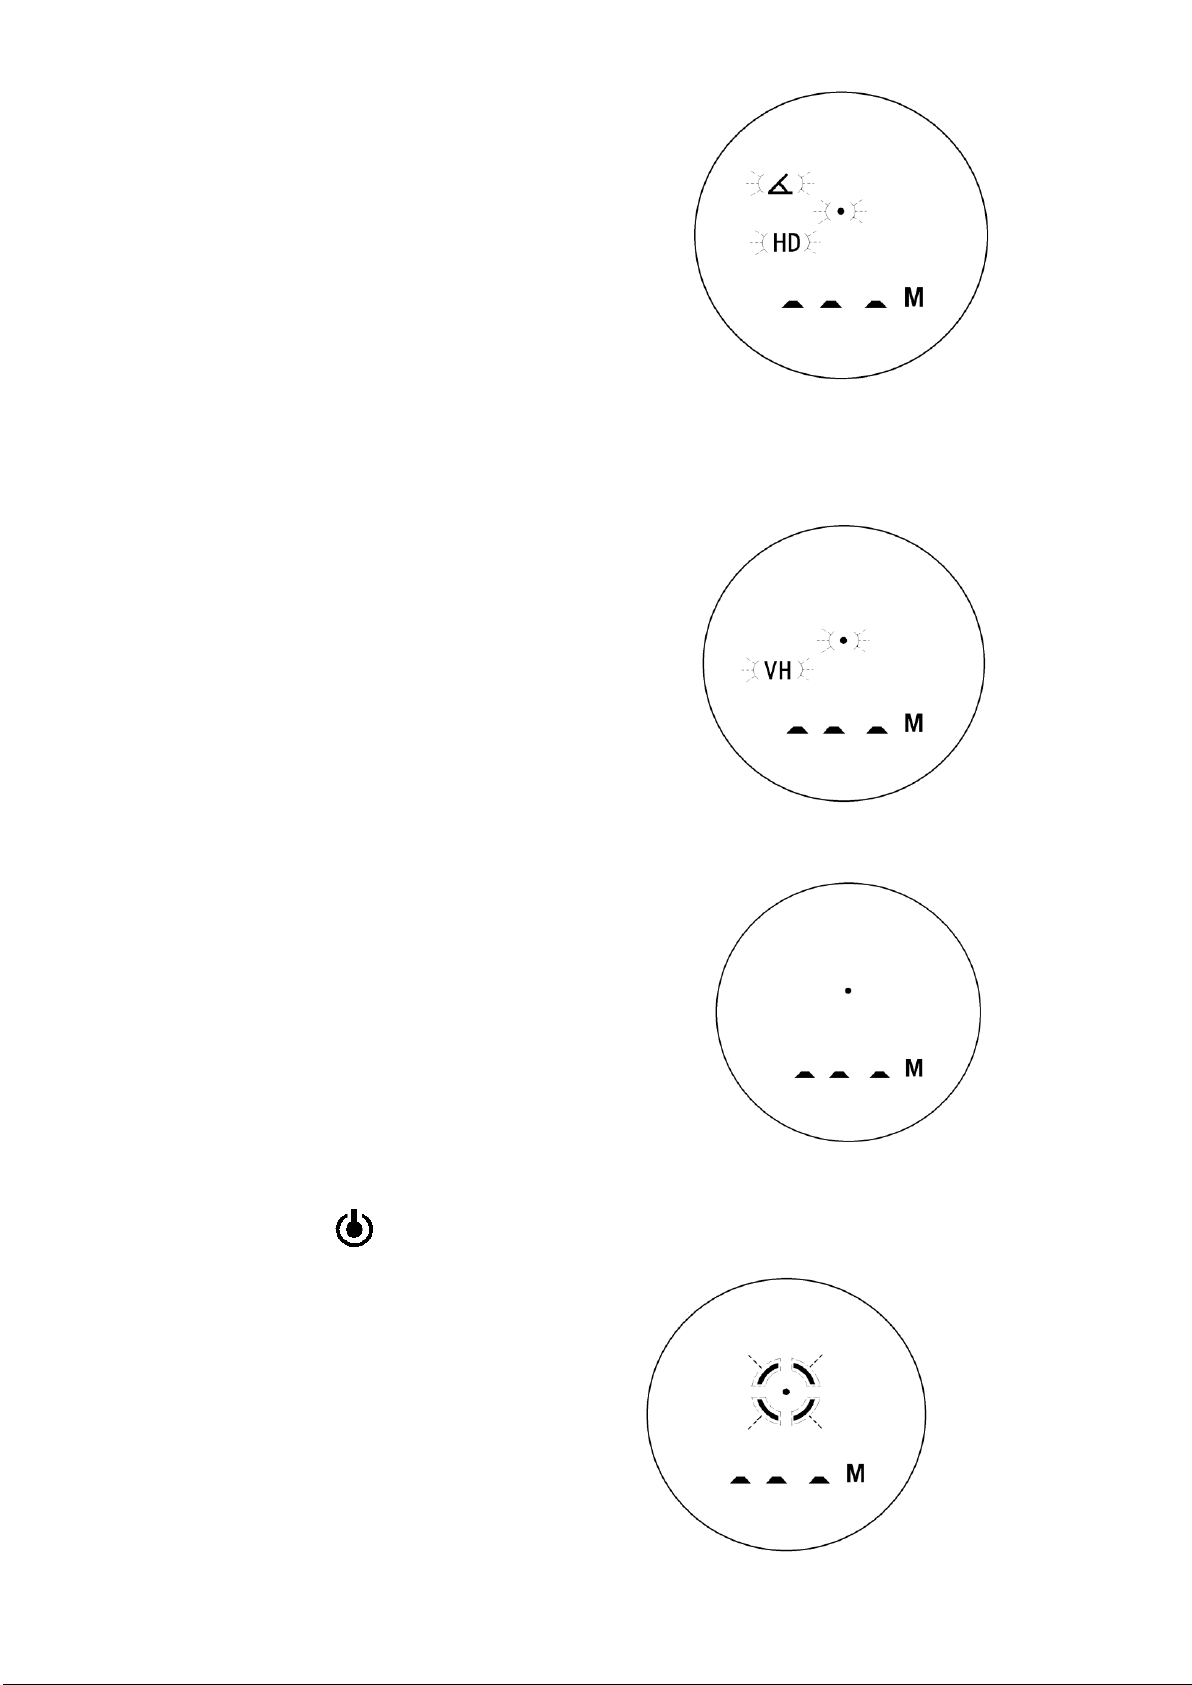
Horizontal distance measure
Vertical height measure
II.2 “ranging”mode
II.2.1 Single ranging mode
Short press power key to start ranging, the circle around the aiming dot will blink,
which means laser sent out. Reading will be available then.
Ranging display
This manual suits for next models
1
Popular Measuring Instrument manuals by other brands

Powerfix Profi
Powerfix Profi 278296 Operation and safety notes

Test Equipment Depot
Test Equipment Depot GVT-427B user manual

Fieldpiece
Fieldpiece ACH Operator's manual

FLYSURFER
FLYSURFER VIRON3 user manual

GMW
GMW TG uni 1 operating manual

Downeaster
Downeaster Wind & Weather Medallion Series instruction manual

Hanna Instruments
Hanna Instruments HI96725C instruction manual

Nokeval
Nokeval KMR260 quick guide

HOKUYO AUTOMATIC
HOKUYO AUTOMATIC UBG-05LN instruction manual

Fluke
Fluke 96000 Series Operator's manual

Test Products International
Test Products International SP565 user manual

General Sleep
General Sleep Zmachine Insight+ DT-200 Service manual


