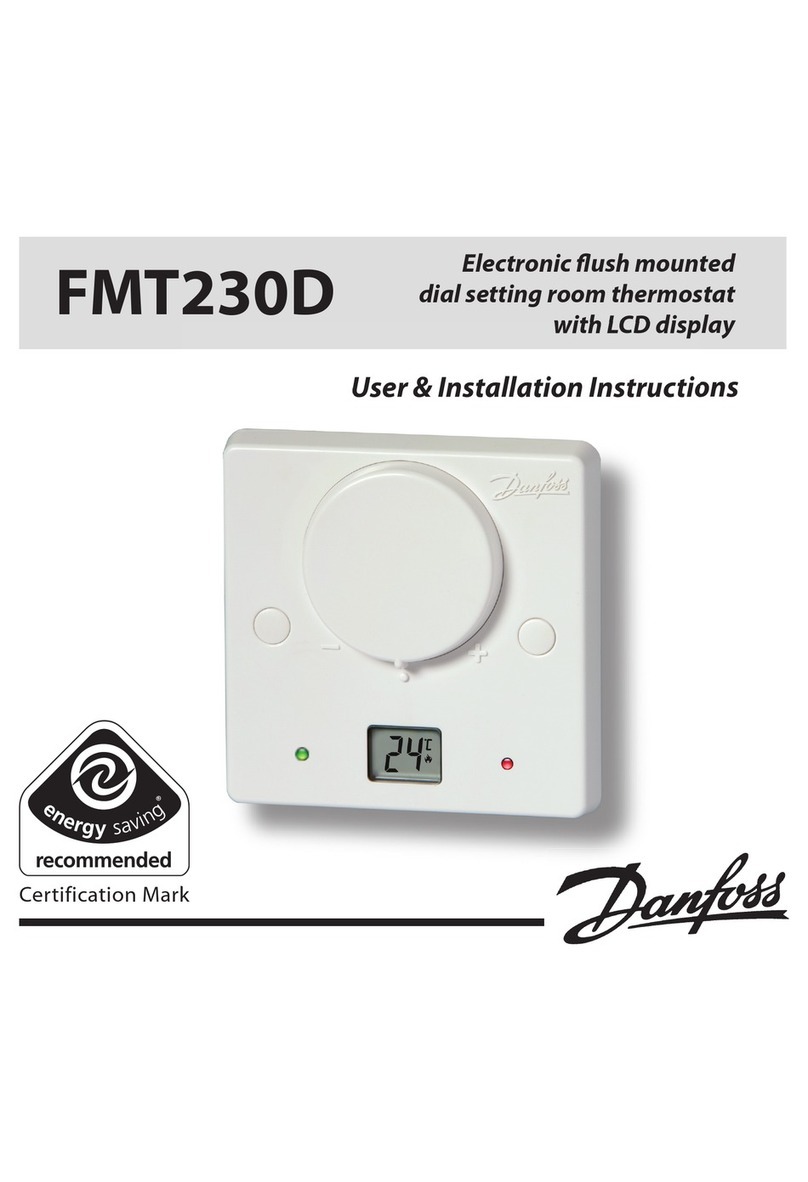
Berker 2034 20 User manual

Temperaturregler, Schließer, mit Zentralstück,
für Fußbodenheizung
Thermostat, NO contact, with centre plate,
for underoor heating
Best.-Nr. 2034 20 ..
Order no. 2034 20 ..
Bedienungs- und
Montageanleitung
Operation and installation
instructions
Sicherheitshinweise
Einbau und Montage elektrischer Geräte dür-
fen nur durch eine Elektrofachkraft gemäß
den einschlägigen Installationsnormen, Richt-
linien, Bestimmungen, Sicherheits- und Un-
fallverhütungsvorschriften des Landes erfol-
gen.
Das Gerät ist gemäß VDE 0875 bzw. EN 60730
funkentstört und arbeitet nach der Wirkungs-
weise 1C.
Bei Nichtbeachtung der Anleitung können
Schäden am Gerät, Brand oder andere Ge-
fahren entstehen.
Diese Anleitung ist Bestandteil des Produktes
und muss beim Endkunden verbleiben.
Bild 1: Geräteaufbau
Bild 2: Anzeige - und Bedienelemente
Geräteaufbau
Bild 1
(1) Einsatz
(2) Rahmen (nicht im Lieferumfang)
(3) Zentralstück mit Skala
(4) Befestigungsschraube
(5) Regulierknopf
(6) Wippe für Ein-/Ausschalter
Bild 2
(7) Grüne Kontroll-LED Nachtabsenkung
(8) Rote Kontroll-LED Heizen
(9) Ein-/Ausschalter
(10) Stellräder für Temperaturbegrenzung
Funktion
Bestimmungsgemäßer Gebrauch
- Ausschließlich zum Gebrauch in Innenberei-
chen geeignet
- Montage in Gerätedose nach DIN 49075
Der Temperaturregler dient zur Regelung elekt-
risch angesteuerter Fußbodenheizungen und
Bodentemperiersysteme.
Der Temperaturregler für Fußbodenheizung be-
steht aus einem Steuergerät und einem externen
Temperaturfühler.
- Externer Temperaturfühler zur Messung der
Temperatur im Fußboden
- Steuergerät zur Einstellung des gewünschten
Sollwertes
Wenn die Fußbodentemperatur unterhalb des
eingestellten Sollwerts sinkt, schließt der Bime-
tallkontakt den Heizkreis. Der Kontakt bleibt ge-
schlossen, bis die gewünschte Temperatur er-
reicht ist. Die Kontroll-LED (8) leuchtet.
Mit dem Ein-/Ausschalter (9) ist in Stellung
die Regelung des Temperaturreglers vollstän-
dig deaktiviert.
Bei Ausfall oder Kurzschluss des Temperatur-
fühlers wird der Heizkreis unterbrochen.
Temperaturabsenkung :
Mit einer externen Zeitschaltuhr kann eine zeitge-
steuerte Umschaltung von Tag- auf Nachttempe-
ratur erfolgen. Die eingestellte Temperatur wird
dabei um ca. 5 °C gesenkt. Bei aktiver Tempera-
turabsenkung leuchtet die Kontroll-LED (7).
Bedienung
Fußbodentemperatur einstellen
Die Skala dient der optischen Orientierung bei
der Temperatureinstellung.
Ziffer 1 2 3 4 5
Temperatur [°C]
ca.
10 20 30 40 50
Tabelle 1: Temperaturwerte gemäß Skala
<Fußbodentemperatur mit dem Regulierknopf
(5) stufenlos entsprechend der Skala auf dem
Zentralstück einstellen.
Temperaturbereich begrenzen
(11)
(12)
(13)
Bild 3: Stellräder zur Temperaturbegrenzung
(Auslieferungszustand)
Der Temperaturregler verfügt über zwei Stellräder
zur Begrenzung des Temperaturbereiches:
- rotes Stellrad (11): obere Temperaturgrenze,
ca. 50 °C
- blaues Stellrad (13): untere Temperaturgren-
ze, ca. 10 °C
<Regulierknopf (5) ungefähr auf die Mitte des
gewünschten Einstellbereiches stellen.
<Regulierknopf abziehen.
<Arretierstift (12) vorsichtig wenige Millimeter
heraus ziehen.
Die Stellräder lassen sich frei bewegen.
<Rotes Stellrad (11) gegen den Uhrzeigersinn
auf die gewünschte Maximal-Temperatur (Ta-
belle 1) stellen.
<Blaues Stellrad (13) im Uhrzeigersinn auf die
gewünschte Minimal-Temperatur (Tabelle 1)
stellen.
<Arretierstift bis zum Anschlag wieder eindrü-
cken.
Die Stellräder sind wieder arretiert.
<Regulierknopf aufstecken.
Die Fußbodentemperatur lässt sich innerhalb
des eingestellten Begrenzungsbereiches ein-
stellen.
Im Auslieferungszustand ist der maximale
Einstellbereich des Temperaturreglers (+10 ...
+50 °C) freigegeben.
Zur Begrenzung des Temperaturbereiches ist
das Ausschalten der Netzspannung nicht er-
forderlich.
Informationen für
Elektrofachkräfte
Montage und elektrischer Anschluss
GEFAHR !
Elektrischer Schlag bei Berühren
spannungsführender Teile.
Elektrischer Schlag kann zum Tod
führen.
Vor Arbeiten am Gerät
Anschlussleitungen freischalten und
spannungsführende Teile in der
Umgebung abdecken!
Gerät anschließen und montieren
L
N
FF
L
N
Bild 4: Anschlussplan Temperaturregler,
Schließer, für Fußbodenheizung
LAussenleiter
NNeutralleiter
Fexterner Temperaturfühler, pol-neutral
Temperaturabsenkung
Lastanschluss Heizen
Temperaturfühler installieren
<Temperaturfühler in Schutzrohr zwischen zwei
Heizschleifen im Fußboden verlegen.
<Schutzrohr zum Schutz gegen eindringende
Feuchtigkeit und Schmutz verschließen.
Eine Verlängerung der Anschlussleitung des
Temperaturfühlers ist nur mit doppelter Isolie-
rung gemäß EN 60730-2-1 zulässig.
Temperaturregler montieren
<Regler gemäß Anschlussplan anschließen
(Bild 4).
<Wippe (6) in den oberen Aufnahmeschlitz des
Ein-/Ausschalters stecken.
Zentralstück (3) über den Designrahmen (2)
lagerichtig aufsetzen und mit Befestigungs-
schraube (4) xieren.
Regulierknopf (5) aufstecken.
In Betrieb liegt am Temperaturfühler Netzpo-
tential an.
Eine zulässige relative Luftfeuchte von max.
95 % darf nicht überschritten werden. Betau-
ung ist zu vermeiden.
Berker GmbH & Co. KG
Klagebach 38
58579 Schalksmühle/Germany
Telefon: + 49 (0) 23 55/90 5-0
Telefax: + 49 (0) 23 55/90 5-111
www.berker.com
11/2012
97-09942-000
(1)
(2)
(4)(5)
(6)
(3)
(8) (9)
(7)
(10)
Anhang
Technische Daten
Temperaturregler
Betriebsspannung AC-1 230 V~
Nennfrequenz 50 Hz
Schaltstrom 16 (2) A
Temperatur-Einstellbereich
- Fußboden +10 ... +50 °C
- Raum +5 ... +30 °C
Umgebungstemperatur 0 ... +40 °C
Lagertemperatur -20 ... +70 °C
Hysterese < 1 K
Nachtabsenkung ca. 5 °C
Ausgang Relais, 1 S
relative Luftfeuchte 0 ... 95 % (ohne Betauung)
Schutzklasse II
(bei vollständiger Montage)
Schutzart IP30
Anschlüsse Schraubklemmen
- eindrähtig 0,5 ... 2,5 mm²
- feindrähtig mit Aderendhülse 0,5 ... 2,5 mm²
Externer Temperaturfühler nach DIN 44574
Leitungslänge ca. 4 m
- verlängerbar mit 0,5 mm² max. 50 m
(nur mit doppelter Isolierung)
Fühlerkopf (Länge x Ø) ca. 28 x 7,7 mm
Typ NTC, HF-8/4-K2
Temperatur
[°C]
Widerstand
[kΩ]
10 3,66
20 2,43
25 2,00
30 1,65
40 1,15
50 0,82
Tabelle 2: Fühlerkennwerte
Die Widerstandwerte können nur bei abge-
klemmtem Fühler gemessen werden.
Gewährleistung
Technische und formale Änderungen am Produkt,
soweit sie dem technischen Fortschritt dienen,
behalten wir uns vor.
Wir leisten Gewähr im Rahmen der gesetzlichen
Bestimmungen.
Im Gewährleistungsfall bitte an die Verkaufsstelle
wenden oder das Gerät portofrei mit Fehlerbe-
schreibung an unser Service-Center senden.
Berker GmbH & Co. KG
Service-Center
Hubertusstraße 17
D-57482 Wenden-Ottngen
Telefon: 0 23 55 / 90 5-0
Telefax: 0 23 55 / 90 5-111

Safety instructions
Electrical equipment must only be installed
and assembled by a qualied electrician in
accordance with the relevant installation stan-
dards, regulations, directives and safety and
accident prevention directives of the country.
The device has radio interference suppressi-
on according to VDE 0875 and EN 60730 and
works according to the 1C procedure.
Failure to comply with these instructions may
result in damage to the device, re, or other
hazards.
These instructions are an integral component
of the product, and must be retained by the
end user.
(1)
(2)
(4)(5)
(6)
(3)
Figure 1: Design of the device
Figure 2: Display and operating elements
Design of the device
Figure 1
(1) Insert
(2) Frame (not in scope of delivery)
(3) Centre plate with scale
(4) Fixing screw
(5) Setting knob
(6) Rocker for on/off switch
Figure 2
(7) Green control LED, night lowering
(8) Red control LED, heating
(9) On/off switch
(10) Adjusting wheels for temperature limitation
Function
Correct use
- Only suitable for use in indoor areas
- Installation in wall box according to DIN 49075
The thermostat is used to control electrically-con-
trolled underoor heating and oor temperature
systems.
The thermostat for underoor heating consists of
a control device and an external temperature
sensor.
- External temperature sensor to measure the
temperature in the oor
- Control device to set the desired setpoint
If the oor temperature falls below the setpoint,
then the bi-metal contact closes the heating cir-
cuit. The contact remains closed until the desired
temperature has been reached. The Control LED
(8) lights up.
In the position, the on/off switch (9) com-
pletely deactivates the control of the thermo-
stat.
If the temperature sensor fails or short-cir-
cuits, the heating circuit is interrupted.
Temperature lowering :
The time-controlled change-over from the day to
night temperature can be carried out using an
external timer. In so doing, the set temperature is
reduced by approx. 5 °C. If temperature lowering
is active, the control LED (7) lights up.
Operation
Setting the oor temperature
The scale is used for visual orientation when set-
ting the temperature.
Number 1 2 3 4 5
Temperature [°C]
approx.
10 20 30 40 50
Table 1: Temperature values according to scale
<Using the setting knob (5), you can set the
oor temperature innitely according to the
scale on the centre plate.
Limiting the temperature range
(11)
(12)
(13)
Figure 3: Adjusting wheels for temperature limita-
tion (as-delivered state)
The thermostat possesses two adjusting wheels
to limit the temperature range:
- Red adjusting wheel (11): upper temperature
limit, approx. 50 °C
- Blue adjusting wheel (13): lower temperature
limit, approx. 10 °C
<Set the setting knob (5) roughly in the centre
of the desired setting range.
<Pull the setting knob.
<Carefully pull the locking pin (12) out a few
millimetres.
The adjusting wheels can be moved easily.
<In a counter-clockwise direction, turn the red
adjusting wheel (11) to the desired maximum
temperature (Table 1).
<In a clockwise direction, turn the blue adju-
sting wheel (13) to the desired minimum tem-
perature (Table 1).
<Push the locking pin up to the stop.
The adjusting wheels are locked again.
<Slip the setting knob on.
The oor temperature can be set within the
set limit range.
In an as-delivered state, the maximum setting
range of the thermostat (+10 ... +50 °C) is
enabled.
It is not necessary to switch the mains voltage
off to limit the temperature range.
Information for
electricians
Installation and electrical connection
DANGER!
Electrical shock when live parts are
touched.
An electric shock can be lethal.
Disconnect the connecting cables before
working on the device and cover all live
parts in the area!
Connecting and installing the device
L
N
FF
L
N
Figure 4: Thermostat connection diagram,
NO contact, for underoor heating
LLive conductor
NNeutral conductor
FExternal temperature sensor, neutral pole
Temperature lowering
Load connection, heating
Installing the temperature sensor
<Pass the temperature sensor in the protection
tube between two heating loops in the oor.
<Close the protection tube as protection
against the ingress of moisture and dirt.
An extension of the connection cable of the
temperature is only approved with doubled
insulation, in accordance with EN 60730-2-1.
Installing the thermostat
<Connect the controller according to connec-
tion diagram (Figure 4).
<Plug the rocker (6) into the top acceptance
slot of the on/off switch.
<Place the centre plate (3) over the design fra-
me (2) in the correct position and x with the
fastening screw (4).
<Slip the setting knob (5) on.
There is mains voltage on the temperature
sensor during operation.
Do not exceed an approved relative humidity
of max. 95%. Avoid condensation.
Appendix
Technical data
Thermostats
Operating voltage AC-1 230 V~
Rated frequency 50 Hz
Switching current 16 (2) A
Temperature setting range
- Floor +10 ... +50 °C
- Room +5 ... +30 °C
Ambient temperature 0 ... +40 °C
Storage temperature -20 ... +70 °C
Hysteresis < 1 K
Night lowering approx. 5 °C
Output Relay, 1 S
Relative humidity 0 ... 95 % (without
condensation)
Protection class II
(for complete installation)
Protection type IP 30
Screw terminal connections
- Single-stranded 0.5 ... 2.5 mm²
- Finely-stranded with 0.5 ... 2.5 mm²
conductor sleeve
External temperature sensor according to
DIN 44574
Cable length approx. 4 m
- extendable with 0.5 mm² max. 50 m
(only with double insulation)
Sensor head (length x Ø) approx. 28 x 7.7 mm
Type NTC, HF-8/4-K2
Temperature
[°C]
Resistance
[kΩ]
10 3.66
20 2.43
25 2.00
30 1.65
40 1.15
50 0.82
Table 2: Characteristic sensor values
The resistance values can only be measured
when the sensor is disconnected.
Warranty
We reserve the right to make technical and for-
mal changes to the product in the interest of tech-
nical progress.
Our products are under warranty within the scope
of the statutory regulations.
If you have a warranty claim, please contact the
point of sale or ship the device on postage-free
basis with a description of the fault to our Service
Centre.
Berker GmbH & Co. KG
Service-Center
Hubertusstrasse 17
D-57482 Wenden-Ottngen
Phone: 0 23 55 / 90 5-0
Fax: 0 23 55 / 90 5-111
Table of contents
Languages:
Other Berker Thermostat manuals
Popular Thermostat manuals by other brands

ritetemp
ritetemp 6004 Operation manual

Carrier
Carrier 33CS Installation, start-up, and operating instructions
Salus
Salus ERT20 Operating and mounting instructions
Honeywell
Honeywell HCW 80 Installation and operation
Charmeg
Charmeg iQ-T installer and user manual

Lennox
Lennox Commercial Touchscreen Thermostat installation instructions
