BERSUB HD PRO X2 User manual

H D P R O L E D
ANNEE FABRICATION 2016
Note of use of range BERSUB:
www.bersub.com
DIVE LIGHTS
Congratulations, you have chosen a high-quality BERSUB divelight. In order to obtain maximum satisfaction, please read the
following instructions carefully before use.
Warning : Before using the divelight for the first time, it must be charged fully.
1 - Charging -
1-1- Do not discharge the battery pack before charge it.
1-2- Make sure that the divelight and the charging pins are dry and the switch lever is turned "Off".
1-3- Allow the divelight to cool down a few moments after it has been used before charging it.
1-4-The standard charger allows you to charge the batteries using a 220V AC 50 Hz source. Power consumption: 15 VA maximum.
Charging time: about 12 hours
Plug the charger's double-pole plug onto the divelight’s pins socket, and line up the white mark with the white dot.
If you have partially used the divelight, you can top it off with the charge that is necessary.
The charger does not shut off automatically, so charging time must be monitored. The "LED" provides information about the "charge
in progress". If you allow the charge to continue a little longer, this does not cause any problems as long as you do not do this too
often. There is a safety feature that will automatically cut off the charge if the temperature of the batteries exceeds the
recommended value.
1-5- The automatic battery charger (5920030D5) performs an accelerated charge using constant current then automatically switches
over to a trickle charge (which does no harm to the batteries over a long period) once the batteries have been charged.
This charger allows you to charge the batteries using a 100/240V, 50/60Hz source). Power consumption: 25 VA maximum. (Other
internationals plugs are availables on demand)
You can charge your divelight regardless the state of charge of the battery pack.
- CONNECT THE CHARGER TO THE SECTOR :The green LED switch on: power on
- CONNECT THE DIVELIGHT TO THE CHARGER : (white mark line up with the white dot) the LED become orange: indicates fast
charge in progress. The divelight is full of charge when the LED passes by again the green. The charger will rock then
automatically on the load of maintenance without limit of time.
The charger cannot rock in load if:
- the switch is “on”, safety not locked.
- the battery pack is hot
- the connectors are oxidized
- dysfunction of the divelight
Time of charge: 4 hours
1-6- Ni-Mh batteries, when they are not being used, lose more than 1% of their residual charge per day, so after one month, hardly
70% of the charge will be retained.
Recommendation:

H D P R O L E D
ANNEE FABRICATION 2016
- In the event of nonprolonged use, the divelight must be charged regularly (1 time per 2 or 3 months) in order to preserve the
batteries.
- In order to provide your divelight with maximum runtime, we recommend you to charge it as close as possible to the time that it will
be used (for example the day just before).
2 –Use
2-1-This product is designed and manufactured for underwater use. CAUTION: do not use the divelight more than 10 minutes out
of water under penalty of deteriorating the LED (5 min for HD12+)
2-2-The power selector allows changing the brightness in 50% or 100 %(30%, 60% and 100% for HD12+). To use it, you have to press
on the red safety button and turn the button on the left to light at 50% or on the right to light at 100%. (HD 12+: Left for 30% and
right for 60% and 100%)
2-3-When it is being charged or when it is not in use makes sure that the switch lever is turned "Off". Rinse with fresh water and dry
before storing
2-4-Every 6 months to 1 year and according to use, lubricate the o-rings very sparingly.
Important: Only use lubricant distributed by BERSUB so as to avoid altering the o-rings.
2-5-When travelling by plane, some airlines require to remove the bulb from the divelight in order to avoid any problems:
Make sur the divelight is dry. Unscrew the body. Unscrew the aluminium module supporting the LED of the guide accumulators
black. Check the good state of the joint and the ranges. Screw up the tube without blocking.
3 - Troubleshooting
3-1- No charge:
- Make sure that the lever is on "off"
- Check that the projector has cooled down enough
- Check the condition of the connectors (no oxidation, clean contact between the pins and socket of the projector, if needed, tighten
the socket with a small pair of pliers) and how they are positioned
3-2- Bulb does not light:
- the divelight is not charged.
- bad contact of catch RCA between the battery pack and the LED module
3-3- Water intrusion: remove the body quickly, rinse with fresh water and dry immediately for 1 H in the sun or use a hair dryer.
Like any technical product it is recommended to perform an annual review at a BERSUB specialty retailer.
Guarantee: These products are guaranteed one year parts and labour, except for normal wear and tear. This warranty is renewable
one additional year if and only if the product is a technical tour at the 12th month after the date of purchase.This guarantee does not
cover incorrect use of the product, negligence, dismantling, shock, falls or overheating.
Characteristics are provided for informational purposes only; BERSUB reserves the right to change these without notice.
BERSUB makes a network of approved "After Sales" distributors available to you. A list is available on request or at www.bersub.com
- - - - - - - - - - - - - - - - - - - - - - - - - - - - - - - - - - - - - - - - - - - - - - - - - - - - - -
Félicitation, vous avez choisi un phare BERSUB de grande qualité. Afin d'en obtenir le maximum de satisfaction, veuillez lire
attentivement cette notice d'utilisation avant toute manipulation.
Attention: Avant la première utilisation, effectuez une charge complète du phare.
1 –Charge
1-1- Il n’est pas recommandé de vider les accus de votre phare Bersub avant la recharge.
1-2- Assurez-vous que le phare et les broches de charge soient secs et que la manette de l'interrupteur est bien sur la position
"OFF".
1-3- Laissez refroidir le phare quelques instants après utilisation avant de le mettre en charge.
1-4- Le chargeur standard permet de charger les accus à partir d'une source 220 V Alt 50 Hz. Consommation:15 VA maxi.
Enfichez la fiche femelle bipolaire du chargeur sur les broches mâles du phare, marque blanche côté point blanc.La led doit alors
s'allumer.
Temps de charge: environ 12 heures avec chargeur standard.
Si vous n'avez utilisé que partiellement l'autonomie de votre phare, vous pouvez recharger proportionnellement le nécessaire.
Le chargeur ne s'arrête pas automatiquement, vérifiez le temps de charge. La "Led" donne l'information de "charge en cours". Si
vous laissez charger un peu plus longtemps, cela n'a pas de gravité sous réserve de ne pas faire cette manœuvre trop souvent.
Une sécurité coupera automatiquement la charge si la température des accus dépasse la valeur de consigne.
1-5- Le chargeur rapide électronique (5920030D5) exécute une charge accélérée à courant constant puis bascule automatiquement
en charge de maintien (sans danger pour les accus pendant une longue période) une fois les accus chargés.
Consommation du chargeur : 25 VA maxi
Vous pouvez remettre en charge votre phare quel que soit le niveau d'état de charge du pack d'accus.
Le chargeur s’adapte automatiquement aux tensions primaires de 100 à 240 V 50/60HZ. Il n y a pas de sélecteur de tension.
- RELIER LE CHARGEUR AU SECTEUR : La LED verte d'indication de mise sous tension doit alors s'allumer
- RELIER LE PHARE AU CHARGEUR : (marque blanche face au point blanc) La LED bascule à la couleur orange ce qui indique
l’état de charge rapide. Le phare est chargé lorsque la LED redevient verte. Le chargeur basculera alors automatiquement sur la
charge de maintien.
H D P R O L E D
ANNEE FABRICATION 2016
Le chargeur ne peut basculer en charge si :
- l'interrupteur du phare est en position allumage, sécurité non verrouillée.
- les accus sont chauds
- les connecteurs sont oxydés
- dysfonctionnement du phare
Temps de charge : 4 heures environ
1-6- Attention: les accus Ni-Mh perdent, en situation de non utilisation, plus d’1% de leur charge résiduelle par jour, de telle sorte qu'au
bout d'un mois, il ne leur reste guère plus de 70% de la charge. Conseils :
- En cas de non utilisation prolongée, le phare doit être chargé régulièrement (1 fois tous les 2 à 3 mois) afin de préserver les
accus.
- Afin d’obtenir le maximum d’autonomie de votre phare nous vous recommandons d’en effectuer la charge le plus près possible du
moment de l’utilisation (par exemple la veille).
- Afin de ne pas détériorer les accus, ne jamais utiliser votre phare au-delà de l’autonomie donnée
-Il est normal que lors des premiers cycles d’utilisation de ne pas avoir l’autonomie complète, les accus obtiennent leur pleine
capacité après 6 à 7 cycles de charge/décharge.
2 –Utilisation
2-1- Ce produit est conçu et fabriqué pour une utilisation sous-marine. Recommandation : ne pas utiliser le phare plus de 10 mn
hors de l’eau au risque de détériorer les LED (5min pour HD12+)
2-2- Le sélecteur de puissance bi position permet de varier la puissance à 50% ou 100% (30%,60% et 100% pour le HD12+). Pour
cela, il suffit d’appuyer sur la sécurité rouge pour déverrouiller le bouton d’allumage puis tourner le bouton à gauche pour éclairer à
50% ou à droite pour éclairer à 100%(pleine puissance). (HD12+ : à gauche pour 30%, et droite pour 60% et 100%)
2-3- En situation de charge ou de non utilisation, veillez à ce que le bouton d’allumage soit bien sur "off". Rincez le phare à l'eau douce
et séchez-le avant stockage.
2-4- Tous les 6 mois à 1 an et suivant l'utilisation, graissez très légèrement les joints.
Important : afin de ne pas altérer les joints, utilisez uniquement la graisse distribuée par BERSUB
2-5- Lors de voyage en avion, certaines compagnies demandent de déconnecter la partie ampoule du phare afin d’éviter tout
problème :
Assurez-vous que le phare soit sec. Il suffit de dévisser le tube jusqu’à l’apparition complète du premier joint d’étanchéité du
flasque. Vérifier le bon état du/des joints et des portées. Ne pas oublier de revisser le tube à fond sans bloquer.
3 - Incidents
3-1- Pas de charge :
- Assurez-vous que le bouton est bien sur "off"
- Vérifiez que le phare se soit suffisamment refroidi
- Assurez-vous du bon état des connecteurs (pas d’oxydation, contact franc de la prise sur les broches du phare, si nécessaire,
resserrer la prise avec une petite pince) et de leur positionnement
3-2- Pas d'allumage :
- le phare n'est pas chargé.
- mauvais contact de la prise RCA entre les accus et le module LED
3-3- Intrusion d'eau: enlevez rapidement le tube, rincez à l'eau douce et séchez immédiatement 1 H au soleil ou au sèche-cheveux.
Attention : Il est impératif de ne jamais regarder directement la source lumineuse sous risque de graves séquelles oculaires.
Attention aux émissions des LED qui pourraient blesser ou irriter l’œil.
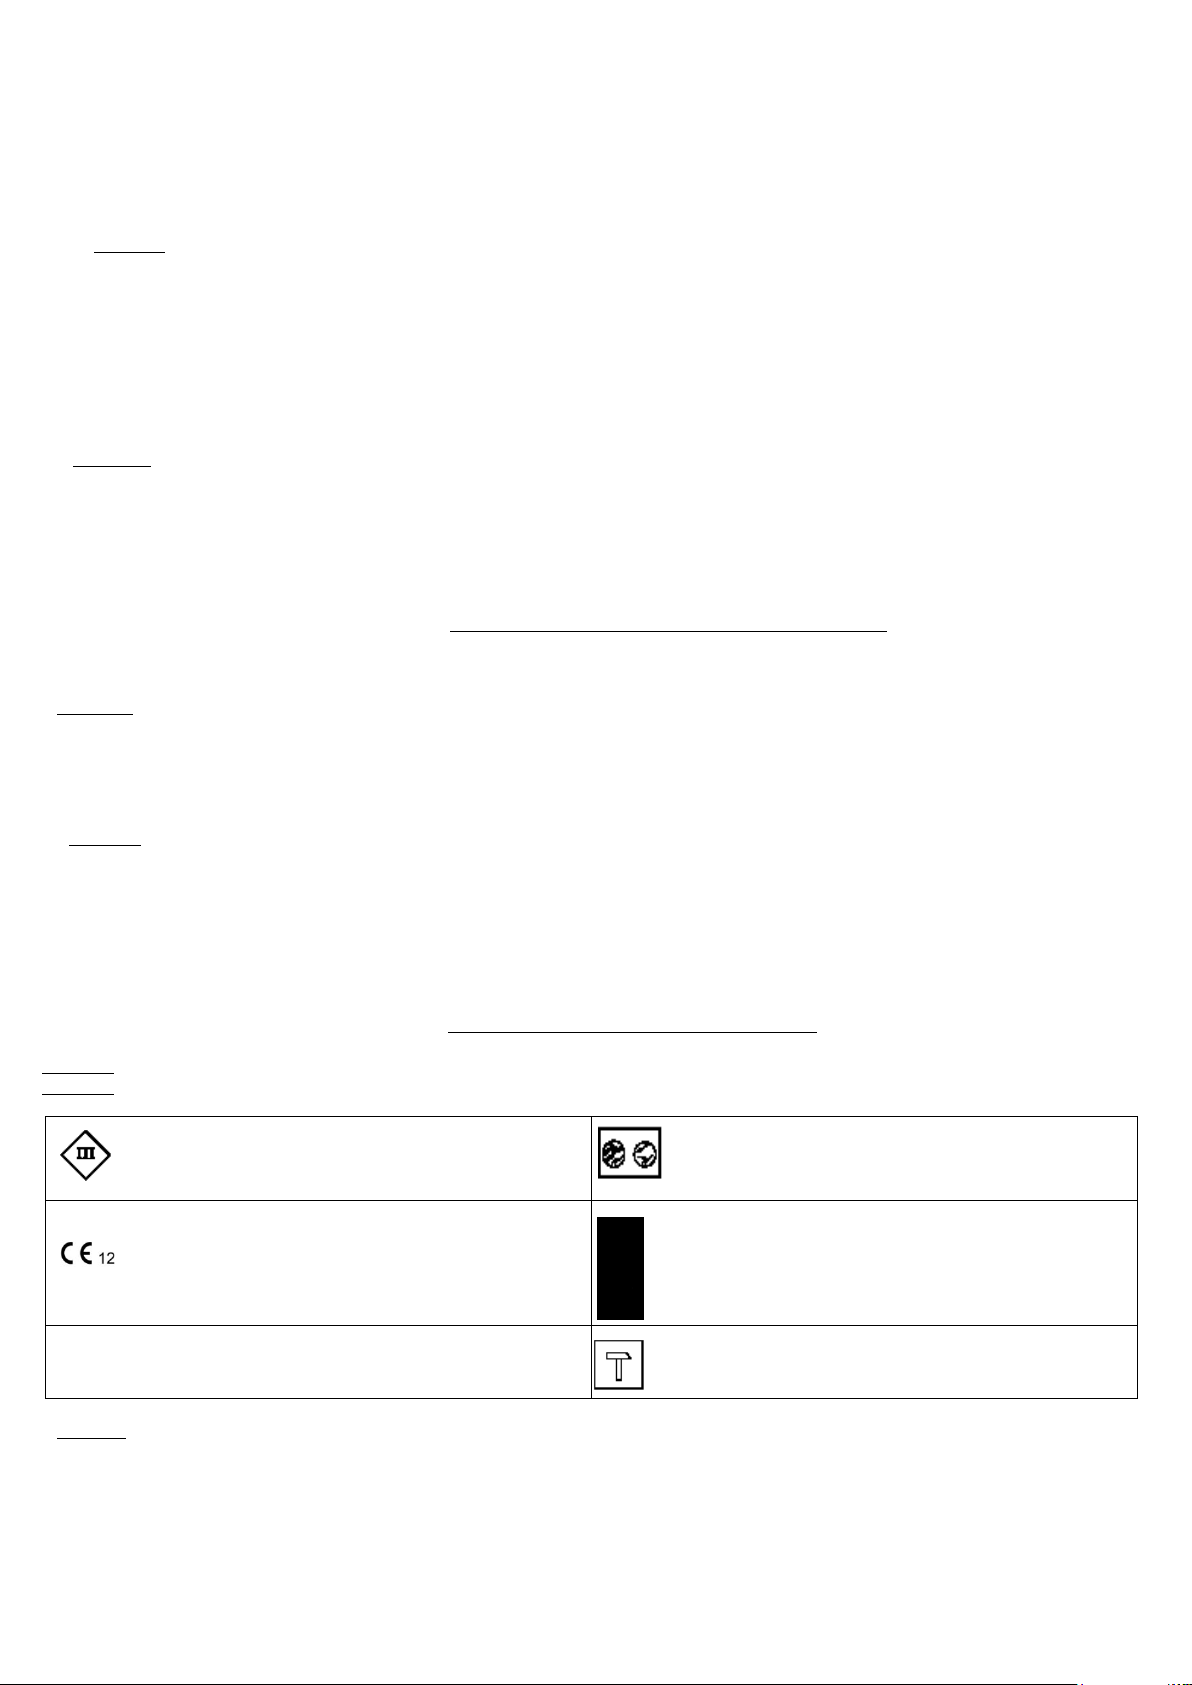
Appareil de Classe 3 IEC 60417-5180
Device class 3 IEC 60417-5180
Luminaire avec écran de sécurité en verre. Faire
remplacer tout écran de protection fissuré.
Liminaire with glass safety screen. To replace any
cracked protective shield
Ce produit est conforme aux normes CE, suivant les
directives 2006/95/CE du 12/12/2006 et 2004/108/CE du
15/12/2004
This product is CE compliant, following the
guidelines2006/95/CE of 12/12/2006 and 2004/108/CE
of 12/12/2004
Pour les pays de l’union Européenne :
Votre produit doit être éliminé dans une structure de
récupération et de recyclage appropriée.
For the countries of the European Union : your product
should be disposed of in a proper recycling structure
IPX8 Produit protégé contre l’immersion permanente
Product protected against continuous immersion
Produit réalisé pour des conditions exceptionnelles
d'emploi.
Product made for exceptional conditions of use
Comme tout produit technique, il est préconisé de faire réaliser une révision annuelle chez un détaillant spécialisé.
Garantie: Ces produits sont garantis un an pièces et main-d'œuvre, hors pièces d'usure. Cette garantie est renouvelable 1 an
supplémentaire si et seulement si le produit subit une visite technique lors du 12éme mois après la date d’achat. Cette garantie ne
couvre pas une mauvaise utilisation du produit, négligence, démontage, choc, chutes ou surchauffe.
Les caractéristiques sont données à titre indicatif, BERSUB se réserve le droit de les modifier sans préavis.
BERSUB met à votre disposition un réseau de distributeurs agréés "SAV". Liste disponible sur demande ou sur www.bersub.com

H D P R O L E D
ANNEE FABRICATION 2016
Tension
Accus
Culot
Autonomie en
Chargeur
Chargeur
Poids
Flux lumineux en lumens
minutes
Standard
Rapide
immergé
émergé
Blanc
Froid
Neutral
Neutral
Wide
90°/120°
X3
WIDE
90°X3
HD 4
6 V
NiMh
3,8Ah
RCA
2H10 à 100% ou
4H10 à 50%
C 20 K7
5920030D5
350g
800g
1400
/
/
/
HD 6
7.2 V
NiMh
3,8Ah
RCA
1H30 à 100% ou
3Hà 50%
C 20 K7
5920030D5
350g
850g
2500
2100
2800
/
HD
12+
7,2 V
NiMh
3,8Ah
RCA
30%, 60% et
100% de 2H30 à
40 mn
/
5920030D5
350g
850g
4800
4200
6000
6900
CARD-index OF GUARANTEE
Of products BERSUB
Number:
Date of purchase:
Dealer stamp:
Technical Visit (12 months):
The whole of these elements must be imperatively indicated at the time of the purchase of the product so that the guarantee can be
validated.
BERSUB
Place Pierre Descotes
BP 16
73240 Saint Genix sur Guiers
France
This manual suits for next models
4
Table of contents
Other BERSUB Diving Instrument manuals


