BestGuarder WG-37 User manual
1
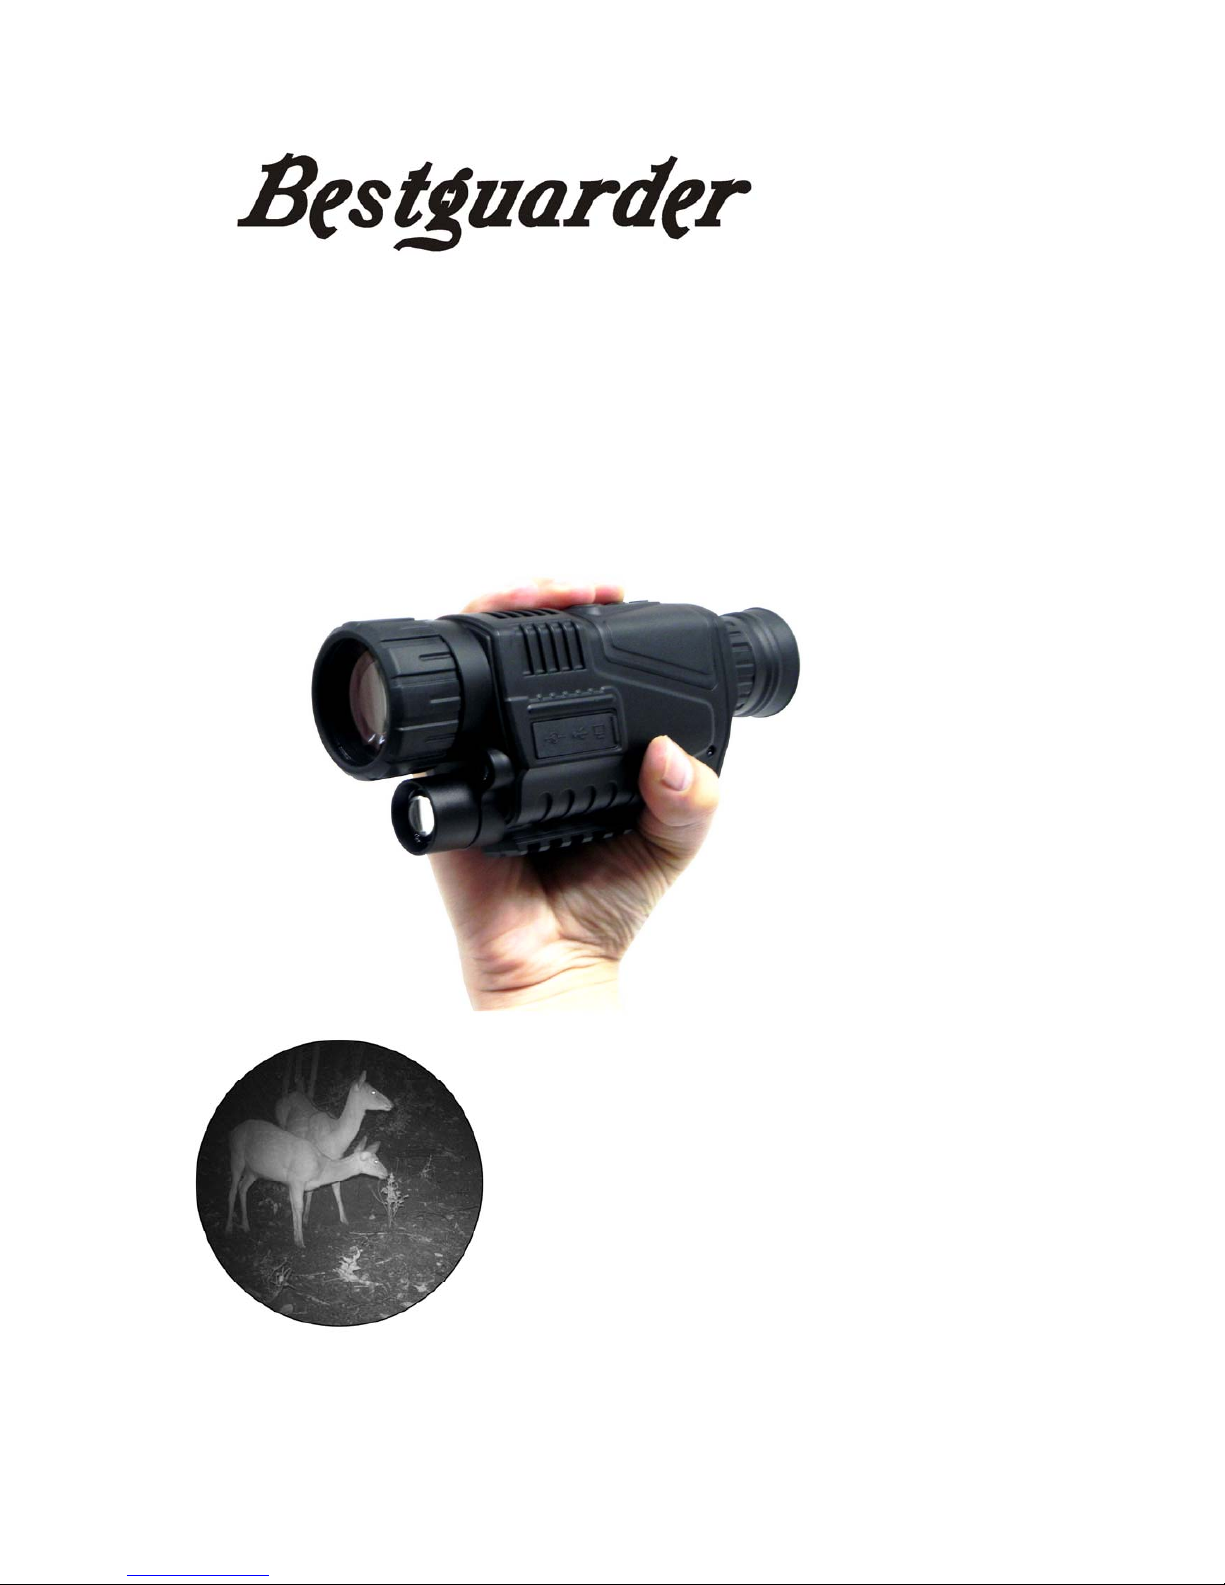
5x40 Monocular
Digital Night Vision 1.44” lCD
5MP-940nM IR LED-200m Range
Built in 4GB Memory
Model NO: WG-37
User Manual
2
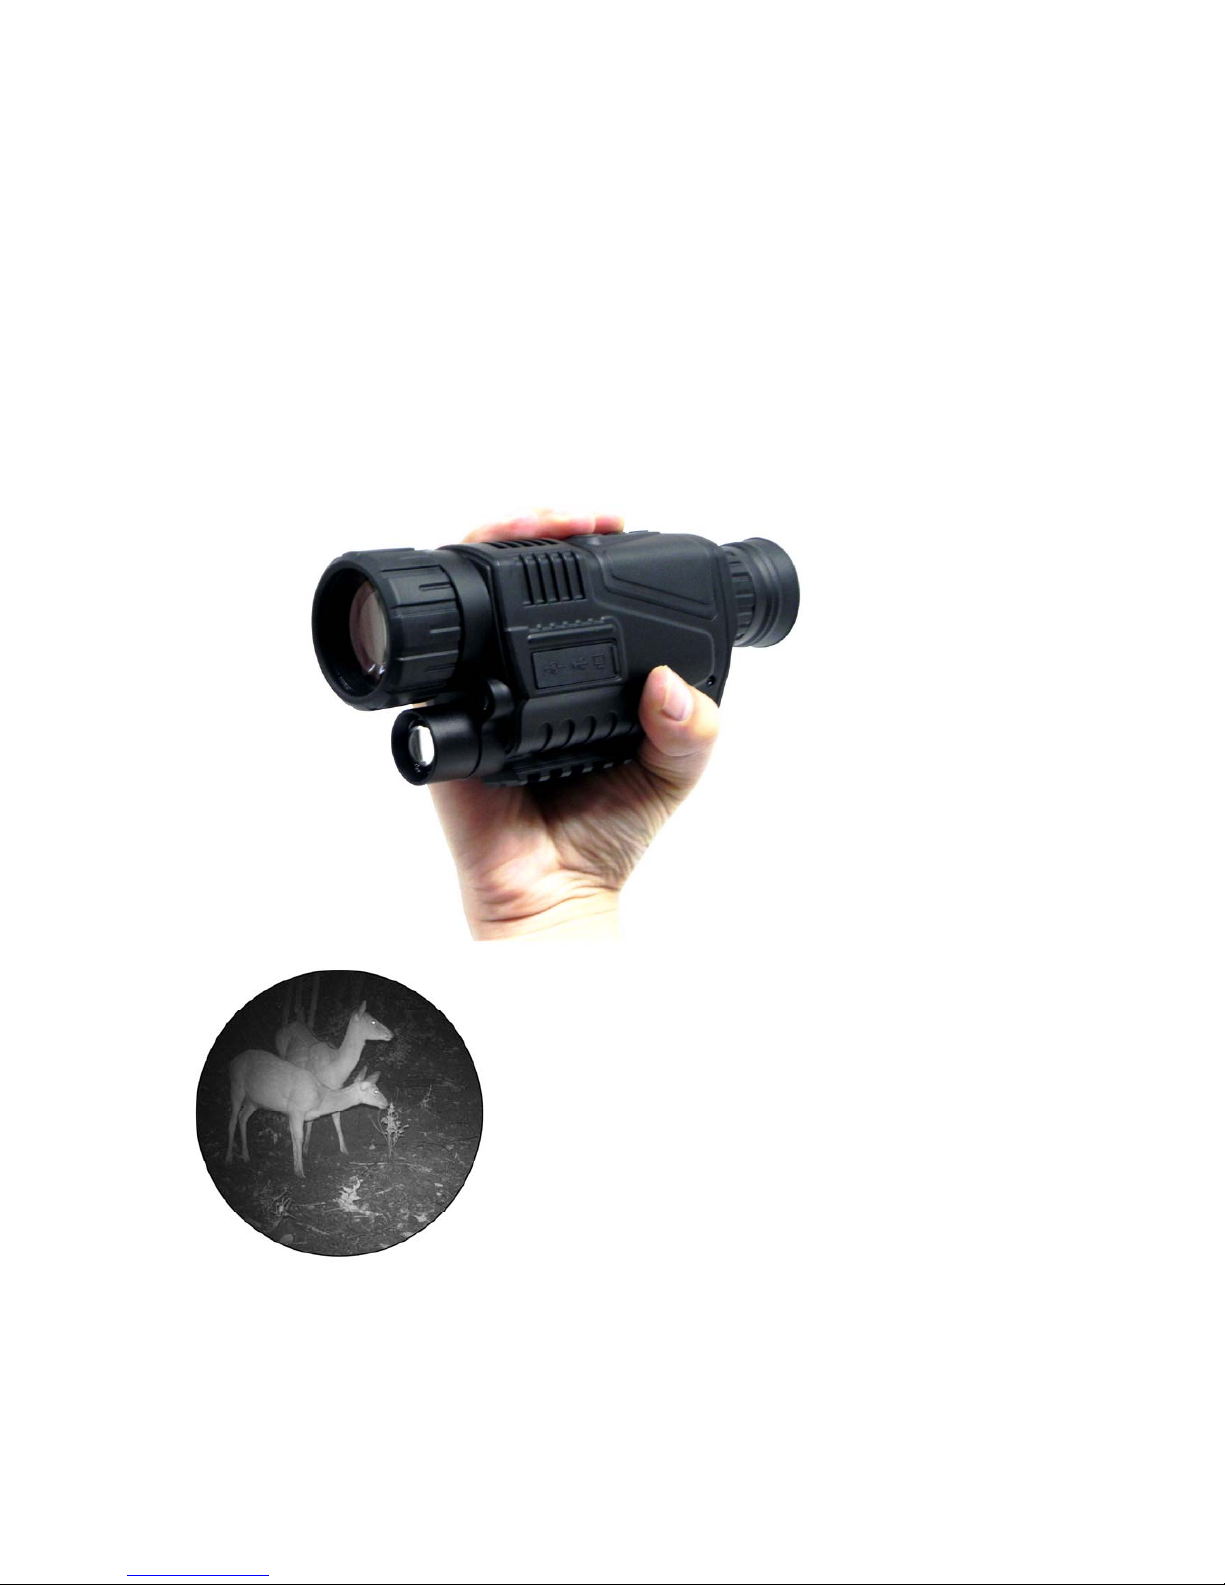
5x40 Monocular
Digital Night Vision 1.44” lCD
5MP-940nM IR LED-200m Range
Built in 4GB Memory
Model NO: WG-37
User Manual

3
TABLE OF CONTENTS
Overview......................................................................... Pg. 4-5
Components.................................................................. Pg. 6-7
Battery installation..................................Pg. 8
Power on/off...........................................Pg. 9
Focusing..............................................................................Pg. 10
Screen brightness.......................................................... Pg. 11
Infrared illuminator....................................................... Pg. 12
Photo mode..................................................................... Pg. 14
Video mode........................................................Pg.15
Photo playback............................................................... Pg. 16
Video playback............................................................... Pg. 17
Date and time................................................................. Pg. 18
Delete photo and video.......................................................Pg. 18
Monitor connection...................................................... Pg. 19
Computer connection.................................................. Pg. 19
Battery............................................................................... Pg. 20
Recharging....................................................................... Pg. 20
Specification.................................................................... Pg. 21
Additional information................................................ Pg. 22
4
Overview
The WG-37 Monocular can be used for observation in complete
darkness or low light conditions.
The viewing distance in low light conditions is infinity. Complete
darkness restricts the viewing distance to a maximum of 200
metres.
Quick and easy to transfer data with USB cable, viewing images
and video on a monitor with video OUT and recharging the battery
by using of the DC IN socket.

5
The monocular can be used to take photos or capture video during
the day or at night.
The WG-37 monocular is the perfect optical device to enhance your
vision at night.
Abuilt-in infrared illuminator provides additional light when in darker
conditions. The infrared strength can be adjusted to suit your
situation.
Up to 1.5 hour runtime without the use of infrared illuminator. Up to
1 hour with IR illuminator on.
Night Vision Uses:
Hunting,Scouting game
Security and surveillance
Camping fun/exploring caves
Nighttime navigation
Night fishing and boating
Wildlife observation
Search and rescue

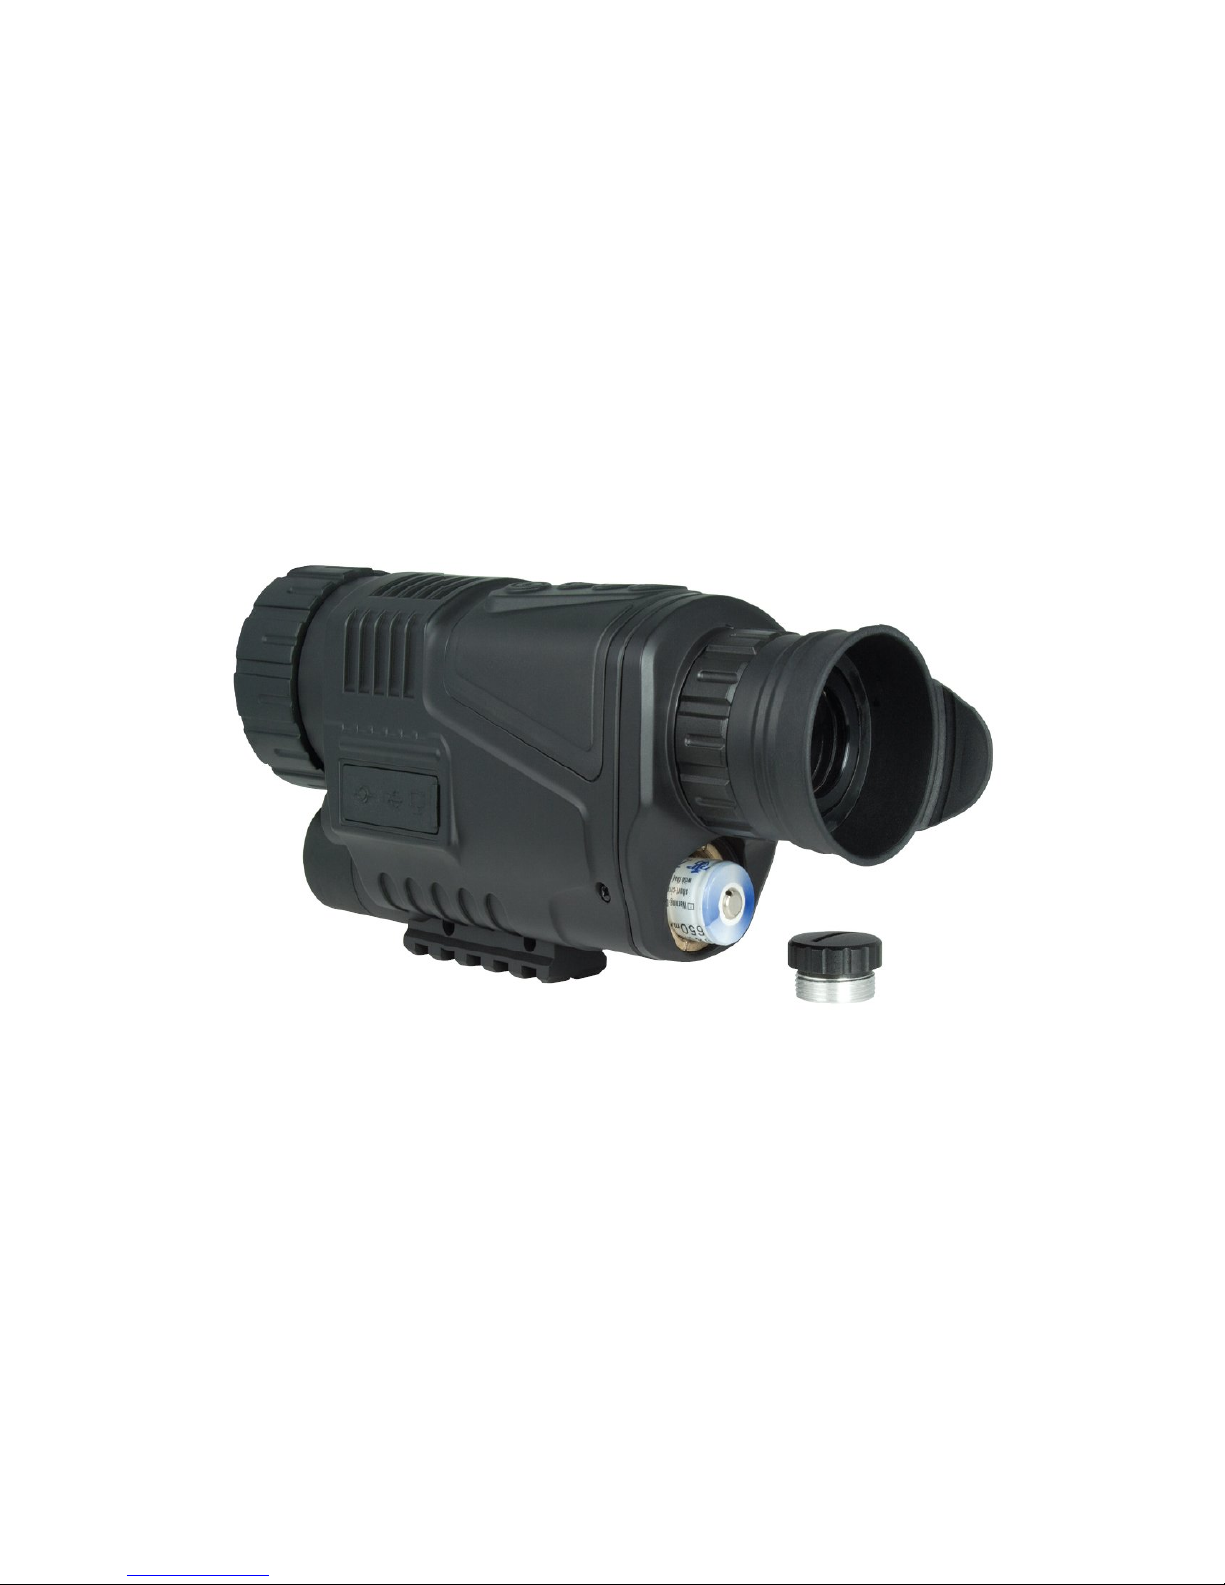
6
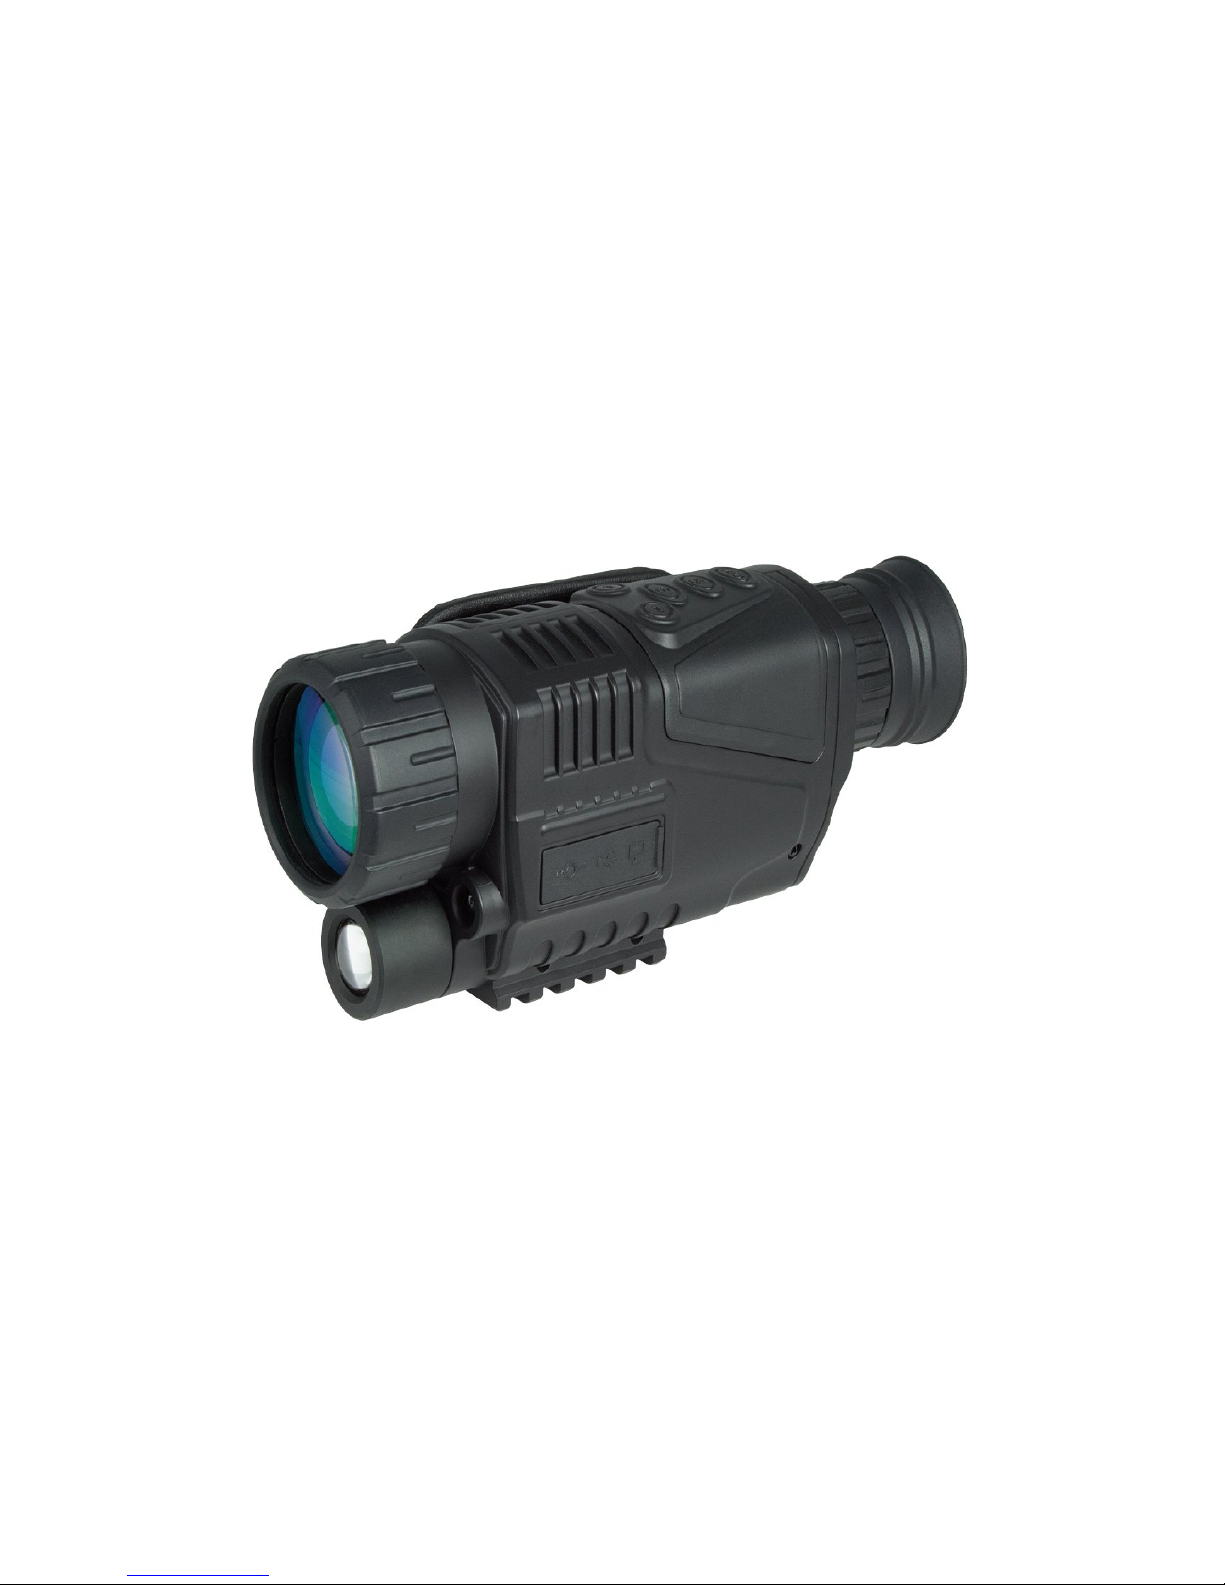
Components
1. Objective lens cover
2. Objective focus wheel
3. Infrared illuminator
4. 5V DC IN
5. Mini USB 2.0 socket
6. Video OUT
7. Threaded tripod mount
8. Battery compartment
9. Dioptre focus wheel
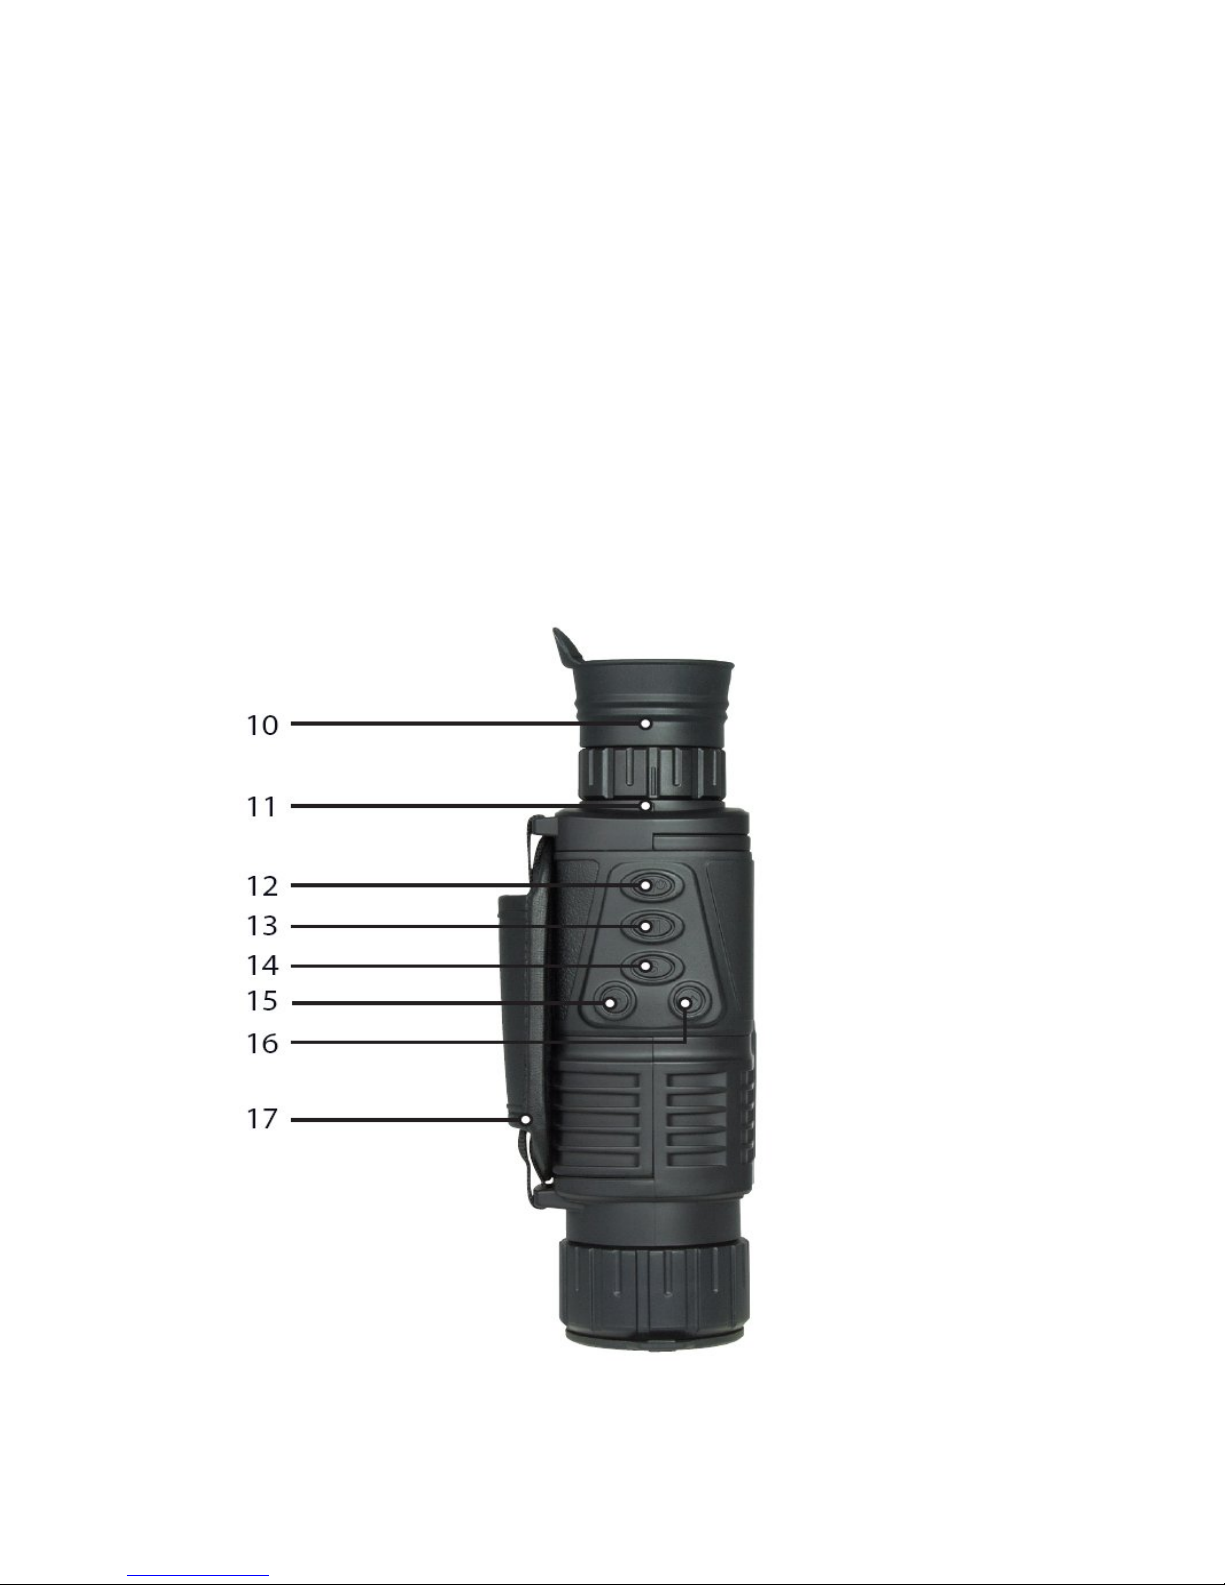
7
10.Eyecup
11.Dioptre marker
12.Power/Select button
13.IR button
14. Mode button
15.Up button
16.Down button
17.Hand strap
8
Battery installation
Unscrew the battery cover (using a coin in the groove if needed).
Insert the battery negative end first and then screw the battery
cover back in place.
Turn the monocular on, the screen will light up if the battery is
inserted correctly and is charged.
Notes:
Only use 3.7V RCR123A or 3.7V ICR14500 750mAh rechargeable
batteries.
Ensure the battery has sufficient charge.

9
Power on
Remove the objective lens cover.
Hold the “power” button for 3 seconds to turn the Monocular on.
Look through the eyecup, it is ready for use when the screen has lit
up and the icons are displayed.
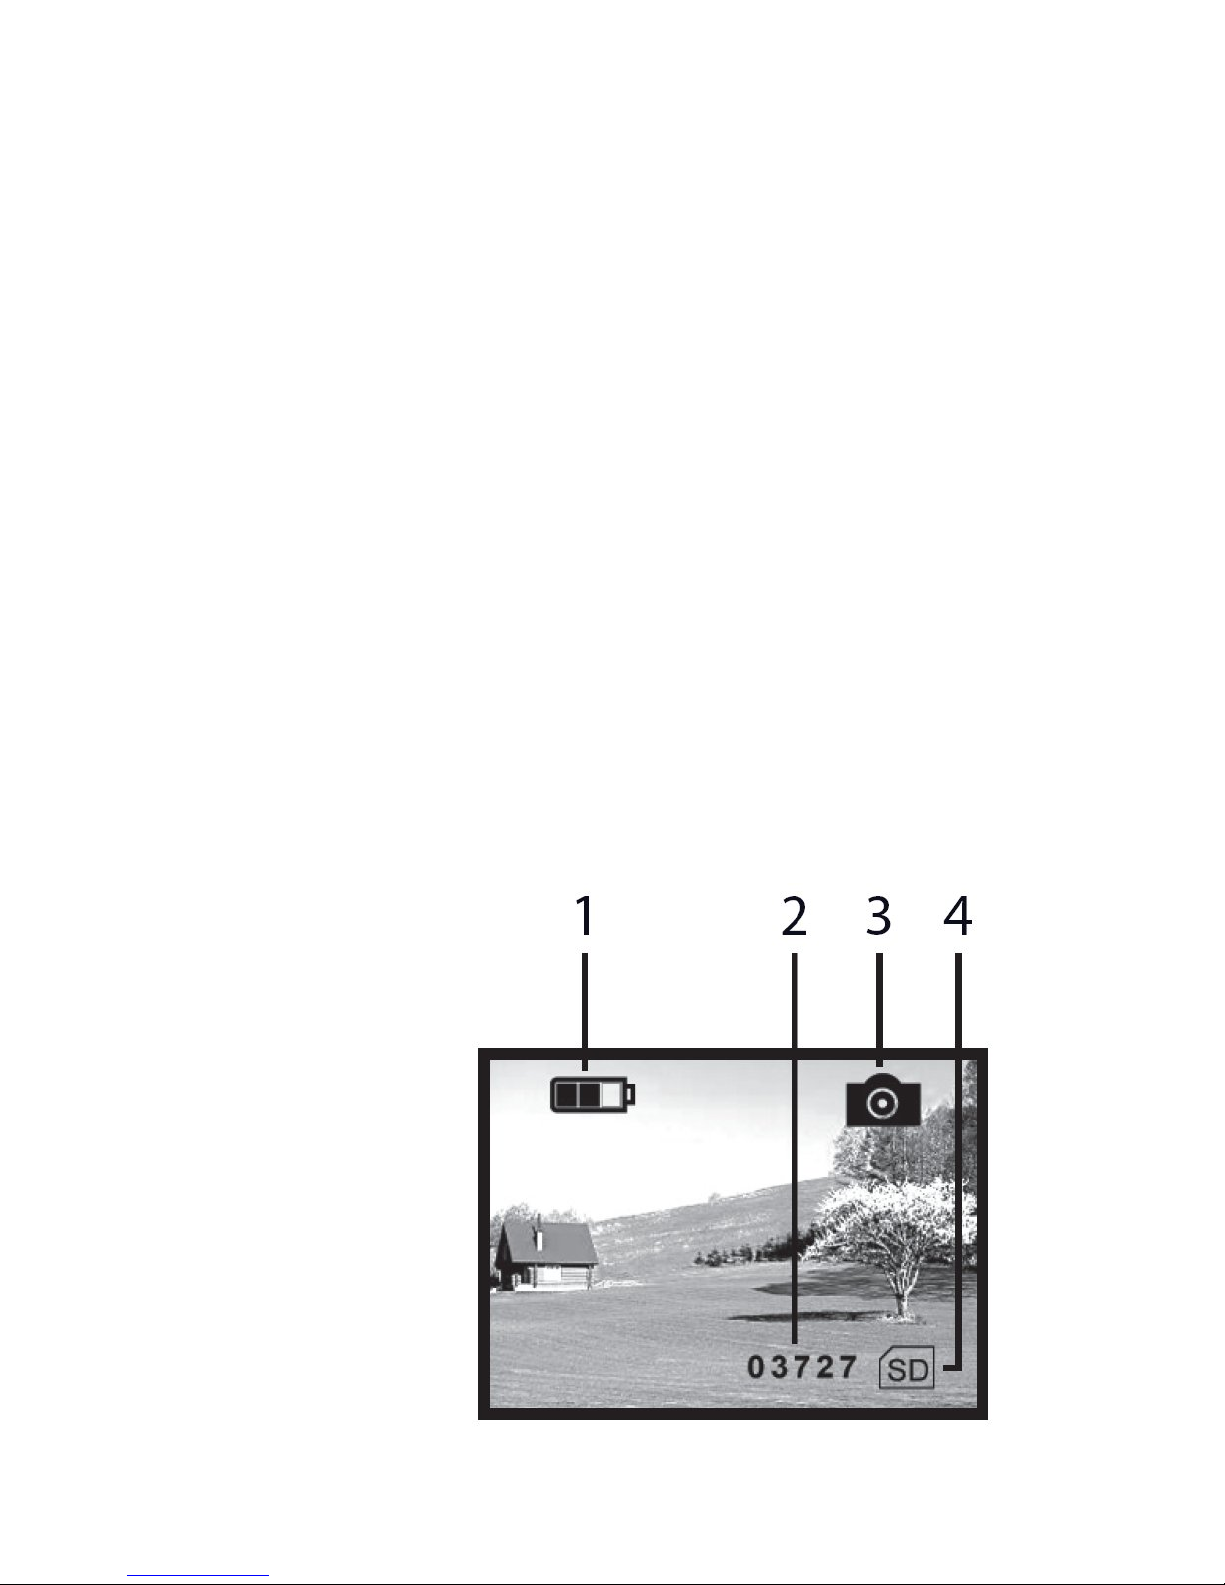
Display icons
1. Battery charge indicator
2. Image capacity remaining
3. Current mode (Photo)
4. Storage media (SD card)
The monocular will always
start in photo mode.
Power off
Ensure battery has been inserted negative end first.
In any mode, hold the “power” button for 3 seconds to turn the
Monocular off.

10
Focusing
Remove the objective lens cover and look through the eyecup at
the screen.
Adjust the dioptre focus ring until the icons are sharp on the screen.
Adjust the objective focus wheel until the desired viewing image is
sharp.
The infrared illuminator should be used to achieve the optimum
viewing image.
If the environment is light enough, the infrared illuminator can be
turned off to save power.
Be careful not to block the infrared illuminator, as this will affect the
viewing image.

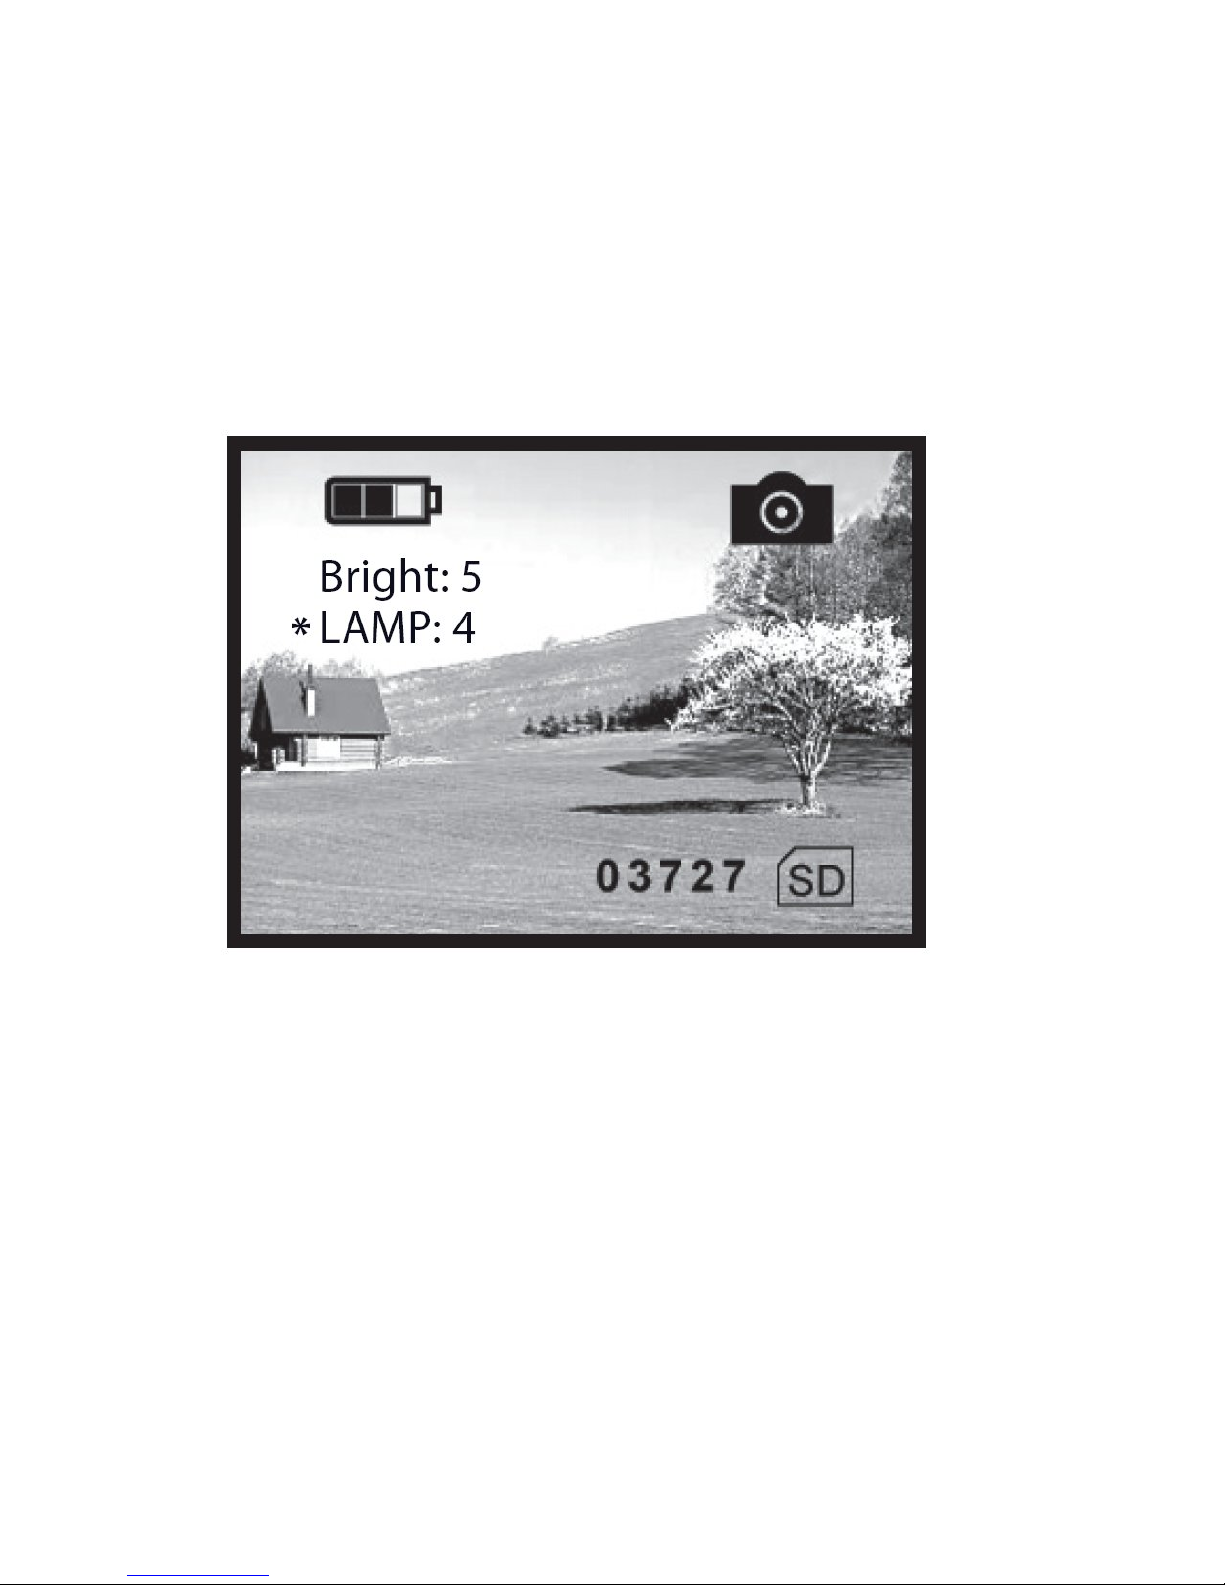
11
Screen brightness
The brightness adjustment menu allows you to alter the brightness
of the digital display.
While in photo or video mode, press the “IR” button to enter the
brightness adjustment menu.
As shown on the image above, the number after the word “Bright” is
the current screen brightness.
Press the “down” button to reduce the brightness and the “up”
button to increase it. There are 9 levels of brightness in total with 9
being the brightest.
To exit the brightness adjustment menu, press the “IR” button twice.
12
Infrared illuminator
The infrared adjustment menu allows you to alter the strength of the
assisting infrared light.
While in photo or video mode, press the “IR” button twice to enter
the infrared adjustment menu.
As shown on the image above, the number after the word “Lamp” is
the current infrared strength.
Press the “down” button to reduce infrared strength and the “up”
button to increase it. There are 9 levels of infrared in total with 9
being the strongest.
To exit the infrared adjustment menu, press the “IR” button.

13
Notes:
In any of the previous adjustment menus, the monocular will return
to its current mode if there is no operation within 8 seconds.
To save battery power, turn the infrared illuminator off when it is not
needed by pressing the “down” button until the infrared strength is
reduced to 0.
14
Photo mode
When the monocular is first operated ,it will enter photo mode
automatically. you can take still images of your environment In this
mode.
If the monocular is not in photo mode, press the “mode” button to
cycle through the available modes until you see the photo mode
symbol.
Press the “select” button to capture a still image.
The photo will automatically save to the internal SD memory card.
Display icons
1. Battery charge indicator
2. Image capacity remaining
3. Photo mode
4. Storage media (SD card)
15
Video mode
In photo mode, press the “mode” button twice to enter video mode.
In this mode you can record videos of your environment (up to 10
minutes long).
If the monocular is not in video mode, press the “mode” button to
cycle through the available modes until you see the video mode
symbol.
Press the “select” button to start recording video. To end a
recording, press the “select” button again.
The video will automatically save to the internal SD memory card.
Video size is based on video length.
The maximum length of a video is 10 minutes.
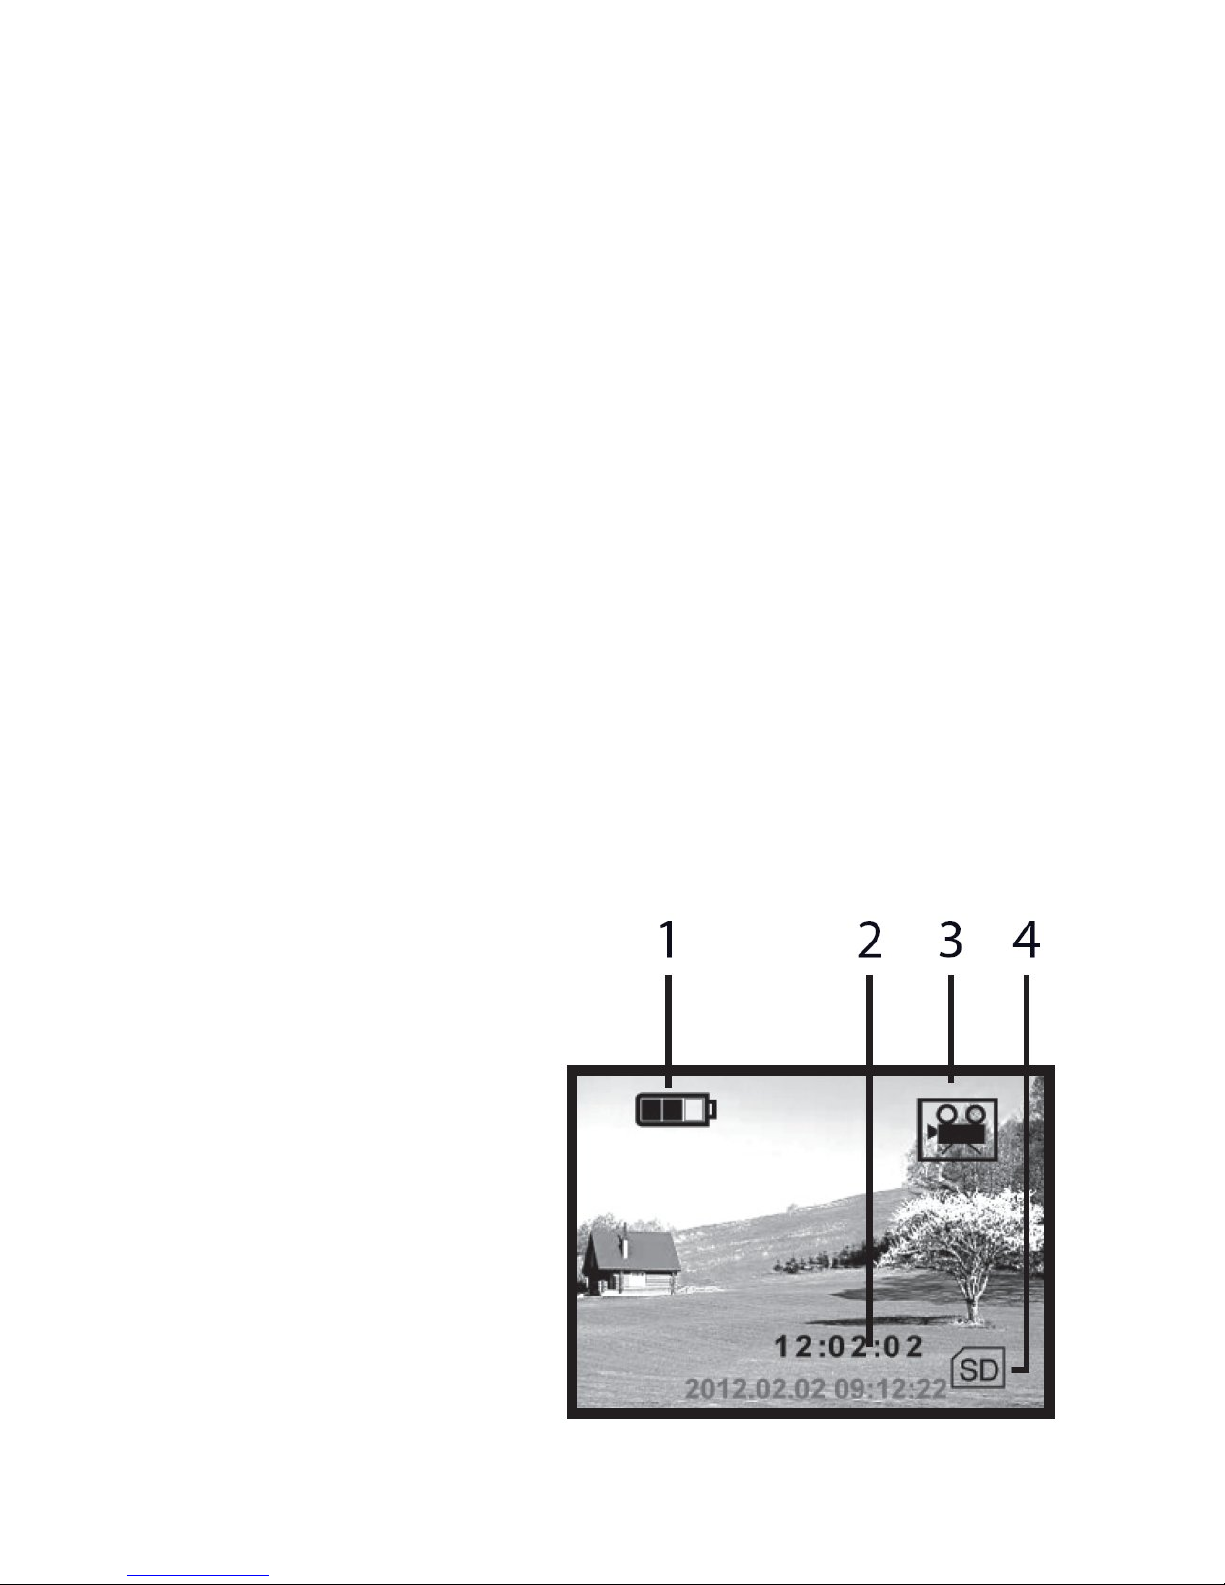
Display icons
1. Battery charge indicator
2. Video recording time
3. Video mode
4. Storage media (SD card)

16
Photo playback
In photo mode, press the “mode” button to enter playback mode.
This allows you to view any photos or videos you have taken with
the monocular.
If the monocular is not in photo mode, press the “mode” button to
cycle through the available modes until you see the playback mode
symbol.
Display icons
1. Battery charge indicator
2. Photo serial number
3. Playback mode (Photo)
4. Storage media (SD card)
When in playback mode, use the “down” and “up” buttons to cycle
through the photos and videos.

17
Video playback
In photo mode, press the “mode” button to enter playback mode.
This allows you to view any photos or videos you have taken with
the monocular.
If the monocular is not in photo mode, press the “mode” button to
cycle through the available modes until you see the playback mode
symbol.
Display icons
1. Battery charge indicator
2. Date and time
3. Video recording time
4. Video serial number
5. Playback mode (Video)
6. VGA video format
7. Storage media (SD card)
When in playback mode, use the “down” and “up” buttons to cycle
through the photos and videos. Pressing the “select” button will
start and stop video playback if it has the video playback symbol.

18
Date and time
Connect the monocular to your computer using the USB lead
supplied.
The computer will identify the monocular automatically and read the
content on the SD card.
Create and open the “time.txt” file.
Adjust the date and time in the following format: yyyy.mm.dd
hh.mm.ss
Save and close the “time.txt” file.
Copy the “time.txt” file and paste it into the root directory (the
top-most folder)
Eject the monocular and disconnect the USB lead.
The correct date and time are now set.
The date and time settings will reset if the battery is fully discharged
or removed from the monocular for long periods of time.
Delete Photo and Video
Connect the monocular to your computer to delete photo and video
using the USB lead supplied.

19
Monitor connection
Connect your monitor to the Video OUT on the monocular using the
video lead supplied.
Hold the “power” button for 3 seconds, the monitor will now display
the screen of the monocular.
Computer connection
Connect the monocular to your computer using the USB lead
supplied.
The computer will identify the monocular automatically and read the
content on the SD card.
The battery will be charged while the monocular is connected to the
computer.
Auto power off
After 3 minutes of no operation the monocular will turn off (except in
video or playback mode).

20
Battery
RCR123A rechargeable (650mAh, 3.7V) or 3.7V ICR14500
750mAh
Please ensure the battery is charged for 10 hours before first use to
increase life expectancy.
Recharging
Connect the power adaptor to the 5V DC IN.
The LED charging indicator next to the 5V DC IN will glow red while
the battery is charging and turn off when it is fully charged.
The LED will not glow red when charging on a computer via the
USB lead. The charge indicator on the monocular display can be
used to determine when it is fully charged.
Table of contents
Other BestGuarder Monocular manuals


