Harbor Freight Tools 92578 User manual

92578
OPERATION INSTRUCTIONS
NIGHT VISION SCOPE
WITH ADAPTER RAIL FOR SOUND
AMPLIFIER
3491 Mission Oaks Blvd., Camarillo, CA 93011
Visit our Web site at http://www.harborfreight.com
Copyright©2004 by Harbor FreightTools®. All rights reserved.
No portion of this manual or any artwork contained herein may be
reproducedinany shape or form without the express writtenconsent
of Harbor Freight Tools.
For technical questions and replacement parts, please call 1-800-444-3353

SKU92578 For technical questions, call 1-800-444-3353 Page 2
SaveThis Manual
You will need the manual for the safety warnings and
precautions, assembly instructions, operating and maintenance
procedures, parts list and diagram. Keep your invoice with this
manual. Write the invoice number on the inside of the front cover.
Keep the manual and invoice in a safe and dry place for future
reference.
Safety Warnings and Precautions
WARNING: When using this product, basic safety precautions
should always be followed to reduce the risk of personal
injury and damage to equipment.
Read all instructions before using this product!
1. Failure to follow these warnings and the following instructions
completely can result in damage to the product and/or severe
ear damage. Read the directions carefully and completely before
use and do not allow inexperienced individuals or children use this
equipment.
2. Do not remove the Lens Cap in daylight or under bright
illumination such as automobile headlights. This may cause
permanent damage to the unit.
3. Stay alert. Watch what you are doing, use common sense. Do not
use any product when you are tired.
4. Maintenance. For your safety, service and maintenance should be
performed regularly by a qualified technician.
Range of View
Magnification
Angle of View
Light Gain
Power Source
Eye Piece Optic Dia.
Weight
Features
300 ft.
2.4x
12
O
Approximately 1000X
(1) 9 V Battery (not included)
30MM
1.40 lbs.
Adapter Rail; Over-Exposure Shutdown
Super Ear™-Personal Amplifier (SKU 4334)
included in separate box.
Nylon Carrying Bag w/Belt Loops,
& Shoulder Strap
Specifications

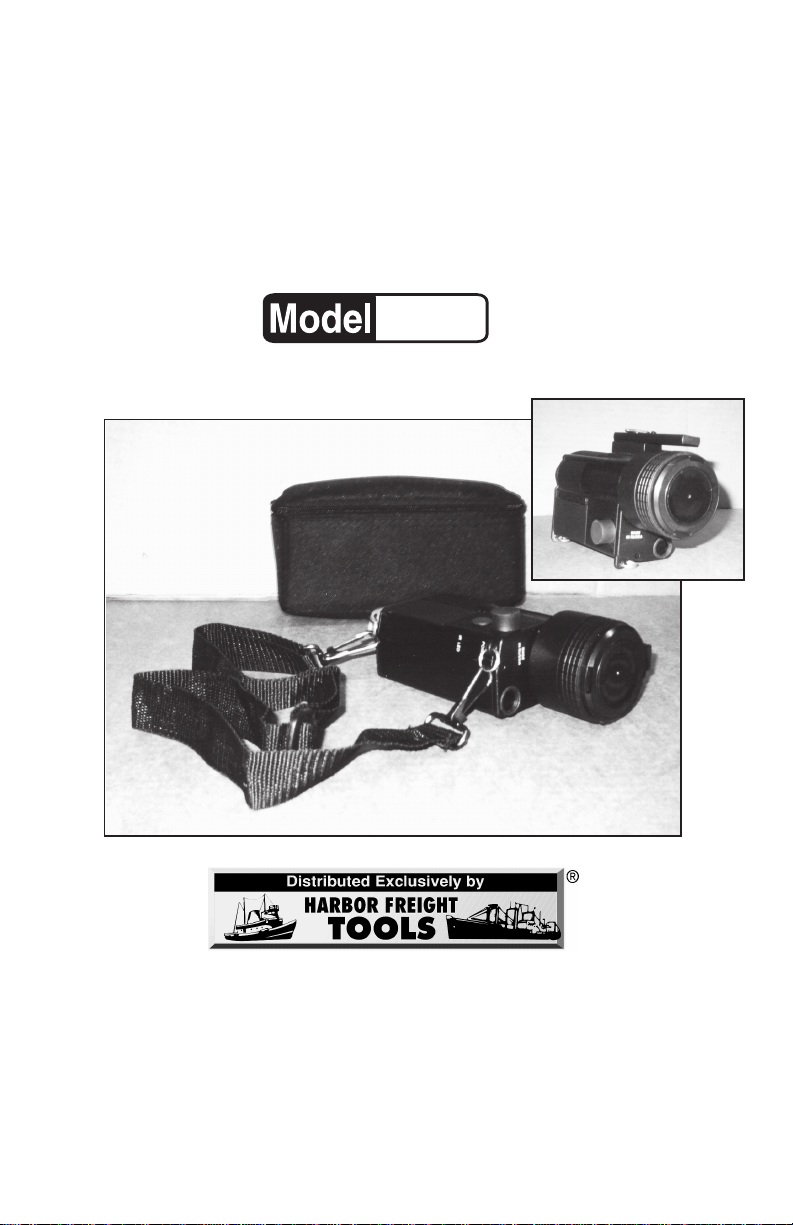
SKU92578 For technical questions, call 1-800-444-3353 Page 3
5. Protect the unit from moisture, dust, and sunlight. When not in
use, this product should be stored in a dry location to inhibit rust. If
this unit is used in a cold environment and then brought into a warm
area or if condensation is visible on the unit, wait five hours before
using it again, to prevent damage to internal components.
6. Avoid storing the scope where sudden changes of temperature
occur. Keep it away from air conditioning or heating vents.
7. Maintain products with care. Keep products clean for better and
safer performance. Follow instructions for changing accessories.
8. Keep children away. Donot let them handle orplay with this product.
9. Replacement parts and accessories. When servicing, use only
identical replacement parts. Use of any other parts will void the
warranty. Only use accessories intended for use with this product.
Approved accessories are available from Harbor Freight Tools.
10. Donotsetuptheproductif under the influenceof alcohol or drugs.
Read warning labels if taking prescription medicine to determine if
your judgment or reflexes are impaired while taking drugs. If there is
any doubt, do not setup or use the product.
11. Check for damaged parts. Before using any product, any part that
appears damaged should be carefully checked to determine that it will
operate properly and perform its intended function. Check for any
broken parts or mounting fixtures; and any other condition that may
affect proper operation. Any part that is damaged should be properly
repaired or replaced by a qualified technician.
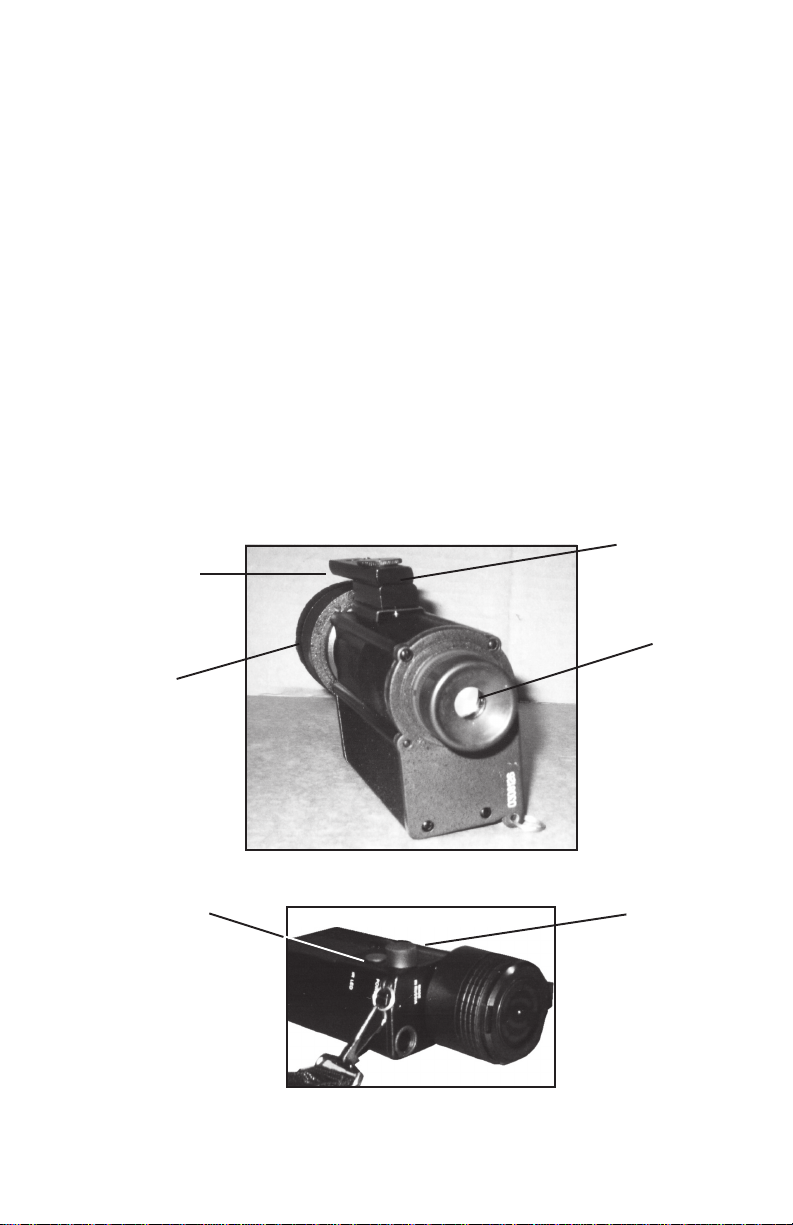
12. Do not expose the Scope to any light, such as headlights, for an
extended period of time. This Scope is equipped with a flash
protectionsystem,butlong-termexposurecan still damage the Scope.
IFYOU ARE NOT IN A DARK AREA, DO NOT REMOVETHE LENS
CAP (9).
13. Avoid dropping or jarring the unit. This device has sensitive
precision instruments inside, sudden shocks can damage them.
14. Clean the lenses only with professional lens cleaning products.
See Maintenance section for proper cleaning instructions.
15. Dispose of used batteries properly. Never burn a used battery.

SKU92578 For technical questions, call 1-800-444-3353 Page 4
Warning: The warnings, cautions, and instructions discussed in this
instruction manual cannot cover all possible conditions and
situationsthatmayoccur.It must be understood bytheoperator
that common sense and caution are factors which cannot be
built into this product, but must be supplied by the operator.
General information on Night Vision devices.
This electro-optical device assists in viewing in near darkness or
complete darkness. It works by amplifying the already existing light of the
moon or the stars. If no light is present the illuminator acts as an external
light source. When viewing an object through the night vision scope, you
are actually seeing an image that comes from the intensifier tube within the
device.
The objective lens captures the light and directs it to the front of the
intensifier tube, which is the electro-optical component. The 9 volt power
source then passes energy through the intensifier tube causing electrons
to strike the phosphor screen. The image in the intensifier tube is then
magnified by the eyepiece.
This device is excellent for wildlife viewing, search and rescue
operations, boating safety, home security, and camping.
Note: Condition of battery will affect use and effectiveness.
Tube Screen Appearance
Light and dark spots caused by image
converter tube may be visible in the field
of view. These are normal and not
considered imperfections by image
intensifier standards. Most of the
distortion will occur in the peripheral
area, not in the center.
Unpacking
When unpacking, check to make sure the parts shown in the parts
list and assembly diagram on page 8 are included. If any parts are
missing or broken, please call Harbor Freight Tools at the number on the
cover of this manual.

SKU92578 For technical questions, call 1-800-444-3353 Page 5
Operation
Battery Installation/Replacement
1. Open the Battery Cover (6) by using the tab on the corner of the door.
See Figure A.
2. Connect the 9V battery (not included) to the connector in the Battery
Compartment (6). Place the battery in the Battery Compartment.
3. Close the Battery Compartment (6).
Operation Without Illuminator
1. IMPORTANT: IF YOU ARE NOT IN A DARK AREA, DO NOT
REMOVE THE LENS CAP (9) (NOT SHOWN).
2. While in a darkened area, remove the Lens Cap (9) and check the
scope operation by pushing the Power Button (7), depressing it for 2
to 3 seconds and then release it.
Figure A
Eyepiece Adapter Rail (2)
Screw Washer
Battery Compartment (5)
Battery Cover (6)
Power
Button (7)
Illuminator
Button (8)
Illuminator (8) Lens
Power
Button (7)

SKU92578 For technical questions, call 1-800-444-3353 Page 6
3. Look through the Eyepiece(a)
(See Figure B).
Youshould see a green
glow if the scope is working properly. The image will gradually fade
out, as the Scope shuts off automatically. Press the Power Button (7)
again to refresh, if the image fades before you are done viewing.
Replace Lens Cap (9) immediately.
Operation With Illuminator
1. Remove the Lens Cap (9) and turn on and refresh the Power
Button (7).
2. When operating in total darkness use the built in Illuminator:
Continually press the Illuminator Button (8).
(See Figure C)
.
(Note:The Illuminator uses more battery power so battery
will not last as long with the Illuminator on).
When finished viewing, stop pressing the Illuminator
Button (8).
3. When finished, replace the Lens Cap (9) immediately and store the
Scope (1) in the Nylon Carrying Bag (4).
Scope
Eyepiece
Figure B
Lens
Cap (9)
Adapter Rail (2) Washer (10)
Screw (11)
Power
Button (7)
Illuminator
Button (8)
Figure C

SKU92578 For technical questions, call 1-800-444-3353 Page 7
Troubleshooting
1. If the screen will not glow while in the on position:
Check the battery. Make sure it is charged and installed properly.
2. If the image fades or disappears completely:
a. If you are in complete darkness, the scope needs some light.
Activate the Illuminator (8).
b. It is also possible that you pointed the device at an intense light
sourcewhichmight have shut down the unit toprotecttheintensifier
tube. Turn the power off and wait five minutes before turning it
back on.
3. If unable to properly focus:
Try adjusting the focus on both the Eyepiece and the objective lens
onthe frontoftheScope (1). Also,trycleaningthelens with professional
supplies.
Maintenance
1. Always clean the lenses with professional supplies. Never wipe dirt or
dust off the lenses. You may use dry, compressed air.
2. Clean the housing with a dry, soft cloth.
3. Store in a dry, well ventilated area. Never store near a heater, air
conditioner, or in direct sunlight.
4. Remove battery when storing for more than two weeks.
5. Service should only be performed by a qualified service technician.
Connecting the Adapter Rail for Sound Amplifier
(included in a separate box)
1. Be sure Power Button (7) is off and that the Lens Cap (9) stays on
during this procedure.
2. Connect the Adapter Rail (2) to the top of the Scope (1), using the
Washer (10) and Screw (11).
(See Figure C on previous page).
3. Forsetup and use of the Amplifier,readandunderstandtheinstruction
sheet provided with the Super Ear™ Amplifier.

SKU92578 For technical questions, call 1-800-444-3353 Page 8
PLEASE READ THE FOLLOWING CAREFULLY
THE MANUFACTURER AND/OR DISTRIBUTOR HAS PROVIDED THE PARTS
DIAGRAM IN THIS MANUAL AS A REFERENCE TOOL ONLY. NEITHER THE
MANUFACTURER NOR DISTRIBUTOR MAKES ANY REPRESENTATION OR
WARRANTY OF ANY KIND TO THE BUYERTHAT HE OR SHE IS QUALIFIEDTO MAKE
ANY REPAIRS TO THE PRODUCT OR THAT HE OR SHE IS QUALIFIED TO REPLACE
ANY PARTS OF THE PRODUCT. IN FACT, THE MANUFACTURER AND/OR
DISTRIBUTOR EXPRESSLY STATESTHAT ALLREPAIRS ANDPARTSREPLACEMENTS
SHOULD BE UNDERTAKEN BY CERTIFIED AND LICENSEDTECHNICIANS AND NOT
BY THE BUYER.THE BUYER ASSUMES ALL RISK AND LIABILITY ARISING OUT OF
HIS OR HER REPAIRS TO THE ORIGINAL PRODUCT OR REPLACEMENT PARTS
THERETO, OR ARISING OUT OF HIS OR HER INSTALLATION OF REPLACEMENT
PARTS THERETO.
Part # Description
1 Night Vision Scope
2 Adapter Rail w/Fastener for Sound Amplifier
3 Nylon Shoulder Strap
4 Nylon Carring Bag w/Belt Loops
5 Batery Compartment
6 Battery Cover
7 Power Button
8 Illuminator Button
9 Lens Cap
10 Washer
11 Screw
Parts List
Assembly Diagram
Part 1 Part 2
Part 10 &
Part 11
Part 4
Part 7
Part 5 &
Part 6
Part 8
Part 3 Part 9
Table of contents
Other Harbor Freight Tools Monocular manuals