manuals.online logo
Brands
  1. Home
  2. •
  3. Brands
  4. •
  5. Bestier
  6. •
  7. Indoor Furnishing
  8. •
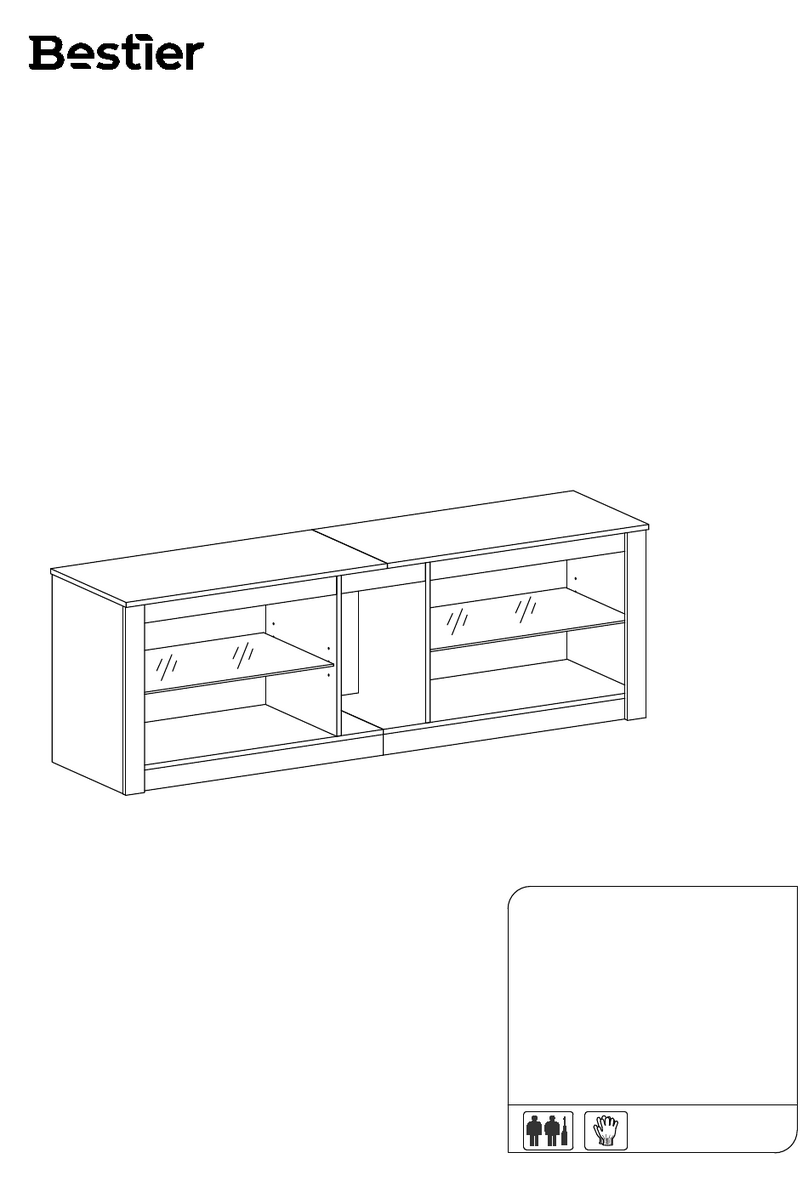
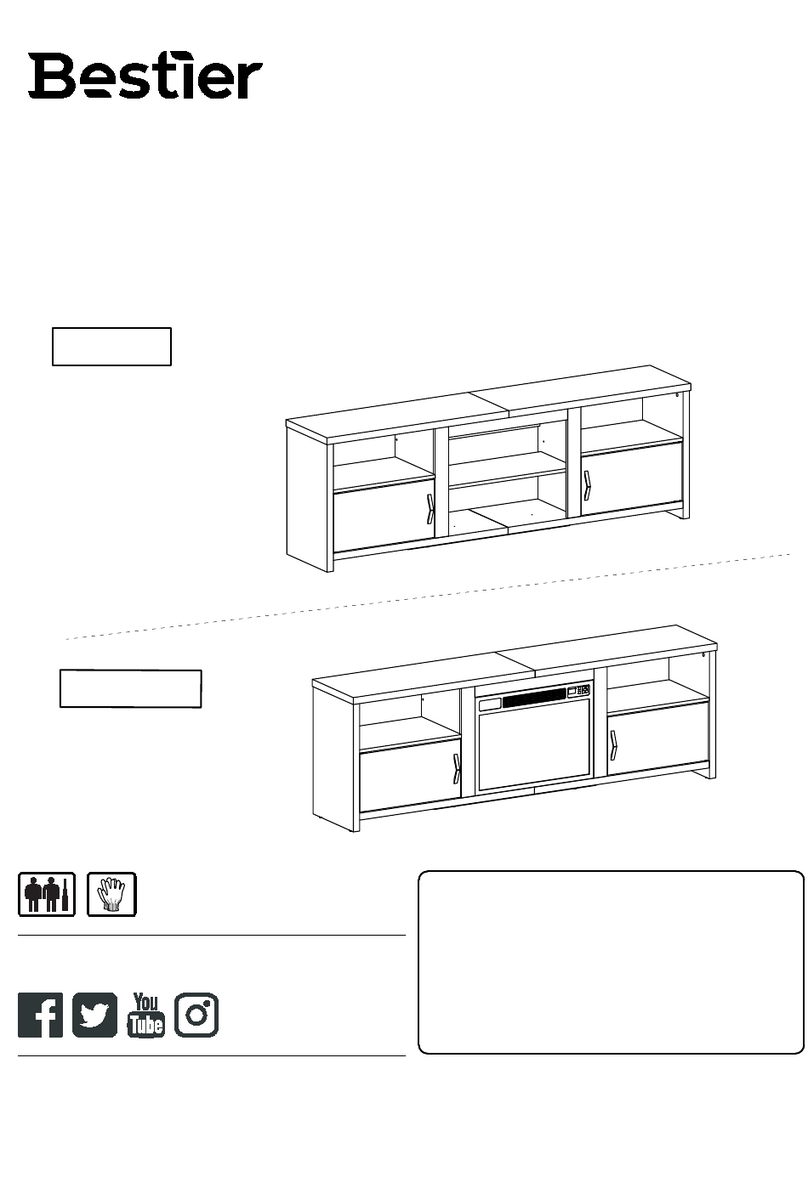
  9. Bestier L101118HUS User manual

Bestier L101118HUS User manual

71" TV Stand with LED
Meuble TV 71po avec LED
V003-032923-01
L101118HUS
LED付き71"サイズのテレビスタンド
71-Zoll-TV-Ständer mit LED
Supporto 71" TV con LED
Mueble para televisión de 71" con LED
1
71"带LED灯电视柜
Montageanleitung
ASSEMBLY
INSTRUCTION
組立説明書
安装说明书
Instructions De Montage
Istruzioni Per L’assemblaggio
Instrucciones De Montaje
L101118HUS
BEFORE YOU START
Inspect product packaging to ensure the
appearance is good.
OTHER
People needed for assembly: 1-2.
Estimated assembly time: 0.5-1h.
CAUTION
Be cautious when using a power drill or power
screwdriver.
OTROS
HELPFUL HINTS
HELPFUL HINTS
ASTUCES UTILES
CONSEJOS ÚTILES
Read the assembly instruction carefully and
follow it step by step.
To avoid any scratching, putting a soft blanket
on the floor is suggested.
Identify, sort and count all the parts with tags.
Find out installation position according to the
drawing and install it in correct steps.
Please be aware to slow down and stop when
screw is nearly tight.
Do Not use any harsh chemicals or abrasive
cleaners for this item.
Push, pull or drag this item carefully.
AVANT DE COMMENCER
Inspectez l'emballage du produit pour vous
assurer que l'apparence est bonne.
Lisez attentivement les instructions de montage
et suivez-les étape par étape.
Pour éviter toute rayure, posez une couverture
douce sur le sol est suggéré.
Identifiez, triez et comptez toutes les pièces
avec des étiquettes.
Trouver la position d'installation selon le dessin
et l'installer dans les étapes correctes.
AUTRE
Personnes nécessaires pour
l'assemblage : 1-2.
Temps de montage estimé : 0.5-1 h.
AVERTIR
Soyez prudent lorsque vous utilisez une perceuse
électrique ou un tournevis électrique.
Veuillez être conscient de ralentir et d'arrêter
lorsque la vis est presque serrée.
N'utilisez pas de produits chimiques corrosifs ou
de nettoyants abrasifs pour cet article.
Poussez, tirez ou tirez cet article avec précaution.
ANTES DE EMPEZAR
Inspeccione el paquete del producto para
asegurarse de que la apariencia es buena.
Lea atentamente las instrucciones de montaje
y sígalas paso a paso.
Para evitar rayas, se sugiere poner una manta
suave en el suelo.
Identifique, clasifique y enumere todas las
piezas con etiquetas.
Averigüe la posición de instalación según el
dibujo e instálela en los pasos correctos.
PRECAUCIÓN
Tenga cuidado al utilizar un taladro eléctrico o un
destornillador eléc-trico.
Tenga en cuenta que debe hacerlo más despacio
y detenerse cuandoel tornillo esté casi apretado.
No utilice productos químicos agresivos ni
limpiadores abrasivos para este artículo.
Empuje, tire o arrastre este elemento con
cuidado.
Personas necesarias para el montaje: 1-2.
Tiempo de montaje estimado: 0.5-1 h.
PRIMA DI INIZIARE
Controllare la confezione del prodotto per
assicurarsi che sia in buono stato.
ALTRO
Persone necessarie per l’assemblaggio: 1-2.
Tempo di assemblaggio stimato: 0.5-1 ora.
ATTENZIONE
Prestare molta attenzione quando si utilizza un
trapano elettrico o un cacciavite elettrico.
Leggere con attenzione le istruzioni per
l’assemblaggio e seguirle passo dopo passo.
Per evitare graffi al pavimento, suggeriamo di
stendervi una coperta morbida.
Identificare, suddividere e contare tutte le parti
con etichetta.
Trovare la posizione adatta per il montaggio in
base al disegno e montare lo scaffale seguendo
correttamente i vari passaggi.
Rallentare con accortezza e fermarsi quando
una vite è già sufficientemente serrata.
Non utilizzare prodotti chimici aggressivi o
detergenti abrasivi su questo articolo.
Spingere, tirare o trascinare questo articolo
con cautela.
SUGGERIMENTI UTILI
2
L101118HUS 3
NÜTZLICHE HINWEISE
BEVOR SIE BEGINNEN
Überprüfen Sie die Produktverpackung auf
Schäden.
Lesen Sie sich die Montageanleitung sorgfältig
durch und befolgen Sie sie Schritt für Schritt.
Um etwaiges Zerkratzen zu vermeiden, wird
das Auslegen einer weichen Decke auf dem
Boden empfohlen.
Identifizieren, sortieren und zählen Sie alle
Teile mit Tags nach.
Identifizieren Sie die Montageposition gemäß
der Zeichnung und bauen Sie das Regal den
richtigen Schritten entsprechend auf.
SONSTIGES
Für den Zusammenbau erforderliche
Anzahl an Menschen: 1-2.
Ungefähre Montagedauer: 0.5-1 h.
VORSICHT
Seien Sie bei der Verwendung einer Bohrmaschine
oder eines Akkuschraubers vorsichtig.
Bitte vergessen Sie nicht darauf, langsamer zu
werden und zu stoppen, sobalddie Schraube
fast festgezogen ist.
Verwenden Sie keinerlei aggressive Chemikalien
oder scheuernden Reinigungsmittel für dieses
Produkt.
Schieben oder ziehen Sie dieses Produkt
vorsichtig.
組立の場所を確保し、順番通りに組み立てる
組立場所(充分広くて平たい場 v所)を確保してください。
床や壁、商品を傷つけないように、商品の下に厚めの布や
段ボールなどを敷い てください。
組立の順番を守らないと、組立できなくなったり、商品を
傷つけたりします。
その他
組み立てに必要な人:1-2。
組立時間:約0.5~1時間。
部品を確認する
ネジ類などの部品番号、形状を説明書の部品一覧で確認し
てください。
部品をなくさないように纏めて置いてください。
部品を取り出すときに使う分だけ取り出してください。
役に立つヒント
安装前注意事项
检查产品包装,确保外观良好。
仔细阅读安装说明,按步骤操作。
为了避免刮伤,建议在地板上放一条柔软的毯子。
温馨提示
标识、分类和清点所有部件。
根据图形找到安装孔位,按正确步骤安装。
其他:
组装所需人员:1-2人。
预计组装时间: 0.5-1小时。
注意:
小心使用电钻或电动螺丝刀。
当螺丝快要拧紧时,请注意减速
不要使用任何刺激性化学物质或擦洗剂。
当推、拉或拖动产品时,注意小心谨慎,防止损坏。
L101118HUS
UNIT:INCH/CM/厘米
DETAILS DÉTAILS/POINTS DE MONTAGE
DETALLES
DETAILS
NOTE PARTICOLARI
組み立てのポイント
详细信息
4
35.45"/90CM 35.45"/90CM
70.9"/180CM
13.8"/35CM
18.4"/47CM
21"/53CM
23.6"/60CM
21"/53CM
2"/5CM
15.4"/39"
6.6"/16.8CM
6.6"/16.8CM
LBS
KG
40
88
LBS
KG
7
15
LBS
KG
40
88
LBS
KG
14
30
LBS
KG
7
15 LBS
KG
14
30
LBS
KG
14
30
22.4"/57CM
LBS
KG
7
15
L101118HUS 5
4
3
X1
X2 X1
5
X1
1
LISTE DES PIÈCES
ELENCO DEI PEZZI
LISTA DE PIEZAS
STÜCKLISTE
部品の確認
PART LIST 部件清单
X1
2
1
2
3
4
7
8
17 18
19
20
20 3
5
6
9
10
11
12
13
16
16
14
14
14
15
15
15
23
DETAILS DÉTAILS/POINTS DE MONTAGE
DETALLES
DETAILS
NOTE PARTICOLARI
組み立てのポイント
详细信息
25
10
9
X1 X1
X1 X1
11
X1
X1
12
76 8
13
X3
15
X2
16
X1
17
X1
18
X1
19
L101118HUS
LISTE DES PIÈCES
ELENCO DEI PEZZI
LISTA DE PIEZAS
STÜCKLISTE
部品の確認
PART LIST 部件清单
6
X1
20
X3
14
X2
21
X1 X1
22
X2
23
X2
24
24A
24B
X2
005-400LED
25
X1
10+1
ST5x40mm
8+1
A
LISTE DES ACCESSOIRES
ELENCO DEGLI ACCESSORI
LISTA DE ACCESORIOS
ZUBEHÖRLISTE
付属品部品の確認
ACCESSORY LIST 配件清单
Ø6x30mm
ST6x35mm
B
C
D
E
F
G
H
I
J
K
L
M
O
M6x20mm
50+3
40+4
2
2
1
L101118HUS 7
Ø15mm 50+3
ST4x16mm 19+1
ST3x14mm 4+1
ST3.5x10mm 24+1
8
M4x16mm 4+1
2
2
x1 x1
x2 x1
ST4x38mm
O1 O2
O3 O4
1
M4
N2
ST4x14mm
L101118HUS8
Pay attention to the direction of cam lock when
putting it into hole.
Faites attention à la direction du verrou à came en
entrant dans le trou.
Achten Sie auf die Richtung des Nockenschlosses, wenn
Sie es in das Loch stecken.
Fare attenzione alla direzione della serratura a camme
quando lo si inserisce nel foro.
Preste atención a la dirección de la leva de fijación al
insertarla en el orificio.
カムロックネジの方向にカムロックの穴の穴の向きを合わ
せ取り付ける。
Tighten up cam lock clockwise until it stops.
Serrez le verrou à came dans le sens des aiguilles d'une
montre jusqu'à ce qu'il s'arrête.
Ziehen Sie die Nockenverriegelung im Uhrzeigersinn bis
zum Anschlag an.
Stringere la serratura a camme in senso orario fino
all'arresto.
Apriete la leva de fijación en sentido horario hasta el
tope.
カムロックをドライバーで締め固定する。
1
2
4
3
Screw cam dowel on the panel.
Vissez la goupille de came au panneau.
Nockendübel auf die Platte schrauben.
Avvitare il tassello a camme sul pannello.
tornillo de pasador de leva en el panel.
カムロックネジを部品に取り付ける。
Place another panel via the dowel.
Placez un autre panneau par le goujon.
Setzen Sie eine weitere Platte über den Dübel ein.
Posizionare un altro pannello tramite il tassello.
Coloque otro panel a través del pasador.
カムロックネジをカムロック穴に差し込む。
Installation détaillée pour l'accessoire A B
Detailed Installation
for Accessory A B
Detaillierte Installation des Zubehörs A B
Instalación detallada del accesorio A B
カムロック取り付け方
Installazione dettagliata per l'accessorio A B
配件A、B详细安装
螺杆用十字螺丝刀装入对应的预留孔内
螺杆插入对应孔位,将两块板材对接起来。
装入锁扣圆盘,注意锁扣圆盘的方向;
顺时针旋转锁扣圆盘并锁紧。
Installation détaillée pour l'accessoire A B
Detailed Installation
for Accessory A B
Detaillierte Installation des Zubehörs A B
Instalación detallada del accesorio A B
カムロック取り付け方
Installazione dettagliata per l'accessorio A B
配件A、B详细安装
L101118HUS 9
2
3
4
1
Remove about 25cm (1 ") of adhesive tape at both ends of
LED light strip.
Retirez environ 25 cm de ruban adhésif à chaque extrémité
de la bande lumineuse LED.
An beiden Enden des LED-Streifens etwa 25 cm (1 Zoll) des
Klebebandes entfernen.
Rimuovere circa 25 cm di nastro adesivo su entrambe le
estremità della striscia luminosa a LED.
Retire unos 25 cm (1") de la cinta adhesiva en ambos extremos
de la tira de luces LED.
LEDストリップライトの両端にある粘着テープを約25cm(1")はがし
てください。
揭开LED灯带两端的胶纸约25CM(1")。
LED灯带头尾卡入两端槽内粘贴,用螺丝将两端的固定件锁住。
The head and tail of the LED light strip are stuck into the
grooves at both ends, and the fixing parts at both ends
are locked with screws.
La tête et le bout de la bande de lumière LED sont collés dans
les rainures aux deux extrémités, et les pièces de fixation
situées à chaque extrémité sont sécurisées par des vis.
Anfang und Ende des LED-Streifens in die Schlitze an beiden
Enden stecken und die Befestigungselemente anschrauben.
La testa e la coda della striscia luminosa a LED sono
incastrate nelle scanalature alle due estremità e le parti
di fissaggio alle due estremità sono bloccate con viti.
La cabeza y la cola de la tira de luces LED están pegadas
en las ranuras en ambos extremos y las piezas de fijación
están bloqueadas con tornillos en ambos extremos.
LEDストリップライトの前端と後端を溝に合わせてはめ込んでくだ
さい。そして、両端にある固定具をネジで留めてください。
将整条保护纸撕掉, 并压平整条灯带,使LED灯带完全粘在木板上。
Tear off the whole protective paper, and flatten the strip
light so that the LED light strip is completely adhered to
the wood.
Arrachez tout le papier de protection et aplatissez la
bande lumineuse de manière à ce que la bande lumineuse
à DEL soit complètement collée au bois.
Die gesamte Schutzfolie abziehen und den LED-Streifen so
flach andrücken, dass er vollständig auf dem Holz aufliegt.
Strappare l'intera carta protettiva e appiattire la striscia
luminosa in modo da farla aderire completamente al legno.
Retire todo el papel protector y aplane la tira de luz para que
la tira de luz LED quede completamente adherida a la madera.
全体の保護ペーパーをはがしてLEDストリップライトを平らにして、
木材に完全に貼り付けるようにします。
锁上剩下的固定件。
Lock the remaining fixings.
Verrouillez les autres fixations.
Die restlichen Befestigungen anziehen.
Bloccare i restanti elementi di fissaggio.
Bloquee las fijaciones restantes.
残りの固定具を留めます。
Installation détaillée de la bande LED
Detailed Installation for
LED Strip
Ausführliche Anbringungsanleitung für LED-Streifen
Instalación detallada de la tira de LED
LEDストリップライトの設置に関する詳細説明
Installazione dettagliata della striscia LED
LED 灯带安装方法
1
2
x 12
B
x 12
ST6x35mm
A
x 24
Ø6x30mm
C
x2 x3
x3
x2
AA
A
A
A
A
A
A
C
C
C
C
C
C
C
C
C
C
C
C
C
C
C
3
4
11
14
15
16
x2
B
BB
B
14
15
34
16
16
Ø15mm
L101118HUS10
3
4
x 22
ST6x35mm
A
x 12
Ø6x30mm
C
5
6
910
A
A
AAAAA
A
A
A
A
AA
AAAA
C
C
C
C
C
C
C
C
C
C
C
C
x 5
BØ15mm x 5
ST5x40mm
D
3
14
5
B
B
BB
B3
14
9
D
D
DDD
L101118HUS 11
A
5
6
6
6
3
3
10
15 15 DD
D
D D
x 5
BØ15mm x 5
ST5x40mm
D
10
6
11
11
10
BB
BB
B
B
B
B
B
B
4
L101118HUS12
Please make sure these holes for back panel are donwward
Veuillez vous assurer que ces trous pour le panneau arrière sont orientés vers l'avant.
Achten Sie darauf, dass diese Öffnungen für die Rückwand unten liegen.
Si prega di assicurarsi che questi fori per il pannello posteriore siano rivolti verso il basso
Asegúrese de orientar estos cuatro orificios para el panel posterior hacia abajo.
背面パネルのつの穴が下がっていることを確認してください
B
x 6
BØ15mm
FRONT
De face
FRONT
DAVANTI
PARTE DELANTERA
フロント
确保箭头指示的孔位朝下。
前
7
8
x 6
BØ15mm
x 4
ST6x35mm
A
x 2
Ø6x30mm
C
x 4
BØ15mm
5
9
11
4
B
B
B
B
B
10
5
6
8
7
C
C
7
8
AA
A
A
B
B
B
B
Please make sure these 4 holes for back panel are donwward
Veuillez vous assurer que ces 4 trous pour le panneau arrière sont orientés vers l'avant.
Achten Sie darauf, dass diese 4 Öffnungen für die Rückwand unten liegen.
Si prega di assicurarsi che questi 4 fori per il pannello posteriore siano rivolti verso il basso
Asegúrese de orientar estos cuatro orificios para el panel posterior hacia abajo.
背面パネルの4つの穴が下がっていることを確認してください
B
前
De face
FRONT
DAVANTI
PARTE DELANTERA
フロント
确保箭头指示的孔位朝下。
FRONT
L101118HUS 13
L101118HUS14
9
Please refer to "Detailed Installation for LED Strip" on page "9".
Veuillez consulter "Installation détaillée de la bande LED" sur la page "9".
Siehe Seite "9" der "Ausführlichen Anbringungsanleitung für LED-Streifen" .
Fare riferimento a "Installazione dettagliata della striscia LED" a pagina "9".
Consulte "Instalación detallada de la tira de LED" en la página "9".
请参考第“9”页“ LED 灯带安装方法”
"9"ページにある"LEDストリップライトの設置に関する詳細説明"を参照してください。
1
2
HHH
HHH
HST3.5x10mm
x 12
005-400LED
10
L101118HUS 15
1
1
1
2
2
2
C
C
A
AA
A
AA
A
AA
A
AA
G
G
GG
1
2
EE
E
19
x 12
ST6x35mm
A
x 2
Ø6x30mm
C
x 8
EM6x20mm
x 4
ST3x14mm
G
24A
24A
11
12
L101118HUS16
1
1
2
2
B
B
B
B
B
B
B
BBB
B
x 12
BØ15mm
5
6
10
13
12
FST4x16mm
x 8
F
F
F
F
F
F
F
F
F
13
14
L101118HUS 17
1
2
12
12
13
F
FFF
FFF
F
FFF
FST4x16mm
x 11
O3
x 2
O3 F
I
x 8
610
5
I
I
I
I
I
I
I
I
ü
r
I
I
15
16
20
20
20
※
Please be careful of 2 pieces of glass when assembling them.
※
Soyez prudent avec 2 morceaux de verre lors de l'assemblage.
※
Bitte achten Sie beim Zusammenbau auf 2 Glasstücke.
※
Si prega di fare attenzione a 2 pezzi di vetro durante l'assemblaggio."
※
Por favor, tenga cuidado con 2 piezas de vidrio al montar.
※
「ガラスを
2
個組み立てた場合は、ご注意ください。」
L101118HUS18
※
组装时请小心轻放2块玻璃。
I
x 2
ST4x14mm
N
N
N
2
1
25
17
18
24B 24B
23
17
17
17
17
23
18
18
18
18
HST3.5x10mm
x 8
J
x 4
M4x16mm K L
x 1 x 1
HH
HH
HH
HH
JJJ
J
KL
18
4
4
M
M
M
x 2
M
L101118HUS 19
19
1
2
1
2
18
18
17
17
1
1
2
2
L
L
K
K
H
H
H
H
H
18
※Please adjust the pivot positon slightly to make sure the gap between both doors are aligned
※Passen Sie die Drehposition etwas an, damit der Spalt zwischen den Türen gleichmäßig breit ist
※Si prega di regolare la posizione del perno leggermente per assicurarsi che lo spazio tra le due porte sia allineato
※Afiance ligeramente la posición del pivote para garantizar que el espacio entre ambas puertas quede alineado
※旋回位置を少しだけ調節して、両ドアの間の隙間が一列になっていることを確認してください
※Veuillez ajuster légèrement la position du pivot pour vous assurer que l'espace entre les deux portes est aligné.
HST3.5x10mm
x 4
K L
x 1 x 1
L101118HUS20
※请稍微调整门转轴位置,以确保两扇门之间的间隙大小一致。

Other Bestier Indoor Furnishing manuals

Bestier N018A User manual

Bestier

Bestier N018A User manual

Bestier L1003180 User manual

Bestier

Bestier L1003180 User manual

Bestier D074G User manual

Bestier

Bestier D074G User manual

Bestier T185Q User manual

Bestier

Bestier T185Q User manual

Bestier T274Y User manual

Bestier

Bestier T274Y User manual

Bestier H100914E User manual

Bestier

Bestier H100914E User manual

Bestier L101217Y User manual

Bestier

Bestier L101217Y User manual

Bestier T225T User manual

Bestier

Bestier T225T User manual

Bestier C068D User manual

Bestier

Bestier C068D User manual

Bestier D471Z User manual

Bestier

Bestier D471Z User manual

Bestier D251Y User manual

Bestier

Bestier D251Y User manual

Popular Indoor Furnishing manuals by other brands

Bob's Discount Furniture DIVA II VANITY DRESSER W/STOOL & TRI-VIEW... Assembly instruction

Bob's Discount Furniture

Bob's Discount Furniture DIVA II VANITY DRESSER W/STOOL & TRI-VIEW... Assembly instruction

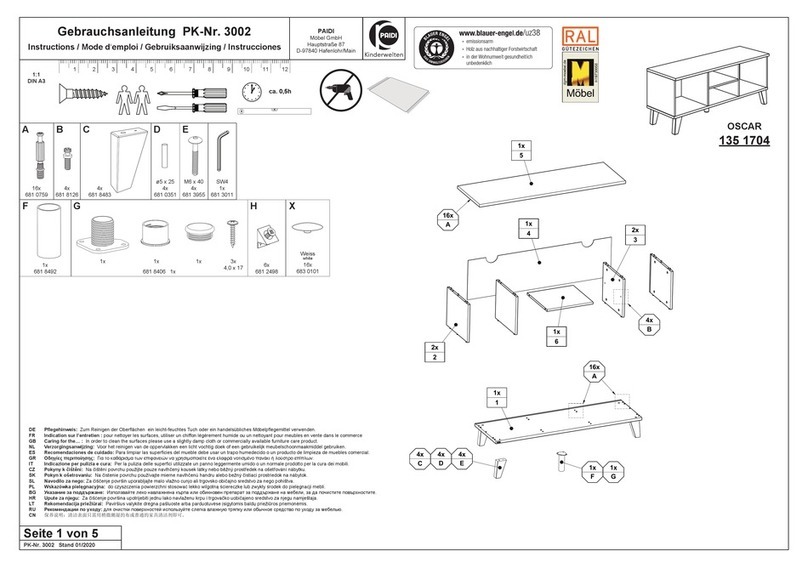
PAIDI OSCAR 135 1704 instructions

PAIDI

PAIDI OSCAR 135 1704 instructions

Rauch M1797 Assembly instructions

Rauch

Rauch M1797 Assembly instructions

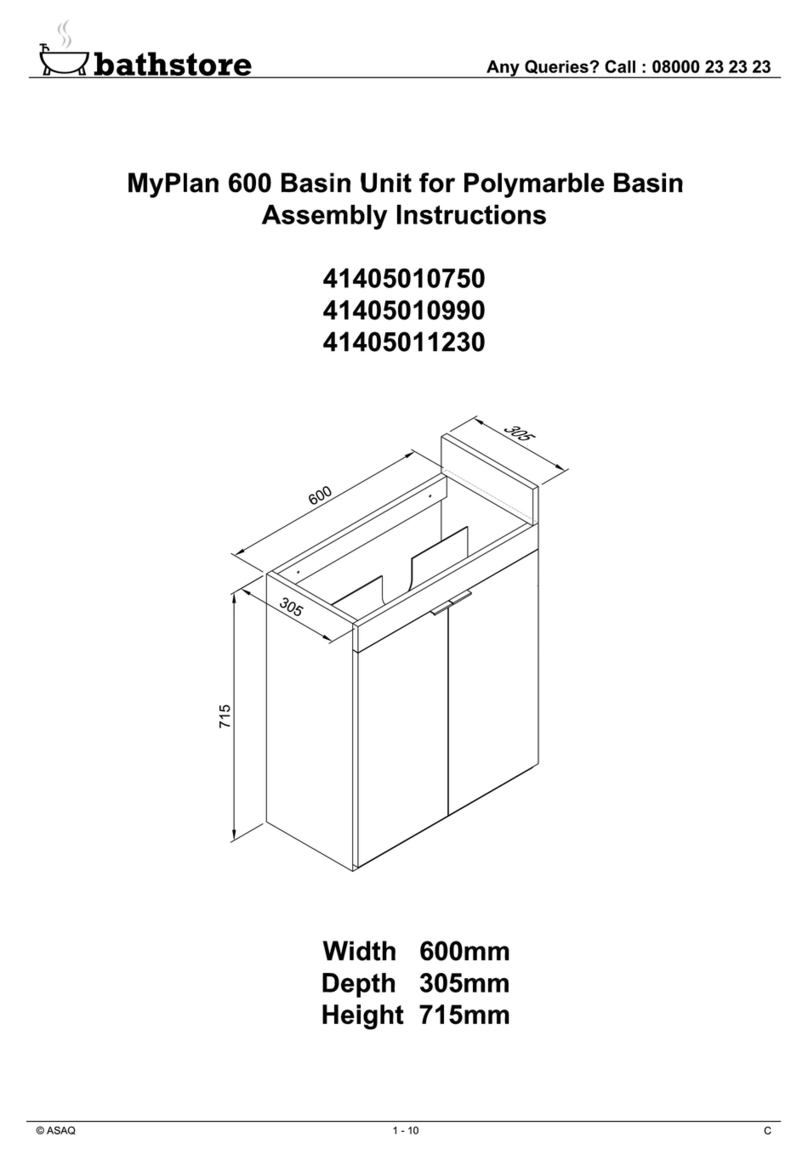
bathstore 41405010750 Assembly instructions

bathstore

bathstore 41405010750 Assembly instructions

HELD MOBEL Garda HE-1674-113-1-3188 manual

HELD MOBEL

HELD MOBEL Garda HE-1674-113-1-3188 manual

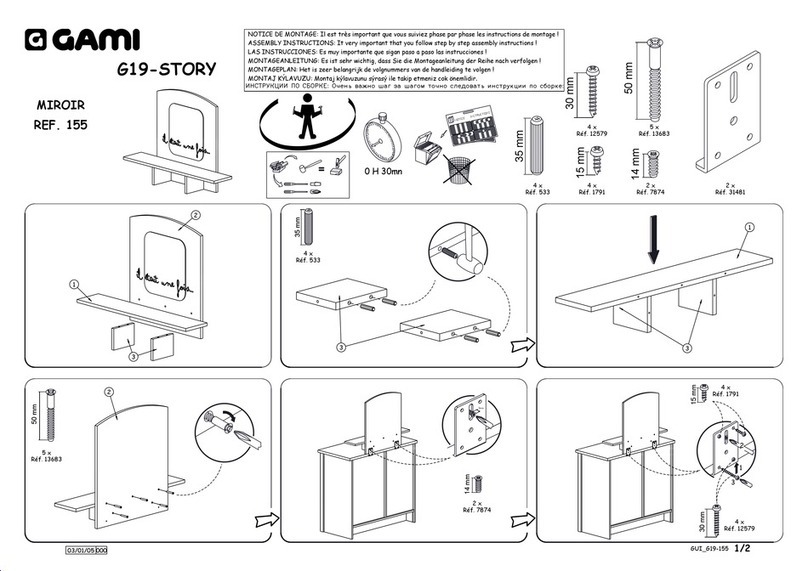
Gami G19-STORY Assembly instructions

Gami

Gami G19-STORY Assembly instructions

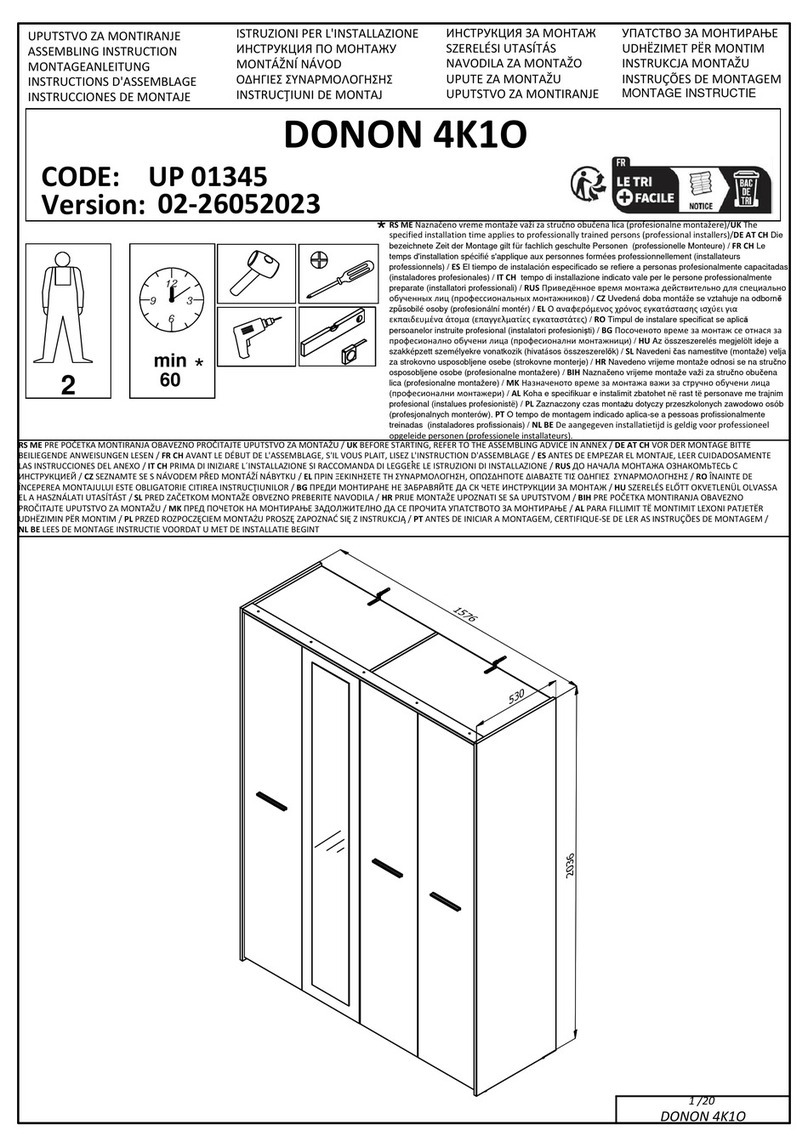
Dedeman DONON 4K1O Assembling Instruction

Dedeman

Dedeman DONON 4K1O Assembling Instruction

Officeworks OTTO HORSENS 8 CUBE BOOKCASE OT8CUBEWE Assembly instructions

Officeworks

Officeworks OTTO HORSENS 8 CUBE BOOKCASE OT8CUBEWE Assembly instructions

ROOMS TO GO HILB 7140-000 Assembly instruction

ROOMS TO GO

ROOMS TO GO HILB 7140-000 Assembly instruction

BYYU WESTSIDE 20610 Assembly instructions

BYYU

BYYU WESTSIDE 20610 Assembly instructions

hygena 357/0537 Assembly instructions

hygena

hygena 357/0537 Assembly instructions

UPLIFT 3-Leg Desk instructions

UPLIFT

UPLIFT 3-Leg Desk instructions

Forte RQNB01 Assembling Instruction

Forte

Forte RQNB01 Assembling Instruction

Strictly Beds & Bunks RipVan Day Bed Box J Assembly instructions

Strictly Beds & Bunks

Strictly Beds & Bunks RipVan Day Bed Box J Assembly instructions

Badger Basket 97745 Gray Woodgrain Assembly and use instructions

Badger Basket

Badger Basket 97745 Gray Woodgrain Assembly and use instructions

OFM 55295 Assembly instructions

OFM

OFM 55295 Assembly instructions

Spectrum Pivot Premier Workstation Assembly instructions

Spectrum

Spectrum Pivot Premier Workstation Assembly instructions

Next 389846 Assembly instructions

Next

Next 389846 Assembly instructions

manuals.online logo
manuals.online logoBrands
  • About & Mission
  • Contact us
  • Privacy Policy
  • Terms and Conditions

Copyright 2025 Manuals.Online. All Rights Reserved.