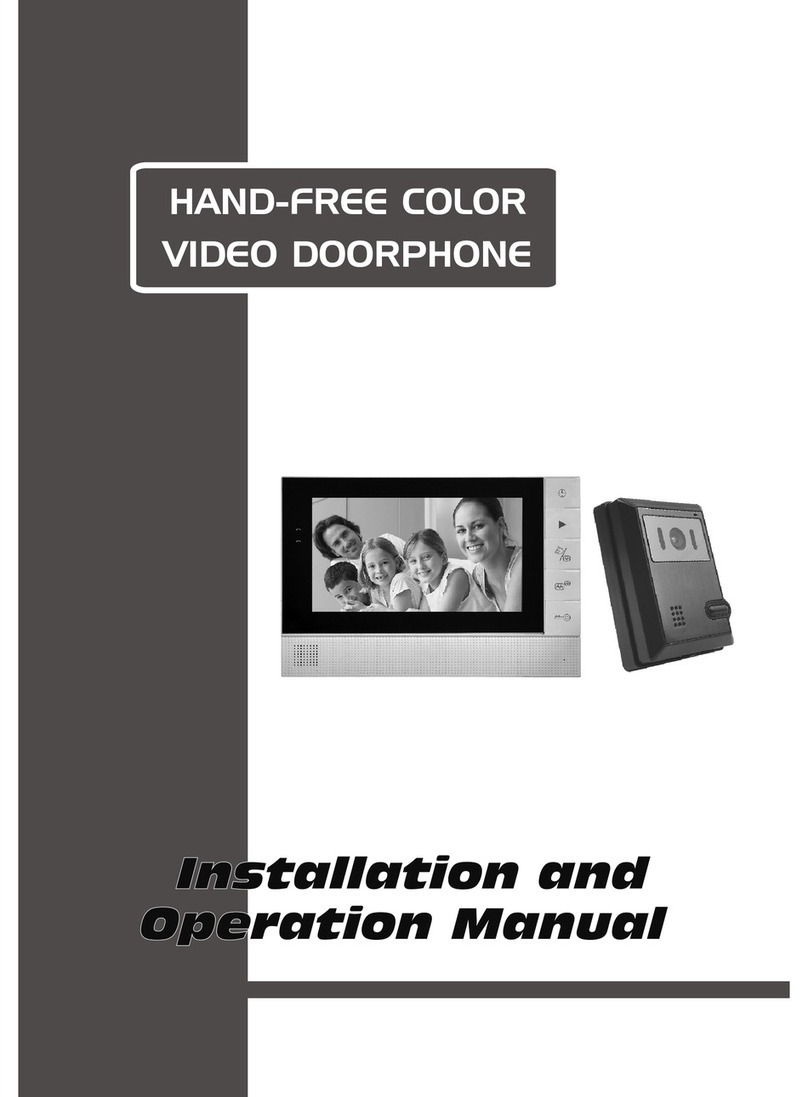
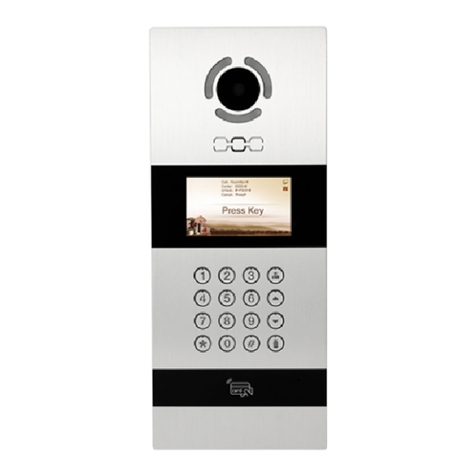
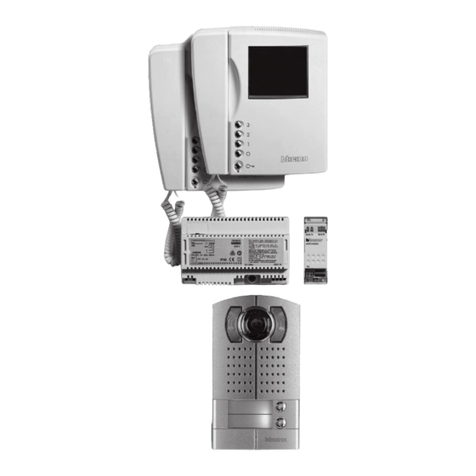
Beward DS03M User manual

Operation User Manual
DS03M(P)
IP Video Door Station
Built-in IP Video Camera
Two-Way Audio
Electronic Motorized Lock Control
Multiaccessible User Operation
IP VIDEO SURVEILLANCE
net

Contents
IP Video Door Station DS03M(P) Operation User Manual
1
Contents
CHAPTER 1. SAFETY INSTRUCTIONS...........................................................................................3
CHAPTER 2. DESCRIPTION............................................................................................................5
2.1. GENERAL INFORMATION ON DS03M(P) .....................................................................................................5
2.1.1. Key Features..................................................................................................................................6
2.1.2. Package Contents..........................................................................................................................6
2.1.3. Default Settings..............................................................................................................................6
2.2.WHAT IS THIS USER MANUAL FOR .............................................................................................................7
2.3. MINIMUM SYSTEM REQUIREMENTS ............................................................................................................7
CHAPTER 3. START USING............................................................................................................8
3.1. ACCESSING DOOR STATION WEB INTERFACE AND ACTIVEXINSTALLATION ..................................................8
3.2. MAIN WINDOW (LIVEVIEW).......................................................................................................................13
CHAPTER 4. REPLAY....................................................................................................................15
CHAPTER 5. CONFIG: LOCAL CONFIG.......................................................................................16
CHAPTER 6. CONFIG: AUDIO SETTINGS....................................................................................17
CHAPTER 7. CONFIG: VIDEO SETTINGS ....................................................................................18
7.1. ON-SCREEN TEXT...................................................................................................................................18
7.2. VIDEO CODING .......................................................................................................................................19
7.3. PRIVACY MASK.......................................................................................................................................21
7.4. VIDEO PARAMETERS...............................................................................................................................22
CHAPTER 8. CONFIG: NETWORK SETTINGS.............................................................................23
8.1. BASIC.....................................................................................................................................................23
8.2. LAN.......................................................................................................................................................24
8.3. PPPOE..................................................................................................................................................25
8.4. E-MAIL....................................................................................................................................................26
8.5. FTP.......................................................................................................................................................27
8.6. DDNS....................................................................................................................................................28
8.7. VPN ......................................................................................................................................................29
8.8. RTSP ....................................................................................................................................................29
8.9. HTTPS..................................................................................................................................................31
8.10. SIP......................................................................................................................................................33
8.11. MODBUS...............................................................................................................................................35
CHAPTER 9. CONFIG: RECORD SETTINGS................................................................................36
9.1. VIDEO RECORDING .................................................................................................................................36
9.2. SNAPSHOTTING.......................................................................................................................................37
CHAPTER 10. CONFIG: ALARM SETTINGS.................................................................................38
10.1. MOTION DETECTION..............................................................................................................................38
10.2. CALL BUTTON.......................................................................................................................................39
CHAPTER 11. CONFIG: CONTROLLER........................................................................................41
CHAPTER 12. CONFIG: SYSTEM..................................................................................................43
12.1. SYSTEM INFO........................................................................................................................................43
12.2. SYSTEM TIME .......................................................................................................................................44
12.3. ACCESS POLICY....................................................................................................................................45
12.4. FW UPGRADE.......................................................................................................................................46
12.5. RESTORE .............................................................................................................................................48
12.6. REBOOT...............................................................................................................................................49
12.7. SYSTEM LOG ........................................................................................................................................50
CHAPTER 13. ALARM ...................................................................................................................51
CHAPTER 14. RECOMMENDATIONS ON SETTING AND OPERATION OF DS03M(P)...............52
14.1. ACOUSTIC ECHO CANCELLATION ...........................................................................................................52
14.2. SOUND GAIN AND VOLUME ADJUSTING ..................................................................................................53
APPENDICES.................................................................................................................................54
APPENDIX A. FACTORY DEFAULTS..................................................................................................................54
APPENDIX B. EXAMPLE OF SIP SETTING.........................................................................................................55
B1. Direct Connection ............................................................................................................................55
B2. SIP Server........................................................................................................................................56
APPENDIX C. SIP HARDWARE AND SOFTWARE COMPATIBILITY LISTS...............................................................58

Contents
IP Video Door Station DS03M(P) Operation User Manual
2
C1. PBX Compatibility............................................................................................................................58
C2. Software Compatibility.....................................................................................................................58
C3. Hardware Compatibility ...................................................................................................................58
APPENDIX D. GLOSSARY................................................................................................................................59

Chapter 1. Safety Instructions
IP Video Door Station DS03M(P) Operation User Manual
3
Chapter 1. Safety Instructions
Before using the product
This product complies with all safety rules. However, improper use of any electric device
can be a cause of fire and bring to property damage. Before you start using this door station,
please read this User Manual carefully.
ATTENTION!
Use accessories recommended by the manufacturer only. The use of the improper accessories may
cause device breakdown.
Follow the operating instructions
Do not use and store this door station in severe environment:
avoid extremely low or high ambient temperatures (the door station operating
temperature is -40°C to +50°C)
avoid exposure to direct sunlight and do not locate the door station near any heat
sources
do not locate the door station near any electrical appliances which can be
electromagnetic transmitters
avoid exposure to high vibration
ATTENTION!
In case of malfunction of the product contact our Service Center.
In case of:
detection of a strange smell or smoke
penetration of any liquid or foreign objects into the door station
the door station has been dropped or damaged
Do the following:
unplug the power cord and disconnect all other cords from the door station
contact our Service Center. You can find contact information on our website:
http://www.beward.net/.
Transportation
Ttransport the door station carefully, using the original box and protective packing.

Chapter 1. Safety Instructions
IP Video Door Station DS03M(P) Operation User Manual
4
Ventilation
To prevent overheating of the device, keep free air circulation in the area where the door
station is located.
Cleaning
Use a soft, dry cloth for cleaning door station’s external surfaces. It is acceptable to use
some detergent for removing persistent dirt, but not the volatile cleaners such as the alcohol-
containing solvents, benzene and so on, because of the risk to damage the door station’s housing.

Chapter 2. Description
IP Video Door Station DS03M(P) Operation User Manual
5
Chapter 2. Description
2.1. General Information on DS03M(P)
IP Video Door Station DS03M(P) is used for building IP intercom system based on the local
area network without using additional equipment, such as a separate interior monitor. All you need
to start using the door station is to install on your PC the software from the package contents and
do a simple setting. Low costs, easy installation and remote access to the device are the
advantages of such solution.
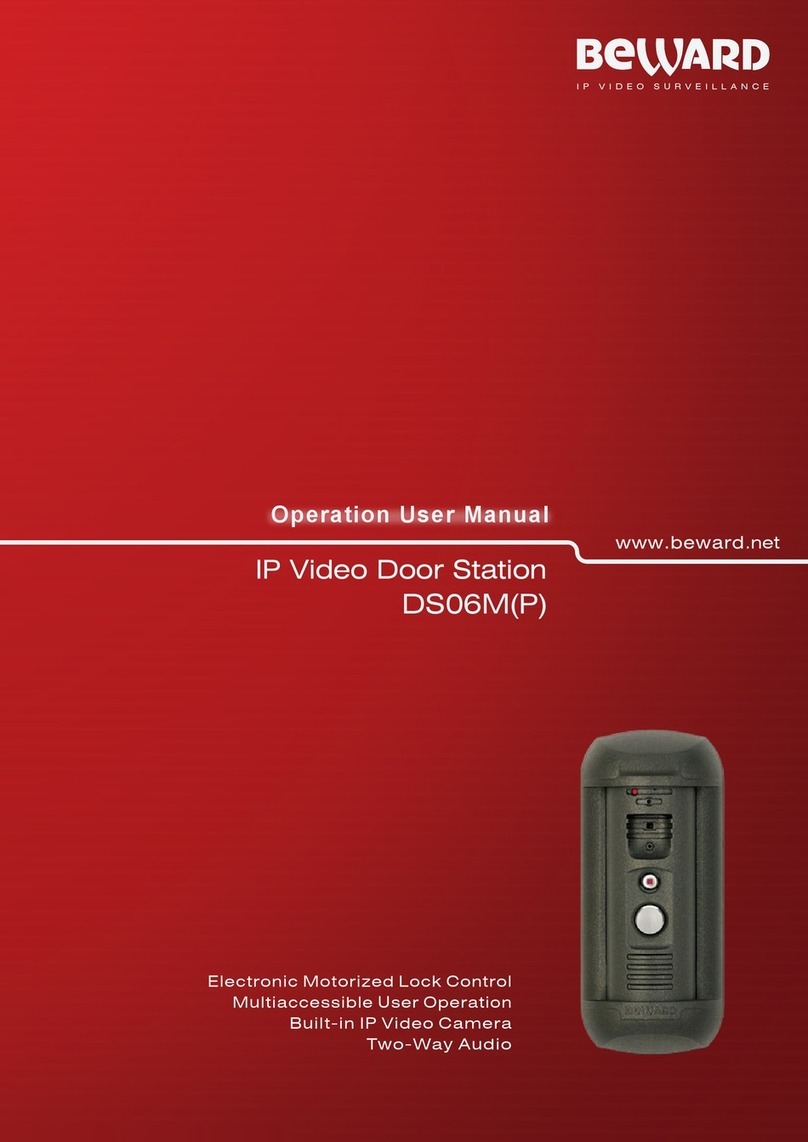
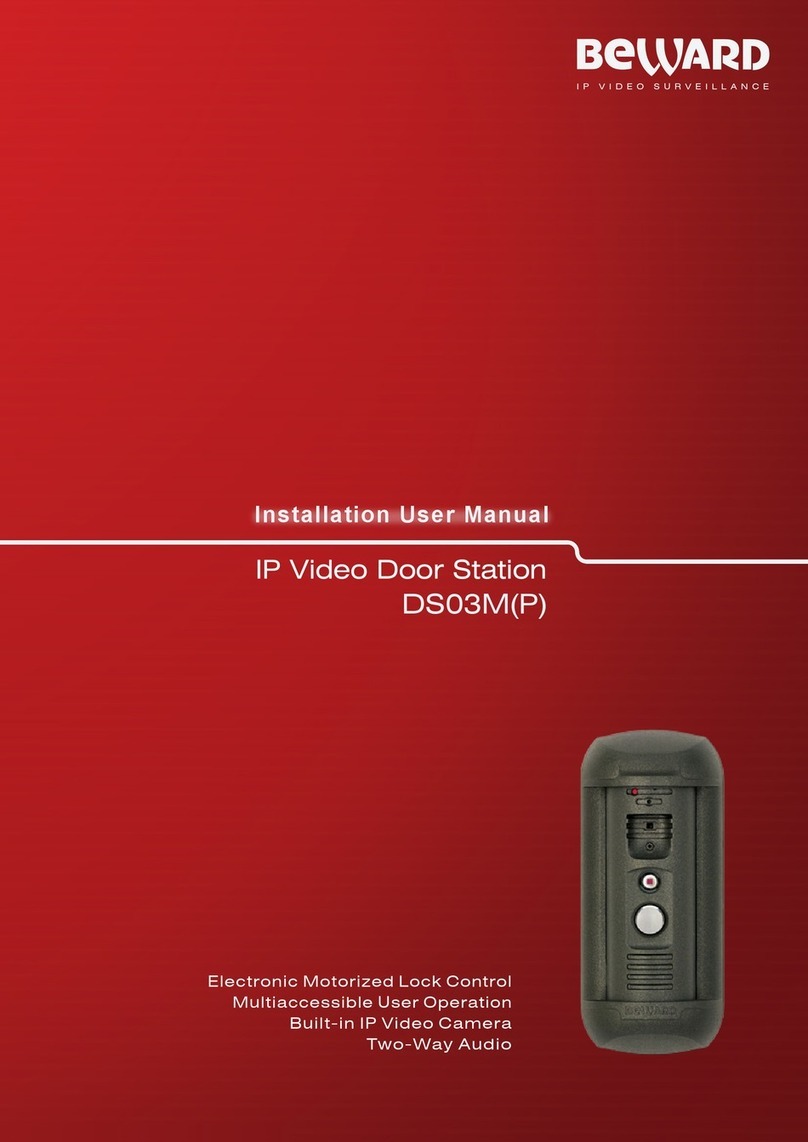
Pic. 2.1
DS03M(P) has a vandal resistant housing. Built-in speaker, microphone and IP camera
provide establishing video and audio connection between the Guest and the Client, watching the
nearby territory and also control other devices that can be connected to the door station, such as
electronic locks, garage door openers, light switches, alarm systems, etc. To provide operation at
low light level the door station has a built-in infra-red illuminator with work distance up to 10 m.
The DS03M model is connected to the network using the 10/100BASE-TX Ethernet
interface. In case of DS03M power is supplied from a DC 12V power source. The DS03MP model
supports PoE.

Chapter 2. Description
IP Video Door Station DS03M(P) Operation User Manual
6
2.1.1. Key Features
Image sensor: SONY 960H CCD 1/3, DSP Effio-E Day/Night
Simultaneous encoding: H.264/H264, Н.264/MJPEG, MJPEG /MJPEG
Frame rate: up to 25 fps for all resolutions
IR illumination distance: up to 10 m
Multi-streaming: up to 10 nonidentical streams (only one user can be in the two-way
audio mode at one time)
Built-in web server for viewing and setting
A built-in player for watching records
Built-in microphone and speaker
Power: DC 12V, 0.6A / PоE 802.3af Class 0 (for DS03MP only)
Operating temperature: -40°Сto +50°С
Protocols supported: TCP/IP, IPv4/IPv6, UDP, HTTP, NTP, RTP, RTSP, DHCP, DNS,
DDNS, FTP, SIP, Modbus
ONVIF support
2.1.2. Package Contents
DS03M(P) door station
Bracket with mounting kit
Hexagonal socket screw with L-key
RJ45-S01 connector (2 pcs)
DS03M(C1) / DS03M(C1P) / NC301P2 controller
Terminal block
CD with product documentation and software
ATTENTION!
Package contents and door station specification are subject to change without notice.
2.1.3. Default Settings
IP-address: 192.168.0.99
Subnet mask: 255.255.255.0
Gateway: 192.168.0.1
User name: admin
User password: admin
HTTP-port: 80
Data port: 5000

Chapter 2. Description
IP Video Door Station DS03M(P) Operation User Manual
7
2.2. What Is This User Manual for
IP Video Door Station DS03M(P) can be also used as a video surveillance device which
has a built-in web server and a web interface. You can watch real-time video displayed by the door
station using a standard web browser or by means of free software included in the package
contents (you can also download the necessary applications from the “Play Market”and “App
Store”). The current User Manual contains full information on how to use the door station through
the web interface. It explains how to set up the door station web interface for operation in a local
network or Internet. To learn more about operation of door station software, please, see software
user manuals.
2.3. Minimum System Requirements
It is recommended that your PC system meets these minimum requirements for correct
door station operation:
Item
Requirement
CPU
2.6 GHz Intel Core or AMD Athlon X2
Video card
256 MB RAM or equivalent on-board card
RAM
2 GB
OS
Microsoft ® Windows Vista, Windows 7, Windows 8
Web browser
Internet Explorer 9.0 or higher
ATTENTION!
This manual describes operation with the door station web interface in Windows 7 Professional and
Internet Explorer 9.0. Titles of system menus and options may differ from other operating systems and
web browsers.

Chapter 3. Start Using
IP Video Door Station DS03M(P) Operation User Manual
8
Chapter 3. Start Using
3.1. Accessing Door Station Web Interface and ActiveX Installation
At first, connect the door station in accordance with the Installation User Manual.
Launch Internet Explorer to access the door station web user interface (WUI).
NOTE:
Use of the door station web interface requires Internet Explorer 9.0 or later to be run and displayed
correctly.
Enter the following path in the address field: http://<IP>:<port>/, where <IP> is the IP address
of the door station, <port> is the number of the port that is used for HTTP connection to the door
station (Pic. 3.1).
ATTENTION!
On default, the IP address of the door station is 192.168.0.99 and the http-port is 80.
NOTE:
You do not need enter a port number if you connect via the default HTTP port 80.
Pic. 3.1
If the path is correct you will see the authorization window (Pic. 3.2).
To work with the door station web interface you need to install the ActiveX add-on. You will
see the system notification at the bottom of the window: “This webpage wants to run the following
add-on: “AxMediaControl ActiveX Control Module” from “BEWARD Co., Ltd” (Pic. 3.2).

Chapter 3. Start Using
IP Video Door Station DS03M(P) Operation User Manual
9
Pic. 3.2
Click [Allow] to start installation.
ATTENTION!
Installation of ActiveX components is only possible for 32-bit Internet Explorer.
On default, the Internet Explorer security system blocks ActiveX installation. Click [Install] to
continue (Pic. 3.3).
Pic. 3.3
Then you will see the following window (Pic. 3.4):

Chapter 3. Start Using
IP Video Door Station DS03M(P) Operation User Manual
10
Pic. 3.4
Close Internet Explorer and click [OK]. You need close the browser before installation anyway,
whether the window on the Picture 3.4 will appear or not.
After that the installation window will appear. Click [Install] (Pic. 3.5).
Pic. 3.5
After installation completing you will see the following notification: «Register OCX
success(С:\NetVideoX)» (Pic. 3.6). Click [Close] to finish ActiveX installation.
Pic. 3.6
NOTE:
Titles of system menus and options in Windows 7 and Internet Explorer 9.0 may differ from other
operating systems and web browsers.
NOTE:
There is one more ActiveX installation blocking in Windows 7 with enabled user account control. In this
case you will see an additional system notification. Give a positive answer in the notification window to
permit installation.
Open Internet Explorer, enter door station’s IP address and press [Enter]. Enter username
and password and then click [Login] (Pic. 3.7).

Chapter 3. Start Using
IP Video Door Station DS03M(P) Operation User Manual
11
Pic. 3.7
If everything was done correctly, you will start receiving a video stream from door station’s
camera (Pic. 3.8).
Pic. 3.8

Chapter 3. Start Using
IP Video Door Station DS03M(P) Operation User Manual
12
If you failed to install ActiveX correctly you can do it again by clicking the link in the
authorization window (Pic. 3.9) and following the instructions above.
Pic. 3.9

Chapter 3. Start Using
IP Video Door Station DS03M(P) Operation User Manual
13
3.2. Main Window (Liveview)
The following functions are available in the “Liveview” window: choosing a main or a sub
video stream, making a video image snapshot, recording a video file, enabling “Talk” and “Listen”
modes, zooming the image, maximizing the image to full screen, enabling a width to height relation
mode, streaming at the original resolution and changing image settings.
Pic. 3.10
Main Stream / Sub Stream: displaying a main or a sub video stream in the “Liveview”
window. The main stream can be displayed at a higher resolution in comparison with the sub stream.
You can set the stream parameters in the menu Config –Video Settings –Video Coding (see
paragraph 7.2).
Snap: press this button to make a JPEG snapshot of the video image. The snapshots are
saved in the local folder (see Chapter 5) specified by a user.
Rec: press this button to record some part of the live stream as a H.264 video file. The files
are saved in the local folder (see Chapter 5) specified by a user.
Talk: press this button to activate a two-way audio mode. In this case, sound transmits from
the door station microphone to the PC speakers and from the PC microphone to the door station
speaker.
Listen: press this button to listen sound from the door station microphone via the PC
speakers.

Chapter 3. Start Using
IP Video Door Station DS03M(P) Operation User Manual
14
Zoom:press this button to enlarge some area of the video image. Press [Zoom], then press
and hold the left mouse framing the area. The enlarged area of the video image will appear in a new
window. Close the “Zoom In” window and press again [Zoom]to disable the function.
Full: press this button to maximize the video image to full screen. Press the [ESC] button on
your keyboard or the right mouse to disable the full screen mode.
W:H: press this button to apply a correct width to height relation to the video image.
Original: press this button to display the video image at the original resolution. Use the
scrollbars if the image is too big to be placed in the browser window.
Images: using this toolbar you can adjust the video image parameters, such as brightness,
contrast, hue and saturation. Press [Default] to restore the parameters to the factory defaults (Pic.
3.11).
Pic. 3.11

Chapter 4. Replay
IP Video Door Station DS03M(P) Operation User Manual
15
Chapter 4. Replay
Press “Replay” to open the window of the web interface player, where you can open video
and image files that you saved on your PC (Pic. 4.1).
Pic. 4.1
Image: change a width to height relation to display the files correctly. The following relations
are available: Full (screen), 4:3, 16:9, 11:9.
Storage: all the files are saved on your PC.
Type: choose the type of the files you want to find and open –“All Rec”, “Picture”.
Date: choose the date for searching the files.
[Search]: press this button to start searching the files.
File List: the search results are listed in this field in chronological order.
Choose the necessary file in the File List and double-click it to play/display. You can use the
following toolbar (Pic. 4.2):
Pic. 4.2
NOTE!
In Windows 7 (and later OS versions) you may need to run Internet Explorer as administrator to
provide correct operation of the web interface player.

Chapter 5. Config: Local Config
IP Video Door Station DS03M(P) Operation User Manual
16
Chapter 5. Config: Local Config
Go to the “Config” tab. Here you can work with the door station settings menu.
The “Local Config” menu is shown on the Picture 5.1.
Pic. 5.1
Preview Mode: the “Real Time” and “Fluency” modes are available.
The buffering procedure is not used in the “Real Time” mode, and a video stream is displayed
without a delay in the “Liveview” window. But some viewing defects may occur because of the high
load of your LAN.
The buffering procedure is used in the “Fluency”mode, and a video stream is displayed with
some delay (less than 1 second). Use this mode when some viewing defects occur.
Enhanced Quality: enabling this option, you can improve video image quality, but it raises the
load of your CPU.
Record Duration: specify the duration (in minutes) of recorded files.
Archive Folder Path: specify the local folder for saving video and image files. By default:
C:\MyIPCam\.
NOTE!
Make sure that you have the right to create new objects in the local folder, choosing it for saving video and
image files. Otherwise, the files will not be saved.
In Windows 7 you need to run Internet Explorer as administrator to save the files to the local disc.
Press the [Save] button to apply new settings.

Chapter 6. Config: Audio Settings
IP Video Door Station DS03M(P) Operation User Manual
17
Chapter 6. Config: Audio Settings
The “Audio Parameter”menu is shown on the Picture 6.1.
Pic. 6.1
Enable: turn on / off sound transmission option. By default it is turn on.
Audio Input: by default the “Mic” (microphone) type is activated. Not available to change.
Compression Type: by default –G.711U. The following are also available: G.711Аand
G.726.
Audio Bitrate: by default –16000 bit/s. Not available to change.
Sampling Rate: by default –8 kHz. Not available to change.
Input Volume: set the volume level of the input audio signal from 0 to 15.
Output Volume: set the volume level of the output audio signal from 0 to 15.
Press the [Save] button to apply new settings.
ATTENTION!
Adjusting the “Input Volume” and “Output Volume” parameter will change a device operation mode and
may cause defects such as interrupted speech, echo, etc. Adjust these parameters only in case when it is
strongly needed.

Chapter 7. Config: Video Settings
IP Video Door Station DS03M(P) Operation User Manual
18
Chapter 7. Config: Video Settings
7.1. On-Screen Text
The “On-Screen Text”menu is shown on the Picture 7.1. Here you set on-screen text.
Pic. 7.1
Title: enter the text which will be displayed in the left lower corner of the image window, for
example, door station’s name.
Color: choose the color of the text. The following colors are available: white,black,yellow,
red,blue.
Title: turn on / off title displaying.
Date / Time / Week: turn on displaying of date, time and day of a week, using the check
marks.
Date Format: choose the format of date displaying.
Frame / Bitrate: turn on / off displaying of current frame rate and bitrate on the screen.
Connecting No.: turn on / off displaying of the number of current connections to the door
station web interface with video stream viewing. The number displays in the brackets after the title.
Moreover, you can change the position of the displaying elements. For this purpose you can
use the arrow-buttons . The upper group is used for changing the title position, and the
lower group allows you to change the position of other information.
Press the [Save] button to apply new settings.

Chapter 7. Config: Video Settings
IP Video Door Station DS03M(P) Operation User Manual
19
7.2. Video Coding
The “Video Coding” menu is shown on the Picture 7.2.
This menu contains the settings of main and sub streams. A main stream provides resolution
and video quality higher than a sub stream. So you can record video files with a high quality, using the
main stream, and at the same time watch a real-time video, using the sub stream, even in case of low
network bandwidth capacity.
Pic. 7.2
Profile: Baseline and Main profiles are available.
Encode Mode: H.264 and MJPEG formats are available.
Resolution: set the stream resolution. The following resolutions are available:
Main stream: 960x576, 720x576, 704x576;
Sub stream: 704x576, 352x288, 176x144.
Quality: the “Basic”, “Normal” and “Fine” variants are available.
NOTE!
You can use this setting only if the “Advanced” option is disabled.
Advanced: enable this option for more flexible setting. The following parameters can be
changed after that:
Rate control: choose the type of bitrate control:
CBR –the bitrate value is in priority and the level of quality may vary. In this case the
current bitrate value approaches the value you specify in the “Bitrate” field and an
allowable fluctuation limit you can specify in the “Bitrate fluctuate” field.
Other manuals for DS03M
1
This manual suits for next models
1
Table of contents
Other Beward Intercom System manuals
