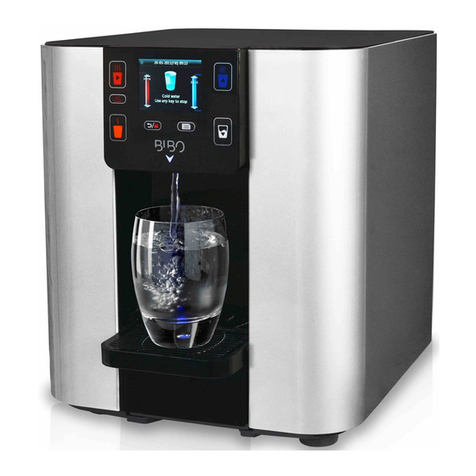
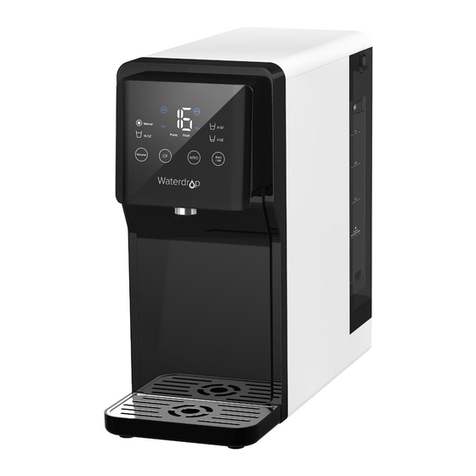
Bibo BIBO bar User manual

Installing your BIBO bar
BEFORE GETTING STARTED
Our experienced installation teams
are here to make sure that your BIBO
bar is correctly installed. If you are
installing your own BIBO bar, then
please read through all the instructions
carefully, familiarising yourself with and
understanding all the steps completely
before beginning.
If you are at all uncertain
about any of the steps, please call us on
0800 00 BIBO (2426) and ask to speak to
one of our experienced technical
team members.
On average, a BIBO bar installation
should take between one hour to an hour
and a half.
CAUTIONARY NOTES
Your BIBO bar weighs 17kg, so please take
care when lifting it from its box.
The hot tank switch is clearly labeled at
the back of your BIBO bar (See page 4,
number 8 of the digital manual).
Please ensure that you do NOT turn the
hot tank switch on until the BIBO bar has
filled itself with water.
Switching the hot tank switch on before
your BIBO bar has filled with water will
require a call out from our technical
team (this comes with a fee).
See page 9,point 9 of the digital manual
for more details on this.
YOUR BIBO BAR TOOLKIT
Your BIBO bar comes with a self
installation kit consisting of
a 3m length of 6mm white water supply
pipe (1), a BIBO ½” “T” connector with a
ball valve (2), an easy to fit right angled
stem fitting (3) and a zapper key (4).
WHERE TO PLACE YOUR BIBO bar
10cm
The BIBO bar often takes centre stage in
the kitchen and fast becomes the most
loved and used appliance. It is for this
reason that the choice of where to place
and display your BIBO bar needs to be
one that offers both convenience and
style.
However a few considerations need to
be taken into account before choosing
where to place your BIBO bar.
Your BIBO bar needs to be installed in a
cool, dry place and kept away from any
heat source.
Your BIBO bar needs to be well ventilated.
In order to ensure this, please keep the
rear of the BIBO bar a minimum of 10cm
away from the wall. Don’t install your
BIBO bar in a cupboard or closed off
space.
There will need to be a suitable mains
cold water supply nearby (more often
than not, this will be located under your
kitchen sink or behind your dishwasher
and/or washing machine).
You will need an electrical power supply.
Your BIBO bar comes with a standard
3-pin (16amp) plug.
WATER SUPPLY
The water pressure should be between
4bar (58psi) and 6bar (87psi).
Before beginning the installation, you
will need to identify a mains cold water
supply nearby. To identify the cold water
supply, turn on the hot tap and wait for
the flowing water to get hot. Feel both
pipes under the sink. The one hot to the
touch is the hot water supply. WARNING:
the pipe can get extremely hot and cause
burns. Please take care!
The mains cold water supply will need
to be turned off before beginning the
installation. Often there is an angle stop
valve which will enable you to isolate
the cold water pipe. If not, then it will
be necessary to turn off the mains water
supply to your home/oce. Please
identify where the tap/isolation valve is
located before beginning.
Ensure that your water feed/supply is
flushed out thoroughly into a bucket until
clear water is visible with no sediment or
dirt particles in the water.
This is to ensure your BIBO bar does not
block up. Be sure to do so especially in
newly renovated homes and oces.
1
2
3
4

Installing your BIBO bar
STEP BY STEP GUIDE FOR SELF-INSTALLATION
A. PREPARATIONS
B. WATER SUPPLY CONNECTION
1. Decide where you will place your
BIBO bar.
2. Carefully remove your BIBO bar from
its packaging and place it in its preferred
spot on the work surface.
3. Remove the plastic bag and protective
covering from the cable and plug.
4. Remove the drip tray wrapping and
take out the zapper ‘key’ from inside
the drip tray (keep this somewhere
safe - you’ll need it down the line when
replacing your zapper).
5. Remove the protective cover from the
touch screen.
1. Isolate the mains water supply by either
turning off the angle stop valve or turning
off the mains water supply to your
home/oce.
2. Drain as much water as possible from
the pipe connected to the angle stop valve
before disconnecting it. It’s useful to have
a cloth close by to dry up any spills.
3. Install the BIBO ½” “T” connector into
the mains water supply pipe. Make sure
that the BIBO ½” “T” connector is in the
closed position. (Picture 1)
4. Connect the 6mm white water supply
pipe to the BIBO ½” “T” connector
and run it to the BIBO bar (Picture 2).
You’ll need to flush the water feed out
completely into a bucket, until the water
is clear and free from sediments or dirt
particles.
5. Remove the locking clip from the inlet
water fitting (blue or white in colour) at
the back of your BIBO bar. (Picture 3)
6. Remove the blanking plug from the
inlet water fitting, by depressing the ring.
While depressing the ring, pull blanking
plug out. (Picture 4)
7. Insert the right angled stem elbow
(provided with your BIBO bar) into the
water inlet. (Picture 5)
8. Refit the locking clip. (Picture 6)
9. Push the 6mm white water supply pipe
into the elbow at the back of your BIBO bar.
(Picture 7)
10. Open the ball valve on the BIBO ½” “T”
connector (Picture 1)
11. Turn on the angle stop valve or your
mains water supply.
1.
4.
2.
5.
3.
6.
7.
C. SETTING UP YOUR BIBO bar
i
ii
iii
1. Plug the BIBO bar’s plug into a 3 pin
socket.
2. Ensure that the hot tank switch (see
page 4, number 10 of the digital manual)
is off at the back of your BIBO bar.
3. Turn on the power switch (see page
4, number 15 of the digital manual) at
the back of your BIBO bar. Please take
caution to not confuse this with the hot
tank switch.
4. Once turned on, your BIBO bar will
display the BIBO logo (Image i) followed
by a zapper test (Image ii); this means
that your BIBO bar is operating correctly.
5. Now you should see the home screen.
There should be a red bar on the left of
the screen and a blue bar on the right of
the screen (Image iii).
6. Once you see the home screen, turn
on the hot tank switch at the back of the
BIBO (see page 4, number 8 of the digital
manual).
7. A message will appear on your screen
to fill the hot water tank (Image iv).
iv

Installing your BIBO bar
STEP BY STEP GUIDE FOR SELF-INSTALLATION
v
vi
8. Place a mug under the water outlets.
(See page 4, number 4 of the digital
manual)
9. Push the button ONLY ONCE to start
the boiling filling process.
DO NOT PUSH ANY BUTTON INCLUDING
THE RED CUP BUTTON UNTIL THIS
PROCESS HAS BEEN COMPLETED.
(If by mistake you did push a button
before seeing water flow from the nozzle
switch off the heating switch immediately
and start from step 6 again). You will
know that the boiling filling process has
been completed when water starts to flow
from the outlet nozzle situated under the
screen. This usually takes about 1 minute
from pushing the red cup button to water
flow from the nozzle.
10. Once water starts flowing from the
nozzle push any button to end the boiling
filling setup process.
11. The hot tank will begin to heat up
and the hot water temperature bar icon
will be active on the screen as streaming
upwards. When first used, the hot tank
will take approximately 5 minutes to get
up to the maximum temperature.
12. Similarly, fill the cold water tank by
dispensing water from the cold water
outlet (Image v).
To do this, touch and wait until water
starts dispensing. Then touch any button
to stop the water flow.
13. It is recommended that you drain 1,5
litres from the cold tank and 1,5 litres
from the hot tank before drinking from
your BIBO bar. This is done by simply
dispensing water as per the instructions on
page 20 of the digital manual for chilled
and boiling hot water. Note: The BIBO bar
will automatically stop dispensing once
1,5 litres has been drained.
14. Your installation is now complete and
your BIBO bar will be ready to be used
and enjoyed (Image vi).
Please remember that if you
experience any problems with
your BIBO bar, do not attempt
to disassemble your BIBO bar by
yourself, this will invalidate your
product warranty. BIBO will take
no responsibility for any resulting
issues. So rather keep it simple and
contact us directly via email at
0800 00 BIBO (2426)
- let us do all the work!
Other manuals for BIBO bar
2
Other Bibo Water Filtration System manuals
Popular Water Filtration System manuals by other brands

EcoWater
EcoWater ETF AIIF10 owner's manual
Honeywell
Honeywell Braukmann F76S quick guide

Excalibur Water Systems
Excalibur Water Systems Sureflo SFC Series Installation and user guide
Fiberplex
Fiberplex Waveguide WGF-6 user manual

OMEGA AIR
OMEGA AIR CKL Installation and operating manual
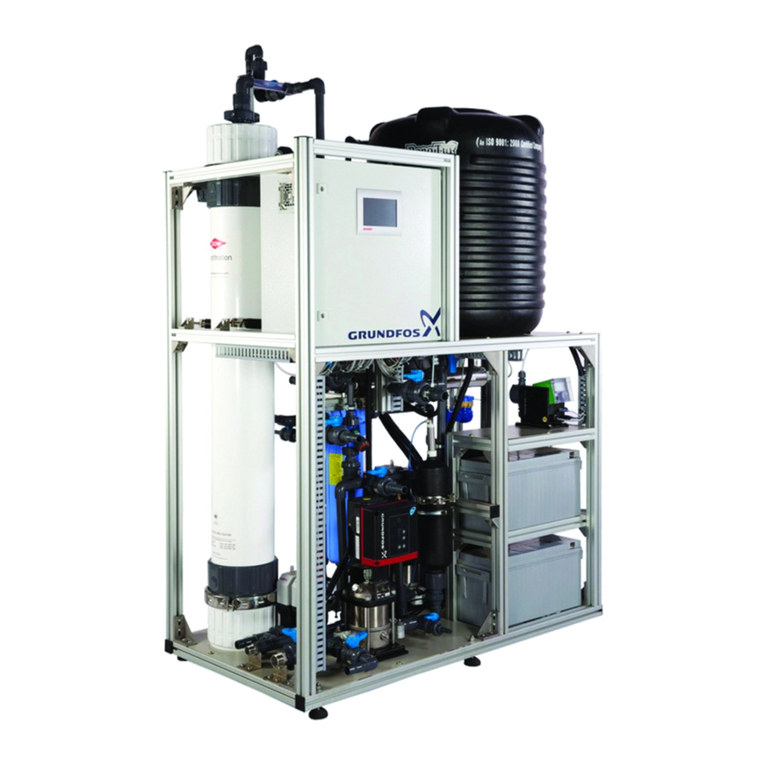
Grundfos
Grundfos AQpure instructions
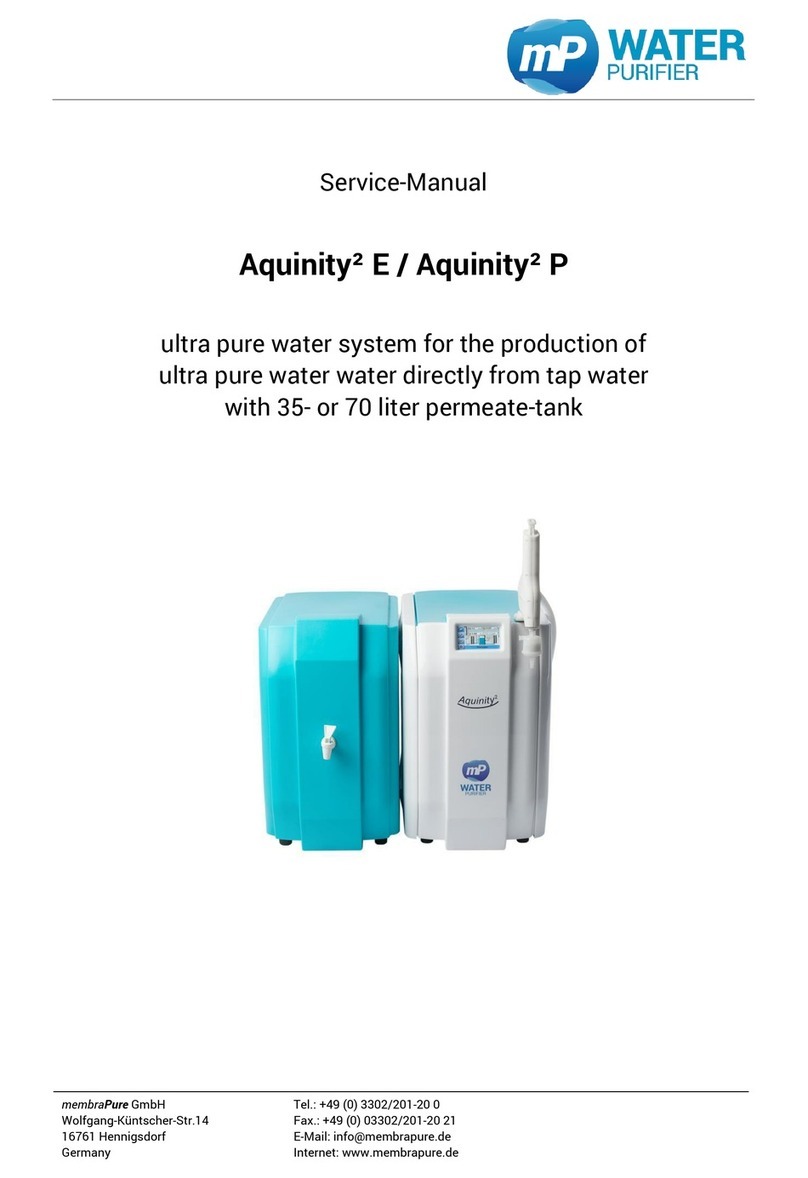
MP
MP Aquinity 2 E Service manual
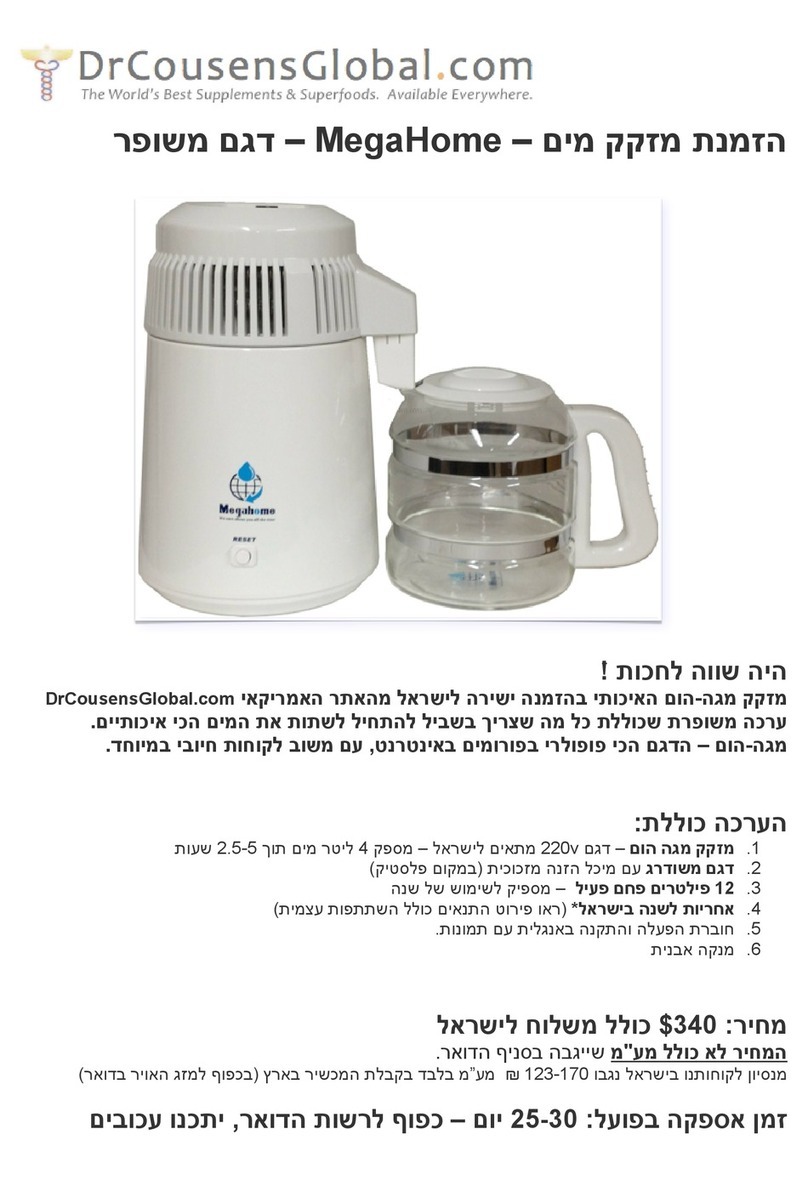
MegaHome
MegaHome MH-943TWS manual
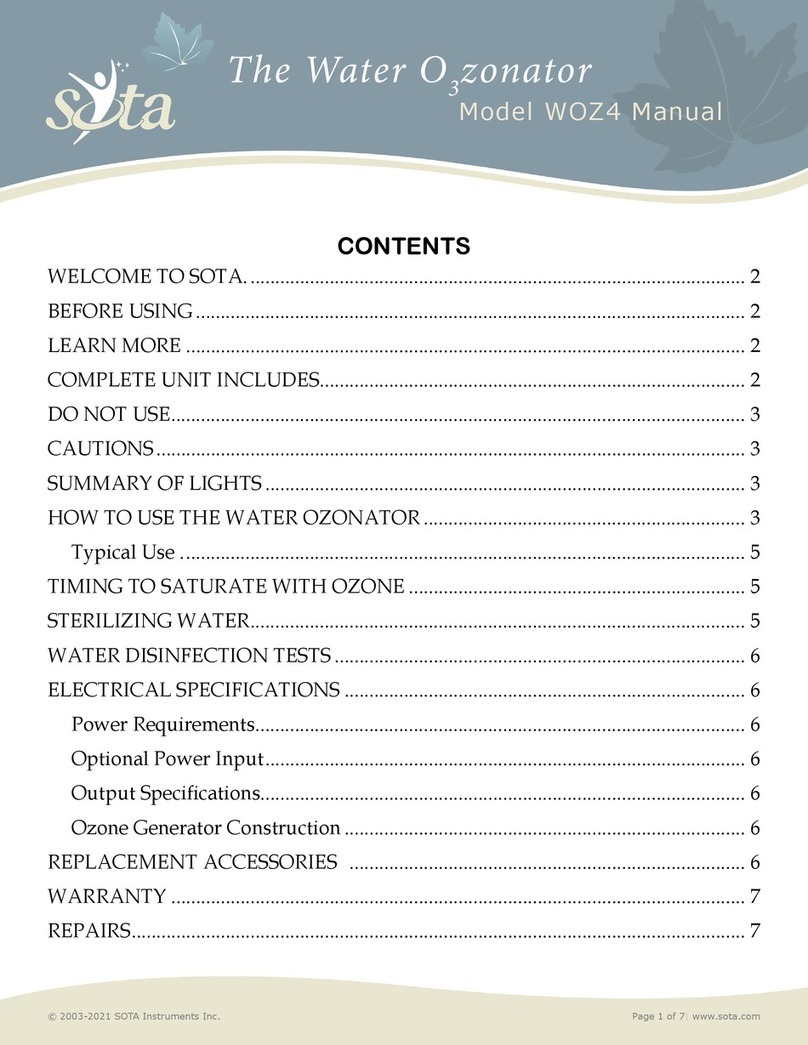
Sota
Sota WOZ4 manual
Graf
Graf MINIMAX-PRO Platin Package 3 Instruction for installation and maintenance
Survivor Filter
Survivor Filter L600D Product guide

Spectra Watermakers
Spectra Watermakers CATALINA 300 MPC-5000 Installation & owner's manual
