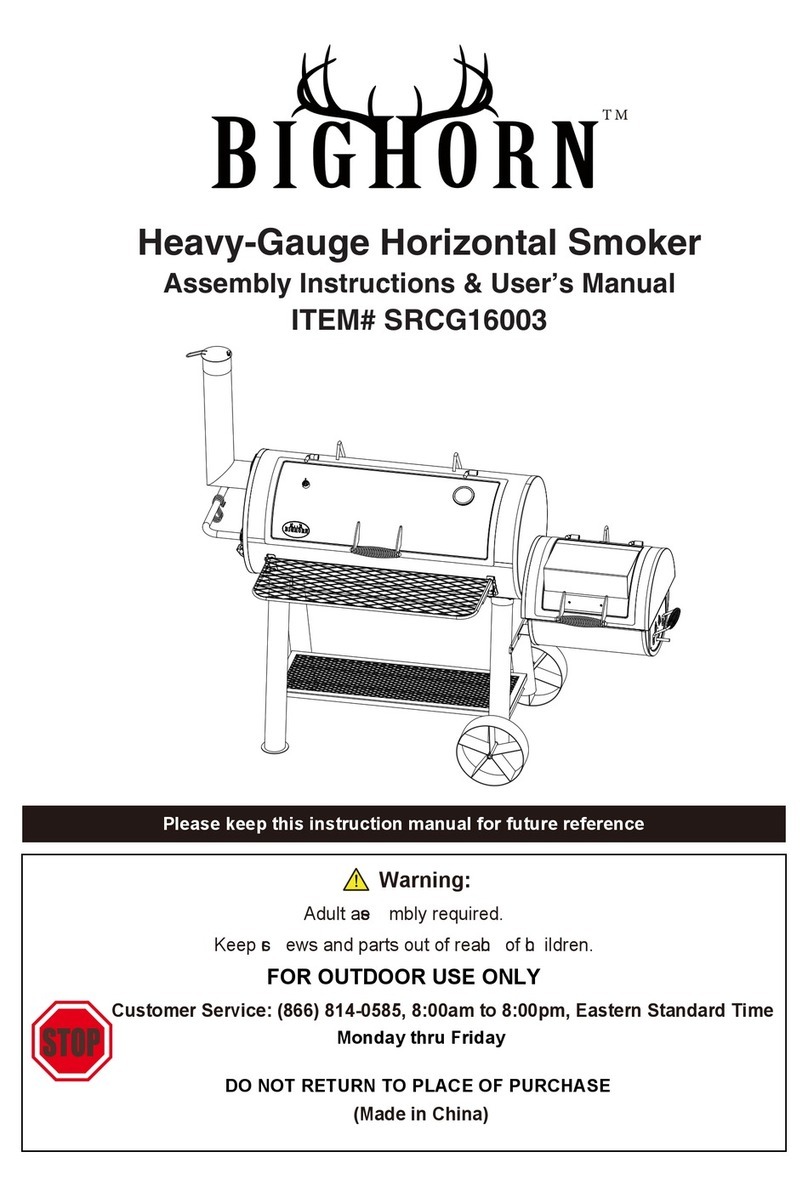
BIGHORN SRCC2220 Owner's manual

FOR OUTDOOR USE ONLY
Please keep this instruction manual for future reference
Adult assembly required.
Keep screws and parts out of reach of children.
(Made in China)
Warning:
!
Assembly Instructions & User’s Manual
Adjustable Grill Charcoal BBQ
ITEM# SRCC2220 (PLU#075596 )

Page 2
Page 1
!
!
GENERAL WARNING AND SAFETY INFORMATION
Keep a fire extinguisher accessible at all times while
operating grill.
Never leave grill unattended while in use.
Never use inside an enclosed area such as a patio,
garage, building or tent.
Never use inside a vehicle, not even a recreational
vehicle such as a motorhome, camper, or truck bed.
Never operate this grill under any overhead
construction such as roof coverings, carports, awnings
or overhangs.
Maintain a minimum distance of 10 ft. (3m) from all
structures.
Keep area clear of all combustible materials such as
wood, dry plants, grass, brush, paper or canvas.
Never operate this grill within 25 ft. (7.5m) of
flammable liquids.
Never operate this grill within 10 ft. (3m) of a gas
cylinder.
Never use this grill as a heater.
Use this grill only on a stable, level surface to prevent
tipping.
Use on non-combustible surfaces such as dirt,
concrete, brick or rock.
Keep children and pets away from grill at all times. Do
not allow children to use grill.
Only use charcoal lighting fluid. Never use gasoline,
alcohol or other highly volatile fluids to ignite
charcoal. These fluids can explode causing injury or
death.
Grill is HOT while in use and will remain HOT for a
period of time afterwards. Do not touch any part of the
grill without wearing protective gloves.
Never move grill when in use. Allow grill to cool
completely before moving or storing.
Never leave HOT coals or ashes unattended.
Do not store grill with HOT ashes or charcoal inside
grill. Store only when fire is completely out and all
surfaces are cold.
Dispose of cold ashes by placing them in aluminum
foil, soaking with water and discarding in a
non-combustible container.
Never use this product for anything other than its
intended purpose. This grill is not for commercial use.
Always use this grill in accordance with all applicable
local, state and federal fire codes.
PARTS LIST
Item No
.
Qty Description Item No
.
Qty Description Item No
.
Qty Description
1 1 Hood assembly 11 2 Damper 21 1 Cart brace-front
elxaleehW122yarthsA121eguagerutarepmeT12
3 1 Hood handle 13 1 Ash tray handle 23 1 Base panel
4 2 Hinge assembly 14 1 Crank handle assembly 24 2 Wheel
5 1 Left panel of firebox 15 2 Cooking grate 25 1 Left leg-front
6 1 Rear panel of firebox 16 1 Charcoal tray 26 1 Left leg -rear
7 1 Right panel of firebox 17 1 Charcoal tray arm assembly 27 1 Right leg-front
8 1 Front panel of firebox 18 1 Cart brace-rear 28 1 Right leg-rear
9 1 Charcoal door assembl
y
19 1 Cart brace-left 29 1 Warming rack
10 2 Damper handle 20 1 Cart brace-right 30 2 Side table
31 2 I shaped brace
15
31
10 11

Page 2
Page 1
!
GENERAL WARNING AND SAFETY INFORMATION
Keep a fire extinguisher accessible at all times while
operating grill.
Never leave grill unattended while in use.
Never use inside an enclosed area such as a patio,
garage, building or tent.
Never use inside a vehicle, not even a recreational
vehicle such as a motorhome, camper, or truck bed.
Never operate this grill under any overhead
construction such as roof coverings, carports, awnings
or overhangs.
Maintain a minimum distance of 10 ft. (3m) from all
structures.
Keep area clear of all combustible materials such as
wood, dry plants, grass, brush, paper or canvas.
Never operate this grill within 25 ft. (7.5m) of
flammable liquids.
Never operate this grill within 10 ft. (3m) of a gas
cylinder.
Never use this grill as a heater.
Use this grill only on a stable, level surface to prevent
tipping.
Use on non-combustible surfaces such as dirt,
concrete, brick or rock.
Keep children and pets away from grill at all times. Do
not allow children to use grill.
death.
surfaces are cold.
non-combustible container.
local, state and federal fire codes.
PARTS LIST
Item No
.
Qty Description Item No
.
Qty Description Item No
.
Qty Description
1 1 Hood assembly 11 2 Damper 21 1 Cart brace-front
elxaleehW122yarthsA121eguagerutarepmeT12
3 1 Hood handle 13 1 Ash tray handle 23 1 Base panel
4 2 Hinge assembly 14 1 Crank handle assembly 24 2 Wheel
5 1 Left panel of firebox 15 2 Cooking grate 25 1 Left leg-front
6 1 Rear panel of firebox 16 1 Charcoal tray 26 1 Left leg -rear
7 1 Right panel of firebox 17 1 Charcoal tray arm assembly 27 1 Right leg-front
8 1 Front panel of firebox 18 1 Cart brace-rear 28 1 Right leg-rear
9 1 Charcoal door assembl
y
19 1 Cart brace-left 29 1 Warming rack
10 2 Damper handle 20 1 Cart brace-right 30 2 Side table
31 2 I shaped brace
15
31
10 11

Page 4
Page 3
HARDWARE LIST
HARDWARE LIST
HARDWARE LIST
Before assembly read instructions carefully. Assemble grillon a clean, flat surface. This unit is heavy.
DO NOT ASSEMBLEWITHOUT ASSISTANCE. GET A HELPER!
'
Tools needed for assembly:
Adjustable Wrench
Philips Head Screwdriver
STEP 1
Do not tighten screws all the way. Legs may
need to be adjusted later.
STEP 2
Do not tighten screws all the way.
ASSEMBLY INSTRUCTIONS
Attach cart brace assembly-front(21) into the cart
assembly using M6 x12(A) and washers(O) as shown.
1.Attach left leg-rear(26), left leg-front (25)and cart brace
brace assembly-right(20).
assembly-left(19) M6x12 (A) and washers (O) as shown.
2.Repeat step on right leg-rear(28), right leg-fron(27) and
cart
LM N
1
B
H
2
66
A
26
O
10
6
I J
CD
10
EF
1
G
Handle Flat washer
qty-2
K
O
A
A
O

Page 6
Page 5
STEP 3
Do not tighten screws all the way.
STEP 5
Helper is needed for this step.
Do not attempt to do without
assistance.
TIGHTEN ALL HARDWARE AT THIS
TIME.
Attach cart brace assembly -rear(18) into the
Attach base panel (23) into the cart assembly
using M5x15 (L), lock washers(N) and flat
washers(M) as shown.
STEP 4
Attach wheel axle(22) and wheels (24)using
M8 washers(H) and M8 nut(B) as shown.
cart assembly using M6 x12(A) and washers
(O) as shown.
STEP 6
STEP 7
STEP 8
Attach left panel of firebox(5) into front panel
Repeat step on right panel of firebox(7)
into the firebox assembly.
Attach rear panel of firebox(6) into
the firebox using M6 x12(A) as shown.
panel of firebox as shown using
M4 x10(I) and M4 nuts(J) as shown.
of firebox(8) using M6 x12(A) as
shown.
Attach charcoal door assembly (9) into
the front
A
A
O
MNL
H
H
B
A
A
I
J

Page 8
Page 7
STEP 9
STEP 10
1.Attach the damper(11) into the front panel
of firebox(8) using M6 step screws(C) and
M6 nuts(D) as shown.
2.Attach the damper handle(10) into the .
damper(11) using M4 nylon screw(E) and
M4 nylon nut(F) as shown.
3.Repeat steps on damper(11) and damper
handle(10) into the hood(1).
1. Attach the I shaped braces (31) into the left
leg assembly using M6 x 12(A). Repeat step
on the right leg assembly using M6 x 12(A).
2. Attach the firebox into the cart assemly
using M6 x 12(A) and washers (O) as shown.
STEP 11
STEP 13
1.Attach charcoal tray arm assembly(17) into
the front panel of firebox(8) using M6x12(A )
as shown.
Attach the hinger assemble(4) into rear panel
of firebox(6) using M6 x12 (A)as show.
Attach the charcoal tray(16) into the charcoal
STEP 12
2.Thread crank(14) through hole on the front
panel of firebox(8) using cotter pin(G) as shown.
tray arm assembly(17) using M6 x12 (A) as
shown.
C
D
E
F
D
C
F
A
G
A
E
A
A
A
A
A
A
A
O
O
A
31

Page 10
Page 9
STEP 14
STEP15
1.Attach the hood handle(3) into the hood(1)
using M6x12(A) and flat washer(O) and
Handle flat washer(K).
2.Attach temperature gauge (2) into
the hood(1) as shown.
Attach the hood assembly into the grill
using M6x12(A) as shown.
Note: Attach both ends of hood
handle before fully tightening hex
flange nuts.
Note: the temperature gauge is supplied
with one washer and one wing nut.
2
Note: be careful not to over tighten the
wing nut.
Wing nut
Washer
GRILL IS READY FOR USE
STEP 17
STEP 16
Attach side table(30) into the firebox
using M6 x12(A) as shown.
1.Attach ash tray handle(13) into the ash tray
(12) using M4x10(I) .
STEP 18
Insert the cooking grates(15) and
warming rack(29) as shown.
2.Insert the ash tray assembly into the bottom
of firebox as shown.
Repeat step on opposite side for
remaining side shelf.
AA
A
A
K
A
A
A
A
I
O
O
K
K

Page 12
Page 11
FREQUENTLY ASKED AUESTION
SAFE STORAGE AND MAINTENANCE
CHARCOAL LIGHTING INSTRUCTIONS
Q: My grates have rust on them. How do I get rid of it?
If rust occurs, clean with a steel brush. Reapply
vegetable shortening and heat as indicated above.
Q: The paint finish inside my lid is peeling. What can I
do?
You are seeing a deposit of grease and smoke that
collects during normal use that resembles paint. These
carbon deposits are non-toxic, but you may want to
regularly remove the build-up. Remove buildup using a
brass or stiff bristle brush before grilling. Future build-up
can be avoided by simply wiping the grill lid while slightly
warm with a mild soap-and-water solution.
Q: When can I put my meat on the grill?
Grill is ready for use when charcoal is ashed over and no
visible flames are present.
Q: How do I regulate the heat on my grill?
Adjusting the dampers will increase and decrease airflow
and heating.
Inspect hardware tightness on a regular basis to
insure grill is in safe working condition.
ALWAYS allow grill to cool completely before
handling.
ALWAYS empty charcoal pan after use only when
ashes have completely cooled.
This will help prolong charcoal pan life.
Clean grill, including special surfaces such as
cooking grates with mild cleaning agents. Wipe
outside of grill with damp rag. DO NOT use oven
cleaner.
ALWAYS cover and store cold grill in a protected
area.
Indoor storage of grill is permissible only if the
charcoal has burned to a complete ash AND is
cold. Remember to remove cold ashes before
storing.
Grill is made of steel and may rust over time. If
rusting occurs on outside surfaces, clean area
with sand paper or steel wool, then cover with
heat resistant paint.
If rusting occurs on the inside surface of grill,
clean area with sandpaper or steel wool, then
coat with cooking oil.
NEVER USE PAINT ON INSIDE SURFACES OF
GRILL
Read all instructions and warnings on charcoal bag
and in manual before using.
Stack briquets in a pyramid.
Add lighter fluid following directions on fluid
container. Before lighting, place lighter fluid at
least 25 ft. (7.5m) away from grill. Do not lean
over grill when lighting charcoal. Light charcoal.
LEAVE GRILL UNCOVERED.
In about 15 minutes, flames will die out and
briquets will begin to ash over. Once the
briquets are completely ashed over, spread
NEVER USE GASOLINE TO LIGHT CHARCOAL.
OVERFILLING CHARCOAL PAN CAN CAUSE SERIOUS
NEVER ADD ADDITIONAL LIGHTER FLUID ONCE CHARCOAL HAS IGNITED.
HOT COALS SHOULD NOT BE LEFT UNATTENDED.
GRILL IS HOT. USE PROTECTIVE GLOVES AND
1.
2.
3.
briquets in a single layer
and begin cooking.
INJURY AND
DAMAGE THE UNIT.
LONG, STURDY COOKING
UTENSILS.
We recommend starting a fire with no more than 3 pounds of charcoal
(approximately 45 briquettes) and adding more as needed during cooking.
After allowing the fire to burn down, place the cooking grates in the unit.
GRILL OPERATION CAUTIONS
Avoid bumping or impacting grill.
Keep your hands, hair and face away from burning
charcoal.
This grill has an open flame. Be careful of loose hair
and clothing during operation. They may catch fire.
Use protective gloves when handling this grill or
working with fire. Use protective gloves or long,
sturdy fireplace tools when adding wood or charcoal.
Do not allow anyone to conduct activities around this
grill during or following its use until the unit has
cooled.
This grill is HOT during operation and remains HOT
for a period of time following its use.
Fatty foods like hamburgers can have excess grease
that can cause flare ups. When cooking fatty foods,
use caution when opening lid and during cooking to
avoid being burned.
Be careful when removing food from grill. All
surfaces are HOT and may cause burns. Use
protective gloves or long, sturdy cooking tools.
Never use glass, plastic or ceramic cookware on this
grill.
The use of alcohol, prescription or non-prescription
drugs may impair the user's ability to properly
assemble or safely operate this grill.
Grill lid and body are HOT while in use and during
cooling process.
Do not remove adjustable charcoal pan while ashes
and charcoal are HOT.
Air dampers are HOT while the grill is in use and
during cooling; wear protective gloves when
adjusting.
Never overfill charcoal pan. This can cause serious
injury as well as damage the unit.
Only use charcoal lighting fluid, never use gasoline,
alcohol or other highly volatile fluids to ignite the
charcoal. These fluids can explode causing injury or
death.
REMINDER: NEVER OPERATE THIS GRILL UNDER ANY
OVERHEAD CONSTRUCTION. MAINTAIN A MINIMUM
DISTANCE OF 3M FROM OVERHEAD
CONSTRUCTION, WALLS OR RAILS. SEE DIAGRAM
BELOW.


This manual suits for next models
1
Table of contents
Other BIGHORN Grill manuals
Popular Grill manuals by other brands
Wood Stone
Wood Stone MT. ST. HELENS WS-SFB-34 Installation and operation manual
Weber
Weber 55062 owner's guide

Coleman
Coleman Revolution G36303 Assembly manual
SEVERIN
SEVERIN FO 2400 - Instructions for use
Cuisinart
Cuisinart Griddler Deluxe Quick reference guide
Weber
Weber Summit 425 NG Step-by-step guide

Brinkmann
Brinkmann 810-6550-S owner's manual

Char-Broil
Char-Broil 463622513 Product guide

Lincat
Lincat Opus 700 Series User and installation instructions

Bosch
Bosch TFB440 Series instruction manual

Heatlie Barbecues
Heatlie Barbecues COMMUNITY BARBECUE CBBQ 600 Instructions and general information
Dyna-Glo
Dyna-Glo DGP321SNP manual
