BiPOM Electronics UVC User manual

Page 1
GadgetPC
SingleBoardComputer
UVCWebCameraQuick StartGuide
DocumentRevision: 1.02
Date:28June,2010
16301BlueRidgeRoad, MissouriCity,Texas77489
Telephone:1-713-283-9970Fax: 1-281-416-2806
E-mail: info@bipom.com
Web: www.bipom.com
Alltrademarked namesin thismanualarethepropertyofrespectiveowners.
©2009BiPOMElectronics, Inc.
BiPOMElectronics,Inc.

Page 2
TABLEOFCONTENTS
1.Overview3
2. ConfigureUVC camerawithLinux ControlPanel4
3. HardwareSetup 7
4. Softwaresetup 8
5. NetworkWebCamera10
6. Howtoembedtheremotecameratotheuser'swebpage11
7. Pre-installedsoftware13

Page 3
1.Overview
Thankyou foryour purchaseoftheGadgetPCSingleBoardComputer.
GadgetPC is apowerful computerboardthat iscapableofrunninghigh-level operating
systems suchasLinux.
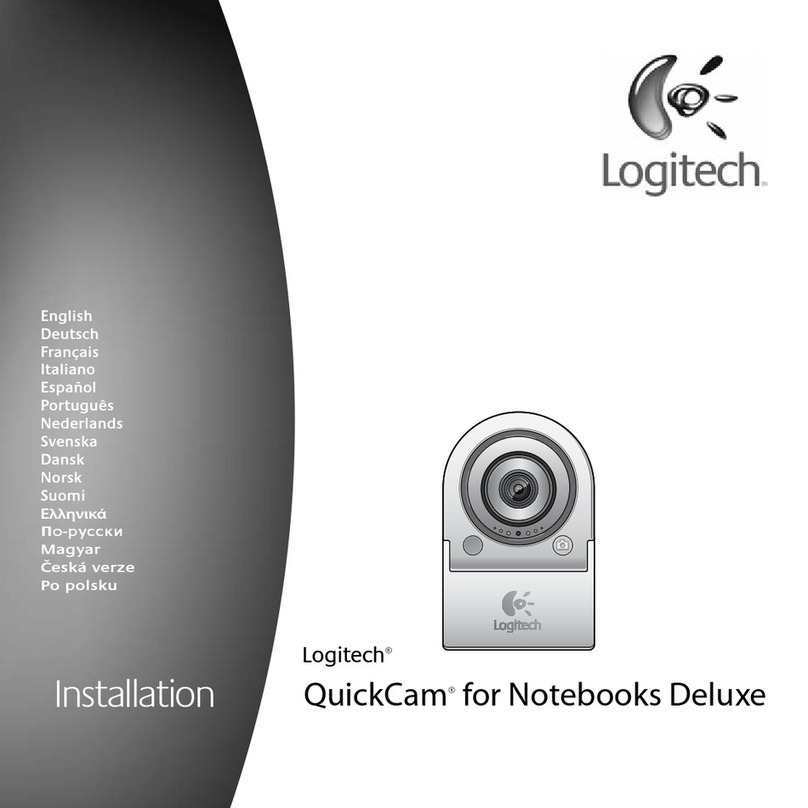
This documentexplains howtostartwithUVC compliant QuickCam®3000forBusiness
WEB camera fromLogitech(
http://www.logitech.com/index.cfm/business/products/webcam_communications/devices/47
83&cl=us,en ).

Page 4
2. ConfigureUVC camerawithLinux ControlPanel
Inorder toconfigure UVC camera,start LinuxControlPanel softwarefrom Start->All
Programs->GadgetPC ->LinuxControlPanel. After LinuxControl Panel starts, open
vars.sh filethat is locatedin c:\bipom\devtools\GadgetPC\sh (if you installed Linux
Control Panel todefaultpath).
Select File àOpen fromthemenuand open vars.sh filein sh folder.Bydefault, the
programwill startfromthe folder where GadgetPCreleasewas installed.
Whenyouopen vars.sh file,you will see configurationgroup icons suchas Hardware&
Peripherals, Software, System and Network.

Page 5
EnableandDisableUVC Camera
As next stepyoushouldenable UVCcamera in HardwareandPeripherals section.
Doubleclick Hardwareand Peripherals icon.Goto Peripherals group.Inthis group you
canconfigure onevariable:
UVCCamera:SelectON or OFF.Ifyouselect ON thenUVCCamera willbe enabled.
Select OFFifyoudon’twanttouseUVCCamera.
This option allowstoinstall appropriatedrivers atboot time,so UVC camera canbe
reachedwhenLinuxisstarted.As next step you shouldconfigure UVC CameraServer
software.

Page 6
ConfigureUVCCameraServersoftware
Doubleclick Software icon.Goto UVC CameraServer group. Inthis groupyou can
configurefour variable:
Run UVC CameraServer: Select YES or NO. Ifyouselect YES thenUVC cameraserver
will runatboottime.Select NOif youwanttodisableUVC cameraserver.
UVCStreamResolution: Select resolutionofthestream.Availableoptions:320x240and
640x480.
UVCStreamPort: HereyoucansetTCPportnumber for theUVCcamera server.By
default this is setto8080.
UVCStreamFramerate: HereyoucansetFrameratefortheUVCcamera server.By
default this is setto5.

Page 7
3. Hardwaresetup
The setupincludes:
-GadgetPC board;
-LogitechUVCwebcamera;
-D-Link USB Ethernetadapter;
-2GBUSB Flashdrive.
The setupallows toconnecttoanetworkWEBcamerausingFireFox,Opera,Chrome
browsers.
NOTE:InternetExplolerdoesnotsupportthe videostream.

Page 8
4. Softwaresetup
4.1. Bipomprovides the preparedarchivesunder FTPserver:
GadgetPC_USB_RootFS_BSVER107_loader.zip
debian_rootfs_12Sep2009.tar.bz2
linux2.60.30.4_12Sep2009.tar.bz2
Account toaccess BiPOMFTPserver:
Host= www.bipom.com
Port= 21
User= bipomftp
Pass= guest123!
4.2. U-bootloader.
Inorder torunRootFSonUSB driveit is necessarytoconfigureU-boottoprovidecorrect
arguments
toLinux kernel. Pleaseread GadgetPC DebianInstallationGuide.
Ifyoudon’t haveaccess toU-bootconsoleyouareabletoupgrade theloader usingSAM-
BA package fromATMEL.
Pleaseread GadgetPCSystemInstallation Guide.
Toobtainthe loaderBIN filepleasedownload
GadgetPC_USB_RootFS_BSVER107_loader.zip fromFTPserver.
The GadgetPC_USB_RootFS_BSVER107_loader.bin fileprovidesthe completeloader
support:
-AT91BootStraploader;
-U-bootloader;
-U-bootenvironment.
4.3. Linuxkernel andRootFS.
Downloadthepackages toanativeLinux machinefromBiPOMFTPserver.
debian_rootfs_12Sep2009.tar.bz2
linux2.60.30.4_12Sep2009.tar.bz2
Usethefollowingcommant toextractfilesfromarchive
sudotar–xvjfdebian_rootfs_12Sep2009.tar.bz2
sudotar–xvjflinux2.6.30.4_12Sep2009.tar.bz2

Page 9
Createadualpartition USB flashdrive.Pleaseread GadgetPC DebianInstallationGuide.
Copyallthefiles/foldersfrom FAT folder to/media/FAT
sudocp-R FAT/*/media/FAT
Copyallthefiles/foders fromEXT3 folder to/media/EXT3
sudocp-R EXT3/*/media/EXT3

Page 10
5. NetworkWebCamera
The GadgetPCispre-configured to:
-IPaddress ofDevice: 192.168.1.210
-Subnet mask: 255.255.255.0
-IPaddress ofGateway:192.168.1.1
Power thesetup.
TryOpera browsertogetasnapshotfromacamera.
Inorder togetthe videostreamjusttype http://192.168.1.210:8080/?action=stream

Page 11
6. Howtoembedtheremotecameratotheuser'swebpage
Youcan alsoembedtheremoteUVC cameratowebpage.
CreateyourHTML pageinanyeditorandaddfollowing HTML code:
<imgsrc="[SERVERIP]:[SERVERPORT]/action=stream"width="[UVCWIDTH]"
height="[UVC HEIGHT]">
where:
[SERVERIP] -IPofremotecamera.
[SERVERPORT] -Portnumberwhatyouenteredwhen configuredUVC Camera
[UVCWIDTH] -Widthinpixels. Shouldbethesameasyouselected when configured
UVCCamera
[UVCHEIGHT] -Height inpixels. Shouldbethesameasyouselectedwhen
configured UVC Camera
The examplebelowshowHTMLcodefor camerainstalledondevicewithIP192.168.1.20.
The UVCCameraserver usedport8080andresolution is 640x480:
<imgsrc="http://192.168.1.20:8080/action=stream" width="640"
height="480">
Belowyoucansee wholeHTML pagewhichwillshowstreamfromUVC Camera:
<!DOCTYPEHTMLPUBLIC "-//W3C//DTDHTML4.01Transitional//EN">
<html>
<head>
<meta http-equiv="Content-Type" content="text/html; charset=iso-
8859-1">
<title>GadgetPC UVC streamvideo</title>
</head>
<body>
<center>
<h1>Gadget PCUVCstreamvideo</h1><br>
<imgsrc="http://192.168.1.20:8080/action=stream" width="640"
height="480">
</center>
</body>
</html>

Page 12

Page 13
7. Pre-installedsoftware
The currentpackageincludesthepre-installed SSH andNTPservers.
7.1. NTPserver.
IfGadgetPC is connected toanetworkthat providesaccess toInternettheboardwillget
timefromtheremoteserver.
Note. GadgetPCdoesnotprovideahardwareclock.
7.2. SSH server.
SSH serverispre-configured todefault port22.
Youcan logintothe boardas ‘root’ (passwordis root).

Page 14
Table of contents

