9
TECHNICAL DATA
PROTECTING THE ENVIRONMENT
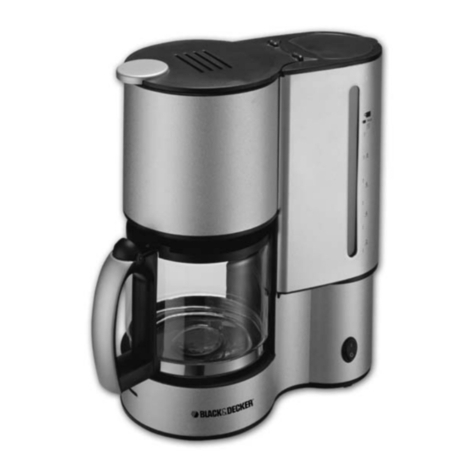
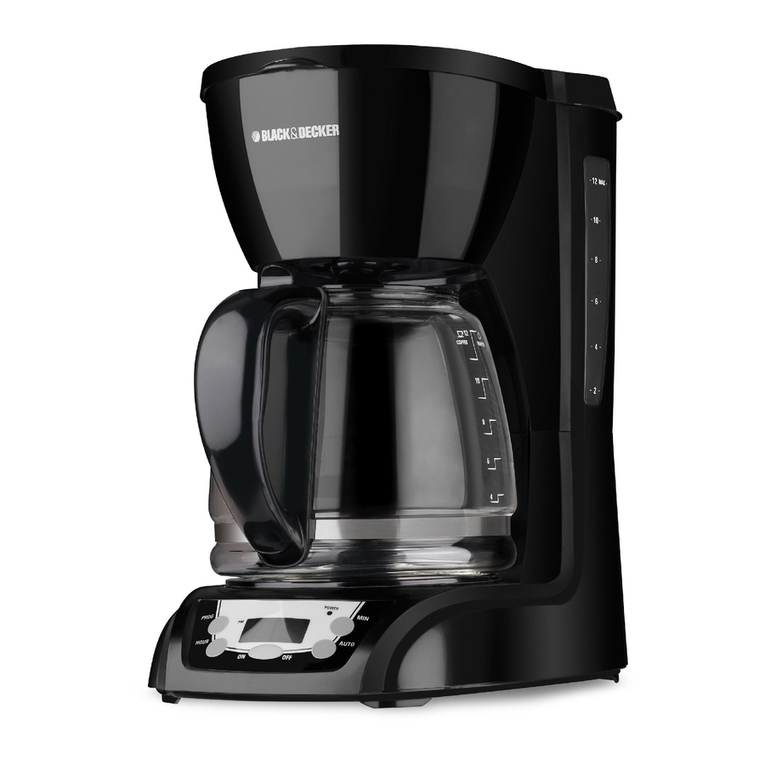
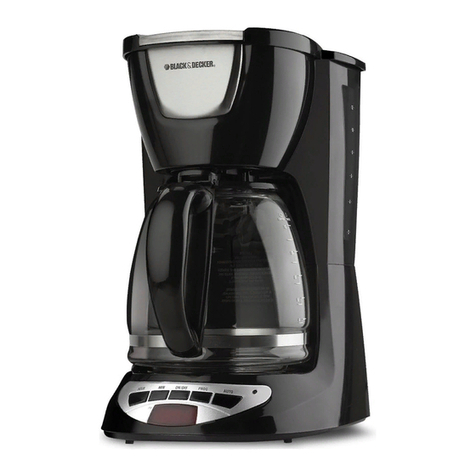
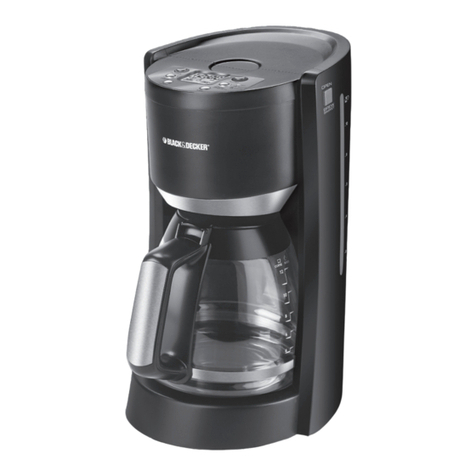
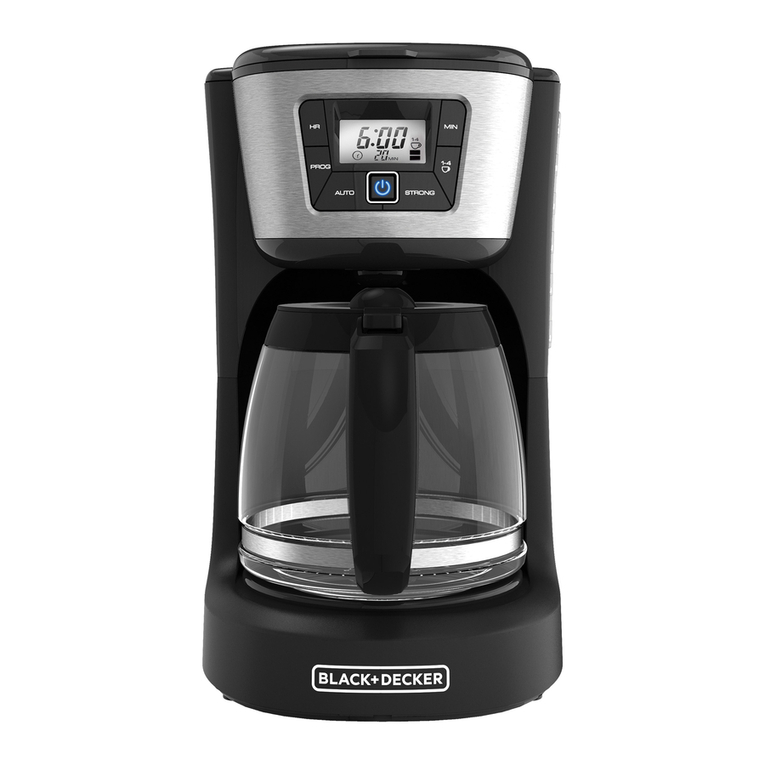
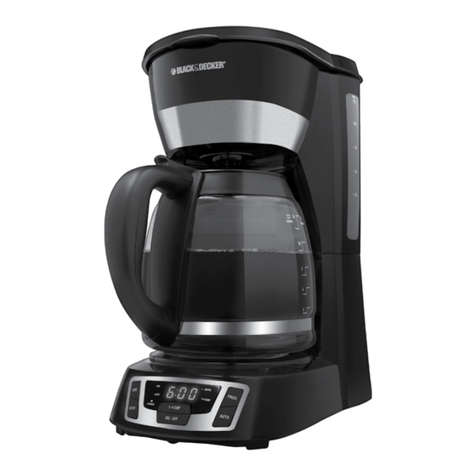
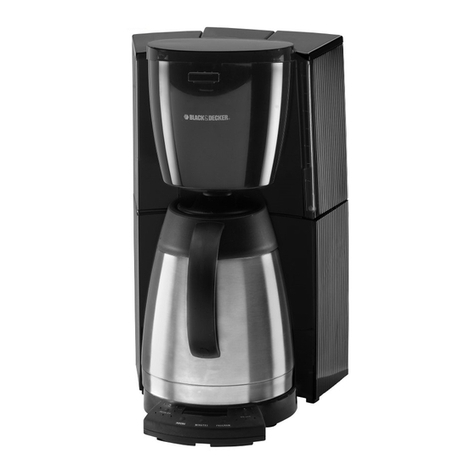
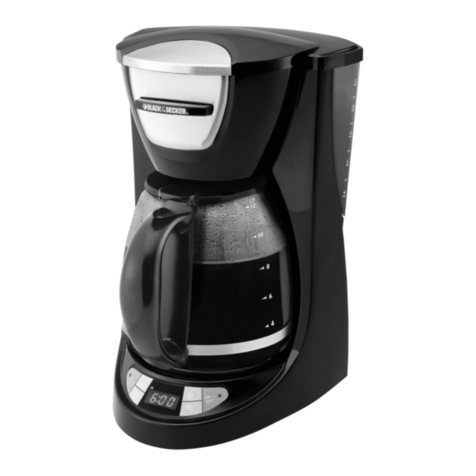
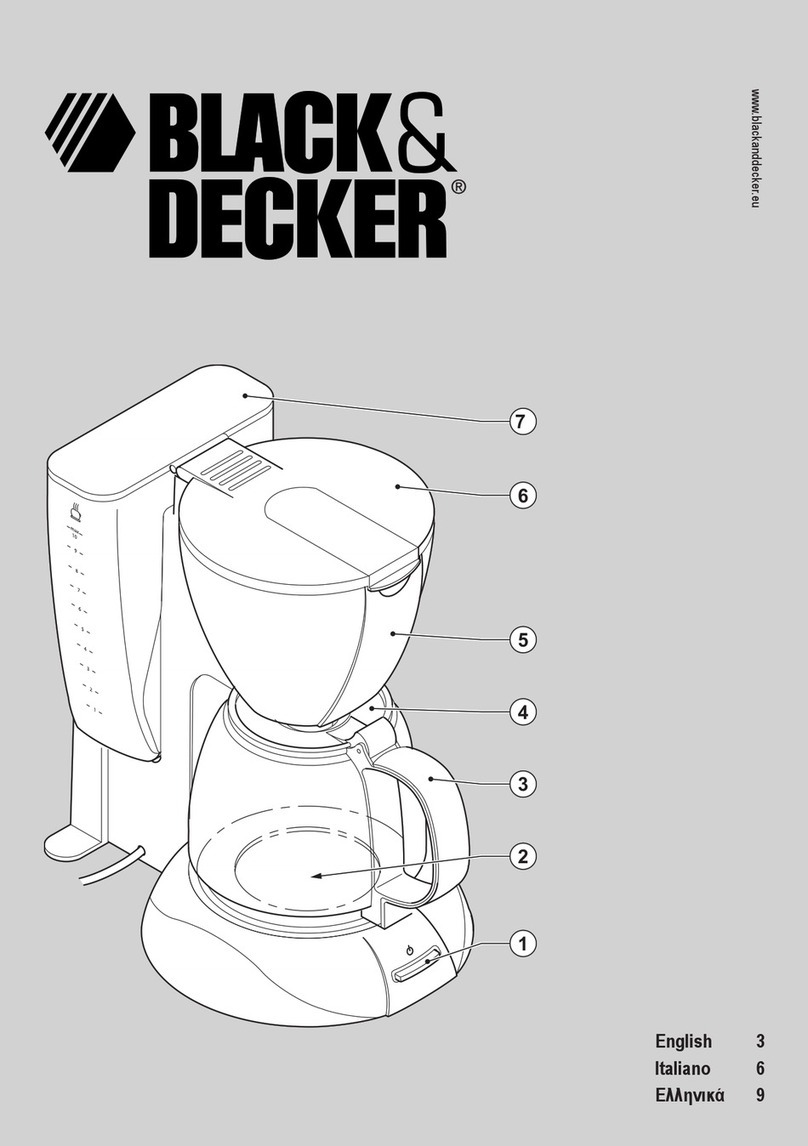
Your Black+Decker coffee maker has been designed for making coffee.
This product is intended for household use only. Thank you for choosing Black &
Decker. We hope that you will enjoy using this product for many years.
Read this entire manual carefully before using the appliance.
Warning! When using mains-powered appliances, basic safety precautions,
including the following, should always be followed to reduce the risk of fire,
electric shock and personal injury.
• The intended use is described in this manual. The use of any accessory or
atachment or the performance of any operation with this appliance other
than those recommended in this instruction manual may present a risk of
personal injury.
• Retain this manual for future reference.
• Always take care when using the appliance.
• Do not use the appliance outdoors.
• Do not operate the appliance if your hands are wet. Do not operate the
appliance if you are barefoot.
• Guide the power supply cord neatly so it does not hang over the edge of a
worktop and cannot be caught accidentally or tripped over.
• Never pull the power supply cord to disconnect the plug from the socket.
Keep the power supply cord away from heat, oil and sharp edges.
• If the power supply cord is damaged during use, disconnect the appliance
from the power supply immediately. Do not touch the power supply
immediately. Do not touch the power supply cord before disconnecting from
the power supply.
• Disconnect the appliance from the power supply when not in use and before
cleaning.
• The appliance is not intended for use by persons (including children) with
reduced physical sensory or mental capabilities, or lack of experience and
knowledge, unless they have been given supervision or instruction
concerning use of the appliance by a person responsible for their safety.
• Children should be supervised to ensure that they do not play with the
appliance.
• Switch off, remove the plug from the socket and let the appliance cool down
before leaving it unattended and before changing, cleaning or inspecting any
parts of the appliance.
• When not in use, the appliance should be stored in a dry place. Children should
not have access to stored appliances.
• Switch off the appliance before cleaning, changing accessories or approaching
parts which move in use.
• Before use, check the appliance for damaged or defective parts. Check for
breakage of parts, damage to switches and any other conditions that may
affect its operation.
• Do not use the appliance if any part is damaged or defective.
• Have any damaged or defective parts repaired or replaced by an authorized
repair agent.
• Before use, check the power supply cord for signs of damage, ageing & wear.
• Do not use the appliance if the power supply cord or mains plug is damaged
or defective.
• If the power supply cord or mains plug is damaged or defective it must be
repaired by an authorized agent in order to avoid a hazard. Do not cut the
power supply cord and do not attempt to repair it yourself.
• Never attempt to remove or replace any parts other than those specified in
this manual.
Before use, check that the mains voltage corresponds to the voltage on the
rating plate.
This product must be earthed. Always check that the mains voltage corresponds
to the voltage on the rating plate.
Appliance plugs must match the outlet. Never modify the plug in any way.
Do not use any adaptor plug in any way. Do not use any adaptor plugs with
earthed (Class 1) appliances.
Unmodified plugs and matching outlets will reduce the risk of electric shock.
• A 3 core cable must be used as your tool is earthed and of class 1 construction.
• Up to 30m (100 ft) can be used without loss of power. If supply cord is
damaged, it must be replaced by the manufacturer or an authorized
Black & Decker Service Centre in order to avoid a hazard.
• If a new mains plug needs to be fitted:
• Safely dispose of the old plug
• Connect the brown lead to the live terminal of the new plug
• Connect the blue lead to the neutral terminal
• If the product is class I (earthed), connect the green/yellow lead to the earth
terminal.
Note: If your product is class II double insulated (only 2 wires in the cord set), no
connection is to be made to the earth terminal.
Follow the fitting instructions supplied with good quality plugs.
Any replacement fuse must be of the same rating as the original fuse supplied
with the product.
Warning! The above section on mains plug replacement is for authorized service
centre personals
Warning! The lid may become hot during use.
Warning! Steam may escape from the unit.
• Allow the appliance to cool before fitting or removing any parts and before
cleaning.
• During use, the carafe and the hotplate can get very hot.
• Do not use the appliance if the carafe shows any signs of cracks.
• Do not immerse the appliance in liquid.
Warning! Never use the appliance without water in the reservoir.
Before first use
• Unpack the coffee maker and remove all packaging, promotional materials
and stickers. Remove all printed documents.
• Check that your mains supply is the same as the one indicated on the
appliance.
• Position the appliance on a flat, stable work surface, away from the edge and
other electrical appliances. Ensure that the coffee maker is not positioned
under any cupboards or near furnishings, wallpaper or similar that could be
damaged by hot steam.
• Wash all removable parts of the appliance in warm, soapy water. Rinse and
dry thoroughly with a soft water. Rinse and dry thoroughly with a soft cloth.
Do not use harsh/abrasive cleaners or place any part of the appliance in the
dishwasher.
Warning! Never immerse the main body of the appliance, cord set or plug in
water or any other liquid.
• We recommend that you first familiarize yourself with all parts of the
appliance before using it for the first time. Do not fill the water or connect to
the mains supply when doing this.
• To remove any remaining residue from the manufacturing process, we recom
mend operating the coffee maker as described in the ‘Use’ section. This will
flush the appliance out. Use water only, do not add coffee.
Note! Ensure that the coffee maker mains cord does not overhang the edge of
the worktop.
Note! When the coffee maker is plugged in and operated for the first time, there
may be a small amount of smoke and/or odour as the heating elements warm up.
This represents no danger or malfunction with the product and should be clear
after a couple of uses.
1. Open the top lid and fill the water tank with purified drinking water. The
water level should not exceed MAX level marked inside the tank.
2. Place the funnel into the support and make sure it is assembled correctly.
Then put the filter correctly.
3. Add coffee powder into filter. Usually a cup of coffee need a level spoon of
coffee powder, but you may adjust according to your personal taste.
Then close the top lid.
4. Place the carafe on the keep warm plate.
5. Plug the power cord into the socket. The LCD will display “12:00” and the
screen will flash.
6. Press ON//OFF button, the ‘‘RUN” indicator will be illuminated red.
The appliance will begin working.
7. The brewing process can be interrupted by pressing the ON//OFF button
twice at any time during operation, and the brew indicator will be turned off
and the ‘‘RUN” option on the LCD will disappear. The appliance will continue
brewing once ON//OFF is pressed again.
Note: You can take out the carafe, pour and serve at any time. The appliance will
stop dripping automatically. But the time cannot exceed 30 seconds.
8. Once the brewing is completed, take out the carafe to serve fresh brewed
hot cofee.
Note: The coffee you get will be less than the water you have poured, as some
water is absorbed by the coffee powder.
9. When the process is completed, if you do not wish to serve immediately,
do not unplug the power and keep the switch ON. The coffee can be kept
warm in the hot plate upto 40 min. For best taste, serve it just after brewing.
10. Always turn the coffee maker off and unplug the power cord from the
electrical outlet when the coffee maker is not in use.
If you do not want the coffee maker to start operation immediately, for example
at 5:10 pm, you want that the coffee machine to automatically
start at 8:15 pm, please follow steps 1 to 5 of above section
and then set the automatic start function as follows:
1. Press ‘‘PROG’’ button one time, the word ‘‘CLOCK’’ is
shows up on the right side on display.
2. Press the ‘‘HOUR’’ and MIN button continuously to set the
present time (real clock), that is 17:10 (See fig. 1).
Note: The time cycle is 24 hours.
3. Press ‘‘PROG’’ button once again and the word ‘‘TIMER’’ shows up on the left
side of display.
4. Set the function time by pressing ‘‘HOUR’’ and ‘‘MIN’’ button repetitively,
that is 20:15 (see Fig. 2).
5. Press the “ON/OFF” twice, the ‘‘AUTO’’ function is illuminated.
After about 10 seconds, the LCD will display the current clock.
You may see the automatic start time by pressing ‘‘PROG’’.
Note: You may cancel the automatic start function by pressing “ON/OFF”. If you
want to change the automatic start time, only follow the above 1-4 steps again.
When the time is due, the AUTO display will go off and the indicator ‘‘RUN” display
turned on and the product starts brewing.
If the power supply has been cut off or unplugged from the power cord
unintentionally during operation, the appliance will continue previous operation
automatically from the point when the disconnection occurred provided the
pause does not exceed 15 sec. If the pwer cord has been accidentally unplugged
from the power supply:
a. The appliance will continue perfoming the previous operation provided the
time does not exceed 15 sec. or,
b. In the event the time exceeds 15 sec, the appliance has to be re-started with
default setting.
CAUTION: Be sure to unplug this appliance before cleaning. To protect against
electrical shock, do not immerse cord, plug or unit in water or liquid. After each
use, always make sure plug is first removed from wall outlet.
1) Clean all detachable parts after each use in hot, sudsy water.
2) Wipe the product’s exterior surface with a soft, damp cloth to remove stains.
3) Water droplets may buildup in the area above the funnel and drip onto the
product base during brewing. To control the dripping, wipe off the area with
a clean, dry cloth after each use of the product.
4) Use a damp cloth to gently wipe the keeping warm plate. Never use abrasive
cleaner to clean it.
5) Replace all parts and keep for next use.
1. A clean coffee maker is essential for making great-tasting coffee. Regularly
clean the coffee maker as specified in the “CLEANING AND MAINTENANCE”
section. Always use fresh purified water in the coffee maker.
2. Store unused coffee powder in a cool, dry place. After opening a pack of
coffee powder, reseal it tightly and store it in a refrigerator to maintain
its freshness.
3. For an optimum coffee taste, buy whole coffee beans and finely grind them
before brewing.
4. Do not reuse coffee powder since this will greatly reduce the coffee’ flavor.
Reheating coffee is not recommended as coffee is at its best flavor
immediately after brewing.
5. Clean the coffee maker when over-extraction causes oiliness. Small oil
droplets on the surface of brewed, black coffee are due to the extraction of
oil from the coffee powder.
6. Oiliness may occur more frequently if heavily roasted coffee is used.
Model : BXCM1201IN
Voltage : 220-240V AC, 50 Hz / 60 Hz
Power : 900W
Weight : 2.62 Kg
You can help protect the environment!
Please remember to respect the local regulations:
hand in the non-working electrical equipments to an
appropriate waste disposal center.
YOUR NAME _ _ _ _ _ _ _ _ _ _ _ _ _ _ _ _ _ _ _ _ _ _ _ _ _ _ _ _ _ _ _ _ _
_ _ _ _ _ _ _ _ _ _ _ _ _ _ _ _ _ _ _ _ _ _ _ _ _ _ _ _ _ _ _ _ _ _ _ _ _ _ _ _
YOUR ADDRESS
_ _ _ _ _ _ _ _ _ _ _ _ _ _ _ _ _ _ _ _ _ _ _ _ _ _ _ _ _ _
_ _ _ _ _ _ _ _ _ _ _ _ _ _ _ _ _ _ _ _ _ _ _ _ _ _ _ _ _ _ _ _ _ _ _ _ _ _ _ _
_ _ _ _ _ _ _ _ _ _ _ _ _ _ _ _ _ _ _ _ _ _ _ _ _ _ _ _ _ _ _ _ _ _ _ _ _ _ _ _
POSTCODE
_ _ _ _ _ _ _ _ _ _ _ _ _ _ _ _ _ _ _ _ _ _ _ _ _ _ _ _ _ _ _ _ _
DATE OF PURCHASE
_ _ _ _ _ _ _ _ _ _ _ _ _ _ _ _ _ _ _ _ _ _ _ _ _ _ _ _
DEALERS NAME & ADDRESS
_ _ _ _ _ _ _ _ _ _ _ _ _ _ _ _ _ _ _ _ _ _ _
_ _ _ _ _ _ _ _ _ _ _ _ _ _ _ _ _ _ _ _ _ _ _ _ _ _ _ _ _ _ _ _ _ _ _ _ _ _ _ _
_ _ _ _ _ _ _ _ _ _ _ _ _ _ _ _ _ _ _ _ _ _ _ _ _ _ _ _ _ _ _ _ _ _ _ _ _ _ _ _
_ _ _ _ _ _ _ _ _ _ _ _ _ _ _ _ _ _ _ _ _ _ _ _ _ _ _ _ _ _ _ _ _ _ _ _ _ _ _ _
PRODUCT MODEL NO.
BXCM1201IN
WARRANTY REGISTRATION FORM

