Black Box VIDEO FRAME 12 User manual

PARTS DIAGRAM
General Specications
Video storage medium: 1 SD Card
Maximum SD Card capacity: 4 Gb
Maximum number of videos: 12 folders / 4gb
Playable Format: .Mpg1 / .JPG / .MP3 / .AVI
Audio Output: Stereo
Content Formats
Video : MPEG 2 (720 x 480, 30fps PAL)
Still Picture: JPEG (1280 x 608px, 300DPI)
Audio: 44.1kHz Stereo, 224kbit/s
Codec: MPEG 2 (.mpg), JPEG (.jpg
Weight - 18kg
VIDEO FRAME 12
VIDEO PRODUCT MANUAL
There are two ways of xing the video frame to a wall.
1) Using a screen bracket (provided) - this is an easier option although there will
be a gap between the unit and the wall. If you would like the unit to sit ush
with the wall you will need to follow the instructions below for option 2.
2) Use incorporated mounting holes, to x the Video Frame 12 you will need to
take the unit apart and x through the 4 holes in the rear of unit.
1. Ensure that the power is disconnected.
2. Place the unit at, (screen face down) using some bubble wrap to avoid
scratching.
3. Remove the 10 screws around the edges of the unit. (3 on each side and 2 on
the top and bottom.)
4. Seperate the back from the front - see diagram above.
5. Fix the seperated back to the wall using the 4 holes indicated in the diagram
above .
6. Re-attach the front to the back and replace the 10 screws around the edges
of the unit. (3 in each side and 2 in the top and bottom.)
7. Reconnect the power.
WALL MOUNTING
23" Screen
Speaker x 2
Volume -/+
SD/Player Access (4 star screws for access)
Monitor Status LED
Master Volume Control
(clockwise to increase)
12 Activation
Buttons

Before you start
You must think about what information you have and how you want to
display the information to your visitors/ users
Button Layout
You can use the 12 buttons in any conguration that you want depending
upon what content you are displaying.
Minimum use: 1 button with 1 video/ jpg
Maximum use: 12 buttons with up to 4gb of video/ jpg content
Below shows how the buttons are arranged within the frame. You can down-
load a scale template from our website. The volume buttons cannot be used for
content.
GENERAL INFORMATION VIDEO FRAME 12
VIDEO PRODUCT MANUAL
ARTWORK
Creating Artwork
Once you have decided on the content and how you want to lay out the buttons
you will need to produce the artwork for the frame.
You can download a template from the Video Frame 12 page on our webstie.
http://blackboxav.co.uk/product-downloads/vf12/VF12-template.pdf
If you need help creating the artwork we are able to do this for a small fee - ask
our sales sta for further details.
We recommend printing on 120GSM paper and laminating in 150MIC. Punch 4
holes to allow screws to secure the artwork in place.
Installing Artwork
To t new artwork you must undo the 4 screws and remove the frame. Punch
holes in the artwork to allow the screws to pass through and secure in place
between the frame and metalwork. Then reattach the frame.
1
10 11 12
23456
789
VIDEO FRAME 12
“WE’VE GOT THE MESSAGE” Volume Down Volume Up
INSTRUCTIONS:
Please select one of the buttons
to view the content.
VOLUME
+
_
MENU CARD ARTWORK DEMO

VIDEO FRAME 12
VIDEO PRODUCT MANUAL
REMOTE CONTROL BUTTONS
MUTE
VGA
VIDEO
DISP
BGM
MODE
PROG
BCC
RETURN
COPY
DEL
VOL+
VOL-
SETUP
ZOOM
FILE
POWER ON/OFF
MUTE Volume ON/OFF
VGA:1280X720 output(Factory settings:VGA:640X480)
Video output: For YPbPr and CVBS selection
Displays the current time in the top right corner of screen.
BGM Back ground music ON/OFF
MODE All play, Folder play, Single play (Default: All play)
At stop status, press this key to set “PROGRAM PLAY“. Maximum 20
les can be selected.
SET A TO B Player
At stop status, press this key to go to “PLAY LIST “screen.
One key copy. From USB/SD card copy to CF card or built-in ash
memory (USB/SD and CF/ ash Memory should be selected one)
“DELETE “: At stop status, move arrow key to select le to be
deleted, and then press this key. The screen will prompt [ARE YOU
SURE YOU WANT TO DELETE THE FILE? ], move arrow key to select ”
YES”to delete le.
Increase Volume
Decrease Volume
Enter SETUP menu
When ZOOM on: Picture/Photo zoom in or zoom out, using and
key to select times
Cursor UP , or let picture have Horizontal mirror image
Cursor LEFT, or let picture have 90 degree counter clockwise rota-
tion
ENTER ENTER, play start
Cursor RIGHT, or let picture have Vertical mirror image
Cursor DOWN, or let picture have 90 degree clockwise rotation
LEFT 2×,4×,6×,8×
RIGHT 2×,4×,6×,8×
List all les in card or NAND
Go to PREVIOUS le
Go to NEXT le
PLAY/PAUSE (Temporary STOP)
STOP,return to le list
OPTIMAL PLAYBACK
Image Playback
For optimal image playback we recommend images to be 1080 x 608 pixels at
300 DPI and saved as a jpeg.
Video Playback
For optimal video playback it is recommended that your video is 720 x 480
pixels and runs at a frame rate of 30 frames per second in MPEG-1 format.
Video Encoder - There is a converter availible and a PDF manual located on
the support page of our webite.
www.blackboxav.co.uk/support
Audio Playback
For optimal audio playback it is recommended that your audio le is MP3
format and has a bit rate of 44.1Khz
FACTORY RESET
Preferences > Defaults > Reset

VIDEO FRAME 12
VIDEO PRODUCT MANUAL
PUTTING CONTENT ONTO THE PLAYER
Once you have edited and converted your video or images into the correct
format you will need to put them onto a SDHC card.
1. Use included SDHC card as a template (it comes with each folder already
set up) If you are not using a button you must delete the folder. To use other
SDHC cards make sure they are formated to FAT32 rst, then create the
appropriate folders.
2. Each folder represents a button, except‘00’.
00 - Looping folder (plays automatically on startup)
01 - Button 1
02 - Button 2
etc.
3. Put your converted video or images within each folder, name them 00, 01,
02 etc. for the order you want them to play when the button is pressed. (for
single les in each folder they can be named anything)
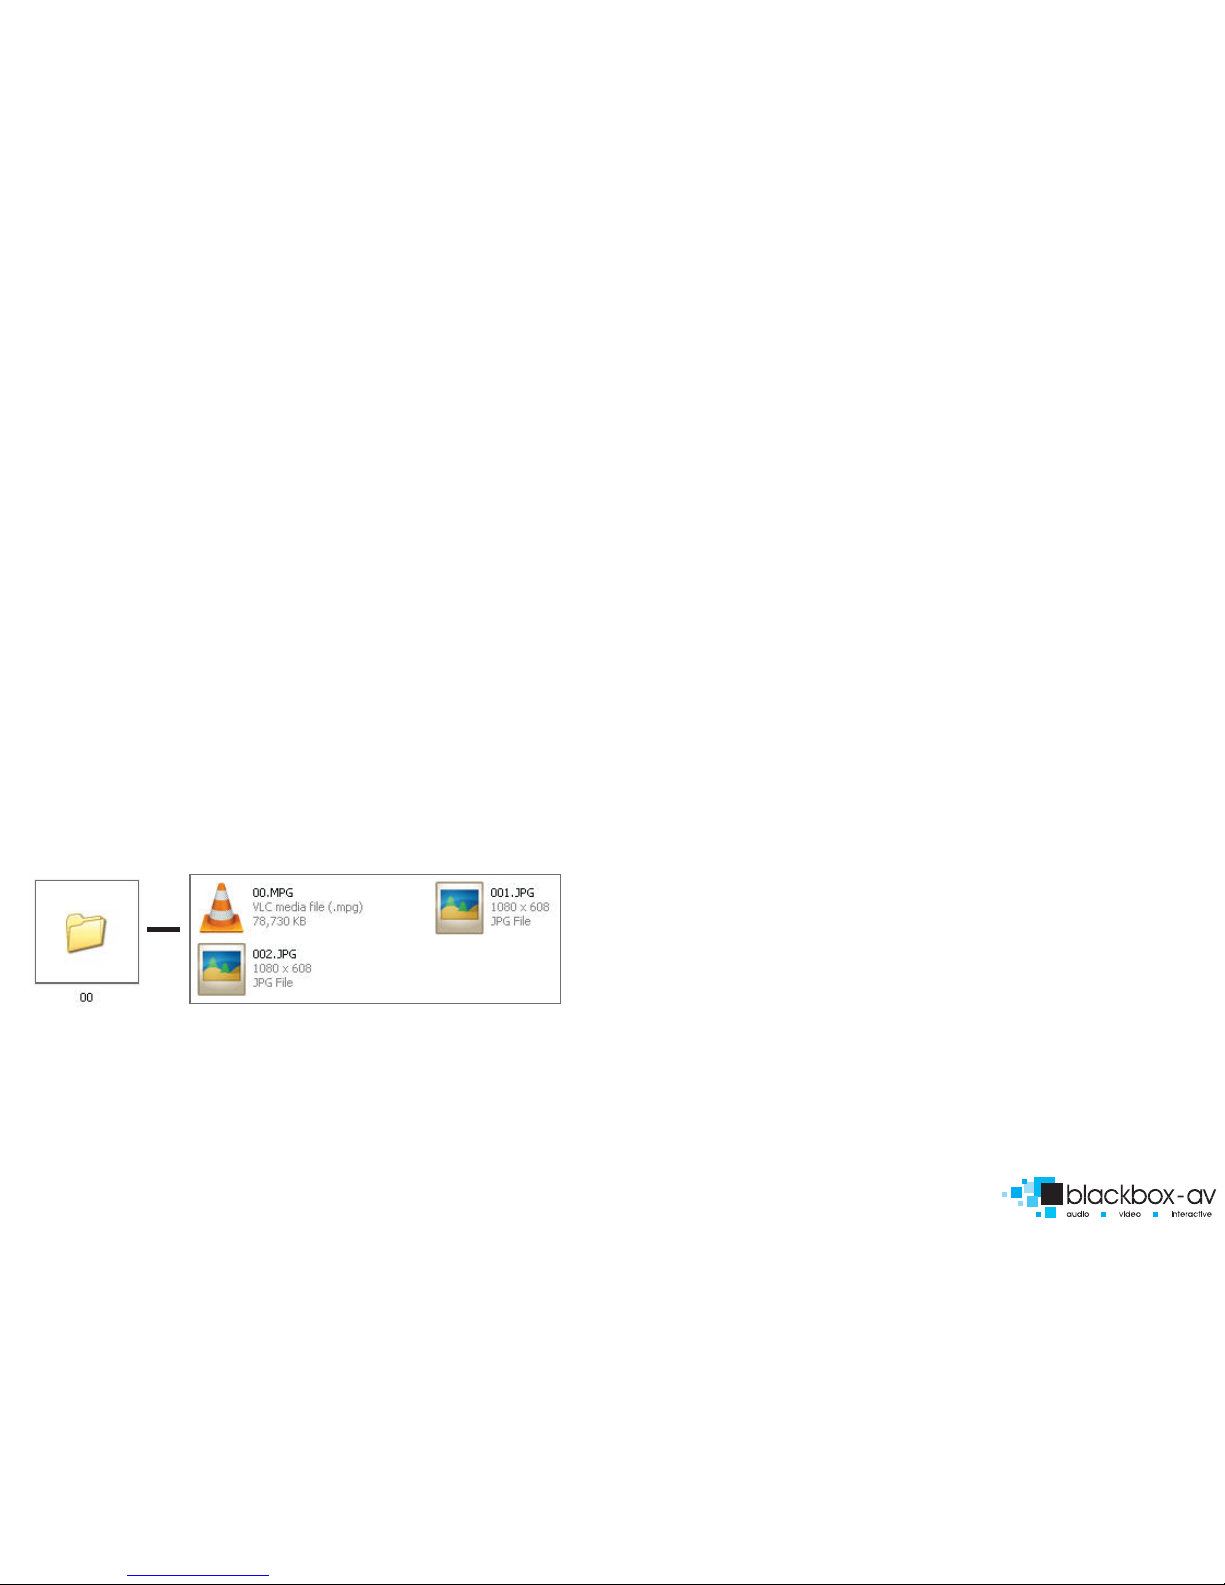
Example looping folder (button folders are the same)
Within the above conguration the player will play: video 00.mpg, image 001,
image 002 and then loop back video 00 until somebody presses a button.
Note: The looping folder is designed to be used for creating an attractor
screen (image/video).
When a button is pressed, every le in that folder will be played, then the
VF12 will return to the looping folder.
Folder Files in Folder
TIMER POWER SETUP
A useful feature of the VF12 player is that you can programme it to power up
and turn o at a set time each day.
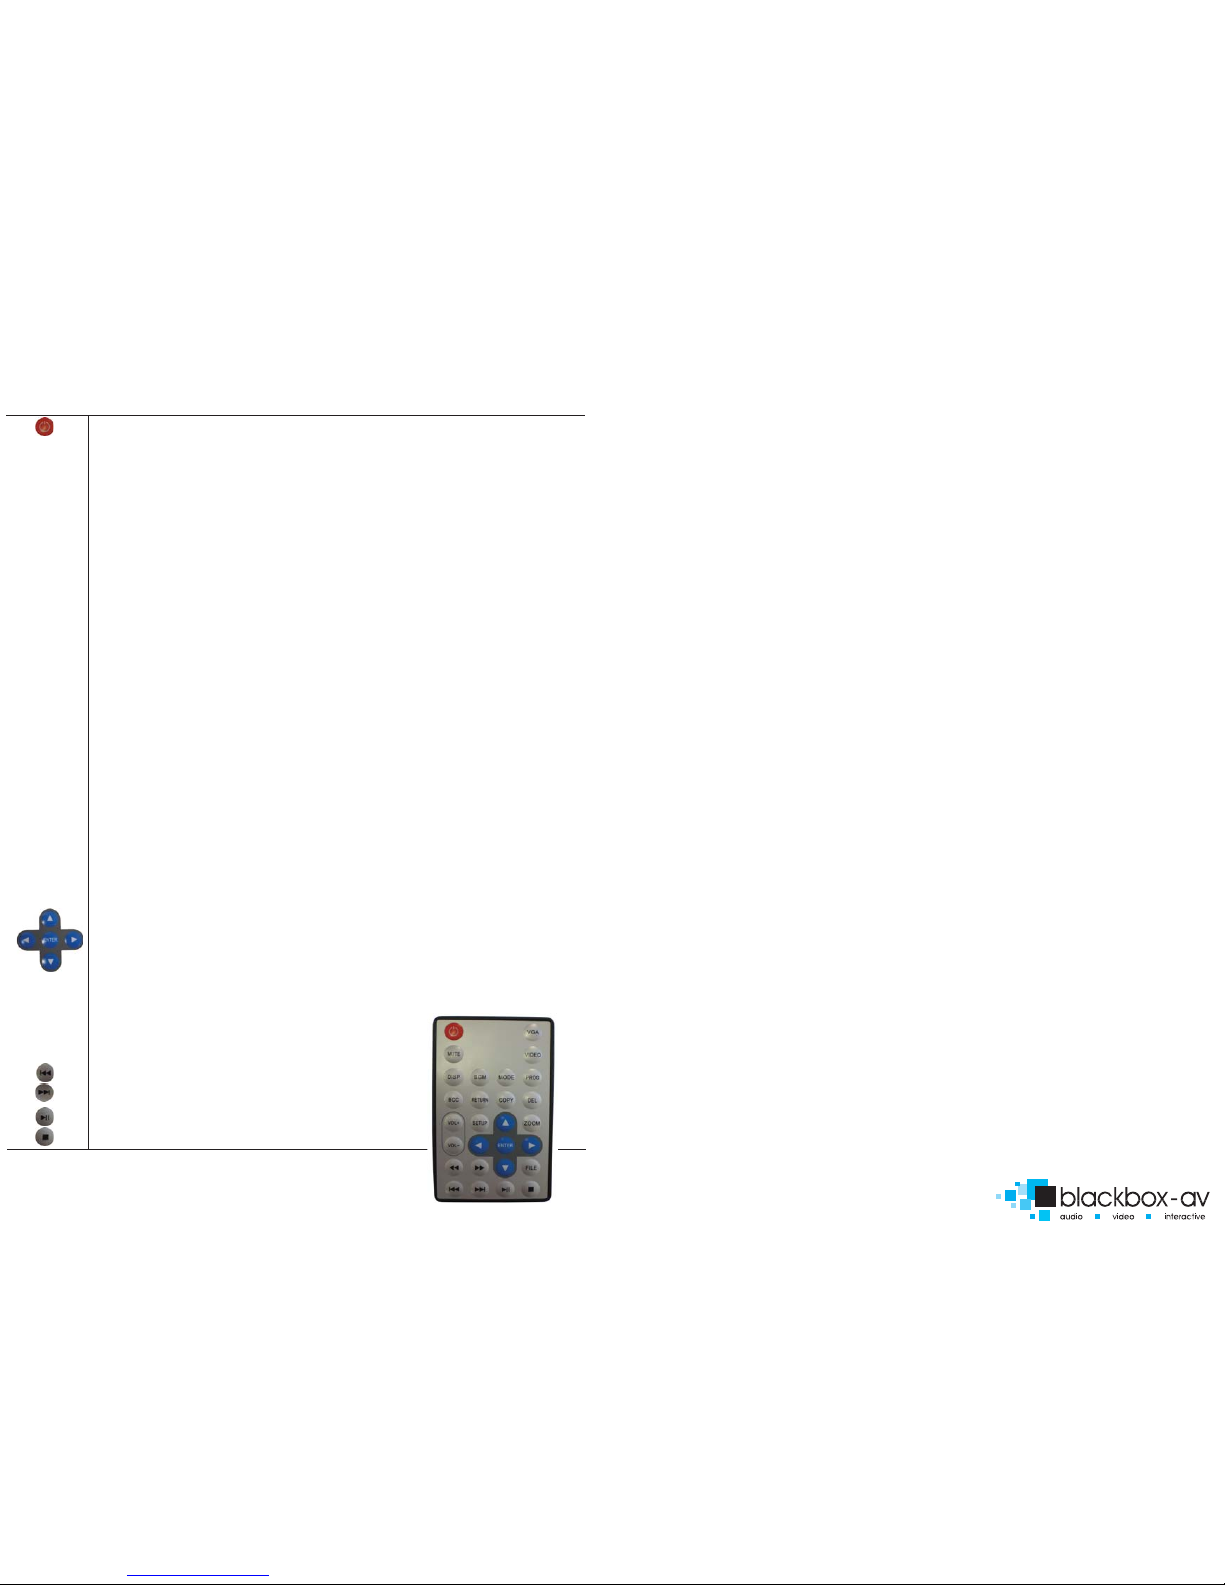
To access these settings you must unscrew the access panel and aim the
remote at the player.
Setup > Clock setup > enter in the details using arrow buttons </> to change
digits then v/^ to change detail. Conrm the details are correct.
Setup > Timer power setup, enter your power o and on times </> to change
digits then v/^ to change detail. Conrm the details are correct.
Finally go to to Preferences > Timer Power > On
(to access the preferences menu you cannot be playing any content)
SLIDE SHOW IMAGES
The player will play a slide show of images. The order will be in name order.
Setup > Picture Setup > Slide Show > On
Eg: Within the root of folder 00 put the les:
01.jpg, 02.jpg, 03.jpg, 04.jpg, 05.jpg
The player will scroll trough these images and then loop back to the start.
Image Transitions/ Timings
Setup > Picture Setup > Transition > Select Your Transition Preference
Setup > Picture Setup > Interval > Select Your Time Preference 1-60 seconds
If you are using your screen in portrait you can rotate the images to view in
this orientation.
Setup > Picture Setup > Rotate Picture > Rotate
Table of contents