1
IMPORTANT SAFETY INFORMATION
Warning! When using the machine the safety rules must be
followed. For your own safety bystanders please read these
instructions before operating the Lawn Mower.
Please keep the instructions safe for later use
Warning! This machine is not intended for use by persons (including
children) with reduced physical, sensory or mental capabilities, or lack of
experience and knowledge, unless they have been given supervision or
instruction concerning use of the appliances by a person responsible for
their safety. Children should be supervised to ensure that they do not play
with the appliance.
Safety Notes
• Never allow children or people unfamiliar with the instructions use the
product. Local regulations may restrict the age of the operator. When not
in use store the machine out of reach of children.
• Keep children, bystanders and pets away while mowing. Stop using the
machine while people, especially children, or pets are nearby;
• Consider the environment in which you are working. Keep the working
area free from wires, sticks, stones and debris etc…
• Keep in mind that the operator or user is responsible for accidents or
hazards occurring to other people or their property.
• Work only in daylight or good articial light
• While operating the machine always wear substantial footwear and long
trousers. Do not operate the machine when barefoot or wearing open
sandals. Avoid wearing clothing that is loose tting or that has hanging
cords or ties.
• Before using, always visually inspect to see that the blades, blade bolts
and cutter assembly are not worn or damaged. Replace worn or damaged
blades and bolts in set to preserves balance.
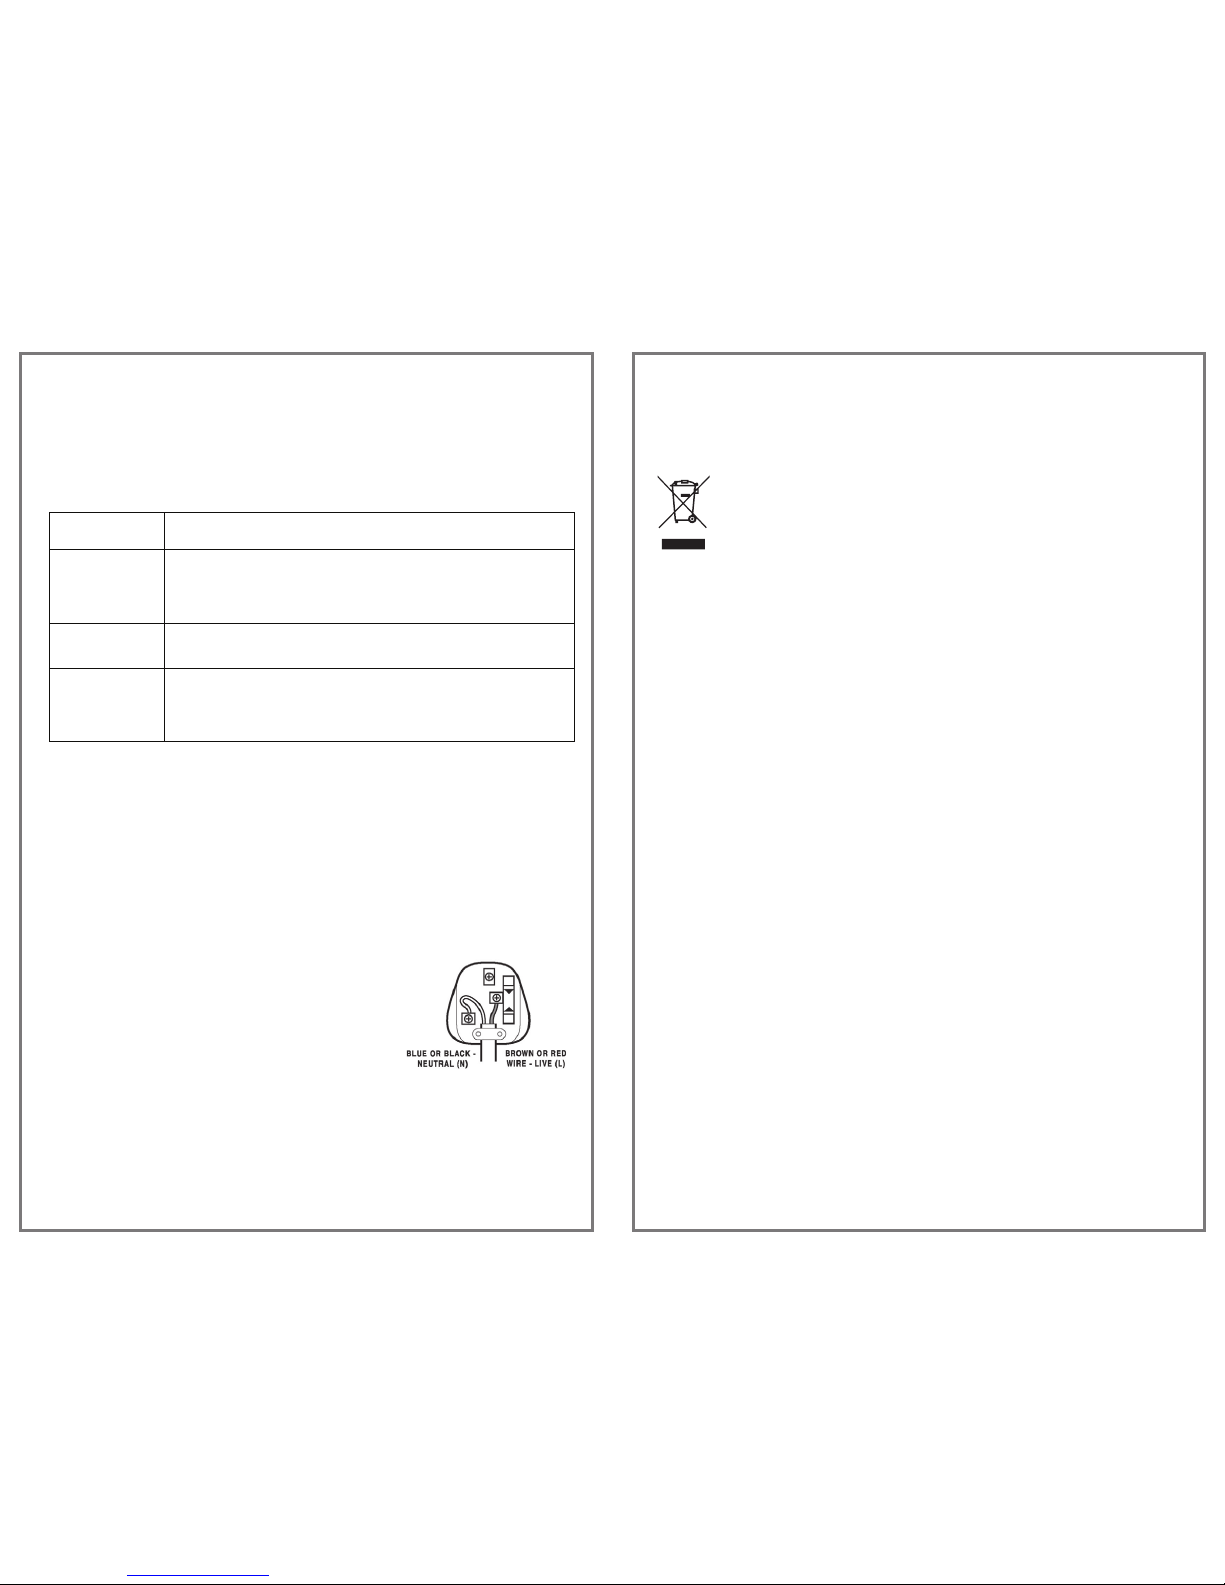
• Before use, examine the power cord and extension cable for damage or
ageing. If there are signs of damage, it must be replaced by a qualied
service technician. If the cord becomes damaged during use, disconnect
the cord from the supply immediately. DO NOT TOUCH THE CORD BEFORE
DISCONNECTING THE SUPPLY.
IMPORTANT SAFETY INFORMATION
• Wear safety glasses or goggles when operating this tool. Use a face or
dust mask whenever the operations take place in dusty surroundings.
Hearing protection should be worn whenever the sound level seems
uncomfortable.
• Guard against electric shock. Prevent body contact with earthed or
grounded surfaces (e.g. metal railings, lamp posts etc.).
• Before using the machine and after any impact, check for signs of wear or
damage and repair as necessary.
• Keep the power and extension cords away from the cutting elements.
• It’s recommended for increased electrical safety to use a Residual Current
Device (RCD) with a tripping current of not more than 30mA. Always check
the RCD every time you use it.
• Do not expose the machine to the rain. Avoid operating the machine in
wet grass, where feasible.
• Walk, never run when using this machine. Do not pull the machine
towards you or walk backward when using the machine.
• Never operate the machine with defective guards or shields, or without
safety devices, for examples deectors and/or grass catchers in place.
• Do not mow excessively steep slopes. Never mow up or down slopes or
at an incline greater than 15°.
• Work across the face of slopes, never up and down. Take extreme caution
when changing direction on slopes.
• Do not tilt the machine when starting or switching on the motor, except
if the machine has to be tilted for starting. In that case, do not tilt the
machine more than absolutely necessary and lift only the part that is away
from the operating. Always ensure that both hands are in the operating
position before returning the machine to the ground.
• Do not lift or carry the appliance until the blade has come to a complete
standstill.
• Keep your hands and feet well away from the blade. Do not put your
hands or feet near or under rotating parts.
• Keep away from discharge openings at all times.
2