Blue Marble HIGH ALTITUDE ROCKET User manual

INSTRUCTIONS
& LEARNING GUIDE

SAFETY INFORMATION
WARNING: Not suitable for children under 14 years of age.
CAUTION: Keep away from obstacles and electrical hazards. For outdoor use
only. Adult supervision advised.
IMPORTANT: Read instructions carefully before each use. Retain this information
and address for future reference.
This device complies with Part 15 of the FCC Rules. Operation is subject to the
following two conditions: (1) this device may not cause harmful interference, and (2)
this device must accept any interference received, including interference that may
cause undesired operation.
This device contains licence-exempt transmitter(s)/receiver(s) that comply with
Innovation, Science and Economic Development Canada’s licence-exempt RSS(s).
Operation is subject to the following two conditions:
(1) This device may not cause interference.
(2) This device must accept any interference, including interference that may cause
undesired operation of the device.
L’émetteur/récepteur exempt de licence contenu dans le présent appareil est
conforme aux CNR d’Innovation, Sciences et Développement économique Canada
applicables aux appareils radio exempts de licence. L’exploitation est autorisée aux
deux conditions suivantes :
(1) L’appareil ne doit pas produire de brouillage;
(2) L’appareil doit accepter tout brouillage radioélectrique subi, même si le brouillage
est susceptible d’en compromettre le fonctionnement.
INSTRUCTIONS FOR SAFE USE
• Never look down the extension tubes.
• Never place any body parts or animals on the extension tubes or air exits.
• Never fire your rocket indoors.
• DO NOT attempt to catch the rockets.
• DO NOT launch rockets near people or animals.
• Follow the National Association of Rocketry (NAR) Safety Code (enclosed).
PRE-LAUNCH SAFETY CHECK
• Always launch in clear conditions. Never launch on windy days.
• Always ensure you have a large, clear area to fire the rocket.
• Always make sure the launcher base is stable and level before using.
• Before your first launch of the day, pull the air pressure release valve a few times
to release any pressurized air that may have remained in the tank after your
previous launch.
• Check rockets carefully for damage before each launch. NEVER LAUNCH A
DAMAGED ROCKET.
• Always keep a good distance (10–20 feet [3–6 m]) from the base to get the best
view of the rocket.
POST-LAUNCH SAFETY CHECK
• After you are done launching for the day, pull the air pressure release valve a few
times before storage to remove any pressure in the tank.
• Discard damaged rockets.
POST-LAUNCH SAFETY CHECK
• After you are done launching for the day, pull the air pressure release valve a few
times before storage to remove any pressure in the tank.
• Discard damaged rockets.
1

MAINTAINING YOUR LAUNCHER
• Always carry the launch base by the handles.
• Never place anything other than the rocket on the extension tubes.
• Never put liquids in the extension tubes or base.
• Never pressurize the tank without the extension tubes installed, the legs
installed, and the remote and launch base turned on.
• Always protect the base and remote electronics from moisture.
Note: This equipment has been tested and found to comply with the limits for
a Class B digital device, pursuant to part 15 of the FCC Rules. These limits are
designed to provide reasonable protection against harmful interference in a
residential installation. This equipment generates, uses and can radiate radio
frequency energy and, if not installed and used in accordance with the instructions,
may cause harmful interference to radio communications. However, there is
no guarantee that interference will not occur in a particular installation. If this
equipment does cause harmful interference to radio or television reception, which
can be determined by turning the equipment off and on, the user is encouraged to
try to correct the interference by one or more of the following measures:
• Reorient or relocate the receiving antenna.
• Increase the separation between the equipment and receiver.
• Connect the equipment into an outlet on a circuit different from that to which
the receiver is connected.
• Consult the dealer or an experienced radio/TV technician for help.
Changes or modifications not expressly approved by the party responsible for
compliance could void the user’s authority to operate the equipment.
2
INSTRUCTIONS
INSTRUCTIONS
3
KIT INCLUDES
A: Launch base
Requires one 9V battery, not included
B: Launch base legs (x3)
C: Rockets (x3)
D: Remote
Requires 4 AAA batteries, not included
E: Screws (x9)
F: Extension tubes (1, 2, 3)
The tube that screws directly into the base is
#1, the middle extension tube is #2, and the
launch tube is #3
—
an image will be helpful
in identifying the extension tubes.
NEED TO GET
• Air pump
You may use a variety of air pumps with
this rocket including hand pumps, bike tire
pumps, electric pumps, or floor pumps.
Your air pump will need to use a Schrader
valve and have a maximum 150 psi.
• Phillips head screwdriver
• 9V battery
• 4 AAA batteries
A B C
E
D
F1
F2
F3
ASSEMBLY
1. Attach each of the three launch
base legs to the launch base using the
included screws and a Phillips head
screwdriver. Each leg requires 3 screws,
two on the bottom and one on top.
2. Remove the battery cover on the
launch base with the Phillips head
screwdriver and install one 9V battery.
Reattach the battery cover.
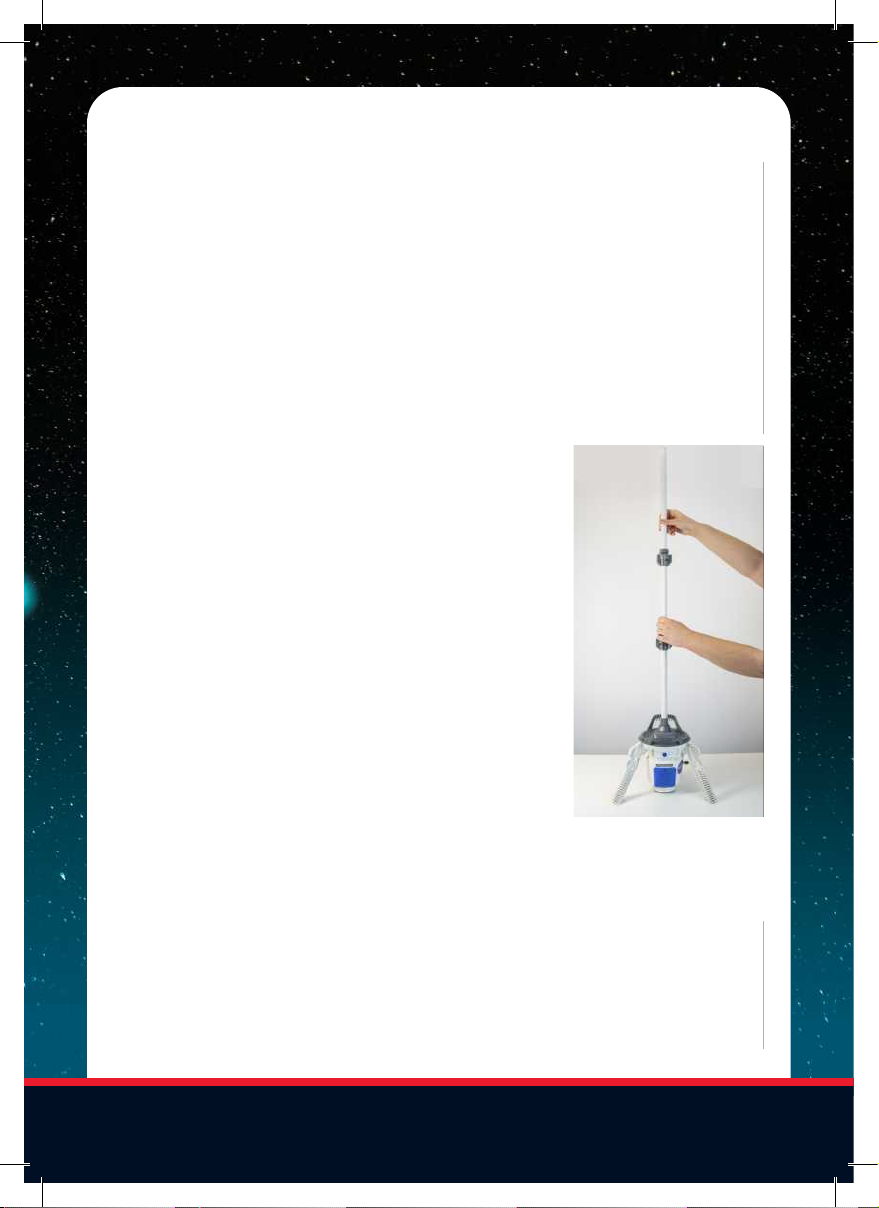
3. Screw
extension
tube #1
directly into
the launch
base.
4. Screw
extension
tube #2 into
extension
tube #1.
5. Screw
extension
tube #3 into
extension
tube #2.
Ensure all
connections
are secure.
6. Remove
the battery
compartment
cover on the remote control and install
4 AAA batteries. Reinstall the battery
compartment cover.
4

LAUNCH INSTRUCTIONS
Note: Before any launch, refer to
the safety information section at the
beginning of this booklet to ensure safe,
successful launches. Your launch base
must be stable and level to launch.
1. Prior to your first launch, pull the air
pressure release valve loop a few times
to depressurize the tank inside and to
ensure its properly functioning. This
is a metal ring found underneath and
inside the launch base. Note: The spring
should pull back to its original position.
2. Turn on the launch base by pressing
the power button. The LED light to the right
of the power button will be a solid red
when the base is powered on and level.
3. Turn on the remote by pressing the
power button in the center. The left LED
light will flash red, the right LED light will
be off.
4. Place
your rocket
on the
launch tube
and ensure
it’s pushed
as far down
as it will go.
Ensure your
launch site
is free of
any hazards,
people, or
animals.
5

5. Attach the air pump to the valve
on the side of the launch base. You
may leave the air pump attached to
the rocket base if you’re performing
multiple launches.
6. Add air pressure to the launch
base. You may launch at any pressure,
but we recommend between 100
and 120 psi for the most impressive
launches. Note: There is a safety valve
on the bottom of the tank set at 125
psi. It will automatically release any
pressure above this setting.
7. Step back 10-20 feet (3–6 m) from
the rocket base for the best viewing
of your launch. If your remote begins
to flash both LED lights, you’ve lost
connectivity to the base and will need
to move closer.
8. Press and hold the left button.
The red LED light on yofur remote will
turn solid and you will hear “Ignition
Activated.”
9. Continue holding the left button
until the right LED flashes green and
you hear “Ready to Launch.” Once
you’ve heard “Ready to Launch” press
the right button to launch your rocket.
Note: The remote will say “Ready to
Launch” three times. If you do not press
the right button to launch in that time,
the launch will be canceled. If the launch
cancels, return to Step 9 and try again.
10. Stay clear of your rocket as it
returns to the ground. Retrieve your
rocket, and then return to Step 4 to
launch again.
11. Once you’re done launching for
the day, detach the air pump from the
launch base. Then pull the air pressure
release valve ring a few times to
release any residual pressurized air
from the tank.
6

TROUBLESHOOTING
I’m experiencing a “Tilt Fault” error.
• The launch base has an angle sensor
inside to ensure the rocket only fires
upward. If the base is not vertical the
rocket will not launch, and you will
experience a “Tilt Fault” error. You will
know you’re experiencing a “Tilt Fault”
error in two ways:
1. The base LED light to the right of
the power button will flash.
2. The remote will say “Tilt Fault”
when you press any button.
• If you’re experiencing a “Tilt Fault”
error try moving your launch base to a
more stable, level position.
• If the base is level and you still get
a “Tilt Fault” error, pick up the launch
base by the handles and pull the air
pressure release valve ring to release
any pressure from the tank. With the
pressure released, turn the launch base
upside down then right side up a few
times to reset the tilt sensor then try
your launch sequence again.
My remote is not making sounds.
• Check that the batteries are installed
correctly in your remote and in the
launch base and ensure none of the
batteries have expired.
• Check that the launch base is turned
on and the LED light on the launch base
is solid.
• If both LED lights on the face of the
remote are flashing, you are too far
from the launch base. Move closer to
reestablish the connection between the
remote and the launch base.
7

My rocket will not fire.
• Ensure you’re following the ignition
and launch sequence properly,
remembering to keep the left button
pressed through the entire sequence.
• Check that the batteries in your
launch base and remote are installed
correctly and have not expired.
My air tank won’t hold pressure.
• In the event your air tank won’t hold
pressure, you may hear air coming out of
the launch tube.
• In this case, lift the launch base by
the handles and release any air pressure
still in the tank by pulling the air
pressure release valve ring.
• With the pressure released, turn
the launch base upside down then right
side up a few times and try your launch
sequence again.
If any parts or pieces break or don’t work,
contact our customer service department for assistance.
8
LE
LE
Α
Α
RNING GUIDE
RNING GUIDE
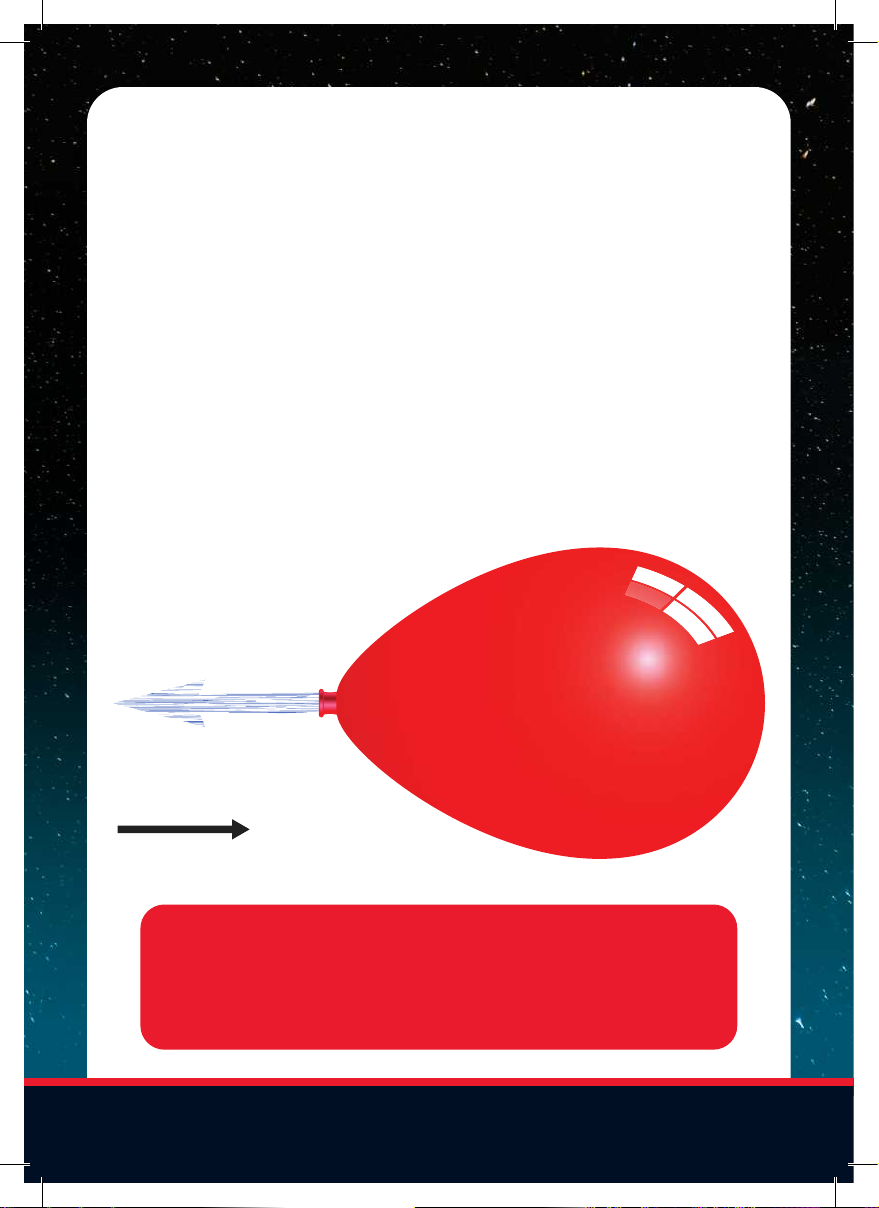
Action
Air is pushed out the back
of the balloon
Reaction
The balloon is pushed forward
COOL SCIENCE FACT:
COOL SCIENCE FACT:
The physics of launching a rocket or releasing a balloon can be
described by Sir Isaac Newton’s third law of motion: “For every
action, there is an equal and opposite reaction.”
WHAT IS A ROCKET?
Have you ever blown up a balloon and then let go of it without tying it off? The
balloon moves forward as the air escapes, right? Well, rockets work in the
same way. In its most basic form, a rocket is a device that contains pressurized
gas that, when released through a small opening, pushes the device in the
opposite direction. The amount of force that moves the object forward is called
thrust. When you stomp on the air bladder attached to your rocket launcher, you
are pressurizing the air by forcing it into the much smaller space of the hose.
As that air escapes beneath the rocket, it creates thrust, and your rocket zooms
into the air!
9
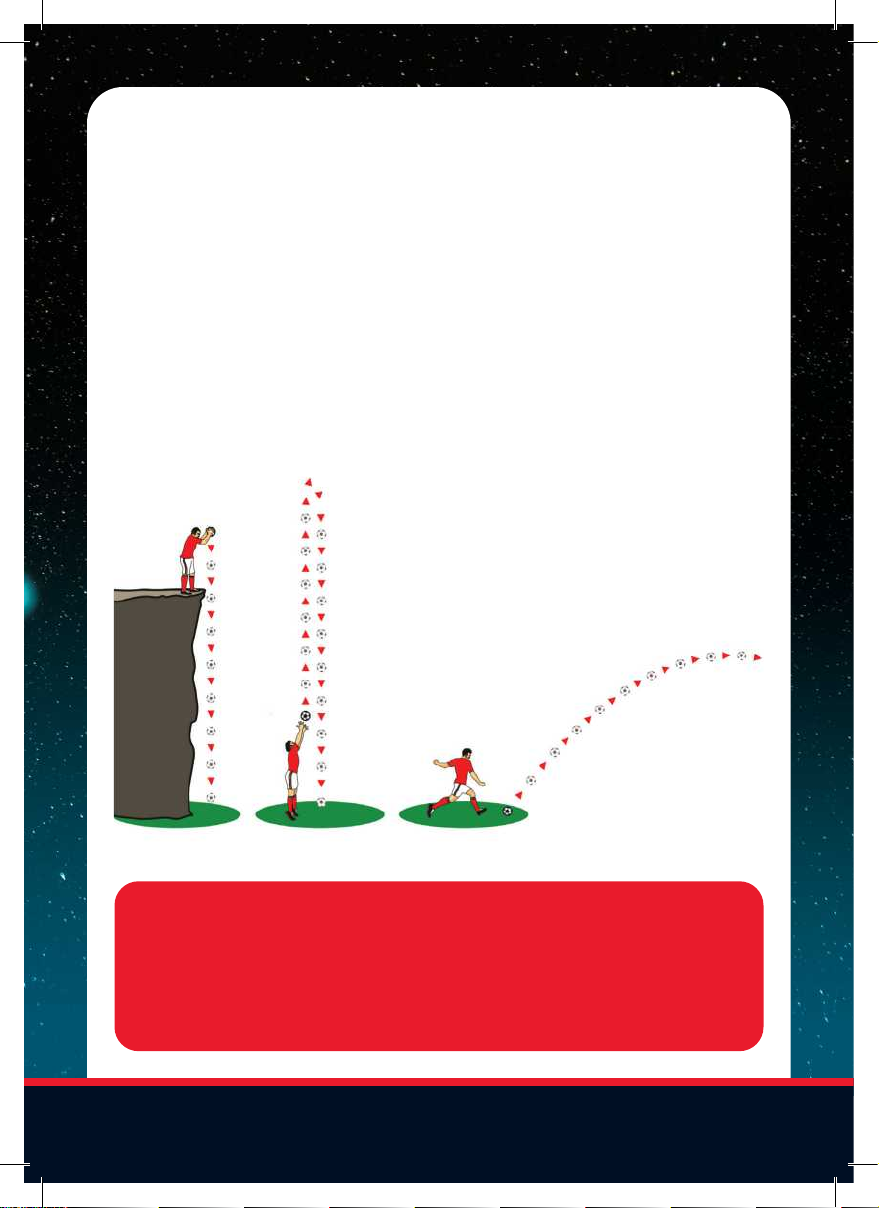
Types of Projectiles
Object in
Free Fall
Vertical Projectile
Horizontal Projectile
PROJECTILE PHYSICS
Scientists call things that fly through the air (like rockets) projectiles, and
they study the physics of projectiles to figure out where rockets will go when
they blast off. Some of the important questions they have to answer are:
• What kind of force does it take to start the motion of an object?
• How does that force interact with the mass of the object to affect
its speed?
• How does gravity act upon the object to affect its downward motion?
• What effect does air resistance have on the object?
COOL SCIENCE FACT:
COOL SCIENCE FACT:
Mass is the amount of matter than an object contains, which is not the same thing as
weight, which is how much force that mass experiences in a certain amount of gravity.
Even though your mass doesn’t change, your weight on the moon would be much less
than your weight on Earth because the moon exerts a smaller gravitational force.
10

Rocket Aerodynamic Forces
Thrust
Drag
Weight
AERODYNAMICS
The science of aerodynamics studies the motion of air and the forces that act on
flying objects. Even though we can’t see them, the molecules in our air can slow
down a rocket by creating friction that scientists call drag. Also, the force of air
molecules can change where a rocket flies by pushing more on one side than
the other. Rocket designers use different shapes to reduce drag and make their
rockets fly farther and more accurately.
11

DID YOU KNOW . . .
SHAPE DOESN’T MATTER IN SPACE?
Science fiction movies and TV shows like to show spaceships with sleek pointy
shapes, but since space is a vacuum, friction no longer matters. Once a rocket
gets past our planet’s atmosphere (about 600 miles / 960 km above the Earth’s
surface), there are no more air molecules to worry about, and objects in outer
space can be any shape at all. What shape would you design?
12
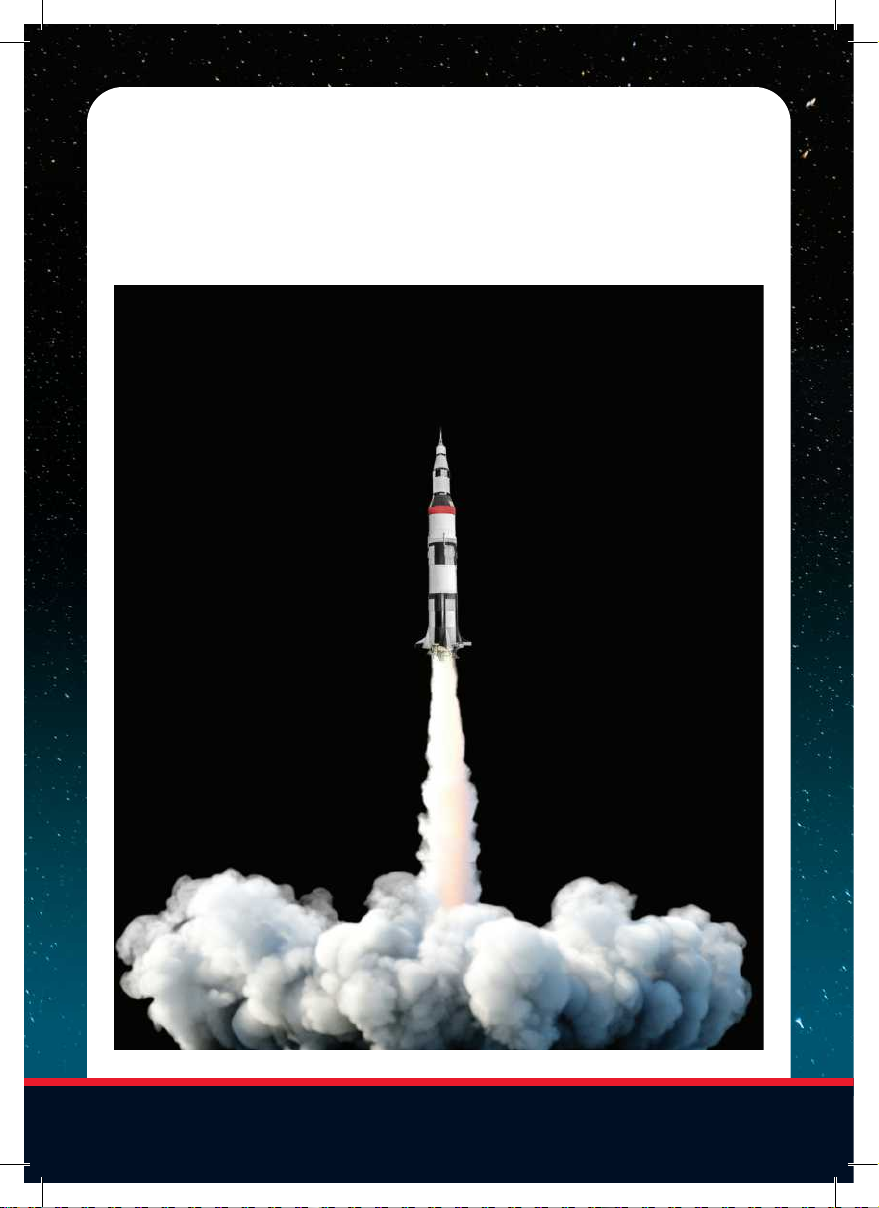
Getting a rocket past the Earth’s atmosphere is no easy job! It takes lots of fuel,
and the fuel tanks are the heaviest things on a rocket when it is launched. But
as that fuel is burned up, the rocket gets lighter and lighter. Check out a video
of a rocket launch and you’ll see the rocket accelerating slowly at first and then
gaining speed.
13

© 2021 Blue Marble™All rights reserved. Blue Marble™
and the Blue Marble logo are trademarks of JMW Sales, Inc.
Customer Service: 1 (541) 708-6738 • help@thinkbluemarble.com
JMW Sales, Inc., dba Blue Marble™ • 340 Oak St., Ashland, OR 97520 USA
Read all warnings and follow all directions carefully. Adult supervision required. Retain this information, addresses,
and phone numbers for future reference. JMW Sales, Inc. shall not be liable for any direct or indirect damages
whatsoever arising out of or in connection with the use or misuse of any of their manufactured products. By continuing
this experiment/activity you agree and acknowledge that this product should be used as intended and at your own risk.
Table of contents


