Blue Star FBFD361 User manual

FBFD361
Congratulations on the purchase of your new Refrigerator! This refrigerator has been manufactured
in modern facilities with the utmost care and meticulous quality controls. We are so confident in the
quality of this product that we back it with a two year parts and labor warranty, and five years on the
sealed system! Please read this entire user manual before using your product, to ensure you understand
all of its features and benefits and know how to operate it properly. This manual should be kept in an
easily accessible location and passed on to any future owners.
This guide will help you use the product quickly and safely.
Please read the user guide carefully before installing and operating the product.
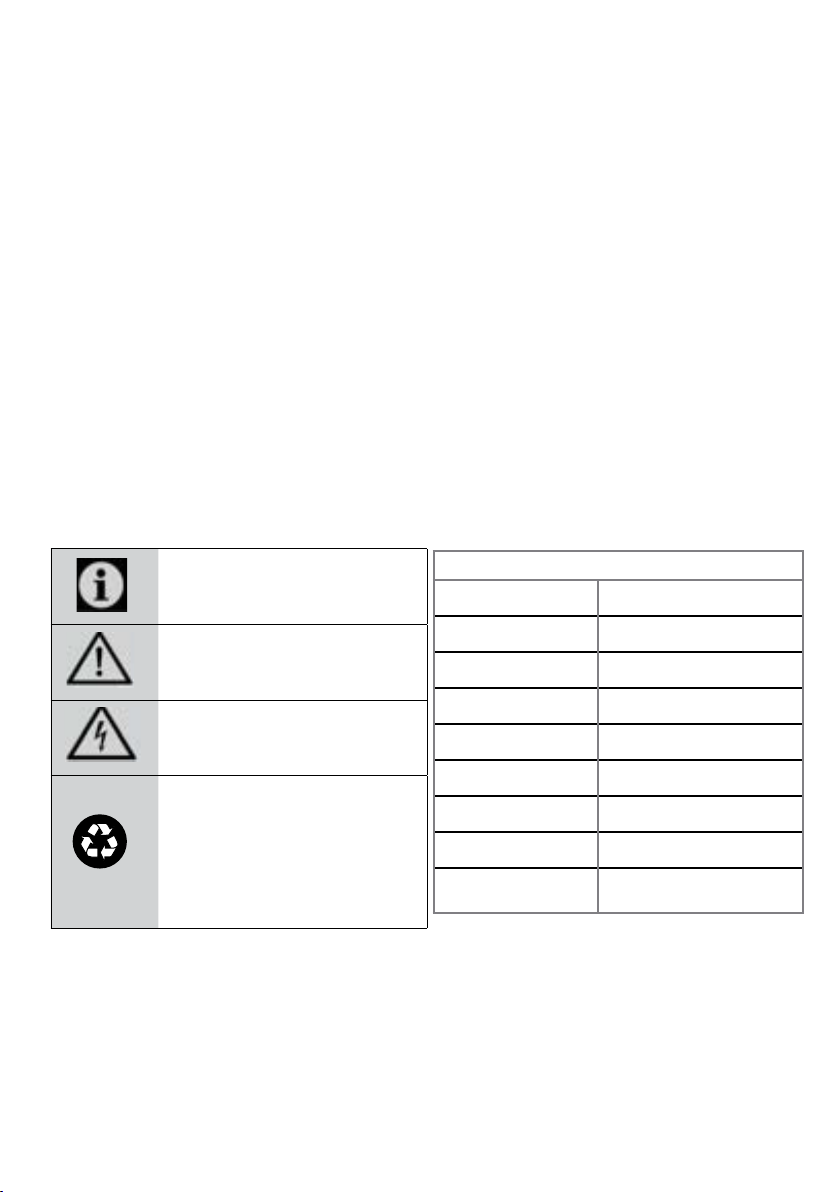
symbols used throughout this manual and what they represent.
Important information and
useful tips.
Risk of life and property.
Risk of electric shock.
The product’s packaging
is made of recyclable
materials, in accordance with
the National Environment
Legislation.
Fill this out and keep for future reference
Model
Serial No
Date of Purchase
Original Purchaser
Dealer
City
State
Zip Code
Country
3 /33 EN Refrigerator / User Manual
1 Your Refrigerator 4
2 Important instructions for safety and
environment 6
2.1 General safety . . . . . . . . . . . . . . . . . . . . . .6
. . . . . . . . . . . . . . . . . . . . . . .7
2.1.2For products with a water dispenser . . . . . .7
2.2 Intended use . . . . . . . . . . . . . . . . . . . . . . .7
2.3 Children’s safety. . . . . . . . . . . . . . . . . . . . .7
3 Installation 8
3.1 Cladded Version . . . . . . . . . . . . . . . . . . . . .8
3.2 Non-Cladded Version . . . . . . . . . . . . . . . .12
3.3 Before Installation. . . . . . . . . . . . . . . . . . .16
. . . . . . . . .16
3.5 Inset installations . . . . . . . . . . . . . . . . . . .17
3.6 Electrical connection. . . . . . . . . . . . . . . . .17
. . . . . . . . . . . . . . . . . . .17
3.8 Illumination lamp . . . . . . . . . . . . . . . . . . .18
3.9 Door/Drawer Open Warning . . . . . . . . . . .18
3.10 Water connection . . . . . . . . . . . . . . . . . . .18
3.11 Connecting the water hose to the
refrigerator . . . . . . . . . . . . . . . . . . . . . . .18
3.12 Connecting the water line to the water
supply . . . . . . . . . . . . . . . . . . . . . . . . . . .18
3.13 Installing the Internal Water Filter. . . . . . .19
3.14 Before using the water dispenser . . . . . . .20
3.14.1Using the Ice Maker . . . . . . . . . . . . . . . .20
3.15 Transportation of the product . . . . . . . . . .20
4 Preparation 21
5 Display and operating the product 22
5.1 Indicator panel . . . . . . . . . . . . . . . . . . . . . .22
5.2 Sabbath Mode . . . . . . . . . . . . . . . . . . . . . .23
5.3 Showroom Mode . . . . . . . . . . . . . . . . . . . .23
5.4 High Temp Error . . . . . . . . . . . . . . . . . . . . .23
5.5 Freezing fresh food. . . . . . . . . . . . . . . . . . .25
5.6 Recommendations for preserving frozen food . . .25
5.7 Placing the food . . . . . . . . . . . . . . . . . . . . .25
5.8 Deep-freeze information . . . . . . . . . . . . . . .25
5.9 Removing door shelves. . . . . . . . . . . . . . . .26
5.10 Moving the FlexiLift Door Shelf . . . . . . . . .26
5.11 Glass shelves. . . . . . . . . . . . . . . . . . . . . .26
5.12 Crisper bins. . . . . . . . . . . . . . . . . . . . . . .26
5.13 Deli Drawer . . . . . . . . . . . . . . . . . . . . . . .26
5.14 Humidity controlled crisper . . . . . . . . . . . .27
5.15 Ice container . . . . . . . . . . . . . . . . . . . . . .27
5.16 Butter & Cheese section . . . . . . . . . . . . .27
5.17 Door flappers. . . . . . . . . . . . . . . . . . . . . .27
5.18 IonGuard . . . . . . . . . . . . . . . . . . . . . . . . .28
5.19 Odor filter. . . . . . . . . . . . . . . . . . . . . . . . .28
5.20 Changing the temperature scale . . . . . . .28
6. Maintenance and cleaning 29
. . . . . . . . . . . . . . . . . . .29
6.2 Protecting the plastic surfaces . . . . . . . . . .29
7. Troubleshooting 30
4 / 33 EN Refrigerator / User Manual
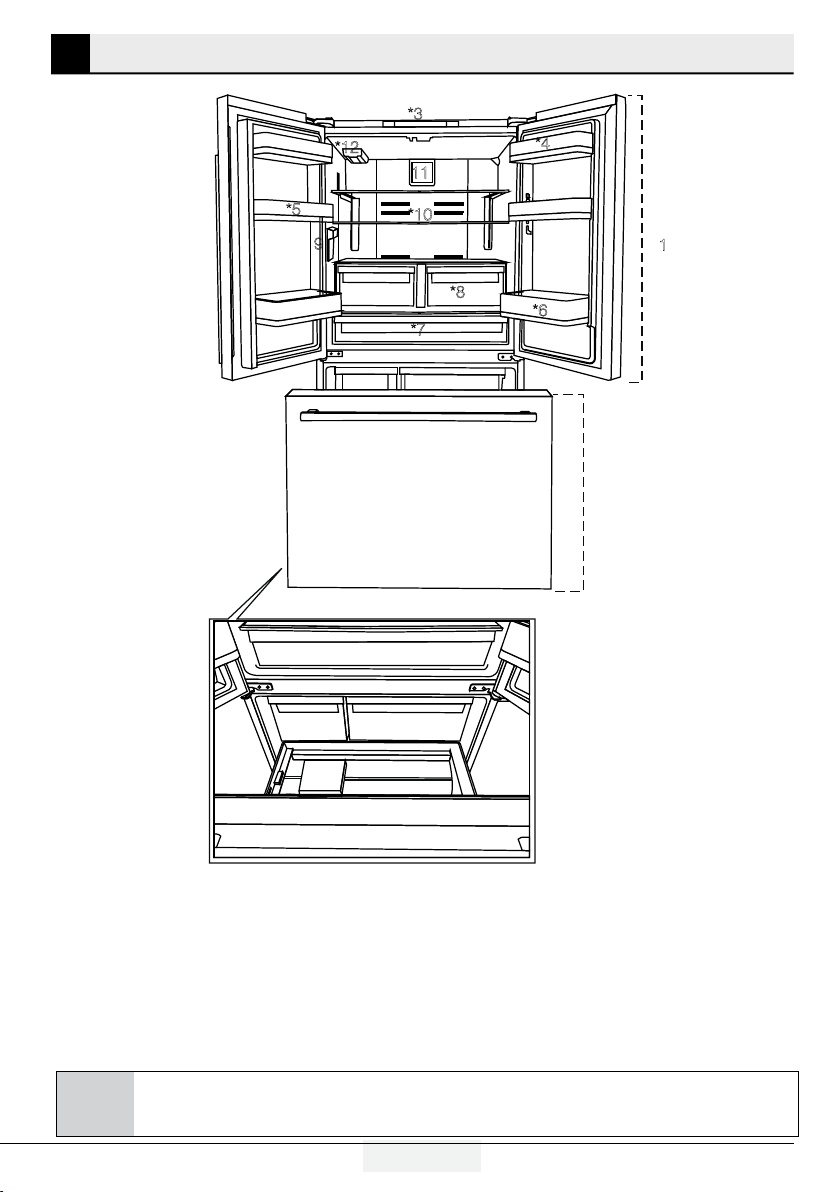
1 Your Refrigerator
1- Fridge compartment
2- Bottom Freezer
3- Display/indicator panel
4- Butter & cheese section
5- FlexiLift Door Shelves
6- Bottle shelf
7- Deli Drawer
8- Crispers
9- Water dispenser
10-
11- Fan Cover
12- Water filter
13- Ice container
14- Frozen Food Storage Bın
15- Freezer Drawer
16- Separator
2
*3
1
*6
*5
*7
*8
9
11
*12
*10
*4
13 14
15
*16
C
are not included in the product you have purchased, then those parts are only valid for other models.

5 /33 EN Refrigerator / User Manual
Fridge compartment Cantilever shelves, those that only have rear supports, are tested for max 25 kgs
(55 pounds) per each part.
Crispers will hold up to 15 kgs (33 pounds) per each one. Deli Drawer will hold up to 20 kgs (44
pounds).
Ice container bin holds up to 10 kgs (22 pounds). Freezer bin will hold up to 24 kgs (53 pounds) and
drawer holds up to 30 kgs (66 pounds).
55 pounds = 25 kgs
33 pounds = 15 kgs
9 pounds = 4 kgs
22 pounds =10 kgs
Up to 11 pounds / 5 kgs day ice production
48 pounds = 22 kgs
53 pounds = 24 kgs
44 pounds = 20 kgs
105 pounds = 48 kgs
4 pounds = 2 kgs
4 pounds = 2 kgs
Refrigerator Shelf Weight Limitations
Table of contents
Languages:
Other Blue Star Refrigerator manuals


