Blue Star 607063 Programming manual
607095
Rev. 00 (03Ć99)
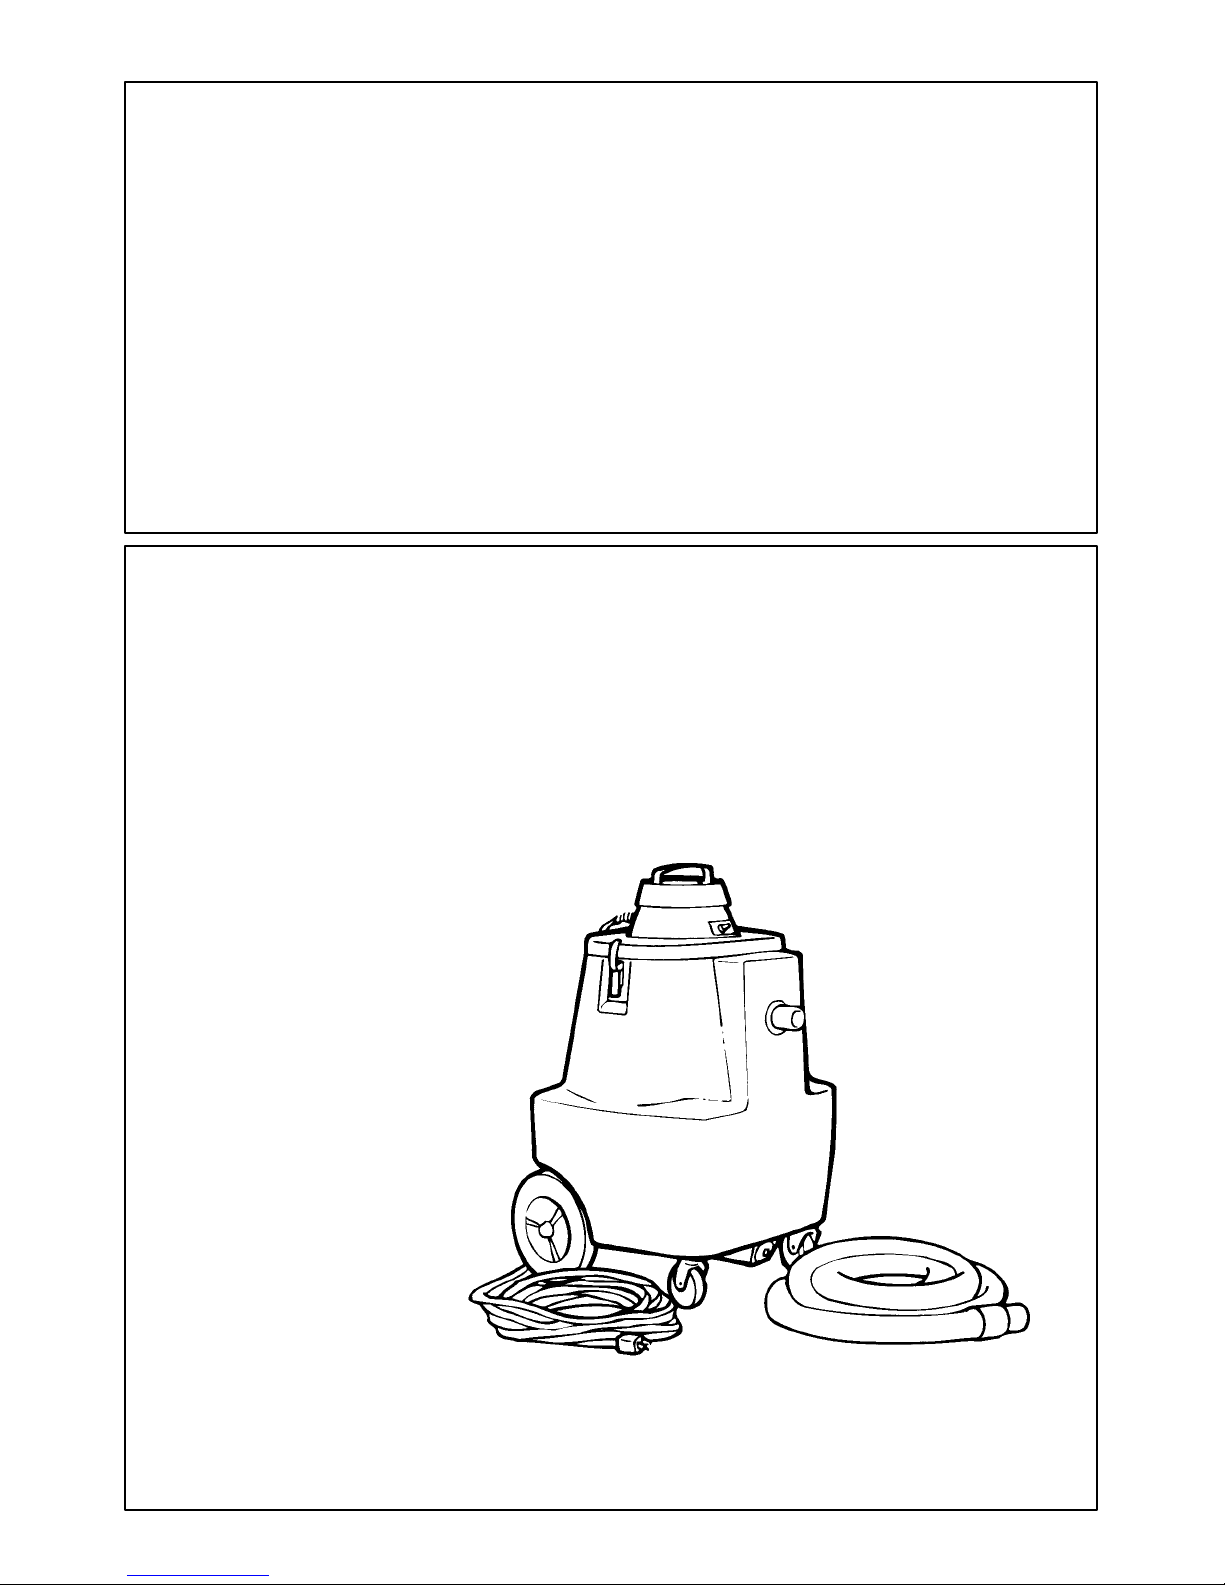
15 Gallon
Wet/Dry Vacuum
Operator & Parts Manual
Model No.:
607063

OPERATION
215 Gallon Wet / Dry Vacuum (04–00)
This manual is furnished with each new model. It
provides necessary operation and maintenance
instructions and a parts list.
Read this manual completely to understand the
machine before operating or servicing.
When ordering replacement parts, use the illustrated
parts list section in this manual. Before ordering parts
or supplies, be sure to have your machine model
number and serial number available. Parts and
supplies may be ordered by phone or mail from any
authorized Service Center or Distributor.
This machine will provide excellent service. However,
the best results will be obtained at minimum costs if:
SThe machine is operated with reasonable care.
SThe machine is maintained regularly - per the
maintenance instructions provided.
SThe machine is maintained with manufacturer
supplied or equivalent parts.
MACHINE DATA
Pleasefill out at time of installation for future reference.
Model No.- Install. Date - / /
Serial No.-
E2000 Tennant Company Printed in U.S.A.
Castex is a registered trademark of Tennant Company.
TABLE OF CONTENTS
SAFETY PRECAUTIONS 3. . . . . . . . . . . . . . . . . . . .
GROUNDING INSTRUCTIONS 3. . . . . . . . . . .
MACHINE COMPONENTS 4. . . . . . . . . . . . . . . . . . .
MACHINE INSTALLATION 4. . . . . . . . . . . . . . . . . . .
MACHINE SETUP AND OPERATION 4. . . . . . . . .
MACHINE MAINTENANCE 5. . . . . . . . . . . . . . . . . .
RECOMMENDED STOCK ITEMS 5. . . . . . . . . . . . .
TROUBLE SHOOTING 5. . . . . . . . . . . . . . . . . . . . . .
PARTS LIST 6. . . . . . . . . . . . . . . . . . . . . . . . . . . . . . .
VACUUM HEAD GROUP 6. . . . . . . . . . . . . . . . .
TANK GROUP 7. . . . . . . . . . . . . . . . . . . . . . . . . .
STANDARD ACCESSORIES 8. . . . . . . . . . . . . .
ELECTRICAL DIAGRAM 8. . . . . . . . . . . . . . . . . . . .
OPTIONS 9. . . . . . . . . . . . . . . . . . . . . . . . . . . . . . . . . .
HANDLE AND SQUEEGEE ATTACHMENT 9.
OPERATION
15 Gallon Wet / Dry Vacuum (04–00) 3
SAFETY PRECAUTIONS
This machine is intended for commercial use. It is
designed for wet/dry vacuuming in an indoor
environment and is not constructed for any other use.
Use only recommended accessories.
All operators must read, understand and practice the
following safety precautions:
The following safety alert symbols are used throughout
this manual as indicated in their description.
WARNING: To warn of hazards or unsafe
practices which could result in severe personal
injury or death.
FOR SAFETY: To identify actions which must be
followed for safe operation of equipment.
The following information signals potentially dangerous
conditions to the operator or equipment:
FOR SAFETY:
1. Do not operate machine:
– Unless trained and authorized.
– Unless operator manual is read and
understood.
– In flammable or explosive areas.
– Unless cord is properly grounded.
– With the use of an extension cord.
– With damaged cord or plug.
– If not in proper operating condition.
– In outdoor areas.
– In standing water.
– Without bag and/or filters in place.
2. Before operating machine:
– Make sure all safety devices are in place
and operate properly.
3. When using machine:
– Do not run machine over cord.
– Do not pull machine by plug or cord.
– Do not pull cord around sharp edges or
corners.
– Do not unplug by pulling on cord.
– Do not stretch cord.
– Do not handle plug with wet hands.
– Keep cord away from heated surfaces.
– Do not pick up burning or smoking debris,
such as cigarettes, matches or hot ashes.
– Report machine damage or faulty
operation immediately.
4. Before leaving or servicing machine:
– Turn off machine.
– Unplug cord from wall outlet.
5. When servicing machine:
– Unplug cord from wall outlet.
– Use manufacturer supplied or approved
replacement parts.
WARNING: Hazardous Voltage. Shock or
electrocution can result. Unplug machine before
servicing.
WARNING: Flammable materials can cause
an explosion or fire. Do not use flammable
materials in tank.
WARNING: Flammable materials or reactive
metals can cause an explosion or fire. Do not pick
up.
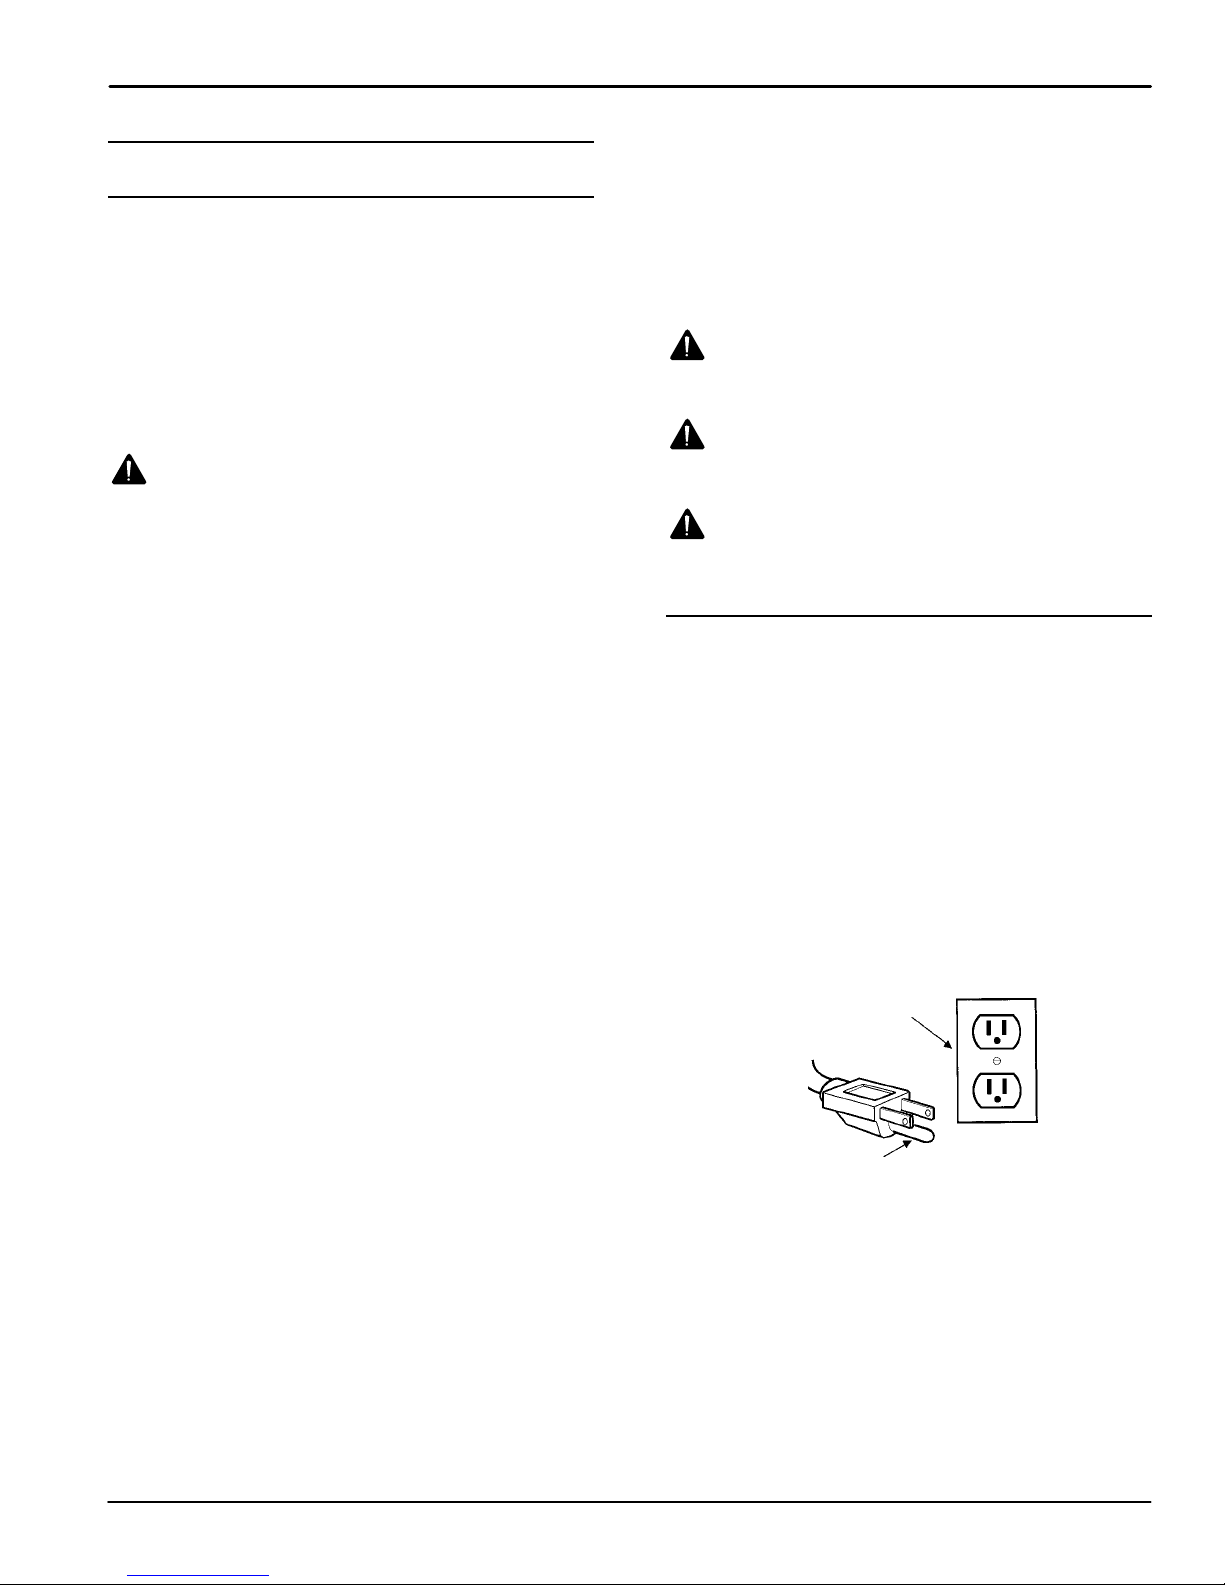
GROUNDING INSTRUCTIONS
Machine must be grounded. If it should
malfunction or breakdown, grounding provides a
path of least resistance for electrical current to
reduce the risk of electrical shock. This machine
is equipped with a cord having an
equipment–grounding conductor and grounding
plug. The plug must be plugged into an
appropriate outlet that is properly installed in
accordance with all local codes and ordinances.
Do not remove ground pin; if missing, replace
plug before use.
GROUNDED OUTLET
(3 HOLE)
GROUNDING PIN

OPERATION
415 Gallon Wet / Dry Vacuum (04–00)
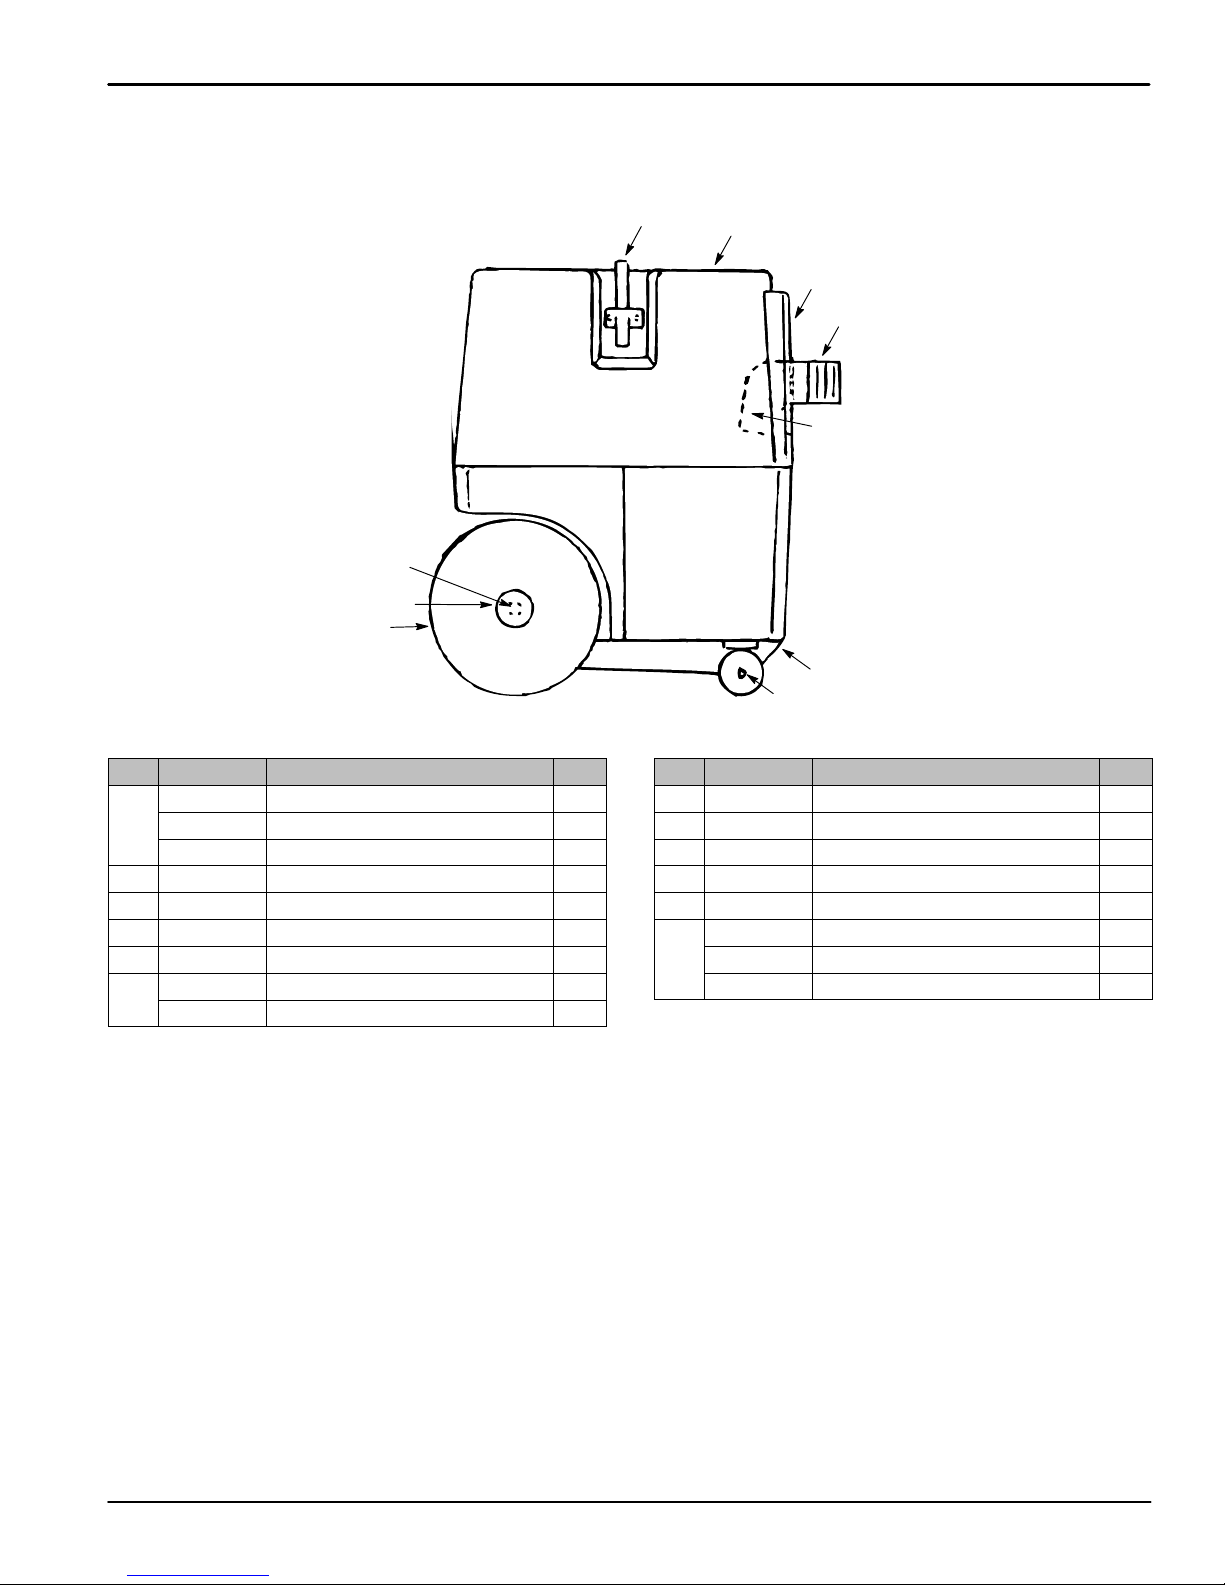
MACHINE COMPONENTS
DRAIN PLUG
TANK
VACUUM HEAD ASSEMBLY
ON/OFF SWITCH
INTAKE
FLOAT
CAGE
MACHINE INSTALLATION
UNPACKING MACHINE
1. Carefully check carton for signs of damage.
Report damages at once to carrier.
2. Carefully unpack and inspect vacuum for shipping
damage. Each unit is tested and thoroughly
inspected before shipment; any damage is the
responsibility of delivering carrier. If damaged,
notify carrier immediately.
MACHINE SETUP AND OPERATION
FOR SAFETY: Do not operate machine unless
operator manual is read and understood.
1. Remove vacuum head and check that float and
float cage assembly is installed.
To install float cage assembly: Place float inside
cage with weighted bolt head facing away from
vacuum head. Remove nut from tensioning screw
on float cage. Snap cage onto bottom of vacuum
head assembly. Thread nut onto tension screw
and tighten until float cage is firmly attached to
vacuum head (Figure 1).
FIG. 1
2. For dry vacuuming, always use disposable paper
filters in addition to cloth wet/dry filter bag.
Disposable paper filters slide over intake elbow.
For wet vacuuming, cloth filter bag may be used or
removed.
3. Place vacuum head on top of tank and secure
using clamps on either side of tank.
4. Attach swivel cuff end of hose to intake on front of
tank.
5. Check drain plug on lower front of tank. Make sure
plug is secure. If loose, tighten by turning
clockwise.
6. Plug into a grounded 120 volt A.C. outlet
(Figure 2)
GROUNDED OUTLET
(3 HOLE)
GROUNDING PIN
FIG. 2
FOR SAFETY: Do not operate machine unless
cord is properly grounded, with the use of an
extension cord or in flammable or explosive areas.
7. Turn on machine and begin vacuuming.
WARNING: Flammable materials or reactive
metals can cause an explosion or fire. Do not pick
up.

OPERATION
15 Gallon Wet / Dry Vacuum (04–00) 5
MACHINE MAINTENANCE
WARNING: Hazardous Voltage. Shock or
electrocution can result. Unplug machine before
servicing.
1. Clean or replace filter bag after every use. To
clean, shake dust and debris from it. Periodically
wash filter bag. Allow filter bag to dry completely
before using. Using disposable paper bags will
help keep filter bag clean.
2. Empty and rinse tank after every use.
WARNING: Flammable materials can cause
an explosion or fire. Do not use flammable
materials in tank.
3. Periodically remove filter frame assembly from
vacuum head and inspect screen around float
assembly for debris. Clean screen and reinstall
filter frame assembly. Keep screen clean for best
performance.
ATTENTION: If water is drawn into vacuum head,
turn off power immediately. Remove vacuum head
assembly from tank and place on floor. Turn on
power for approximately three minutes to push
water out of vacuum motor.
4. If vacuum performance decreases during
operation, turn off power, remove vacuum head
assembly from tank and inspect intake elbow for
blockage. If intake area is open, check hose for
blockage or damage.
RECOMMENDED STOCK ITEMS
Refer to Parts List section for recommended stock
items. Stock Items are clearly identified with a bullet
preceding the parts description. See example below:
TROUBLE SHOOTING
PROBLEM CAUSE SOLUTION
Motor does not operate. Circuit overload. Check breakers in building and re-
set. Plug machine into a different
circuit.
Switch broken. Contact Service Center.
Loose or broken wiring. Contact Service Center.
Faulty vacuum motor. Contact Service Center.
Little or no suction. Hose is obstructed. Clear debris from hose.
Holes in hose. Replace hose.
Intake elbow is obstructed. Remove base from elbow and re-
move clogging debris.
Drain plug is loose or open. Tighten drain plug.
Vacuum head not securely latched
to tank. Latch both latches securely.
Worn gasket is leaking air. Inspect gaskets and replace.

PARTS LIST
15 Gallon Wet / Dry Vacuum (04–00)
6
VACUUM HEAD GROUP
1
2,3
4
5
6
7
8
9
10
11
12 13
21, 23
14, 15
16
17
18
19
20
22
2,3
REF PART # DESCRIPTION QTY.
1 MS859 DSWITCH, TOGGLE 1
2 140552 NUT, LOCK 7
3 MS111 SCREW, #10–24X1 SS 7
4 MS112 DGASKET 1
5 630187 DMOTOR, VAC 115V 1HP 1
190155 CARBON BRUSH (2/PK) 2
600435 MOTOR, VAC 220V 1HP 1
600436 CARBON BRUSH (2/PK) 2
6 MS114 PLASTIC SCREEN 1
7 MS115 DFLOAT 1
8 MS116 DBOLT, FLOAT 1
9 MS117 DFLOAT CAGE 1
10 MS860 DGASKET 1
11 MS121 SPINNING, BOTTOM 1
12 MS861 SPINNING, OUTSIDE 1
N/S NOT SHOWN
DRECOMMENDED STOCK ITEMS
REF PART # DESCRIPTION QTY.
13 MS123 SPINNING, MOTOR 1
14 MS126 SCREW, 1/4”2
15 MS127 NUT, 1/4”2
16 MS863 HANDLE, TOP 1
17 MS129 DGASKET, TOP 5085 1
18 MS132 GASKET 1
29 130166 STRAIN RELIEF, CORD 1
20 MS865 CORD, POWER 25’1
21 MS866 SCREW, TAPPING 1”(850) 3
22 MS163 FILTER, FOAM 1
23 MS867 DSPACER, 3/8”3
N/S MS864 WIRE CONNECTOR (NOT SHOWN) 1
N/S 578729 DECAL, READ MANUAL 1
N/S 630420 DECAL, FLAMMABLE MAT’L 1
N/S 610185 DECAL, HAZARD, UNPLUG 1
PARTS LIST
15 Gallon Wet / Dry Vacuum (04–00) 7
TANK GROUP
1
2
3
4
5
89
10, 11
6, 7
12
REF PART # DESCRIPTION QTY.
1 610241 TANK, 15 GALLON 1
610242 TANK, 10 GALLON 1
610243 TANK, 5 GALLON 1
2 25202 DINTAKE 1
3 MS138 LATCH 2
4 MS140 CAP, HUB 2
5 MS869 WHEEL, 8”2
6 MS871 AXLE, 15 GALLON TANK 1
MS139 AXLE, 5/10 GALLON TANK 1
DRECOMMENDED STOCK ITEMS
REF PART # DESCRIPTION QTY.
7 610244 WASHER, FLAT 1/2”2
8 MS142 DCASTER 2
9 MS108 DPLUG, DRAIN 1
10 MS144 ELBOW, DEFLECTOR 1
11 MS145 GASKET, INTAKE 1
12 610178 DECAL, “CASTEX WD85–15”1
610179 DECAL, “CASTEX WD85–10”1
610180 DECAL, “CASTEX WD85–05”1

PARTS LIST
15 Gallon Wet / Dry Vacuum (06–00)
8
STANDARD ACCESSORIES
1
1
23
REF PART # DESCRIPTION QTY.
∇1 190142 KIT, WAND TOOL W/ CARPET AND
FLOOR ATTACHMENT 1
Y190722 WAND, 2–PIECE 1
Y605136 TOOL, RUG 11”W/ SLEEVE 1
Y13840 SQUEEGEE, 14”1
∇ASSEMBLY
YINCLUDED IN ASSEMBLY
DRECOMMENDED STOCK ITEMS
REF PART # DESCRIPTION QTY.
2 160481 HOSE, 1 1/2”X 10’W/ SWIVEL CUFF 1
3 MS105 DBAG, CLOTH FILTER 1
MS106 DBAG, PAPER FILTER (NOT SHOWN) 1
MS148 DRING, BAG (NOT SHOWN) 1
ELECTRICAL DIAGRAM
OPTIONS
15 Gallon Wet / Dry Vacuum (06–00) 9
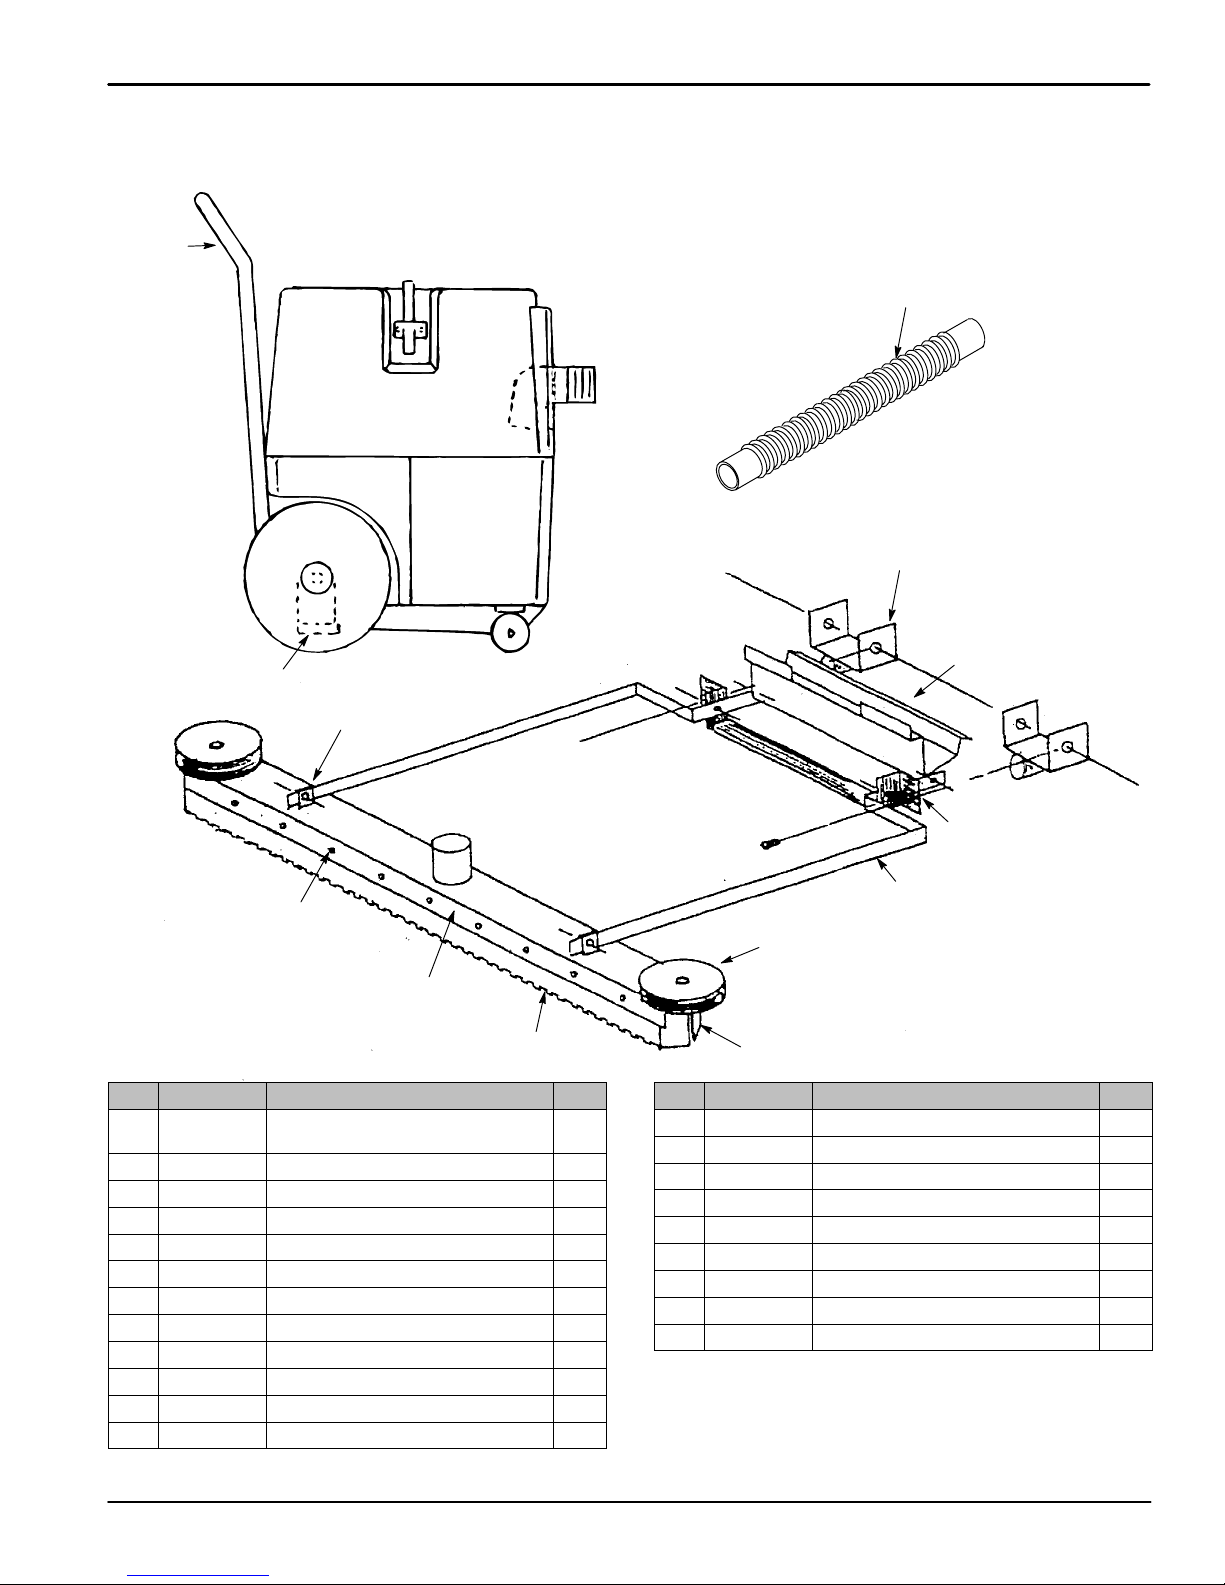
HANDLE AND SQUEEGEE ATTACHMENT, 762 mm (30 in)
11, 12
9, 10, 13
7, 8
20 19
4, 5, 6, 12
3
2
1
14
15
16, 17
18
REF PART # DESCRIPTION QTY.
∇607001 KIT, HANDLE AND SQUEEGEE
ATTACHMENT (COMPLETE) 1
Y1 MS149 PLATE, KICK 1
Y2 MS150 BRACKET, MOUNTING 1
Y3 MS151 ARM 2
Y4 MS152 WHEEL, BUMPER 2
Y5 610246 NUT, SERRATED 2
Y6 610247 BOLT, 1/4X1-3/4 2
Y7 MS154 MOUNT, CHANNEL 1
Y8 MS155 BAND, SQUEEGEE 2
Y9 MS156 SCREW, 10–24 X 3/4 20
Y10 MS157 NUT, LOCK 10–24 20
Y11 MS158 SCREW, 1/4–20 4
REF PART # DESCRIPTION QTY.
Y12 MS159 NUT, LOCK 1/4–20 6
Y13 610248 SCREW, 10–24X5/8 4
Y14 MS513 HANDLE 1
Y15 MS146 BRACKET, HANDLE 2
Y16 MS870 SCREW, 3/8–16 X 1”2
Y17 610245 WASHER, FLAT 3/8 2
Y18 MS162 HOSE W/ CUFFS 20”1
Y19 MS103 DBLADE, SQUEEGEE 2
Y20 MS102 DBLADE, NOTCHED 2
∇ASSEMBLY
YINCLUDED IN ASSEMBLY
DRECOMMENDED STOCK ITEMS
Table of contents
Other Blue Star Vacuum Cleaner manuals


