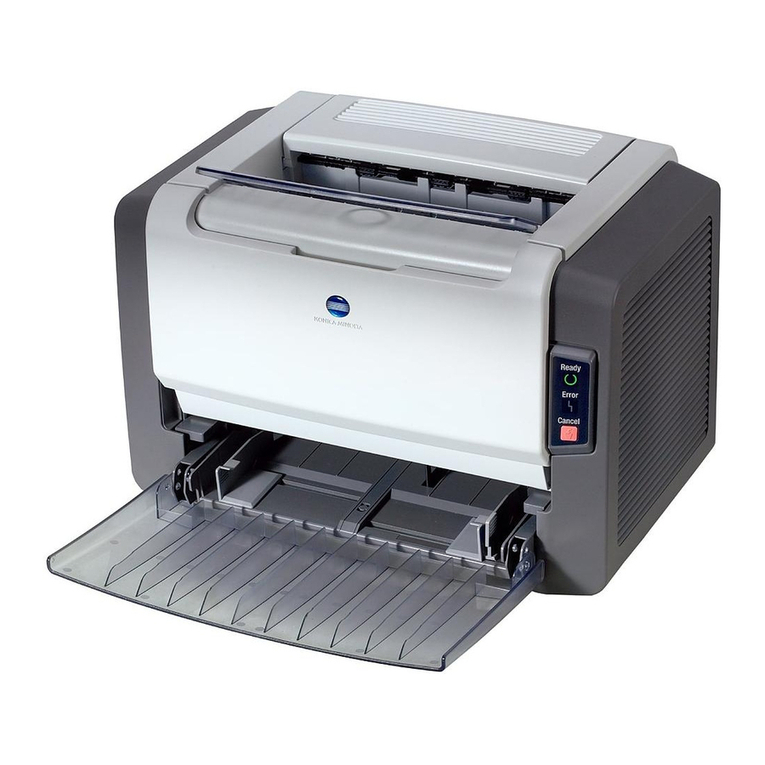
BlueChip D12 User manual

BWEI:HIP
012/10
Daisy Wheel Printer
User's Guide

Federal Communications Commission (FCC)
Radio Frequency Interference Statement
Warning: This equipment generates and
uses
radio frequency energy and
if
not
installed and
used
properly,
that
is
in strict accordance
with
the manufacturer's instructions, may
cause
interference
to
radio and television reception.
It
has
been
type
tested and
found
to
comply
with
the limits
for
a
Class
8 computing device in accordance
with
the specifications in Subpart
J
of
Part 15
of
FCC
Rules, which are designed
to
provide reasonable protection against such
interference in a
resi~ential
installation. However, there
is
no
guarantee
that
interference
will
not
occur in
a.
particular installation.
If
this equipment
does
cause
interference
to
radio
or
tele-
vision recept'ion, which
can
be
determined
by
turning the equipment
off
and on,
the
user
is
encouraged
to
try
to
correct the interference by one
or
more
of
the
following
measures:
• Reorient the receiving antenna
• Relocate the computer
with
respect
to
the receiver
• Move the computer away
from
the receiver
• Plug the computer
into
a
different
outlet
so
that
computer
and receiver
are on
different
branch circuits
If
necessary, the user should consult the dealer
or
an
experienced radio/television technician
for
additional suggestions. The user may
find
the
following
booklet
prepared
by
the Federal
Communications Commission helpful:
"How
to
Identify
and Resolve Radio-TV Interference Problems". This
booklet
is
available
from
the
US
Government Printing Office, Washington, D.C., 20402, Stock No. 004-000-
00345-4.
Shield interface cable must be
used
according
to
FCC
15.
8380.
It
is
recommended
that
the cable length does
not
exceed
71
inches (1.8m).

TRADEMARK
ACKNOWLEDGEMENT
Reference
is
made in this manual
to
computers and
word
processing programs.
These
products
have
registered trademarks
as
follows:
COMMODORE, COMMODORE
64
are
registered trademarks
of
Commodore Business Machines, Inc.
PLUS/4 and
MAGIC
DESK I are trademarks
of
Commodore Business Machines, Inc.
Bank Street
WRITER
is
a trademark
of
Br0derbund Software, Inc.
Cut &
Paste
is
a trademark
of
ELECTRONIC
ARTS, INC.
HOMEWORD
is
a trademark
of
Sierra On-Line, Inc.
Word Writer
is
a trademark
of
Timeworks, Inc.
Brother
is
a trademark
of
Brother Industries, Ltd.
-------


About
This Manual
A Primer on Daisywheel Printers
PART
l
INSTALLATION
Chapter 1 Unpacking
Instructions
Checking
the
Carton Contents
Repacking
Choosing a
Location
Chapter 2 Setup Procedures
Part Names
Connecting
to
Your
Computer
Setting the
DIP
Switches
Control
Panel
Control
Switches
Indicator
Lamp
Replacing
the
Ribbon
Cassette
Changing
the
Daisywheel
Chapter 3 Paper Loading Procedures
Manual Paper Loading
Optional
Tractor
Feed
Installation
Paper Loading
CONTENTS
v
vi
3
13
33
iii
--------~-

IV
PART
ll
OPERATION
Chapter 4
Using
the Diagnostic Functions
Self-test
Printout
Power-ON
Default
Settings
Chapter 5 Printer Control
Basic Programming and this Printer
Code Tables
Control
Codes
Direct
Printing
Function
Chapter 6
Using
Escape
(ESC) Control
Sequences
Word Processing Functions
Print
Format
Functions
Print
Enham:ements
Sample Programs
PART Ill
REFERENCE
Appendix
A Using Commodore
64
Word Processors
ESC
Sequence Summary
B
c
D
E
Interface Specifications
ASCII Code and International Character
Sets
Troubleshooting and Maintenance
F Options and Accessories
G Printer Specifications
H Glossary
PART
IV
QUICK
INSTALLATION
GUIDE
FOR
THE
BLUE CHIP
WORDPROCESSOR FOR
COMMODORE
64
INDEX
45
47
51
67
93
95
139
143

ABOUT
THIS
MANUAL
This manual
was
prepared
to
provide users
at
all levels
of
computing
experience a
thorough
introduction
to
the
basic operation and special features
of
this daisywheel
printer.
For
novice
users, explanations
are
supported
by
illustrations and summary tables. Advanced users
will
be
able
to
make
full
use
of
the
printer's
many
functions
to
control
and
format
their
special
printing
requirements.
This manual
is
divided
into
four
parts. The
first,
Installation,
is
preceded
by
an
introduction
to
basic concepts in
printer
operation and
control
to
acquaint beginners
with
the funda-
mentals.
Further
sections in this
part
take the user
from
initial
connections, settings and
use
of
the
control
panel switches
to
installation
of
the daisywheel and
ribbon
cassette and paper
loading.
Then,
with
the
printer
set up and ready
to
use,
the second
part
describes operating procedures
and
use
of
various
print
functions. Here, sections deal
with
features such
as
the
self-test
print-
out
and selection and
use
of
word
processing and
print
format
functions
which
are presented
through the
use
of
ESC
code
control
sequences.
Part III
is
the reference appendix
with
sections on
word
processing programs, summaries
of
ESC
sequences, troubleshooting and
use
of
international character
sets,
and includes a glossary
of
printer-related terms.
Part
IV
describes
how
to
install the Blue Chip Wordprocessor
for
the
Commodore
64
and
how
to
print
out
sample test
to
check
your
printer
installation.
We
recommend
that
you familiarize yourself
with
this user's guide
by
looking
through
the
table
of
contents and index. Some sections may
be
skipped
by
users whose dealers provide
such services
as
setup, cabling and connection, DIP switch setting and installation
of
the
optional
tractor
feed. Likewise, advanced users
can
go
directly
to
the sections
they
need.
Be
sure
to
check the manuals
that
carne
with
your
computer
and software
for
further
informa-
tion
on
printer
installation and
compatibility,
ESC
sequences, and
BASIC
programming.
For
detailed descriptions
of
technical
areas
that
are necessarily
out
of
the scope
of
this
manual,
check
on
specific references available through
your
dealer.
v

vi
A
PRIMER
ON
DAISYWHEEL
PRINTERS
Despite
rumors
of
a
forthcoming
'paperless' society
brought
about
by
the
innovations
of
electronics
technology,
computer
user~
of
today
still
derive much satisfaction and have great
need
for
seeing the results
of
their
efforts
on a hard
copy
printout.
This
introductory
section
is
provided
to
offer
some general observations on
what
printers
are and
how
they
work.
It
is
intended
as
an
introduction
for
novice users and a
base
upon
which
they
can expand
their
knowledge.
All
printers
are essentially
output
devices in the
family
of
computer
peripherals
which
receive
electronic character codes and
produce
corresponding images
of
these codes on paper. Printers
are generally classified
by
the
type
of
printed
image and the
way
in
which
the
image
is
produced.
Fully
formed
characters,
as
good
as
or
surpassing
the
quality
of
office
typewriter
output,
are
produced
by
daisywheel printers.
This
clear and
rounded
type
has
come
to
be called
letter
quality
(LQ)
printing
as
the
printout
is
acceptable
for
use
in correspondence.
The daisywheels in these
printers
are
so
named because
the
print
element
they
use
looks
like
a
flattened
flower,
with
individual
characters and
symbols
arranged on spokes
around
a hub.
When the code
for
a character
is
received
by
the
printer,
a
motor
turns
the daisywheel and
aligns the selected character
under
a
print
hammer
which
strikes the single spoke against a
ribbon,
leaving a
printed
form
on
the
paper.
A
printer
receives character codes
from
the
computer
which
are
interpreted
to
form
an
image
on paper.
The
industry
standard
for
this
data transmission
is
the
American
Standard
Code
for
Information
Interchange,
known
as
the
ASCII
code. In
addition
to
characters
to
be
printed,
other
codes are used
to
control
functions
such
as
line spacing and
form
feed.
Applica-
tion
programs, such
as
word
processors, all make
use
of
these
control
codes and
incorporate
them in the software's
command
system.
When basic
print
functions
do
not
respond accurately
to
the commands,
the
user can usually
make
use
of
escape (ESC) sequences
which
are
command
code strings
to
invoke
the
function
from
the
printer's
own
command
mode.
This
involves
programming,
and
for
most
microcom-
puter
users, a knowledge
of
BASIC.
These sequences can also
be
used
for
special features such
as
enhanced
double-strike
printing.


Unpacking Instructions
Chapter
UNPACKING
INSTRUCTIONS
CONTENTS
5
Checking
the
Carton Contents 10
Repacking 10
Choosing a
Location
11
3


UNPACKING
INSTRUCTIONS
5
UNPACKING
Your
daisywheel
printer
was
carefully packaged
with
special shipping materials
to
prevent its
damage during transport and storage. The
illustration
shows
an
exploded view
of
how
the
contents
fit
in the carton.
Note
that
the daisywheel and ribbon cassette are already installed in
the
printer
and there are carriage stoppers set inside the
printer
case
that
you
will
have
to
remove later.
We
recommend unpacking the carton near
the
place the
printer
will
be
set up and
operated.
Be
sure
to
allow
enough
roo_m
to
move
about
safely when making
initial
connections
and settings.

6
INSTALLATION
As you have already opened the carton and removed
this
manual,
continue
with
the
following
steps
to
unpack
the
printer.
Although
the
printer
is
light-weight,
the
snug-fitting
foam cushions may make
it
somewhat
difficult
to
remove.
If
two
per-
sons
work
together, one can
hold
the
carton
down,
while
the
other
lifts
the
printer
up
and
out.
2 Grasp the
printer
1n
the
center and I
ift
it
up
with
the
foam packing in place on
the sides. Set the
printer
down
rightside
up
onto
a steady surface
with
the
cushions
attached.
3 Then
lift
up
one end
of
the
printer
at
time
to
remove
the
foam cushions.

UNPACKING
INSTRUCTIONS
7
4 Fold
open
the
acoustic cover
towards
the
front
of
the
printer.
5 Grasp
the
top
cover
at
the
edge nearest
the
platen and lift it off.
6
There
are
two
plastic
stoppers
set
inside
the
printer
case:
one
at
the
bottom
to
keep
the
carriage from sliding, and
another
protecting
the
top
of
the
ribbon cassette.

8
INSTALLATION
7
First
remove the stopper
from
the
carriage traveling rod. Grasp the
upright
tip
and pull back
to
unclip
it
from
the rod.
Then
lift
up
to
free the
peg
at the stopper
bottom
from
the square
mold.
8 The stopper on the
ribbon
cassette -that
protects the daisywheel and
motor
lock
lever
lifts
off
easily.
9
All
new
ribbon
cassettes have a ribbon
stopper tab set in the
right
side. Move
the carriage
by
hand
to
about
the center
and pull
out
this tab.

UNPACKING
INSTRUCTIONS
9
10
Then
turn
the ribbon feed
knob
counter-
clockwise
until
the leader
is
taken up
and
no
slack remains.
11
Replace the
top
cover
by
locating the
beveled
edge
near the
front
of
the
printer
first, then
lower
the cover
into
place.
12
Fold
back the acoustic cover
toward
the
rear
of
the
printer.

10
INSTALLATION
CHECKING THE
CARTON
CONTENTS
Now
take a
few
minutes
to
check
that
you
have everything in the
following
contents list.
Printer
2 User's Guide
3 Ribbon Cassette
4 Daisywheel
5 Interface Cable (Grounded shield cable)
6 Wordprocessing Diskette and Manual
If
anything
is
missing
or
damaged,
contact
your
dealer immediately.
REPACKING
Should
it
be
necessary
at
this
time
or
for
any
major
moves in the
future,
follow
these steps
for
repacking
your
printer:
WARNING:
If
the
printer
was
in
use,
first
turn
off
the power and unplug the
power cord
from
the
outlet.
Then disconnect the interface cable
from
the
printer
and computer. Coil the interface cable and
put
it
inside the small plastic
bag.
2
Fold
open the acoustic cover
to
the
front
of
the
printer,
then
re-
move the
top
cover.
3 Move the carriage
by
hand
to
the
far
right
side.
Do
not
remove the
daisywheel
or
ribbon cassette.
Attach
the carriage stopper
by
locating the
bottom
peg in the square
mold.
Then push the stopper
to
the rear
to
clip
it
onto
the traveling bar
of
the carriage.
Add
the
stopper
that
covers the ribbon cassette.
4 Replace the
top
cover and close the acoustic cover.
5
Put
the
printer
into
the plastic
bag.
Fit
the
two
foam cushions on
the ends
of
the
printer.
6 Return the cushioned
printer
to
the carton.
7
Finally,
before closing the carton,
put
this manual in the
other
plastic
bag
and slip
it
and the interface cable
into
the
space
be-
tween the foam cushions.
Failure
to
comply
with
these repacking procedures can invalidate
your
warranty.

UNPACKING
INSTRUCTIONS
11
CHOOSING A LOCATION
The place where
you
use
your
daisywheel
printer
is
perhaps already determined
by
the
location
of
your
computer. As cables and interfaces are discussed in the section, Connecting
to
Your
Computer, on
page
18,
important
factors are mentioned here.
Vibration
Carriage movement and
the
impact
of
the printhead
during
operation cause
vibration
in all
daisywheel printers.
Although
this
vibration
has
been
minimized
in
the
design
of
the
printer,
it
is
still
a consideration. Make sure the
printer
will
be
on a level,
sturdy
surface.
If
you choose
to
use
a special
combination
rack/stand
for
your
computer
setup
which
includes places
for
peripherals such
as
this
printer,
check
it
for
strength and size
so
the
printer
wi
II
fit
and
be
supported adequately.
2 Noise
All
impact printers generate some degree
of
noise
during
operation.
And,
although its levels
are relatively low, this
printer
is
no exception.
Most
people become used
to
this
sound in
their
computing
environment. But,
for
those
who
are
particularly
sensitive,
positioning
the
printer
even a small distance away
from
the
computer
-and
the
person using
it
-can
make a
world
of
difference.
3 Paper
Supply
If
you
intend
to
print
on cut-sheet forms
you
will
be
manually
loading
the
paper sheet
by
sheet. Having
the
printer
near the
computer
at
a convenient height
would
then
be
a place-
ment
consideration. On the
other
hand,
use
of
the
tractor
feeder also involves
allowing
space
for
its installation and paper supply requirements.
4 Extremes
This
printer
is
fully
compatible
with
the
operating
environment
common
to
computers
and
their
related
equipment.
The
printer
specifications in
Appendix
G on page
133
indi-
cate list specific ranges
for
temperature and
humidity,
but
general guidelines are appro-
priate
for
the average user.
Avoid
extremes
of
temperature and
humidity,
as
well
as
loca-
tions
where changes in these
conditions
are
frequent
and
abrupt.
This
means keeping
the
printer
away
from
both
heating and
cooling
sources. Placement in locations receiving
prolonged
direct
sunlight should also
be
avoided. Remember,
too,
that
the
majority
of
minor
problems
affecting
printer
operation
are related
to
paper, and
the
moisture
it
inevitably
absorbs.

Chapter
SETUP
PROCEDURES
CONTENTS
Part Names
Capsule Glossary
Connecting
to
Your
Computer
Setting
the
DIP Switches
Control
Panel
Control
Switches
Indicator
Lamp
Replacing the
Ribbon
Cassette
Changing the Daisywheel
15
16
18
19
22
22
23
24
28
13

This manual suits for next models
1
Table of contents
