manuals.online logo
Brands
  1. Home
  2. •
  3. Brands
  4. •
  5. Bluesky
  6. •
  7. Telephone
  8. •
  9. Bluesky CT-168 Installation guide

Bluesky CT-168 Installation guide

CT-168
Multi Function Caller ID Phone
!
!
!
!
!
!
!
!
!
!
!
!
!
!
!
!
!
!
!
!
!
!
!
!
!
!
!
!
!
!
!
!
BLUEsky!
!
Frequently Asked Questions:
I can not hear ring tone, what’s wrong?
The C/O line is not well connected to the unit. Please check and make a reliable
connection.
The ring sounds so low, why?
There is a ring selector on the rear of the unit. Switch it to the H position for
higher ring volume.
When I am using the phone I hear noise, what’s wrong?
It is due to poor connection between C/O line and the unit. Ensure the C/O line,
Connection box and plugs are in good condition and are well connected.
All of my incoming calls are ending after the first ring, but the outgoing call is
working well. What’s wrong?
You have to check whether the connection box dropped into water. Ensure all
extensions are in good condition.
I am not seeing the telephone number of calling party on the LCD, why?
In order to receive the telephone number of the calling party, you must have Caller
ID service. Check with your local telephone company regarding available and cost.
If you are sure the service is provided by telephone company, please press * twice
to check the function again.
The LCD can not display the data properly, what’s wrong?
Ensure that batteries have continuous power. If battery is ok, remove the battery
and disconnect the unit to C/O line for 10 minutes. Replace batteries and connect
the line again.
The Data displayed on the LCD is not clear, why?
This can be due to poor quality battery. Replace batteries, if these batteries do not
work. Adjust the LCD contrast to the proper level.
8
Operating manual for CT-168 Multi Function Caller ID Phone
Welcome:
Congratulation on your purchase of the CT-168 Multi Function Caller ID
Phone! You now possess one of the most sophisticated telephones on the market
today. With features like Time and Date Stamp, Caller ID, Inbound/ outbound
numbers memory, the CT-168 can fulfill virtually all telephone needs. Be sure to
review these instructions carefully prior to use to ensure complete understanding
of the unit. There are many new features to be explored. Proper care and usage
will provide for years of trouble free service. Contact information for Technical
Support can be found at the back of these instructions.
Contents:
Features …………………………………………………….2
Installation …………………………………………………….2
Operation – To receive a call, to make a call, hold on music ..............…….3
Setup time and date, area code, flash, LCD contrast ………………………4
Incoming call – review, store, call back and delete ………………………..5
Outgoing call – review, store, call back and delete ………………………..6
Last number redial, flash, 12 two-digit speed dialing, long distance
Control……………………………………………………………………...7
Trouble shooting……………………………………………………………8
1
Features:
Works with both FSK and DTMF systems
Large LCD display for new call, repeat call, privacy, out of area, erase
Real time display for FSK system
180 memory for incoming call
60 memory for outgoing call
12 two- digits memory dialing
Time stamps and call count
Record inbound/outbound numbers for later review
Call back from memory
Hold on music, hand free dialing, volume and ring adjustable
LCD contrast control
3 position long distance call control
Installation:
Please refer to the Chinese Manual for the locations of control keys.
Connection to Power
You may provide power to the CT-168 with the use of AAA batteries.
To install batteries: Turn the unit over. Remove the battery compartment
Cover. Insert 3 AAA (LR03) batteries following the polarity diagram. Replace
the battery compartment cover. You should replace the new battery if the
LCD can not be adjusted to a suitable reading or the function key can’t work
well.
2
when the selected number is on screen.
Last Number Redial: If you get a busy tone and you want to call the same
number again, press REDIAL key. The unit will automatically redial the last
number.
Flash: Momentarily hangs up the phone to access custom calling features
provided by your presetting flash duration.
12 Two Digits Speed Dialing and Setting
The unit allows you to set 12 numbers for speed dialing.
To set the number: Pick up the handset. Press SET/STORE key. Press desired
number. Press STORE key. Press 1 as the first setting. You can select any number
from 0 to 9, * and # as 12 memory locations.
To make a speed dialing: Pick up the phone or press HANDFREE key. Press
CHECK/MEMO key to enter selection. Press any digit from 0 to9 * and # to select
the desired number. The unit will automatically dial out the number.
Long Distance Call Control:
Insert the key to the lock on the rear of the unit. Switch the key to yellow point to
block all outgoing calls except 110 and 119. Switch the key to green point to block
all numbers beginning with 0. Switch the key to red point to unlock all numbers
dialed. Observe the lock icon on the LCD when you switch the key to green and
yellow points.
7
Speed Reviewing the VIP Numbers: Press CHECK/MEMO key for speed
reviewing the VIP number. Press repeatedly CHECK/MOMO key until
selected number is display on the LCD. Press REDIAL key for auto dialing.
The LCD will display ---END--- when all numbers are reviewed.
Speed Reviewing the Incoming Call Numbers: You may speedy review the
incoming number by time and date or by number.
Press # then followed by the prefix numbers. Press CHECK/MEMO key
repeatedly to check numbers. The LCD will display -- END – when the prefix
number is not available or when finishing checking.
Press * key. Press MMDDHHAA for month, date, hour and minutes. Press
CHECK/MEMO to review the numbers.
Outgoing Call – Review, Store, Redial and Delete
The unit can store up to 60 sets of dialed number associated with call count and
time stamps. The new number will replace the oldest one as the unit stores more
than 60 outgoing calls.
To review and redial an outgoing call: Press DIAL CHECK key repeatedly to
select the desired number. Press REDIAL key. The number will be automatically
dialed out. The unit will display -- End --- when all numbers are reviewed.
To store an outgoing number: Press DIAL CHECK key to select the desired
number. Press VIP key. A lock icon will illuminate in upper left corner of the
LCD display to indicate the selected number is stored. It prevents the dialed
number to be erased as the unit made more than 60 calls.
To delete outgoing call number from memory: Press the DIAL CHECK key to
select the number when the unit is in standby mode. Press delete key
6
Connection to Telephone Line:
Choose the telephone outlet in your home or office where you wish to connect the
unit. Plug the supplied telephone line to the telephone outlet. Connect the other
end of the telephone line to the unit.
Connection to the Handset and Unit :
Plug one end of the supplied coil cable into the outlet of handset. Use the other
end for the connection to the unit. NOTE: If the unit is not properly featured, you
need to remove battery and telephone line then, re-connect 10 minutes later.
Setup and Operation:
To Receive a Phone call: With the use of Caller ID available from your local
telephone company, you can see the telephone number of the calling party. Also,
the LCD can display the time, date, call count, new call and repeat call. You may
select whether answer the call.
To Make a Phone Call:
Pick up the handset or press HANDFREE key. Press desired number while hearing
a dialing tone. The LCD will display the number dialed. The LCD will revert to
call duration in 6 seconds when the dialed number is connected. After finishing
calls all data will be stored, then the LCD will revert to time stamp mode. When
the last desired number is busy you may press REDIAL key to redial the number.
Hold on Music:
Press HOLD key before hanging up the handset. Thus the caller can hear music
from the phone. Pick up the handset for continuous talking.
3
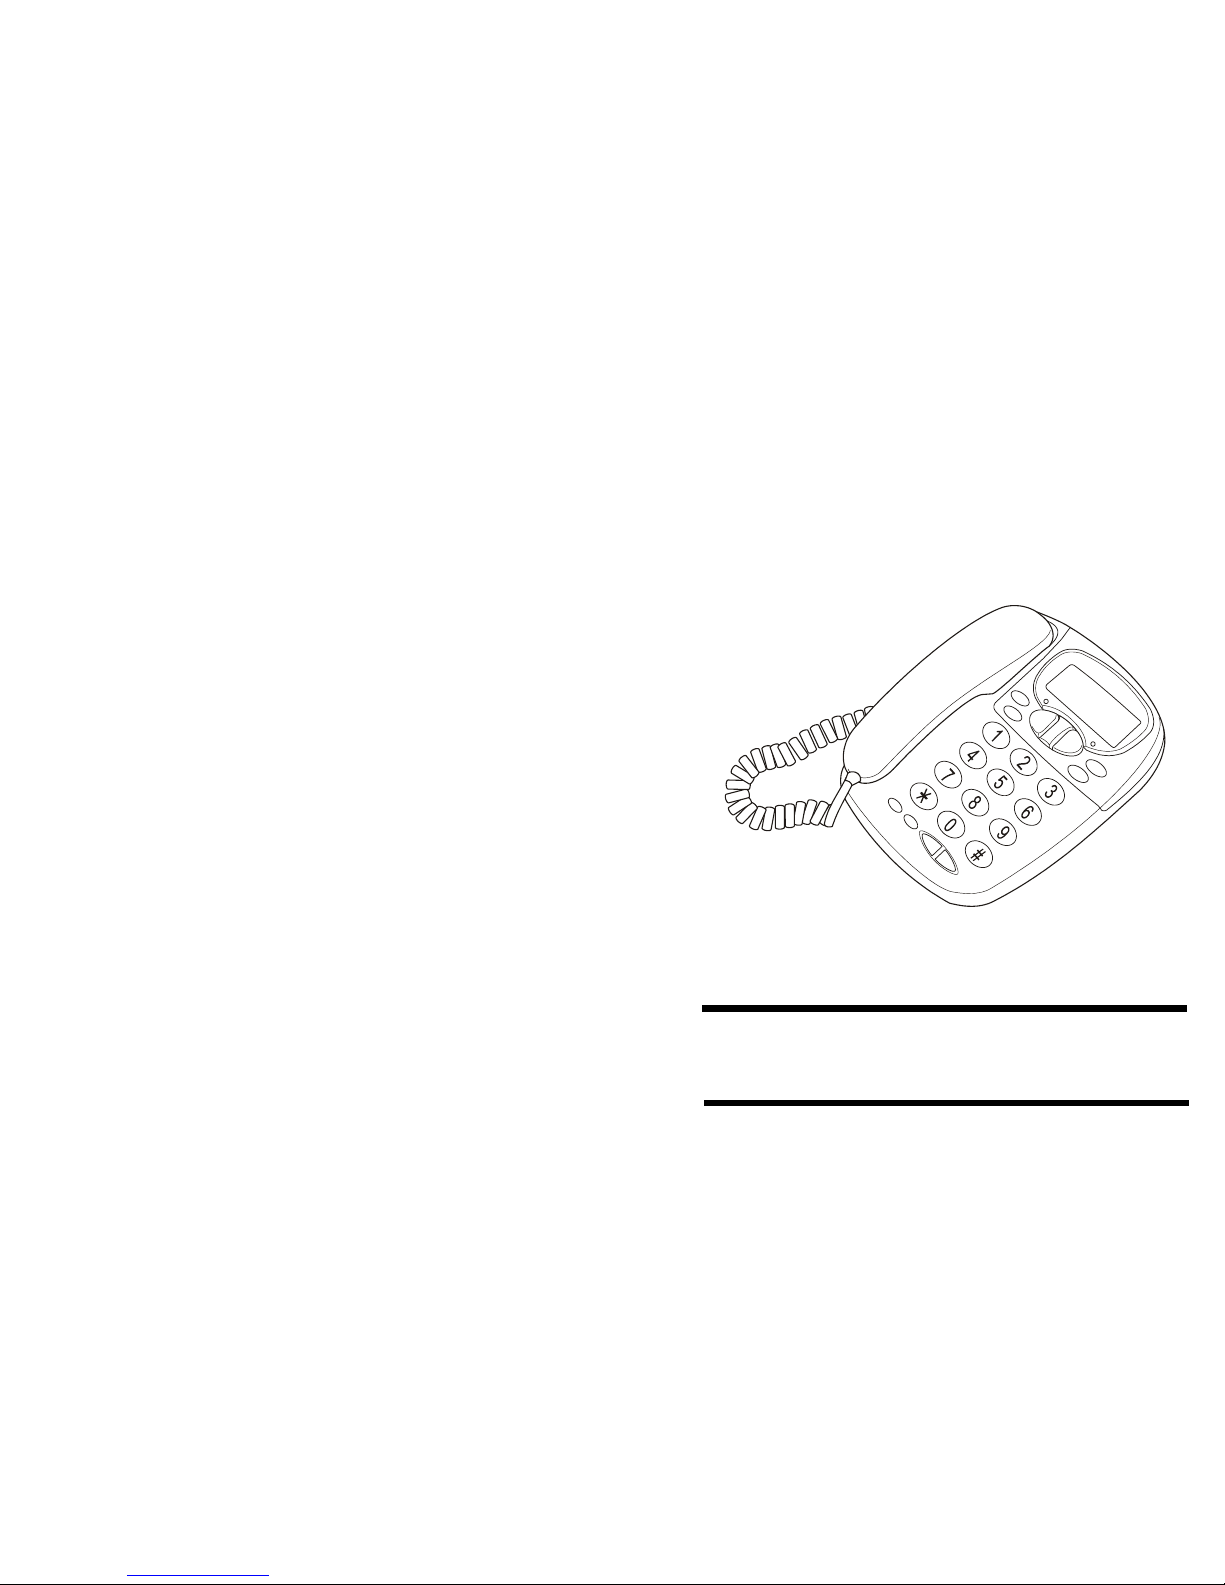
Setup Time and Date:
Press SET/STORE key when the unit is in standby mode. The SET 1 dATE will be
displayed. Press SET/STORE key again. The LCD should be flickering on 20XX.
Press UP or DOWN keys to set year. Press SET/STORE. Month should be
flickering. Press UP or DOWN keys to set month. Press SET/STORE to move to
date. Press UP or DOWN to set date etc. Unit will respond with SET 2 COdE
when date and time are set.
SetupArea Code:
The LCD will display SET 2 COdE after finishing the time and date setting or
press SET/STORE key then press UP Key to enter SET 2 COdE mode when unit
is in standby mode. Press SET/STORE again. The LCD will display CodE 1 ----.
1 is flickering. Press SET/STORE key, then press the UP and DOWN keys to
select the area code. Press SET/STORE key to confirm the area code is set.
NOTE: The area code is associated with the place where the unit is connected. For
example: If the unit was used in Taipei, You can set the area code 02 or 2 to be
deleted while the unit receive a local call and will recall from the call memory.
Setup Flash:
The LCD will display SET3 FLASH after finishing the area code setting or Press
SET/STORE key, then press UP key twice until the SET 3 FLASH is displayed.
Press SET/STORE key to observe currently set flash duration.
The unit supplies with 100ms, 300ms, 600ms and 1000ms duration. Press
UP and DOWN keys to recycle through the 4 modes. Press SET/STORE
key to confirm the selection or Press DELETE key to erase the selection
LCD Contrast Control:
With the unit is Standby mode, Press SET/STORE key. The SET 1 dATE will be
displayed. Press UP key repeatedly until the SET5 LCd is displayed.
4
Press SET/STORE key. The LCD will display current set level of contrast. Press
UP or DOWN keys to adjust the brightness of LCD. Press SET/STORE to confirm
the selection.
NOTE: The unit provides with 5 level control of LCD contrast. If LCD brightness
can not be adjusted to a proper level and the unit can not be featured correctly, we
suggest you to replace battery for better performance.
Incoming Call – Review, Store, Call Back and Delete
When the unit receives a call, the last incoming call number, time, date, call count,
new call and repeat will be displayed on the LCD. The LCD also displays ----P----,
----O---- to indicate the number is privacy or out of area.
If data is not correctly detected, the LCD will display ERROR. NOTE: In FSK
system, time and date as sent by the telephone company is recorded as the time
stamp for incoming call, not the time and date as programmed into the unit. Time
and date function is not available in DTMF system.
To review an incoming call and call back: Press UP or DOWN keys to review the
inbound numbers. Press REDIAL key when the desired number is selected. Press
REDIAL key twice. The unit will automatically add 0 as the mobile phone or long
distance call prefix.
To store an Incoming call number in VIP memory: The unit can store up to 180
sets of incoming call numbers. It prevents the numbers to be deleted when the unit
received more than 180 calls. Press UP or KEY keys to select the desired number.
Press VIP key when the desired selection is on the screen. The lock icon will
illuminate in upper left corner of the LCD display to indicate a VIP number
selected. Press VIP key again. The icon will disappear to confirm delete.
To delete the incoming call data: Press UP or DOWN key to select the number
when the unit is in standby mode. Press DELETE key when desired
selection is on screen.
5

Other Bluesky Telephone manuals

Bluesky CT-178 User manual

Bluesky

Bluesky CT-178 User manual

Bluesky CLT-901 User manual

Bluesky

Bluesky CLT-901 User manual

Popular Telephone manuals by other brands

SAGEMCOM D770 quick start guide

SAGEMCOM

SAGEMCOM D770 quick start guide

Bell Polycom VVX 310 Quick reference guide

Bell

Bell Polycom VVX 310 Quick reference guide

Yealink T48G manual

Yealink

Yealink T48G manual

Siemens HiPath 8000 OpenStage 15 Quick reference guide

Siemens

Siemens HiPath 8000 OpenStage 15 Quick reference guide

Nortel Meridian M2006 Quick reference guide

Nortel

Nortel Meridian M2006 Quick reference guide

M-Life ML0697 owner's manual

M-Life

M-Life ML0697 owner's manual

ooma DP1 quick start guide

ooma

ooma DP1 quick start guide

Panasonic KX-TDA100D Features guide

Panasonic

Panasonic KX-TDA100D Features guide

Huawei F617 NEO3500 user guide

Huawei

Huawei F617 NEO3500 user guide

SW Comms Polycom VVX411 Quick user guide

SW Comms

SW Comms Polycom VVX411 Quick user guide

Northcom 1A3 user manual

Northcom

Northcom 1A3 user manual

GE 29438 user guide

GE

GE 29438 user guide

NEC DT920 user guide

NEC

NEC DT920 user guide

GE 737 user guide

GE

GE 737 user guide

Comdial Quick Q Agent's user guide

Comdial

Comdial Quick Q Agent's user guide

Interquartz 98583 operating instructions

Interquartz

Interquartz 98583 operating instructions

Panasonic KX-TG6323CPK Service manual

Panasonic

Panasonic KX-TG6323CPK Service manual

HYFIX MobileCM Base-Station manual

HYFIX

HYFIX MobileCM Base-Station manual

manuals.online logo
manuals.online logoBrands
  • About & Mission
  • Contact us
  • Privacy Policy
  • Terms and Conditions

Copyright 2025 Manuals.Online. All Rights Reserved.