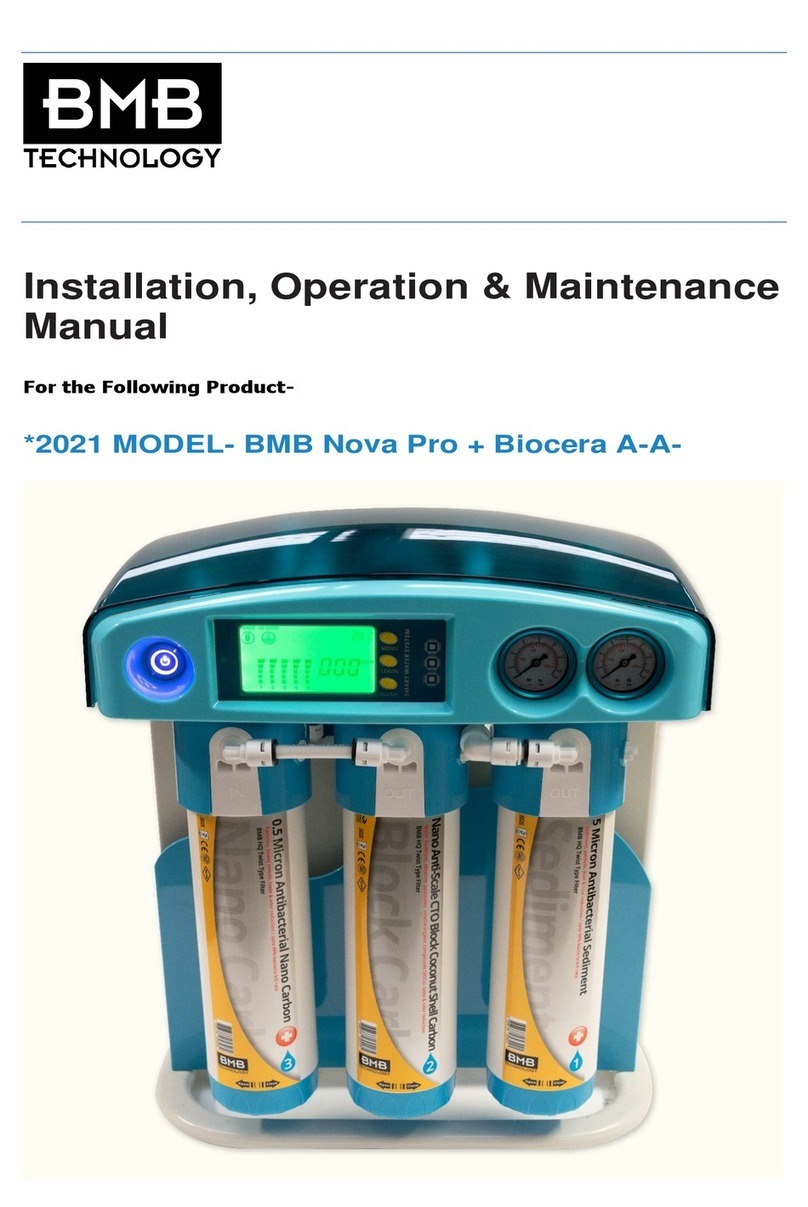
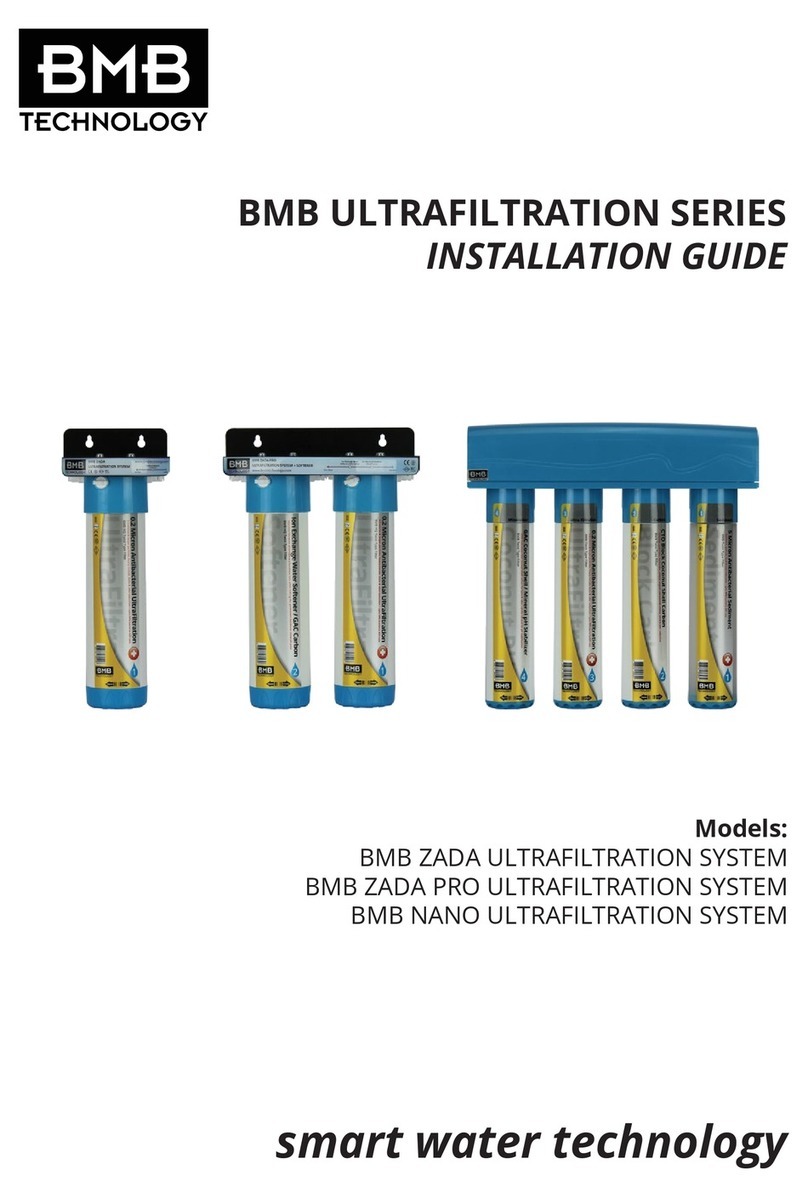
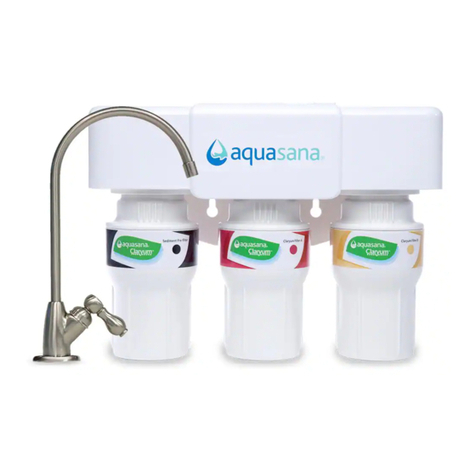
BMB Technology HOMMIX Zada User manual

BMB Zada & Zada Pro Installation Guide V2.0
A step-by-step installation guide for the BMB Zada and Zada Pro by
Hommix UK. If you have any questions or anything you believe that
needs to be added to this manual, please email us at info@hommix.co.uk
for future updates of this document

2
www.hommix.co.uk
Table of Contents
PACKAGE CONTENTS................................................................................................................................... 3
PREPARING THE FITTINGS ........................................................................................................................... 4
REMOVING THE BLANK FITTINGS ......................................................................................................................... 4
INSERTING THE ELBOW CONNECTORS .................................................................................................................. 4
FEED WATER CONNECTION ......................................................................................................................... 5
TAP CONNECTION ....................................................................................................................................... 6
MOUNTING THE ZADA / ZADA PRO .............................................................................................................. 7
HOMMIX 3-WAY TAP CONNECTION ............................................................................................................. 7
REPLACING THE FILTERS ............................................................................................................................. 8
*IMPORTANT NOTE FOR NEW INSTALLATION AND REPLACEMENT FILTERS* ............................................ 8
!

3
www.hommix.co.uk
Package Contents
Please note: if you have purchased the BMB Zada or the BMB Zada together with a Hommix 3-Way Tap, the “Tap
Assembly Kit” will not be included as all the parts necessary to connect the BMB Zada / Zada Pro to the 3-way tap
will be included within the 3-way tap box.
System Overview Diagram with Standard Tap
System Overview Diagram with Hommix 3-Way Tap
Tap Assembly Kit
Diverter Valve
PTFE Tape
Metal Ball Valve
2 x 2m Tubing
Elbow Connections
BMB Zada
BMB Zada Pro
or

4
www.hommix.co.uk
Preparing the Fittings
Both the Zada and Zada Pro have blank fittings applied by default, this is to protect the inlet and outlet of the filtration
systems during transport. First of all, let’s remove the blank fittings.
Removing the blank fittings
To remove the blank fittings, simply push the collar in towards the fitting with whilst pulling the blank fitting away
from the main fitting. Sounds a little confusing but the illustration below should help.
Inserting the Elbow Connectors
Now to insert elbow connections, simply push the straight side (3/4”) to the inlet and outlet plugs ensuring it’s inserted
until it doesn’t go in anymore.
Please ensure you do this for both sides.
1. Hold the Collar
2. Pull the blank fitting out
Insert Elbow Connectors
all the way in

5
www.hommix.co.uk
Feed Water Connection
The purpose of the feed water connection is to feed the system with water to be purified by
tapping the cold-water supply which is usually located under the kitchen counter.
Before you start, please ensure you have turned off the main water supply
and always ensure there is a bucket or bowl and dry cloth for unforeseen
circumstances.
Please see figure below for instructions on how to make the feed water connection.
Please note, depending on manufacturers stock some of the metal ball valves may be with ‘Screw Fitting’ rather than
the ‘Push Fitting’ illustrated above. In this case, simply follow the instructions below:
Step 1:
Unscrew the end
Step 2:
Insert the tube through and push it
firmly into the pipe connector
Step 3:
Screw the end back on

6
www.hommix.co.uk
Tap Connection
First of all, a proper location to mount the tap needs to be selected, paying close attention to the placement of the
tap stem under the counter.
Ensure you use the correct type of drill bit for your counter type
Hammer Drill Bit: Cement, Tile, Granite, Marble & Marmoreal
HSS Drill Bit: Steel, Wood, Chrome, Metal & Aluminium
1. Drill initial hole using a 5mm drill bit then use a 12mm drill bit to enlarge the hole to the proper diameter
2. Place the tap through the drilled hole and mount it to the sink per the images above
3. Install the Flange, Rubber Gasket, Locking Washer
4. Tighten the tap with the Faucet Nut using a Spanner
5. Insert the Tubing Pin to the white tube provided and connect to the taps stem using the Tubing Ring & Nut
6. Connect the other end of the tubing to the “Clean Water” port on the system and you’re good to go!

7
www.hommix.co.uk
Mounting the Zada / Zada Pro
Mounting the Zada or the Zada Pro is really simple as it is already supplied with the mount and the parts for mounting
it. Please ensure that there is at least 10cm empty below the bottom of the filter system to ensure you have enough
space to pull the filter(s) down when the filter is due to be replaced.
Simply mark the cupboard with the two holes once you’re satisfied with the height of the mount location, then simply
hold the Zada / Zada Pro up and screw into the preferred location.
Hommix 3-Way Tap Connection
Connecting your tap to a Hommix 3-Way Tap is really simple. Once you’ve followed the steps above to mount and connect your
Zada / Zada Pro to the feed water, simply connect the tube to the Hommix 3-Way tap using one of the three methods below
(connections differ for different types of Hommix 3-Way Taps).
Nut Connection
JACO Connection
Push Fit Connection
Min: 10cm
Simply push all the way in
Push the tube through the
plastic JACO connection into
the tap then screw the JACO
connection tightly
Push the tube through the nut into
the connection, tighten the then
screw the connection tightly to the
tap

8
www.hommix.co.uk
Replacing the Filters
Please make sure the Metal Ball Valve is turned off to ensure water flow is stopped before removing the filter
Replacing the filters have never been so simple. By default, the filters will be locked; simply unlock the filter then twist and pull it
down to remove. Please follow guided diagrams below.
To install the new filter, simply push up and turn back into place then lock the filter by turning the nozzle clockwise until you hear
the click once more. You will receive an automated email when the filters are due replacement. The email will consist of link(s)
to the replacement filter(s) if you have not purchased them yet.
*Important Note for New Installation and Replacement Filters*
You may get a metallic or an initial unpleasant taste / odour, this is due to the nano-particles within the filtration system. Simply
flush the system by letting the water run for 15 minutes, then again after an hour or two later. Repeat this process a few times
and the taste will improve as the filters would have been flushed. Also, do bear in mind that the taste will require getting used to,
as the fresh filtered water will not taste like bottled water nor hard tap water.
To unlock the filter, turn the nozzle
anti-clockwise until you hear a click.
Once unlocked, simply turn the filter clockwise / towards the left (follow the arrow on the
bottom of the filter) and you can pull it down once completely released.
1
2
This manual suits for next models
1
Table of contents
Other BMB Technology Water Filtration System manuals
Popular Water Filtration System manuals by other brands
Oasis
Oasis SFG Series manual

Ecosoft
Ecosoft SENSE Installer and user guide

Kessel
Kessel EasyClean free Instructions for installation, operation and maintenance

Applied Membranes
Applied Membranes L Series Operation, maintenance & instruction manual

VOL
VOL FE-085021 Instructions for use

Parker Hiross
Parker Hiross Hyperfilter NFF380 user manual