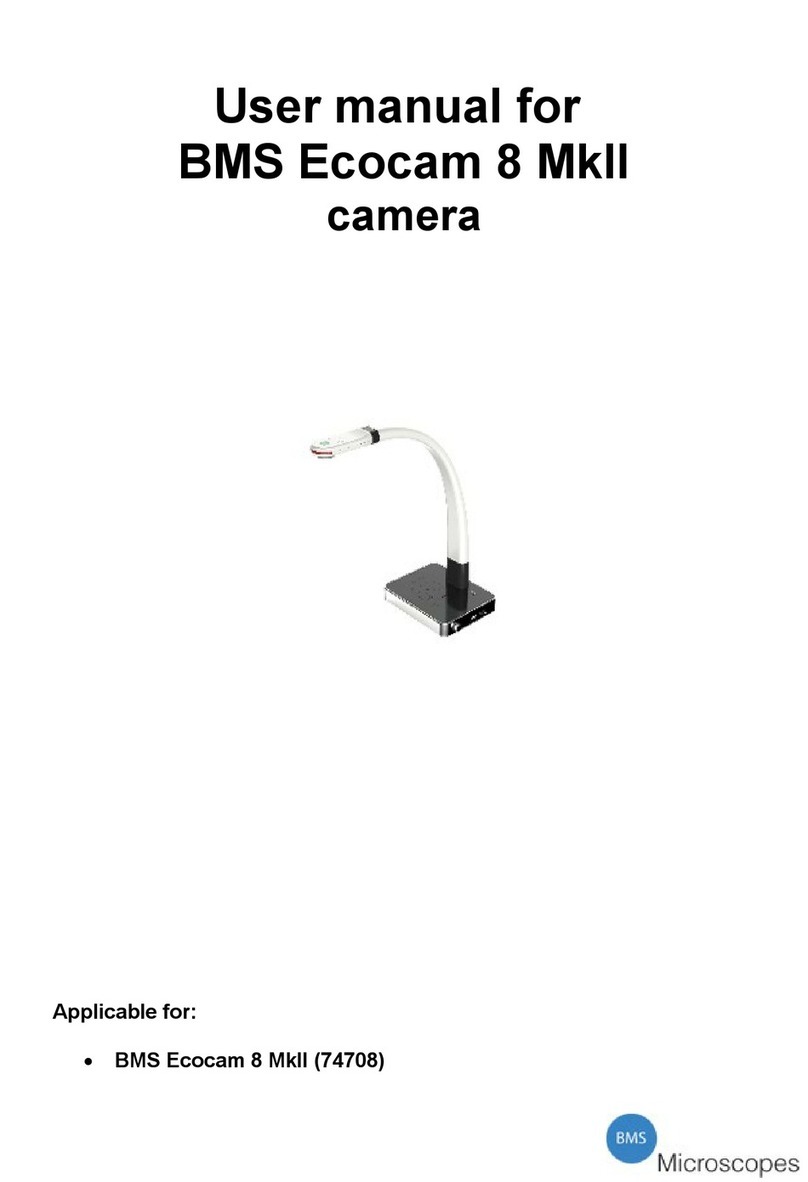
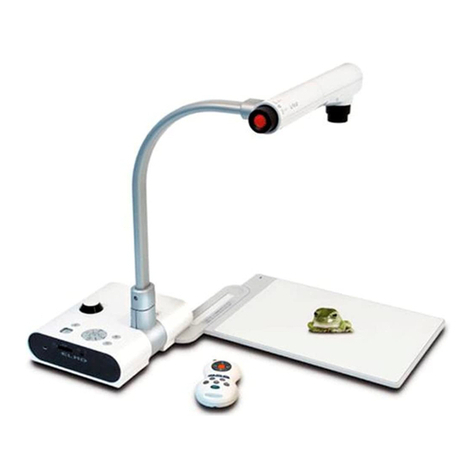
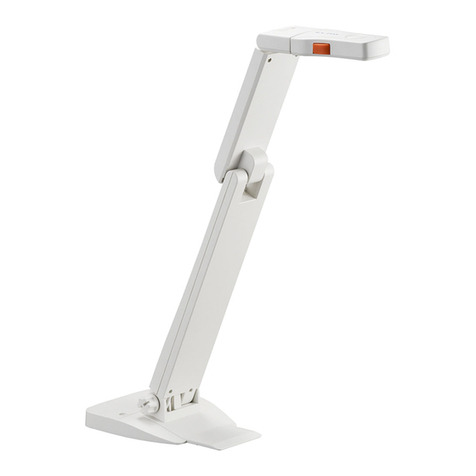
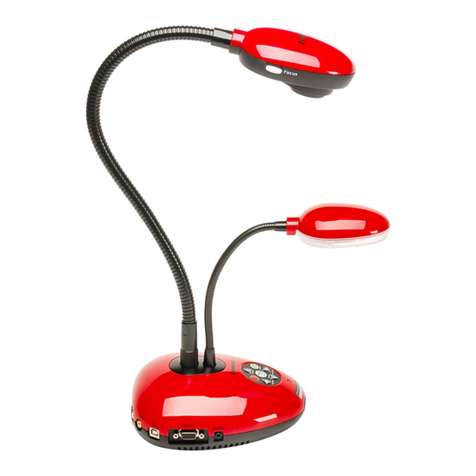
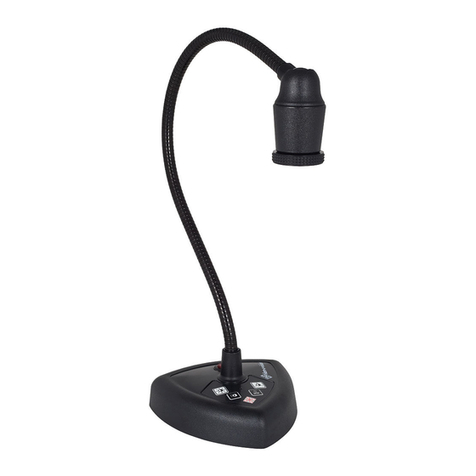
BMS BMS EcoCam 5 User manual

BMS EcoCam 5
BMS EcoCam 8
User manual
Applicable for:
BMS EcoCam 5 (74702)
BMS EcoCam 8 (74704)
EC 150316

Introduction
Thank you for choosing BMS.
Please read this manual carefully before using the camera. Please make sure you are
understanding this manual completely. In case something is not clear, please get in
contact with your supplier or local dealer. They will be at your service. In case you
have any additional uestions about this manual, please forward them, by email, to
A camera is a precision instrument with delicate glass components. Please
handle with care.
The BMS EcoCam camera has a 5 or 8 megapixel high uality camera sensor, auto
focus, extra long goose neck, WiFi connection, integrated LED illumination in the
head, HDMI with HD1080P resolution, VGA output, ability to annotate, draw or
mark over live or saved images and is easily adaptable for microscopy use with
adapters.
It is recommended that an adult is supervising at all time.
The BMS EcoCam camera makes it possible to study a variety of different 3D
objects and documents but also structures and textures of botanical and zoological
nature at cell level when connected to a microscope. Both prepared slides or self
made slides can be observed.
This camera is developed according the latest technology on optical and mechanical
details.
Safety Information
Always disconnect mains plug from power point before maintenance
Work in a clean and proper environment
Think of the safety of yourself and those working around you
Clean all parts that come in contact with the observed specimen to
prevent infection
Place the camera on a sturdy, level table or working surface
Always use original accessories and power adapters
Caution
The delicate components may get damaged if the camera is not handled with care.
Use the camera in a clean environment. Do not use it when it is subject to direct
sunlight, high temperatures, humidity or dust.
Carry the camera with care, do not carry it by just holding the goose neck.
Please make sure to always use the correct 5V/2A (for BMS EcoCam 5) or 3A (for
BMS EcoCam 8) BMS adapter with your BMS EcoCam camera.
1

Getting started
Take the camera out of the packaging. Included will be the following;
1. The BMS EcoCam camera
2. USB cable
3. USB stick (includes software)
4. Mouse, cordless, including battery
5. LAN cable
6. Adapter 5V/2A (BMS EcoCam 5) or 5V/3A (BMS EcoCam 8)100-
240V
7. Remote control with batteries
8. HDMI cable
9. VGA cable
2

Optional accessories
Item code Product description
747038 Compound microscope adapter eyepiece outer Ø 28 mm
747039 Stereo microscope adapter eyepiece outer Ø 34 mm
76395 Aluminum case
760465 Eyepiece WF10x without pointer
747035 BMS EcoCam 5 power adapter Euro 100-240V/5V 2A
747036 BMS EcoCam 5 power adapter UK 100-240V/5V 2A
BMS EcoCam 8 power adapter Euro 100-240V/5V 3A
BMS EcoCam 8 power adapter UK 100-240V/5V 3A
Once you have checked all items included, place the camera on a steady surface. By
moving the goose neck you can get the desired angle and focal point to your
specimen.
When connecting to a microscope, always attach the re uired optional accessory
adapter (28 mm or 34 mm) before connecting to the microscope.
Now connect the power supply adapter (5V) to the BMS EcoCam camera. You can
immediately use the BMS EcoCam with any of the supplied cables.
When using with a computer, firstly install the supplied software. The software can
be found on the supplied USB stick. For instructions, see further in this manual.
Inputs and outputs:
1. H MI: HDMI signal output. (Used for linkage with HDMI display e uipment)
HDMI is the primary signal output when starting the camera the first time.
2. VGA OUT: VGA (RGB) signal output (15 pin D-SUB). (Used for linkage with
VGA display e uipment)
Note:
The HDMI output and VGA output are not simultaneous, there can only be one
output activated at same time. BMS EcoCam automatically activates the last used
output. If there is no image when the camera is turned on, showing on the connected
display (it takes 1min to start), the connected output is not properly activated. Please
use a smartphone or a tablet and the WiFi signal of the BMS EcoCam to choose the
appropriate output.
3. LAN: Network connection (used to connect with your network)
4. USB-B: USB connection (used to connect with your PC)
5. USB: USB connection for the receiver of the supplied cordless USB mouse. To
control the BMS Ecocam camera or for the USB memory stick to save the
images/videos.
3

The camera
1. Camera head with sensor
2. LED light
3. Goose neck
4. Remote control IR receiver
5. Control panel
6. VGA connection
7. HDMI connection
8. LAN connection
9. USB-B connection
10. USB connection
1
2
3
4
5
10
6
7
8
9
4

Specifications
Model BMS EcoCam 5 or 8
Sensor 5 or 8 megapixel
Zoom 2×lossless,5×digital
Frame rate in fps 25
Shooting area A3
Focus Auto
Output signal VGA: XGA SXGA / HDMI: 720P 1080P
White balance Auto
Brightness adjustment Yes
Image capture Yes, on-board 400 images
Image mirror Yes
Image rotation 90º / 180º / 270º
Image split Yes
Picture in picture Yes
Black-white/color conversion Yes
Positive/negative conversion Yes
Image freeze Yes
Languages Dutch/English/French/German/Spanish
Outputs HDMI,VGA, LAN, USB and WiFi
USB2.0 Host×1, Slave×1
Software Windows XP /7 or above, Mac
Remote control Yes (360°controllable)
Light source LED light box
Kensington lock Yes
Operating temperature in ºC 0 – 45
imensions in cm Setup: 17,2 × 48,5 × 34,3
Folded: 17,2 × 18,3 × 34,3
Power supply 100 – 240V / 5 V /2A (BMS EcoCam 5)
100 – 240V / 5 V /3A (BMS EcoCam 8)
Weight in kg (net) 1,30
5

Control Panel
1. Auto: Press to have the camera auto focus and adjust the white balance.
2. Rotate: Press to rotate the image (90°,180°, 270°)
3. Brightness +/-: Image brightness control.
4. Zoom +/-: Zoom in or out.
5. Restart: Long press this button to restart
6
3
2
1
4
5

Remote control
•Standby: Press for 10 seconds to restart the e uipment.
•CAM: Switch back to the camera signal.
•Settings: System setup
•OK: confirm ok
•ARROWS: Move the mouse to select the location of the picture. Switch
back and forth between saved images. When using the locking function, the
left and right arrow buttons can adjust the height of the locking area.
•CURSOR:switch to the button mode or mouse mode
•BACK: Return
•Record: start recording and stop recording.
•Auto: Adjust white balance and focus automatically.
•Save: Capture and save the image to a USB stick, or built-in memory.
EcoCam can detect when there is an external storage media and
automatically switches to the last detected storage. If there is no external
storage connected, all captured image will be saved onto the built-in
memory.
•RECALL: Image recall mode enabled, display the saved images.
•el: Delete the saved images
•B/W: Select black/white or press again and switch back to colour.
•T/P: Switch form image mode to text and picture.
•Mir: Flip the camera image.
•Neg: Switch the image mode between positive and negative.
•Split: Split screen.
•Zoom+/-: Zoom in or out.
•Frz: Image freeze.
•Bright+/-: Image brightness control.
•Rotate: Rotate image (90°, 180°, and 270°).
•TITLE: start/close the title mode
•PIP: Picture in picture.
7

Installation of software from the USB Stick
The enclosed USB stick carries the BMS SynControl software. This software is
necessary to operate the camera by means of a computer.
Remove the cap from the stick and insert the stick into a USB port.
Following window opens:
Pic 1 Pic 1
Choose: Auto run (see arrow in Pic 1)
Following window opens:
Pic 2 Pic 2
Choose “Software” (See arrow in Pic 2).
8

Following window opens:
Pic 3
Click “Yes” (see arrow in Pic 3)
Following window opens:
Pic 4
Click “next” (see arrow in Pic 4)
Next window opens:
Pic 5
9

Choose the destination and confirm by clicking “install” (see arrow in Pic 5).
The installation starts and will last a few seconds.
Following window will open:
Pic 6
Click “finish” (see arrow)
Close all windows until only the desk top screen is opened.
Remove the USB stick
On the desk top you will find the icon “BMS SynControl”
Pic 7
Click this icon to open the program.
10

Following window opens:
Pic 8
Connect the camera to an electrical socket by means of the adapter.
Connect the camera with the enclosed USB cable to the computer.
Wait a few seconds and click with the left hand mouse button on “File(F)” in the left
corner of the top toolbar. A pop up menu with two options will open. Choose “Select
Device”.
A new window will open.
Pic 9
In this window a small screen with the BMS EcoCam is shown. The screen is green
if it is ready to be opened. Click on it and the camera will show the image on the
screen.
In case a screen with options opens, see Pic 10, you need to click the “go back”
button in the right bottom corner. (see arrow in Pic 10)
11

Pic 10
The following screen will open:
Pic 11
Click on the BMS EcoCam (see arrow in Pic 11) icon to switch to the live image.
To go from the life image back to this screen where the options can be chosen,
follow this instruction.
Go to the top tool bar in the live screen and go to “control”.
Click on it and a pop up menu opens. Go to “ uit” (see arrow in Pic 12).
Click on it and the screen as in Pic 11 will open.
From here you can choose the desired option.
12

Pic 12
Main Functions
The screen image of Pic 11 show the main functions of the BMS EcoCam.
By clicking one of these icons, you will be guided further into the program.
BMS EcoCam icon: Go to the live image.
Files icon: Opens the file of saved images and videos on the USB stick or on the
memory of the BMS EcoCam camera.
Internet icon: Browse the internet (internet connection should be available).
Settings icon: System settings. Here the options can be found to set the camera into
the right modus. There are five main groups;
–Device
–Resolution
–Network
–Language
–System
In “Device” there are the options to rename the camera, set the resolution, alter the
frame rate.
In “Resolution” the choose for VGA or HDMI can be chosen. In accordance with
this mode, one can also choose the wanted resolution. After altering the camera will
restart. It may take up to a minute to obtain a signal again.
The chosen device should be able to support the resolution. If not, an image may not
occur.
13

In “Network” the connection can be chosen. Either a wired one or a wireless one.
Here you can also instruct the camera to operate as a WiFi hotspot or to receive WiFi
signals from a wireless network.
In “Language” the preferred language can be chosen. The choice can be made
between: English, French, German, Spanish or Dutch.
In “System” you will find data about the camera. Like the possibility to obtain new
firmware or restore factory settings, restart the device or make an application check.
For certain options an internet connection is re uired.
The BMS EcoCam and WiFi signal
The BMS EcoCam is also e uipped to send the image by wireless signal to a
smartphone or tablet.
Make sure the right app is installed on your mobile device.
Go to the App Store and search for “Syncontrol”. A icon with a document camera
will appear. Download this App.
Set the BMS EcoCam in the right modus. Go to the begin screen (Pic 11) and choose
“Settings”. Go to “Network” and select under the WiFi options “WiFi Hotspot”
There will be an announcement: Hotspot Opened EcoCam followed by an IP
address.
On your mobile device you have to open Settings and look for available WiFi
signals. Connect to the EcoCam signal.
Now go to the SynControl App and open this.
A screen with a document camera will open.
In the corner of the inner screen an icon will appear. In here you will see a screen
and a camera and the name of the connected BMS EcoCam camera. If the screen is
green, it means you can open the camera and see the live image.
IMPORTANT NOTICE
PLEASE BE AWARE THAT AFTER STARTING THE CAMERA OR
RESTARTING THE CAMERA, IT MAY TAKE UP TO ONE MINUTE
BEFORE THE CAMERA CONNECTS TO THE EVICE.
PLEASE BE PATIENT
14

Care & Maintenance
Store the camera in a dust free area or the optional case you can purchase at your
dealer.
It is recommended to never expose the camera to extreme weather conditions. Using
or storing the Ecocam camera is best in a temperature of 0° - 45° degrees Celsius.
The humidity should be less then 75%.
Always keep the optical parts clean. In case there is dirt on the lens surface, use
distilled water to moist and soft cloth to clean the lens surface. Be very careful and
make sure to avoid scratches on a lens surface. Cleaning can also be done using an
alcohol solution or an optical cleaning solution. Ventilate the room. Do not soak the
lens in (cleaning) li uid.
To clean painted parts, use also a slightly moistened soft cloth. Never use an organic
solvent. Use a mild detergent, like soft hand soap.
It is within our company policy to develop continuously. Breukhoven b.v. reserves
the right to change design and specifications without further notice.
Breukhoven b.v.
Essebaan 50
2908 LK Capelle aan den IJssel
The Netherlands
Tel.: 010-458 42 22
Fax: 010-450 82 51
© 2016 Breukhoven
www.breukhoven.nl
15
This manual suits for next models
3
Table of contents
Other BMS Document Camera manuals
