BMS Cavalier 150 User manual

WELCOME
Our scooter presents you with a challenge; a challenge to master a machine, a challenge
to experience adventures, a challenge to be free. Unlike an automobile, there is no metal
cage around you. There is only you and the road, linked together by a vehicle that resp-
onds to your every command like no other. Your reward…FREEDOM.
To answer this challenge, and to enjoy the adventures ahead, you should first become th-
oroughly familiar with this owner’s manual.
As you read this manual, you will find information that is preceded by a NOTICE. This
information is intended to help you avoid damages to your scooter, your body, property
of others, and the environment.
Note: If there are any discrepancies between the real scooter and its photographs, the real scooter will take precedent.
1. Operator and Passenger
This scooter is designed to carry one operator and one passenger. Never exceed the manufacturer’s recommended maximum
weight capacity as shown on the loading label.
2. On-road Use Only
This scooter is designed to be used only on paved roads.
3. Read This Owner’s Manual Carefully
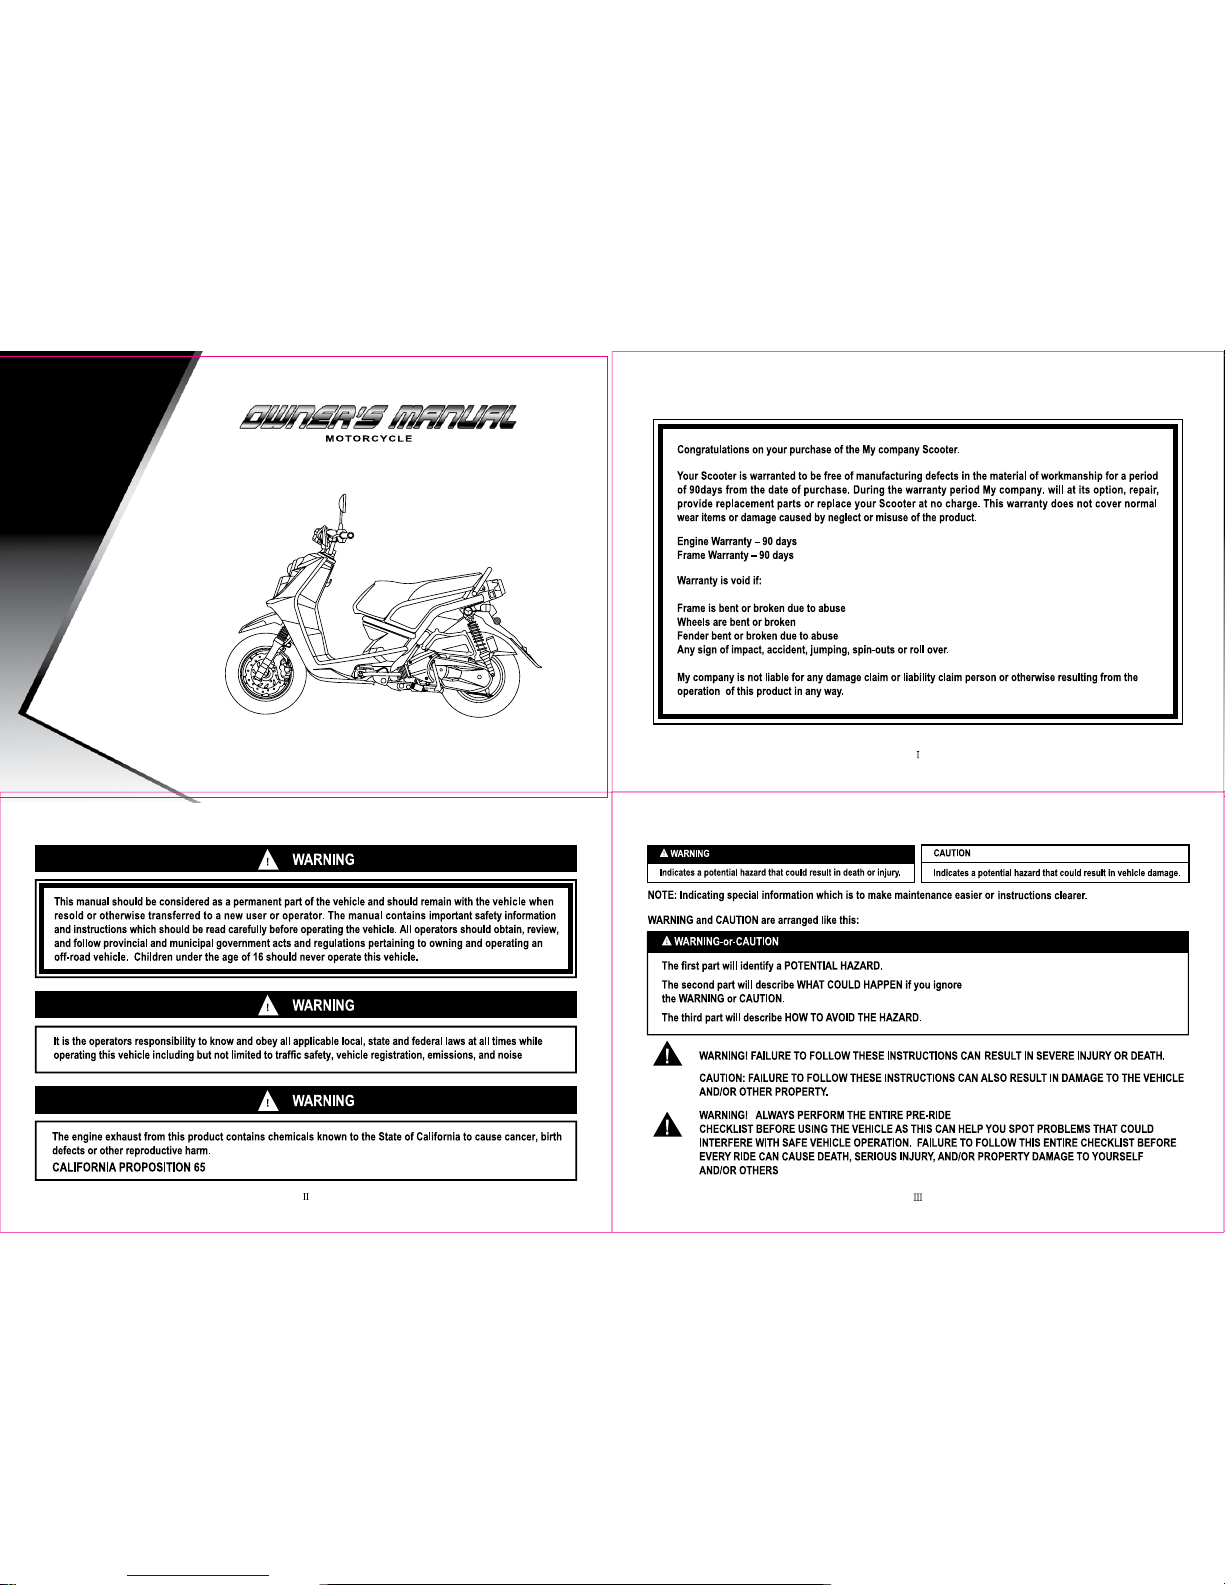
Pay special attention to safety messages that appear throughout this manual. This manual should be considered a permanent
part of your scooter, and should remain with the scooter when resold to subsequent owners.
IMPORTANT INFORMATION
Mirror...................................... 16
16
17
18
19
19
20
21
22
23
24
24
25
26
27
27
27
27
28
28
Rear storage/Helmet hoot
Electric circuit diagram.............31
29
29
30
Major technical parameters......32
Important Safety Information
Understand the challenges that you will face when operating a scooter will greatly improve your safety on the roads. There ar e
many things that you can do to protect yourself when riding. You will find many helpful recommendations throughout this
manual. Following are few that we consider most important.
Always Wear Protective Gears
It is a proven fact: helmets significantly reduce the number and severity of head injuries. Always wear helmets, eye protection,
sturdy boots, gloves, and other protective gears when riding.
Make Yourself Visible
Some drivers do not see scooters because they do not look for them. To make yourself more visible:
• Wear bright reflective clothing while riding.
• Position yourself in the traffic lane so other drivers can see you.
• Signal before turning or changing lanes.
• Use your horn to alert others on the road.
• Always use headlights while riding, even during daytime.
SAFETY INFORMATION
-
1
-
Ride Within Your Limit
Pushing the limits is a common cause of scooter accidents. Never ride beyond your personal abilities or faster than conditions
warrant. Remember that alcohol, drugs, fatigue and inattention can significantly reduce your ability to make good judgments and
ride safely.
Keep Your Scooter In Safe Condition
For safe riding, it is important to inspect your scooter before every ride, and perform recommended maintenance in a timely
manner.
Loading Limit Guidelines
Your scooter has been designed to carry you and one passenger. When you carry a passenger, you may notice some changes in
acceleration and braking. However, as long as you keep your scooter well maintained, with good brakes, you can safely carry
loads within manufacturer’s recommended weight limit. Exceeding the weight limit or carrying an unbalanced load can
seriously affect your scooter’s handling, braking, and stability. Improper modifications and poor maintenance can also reduce
your safety.
SAFETY INFORMATION
-
2
-
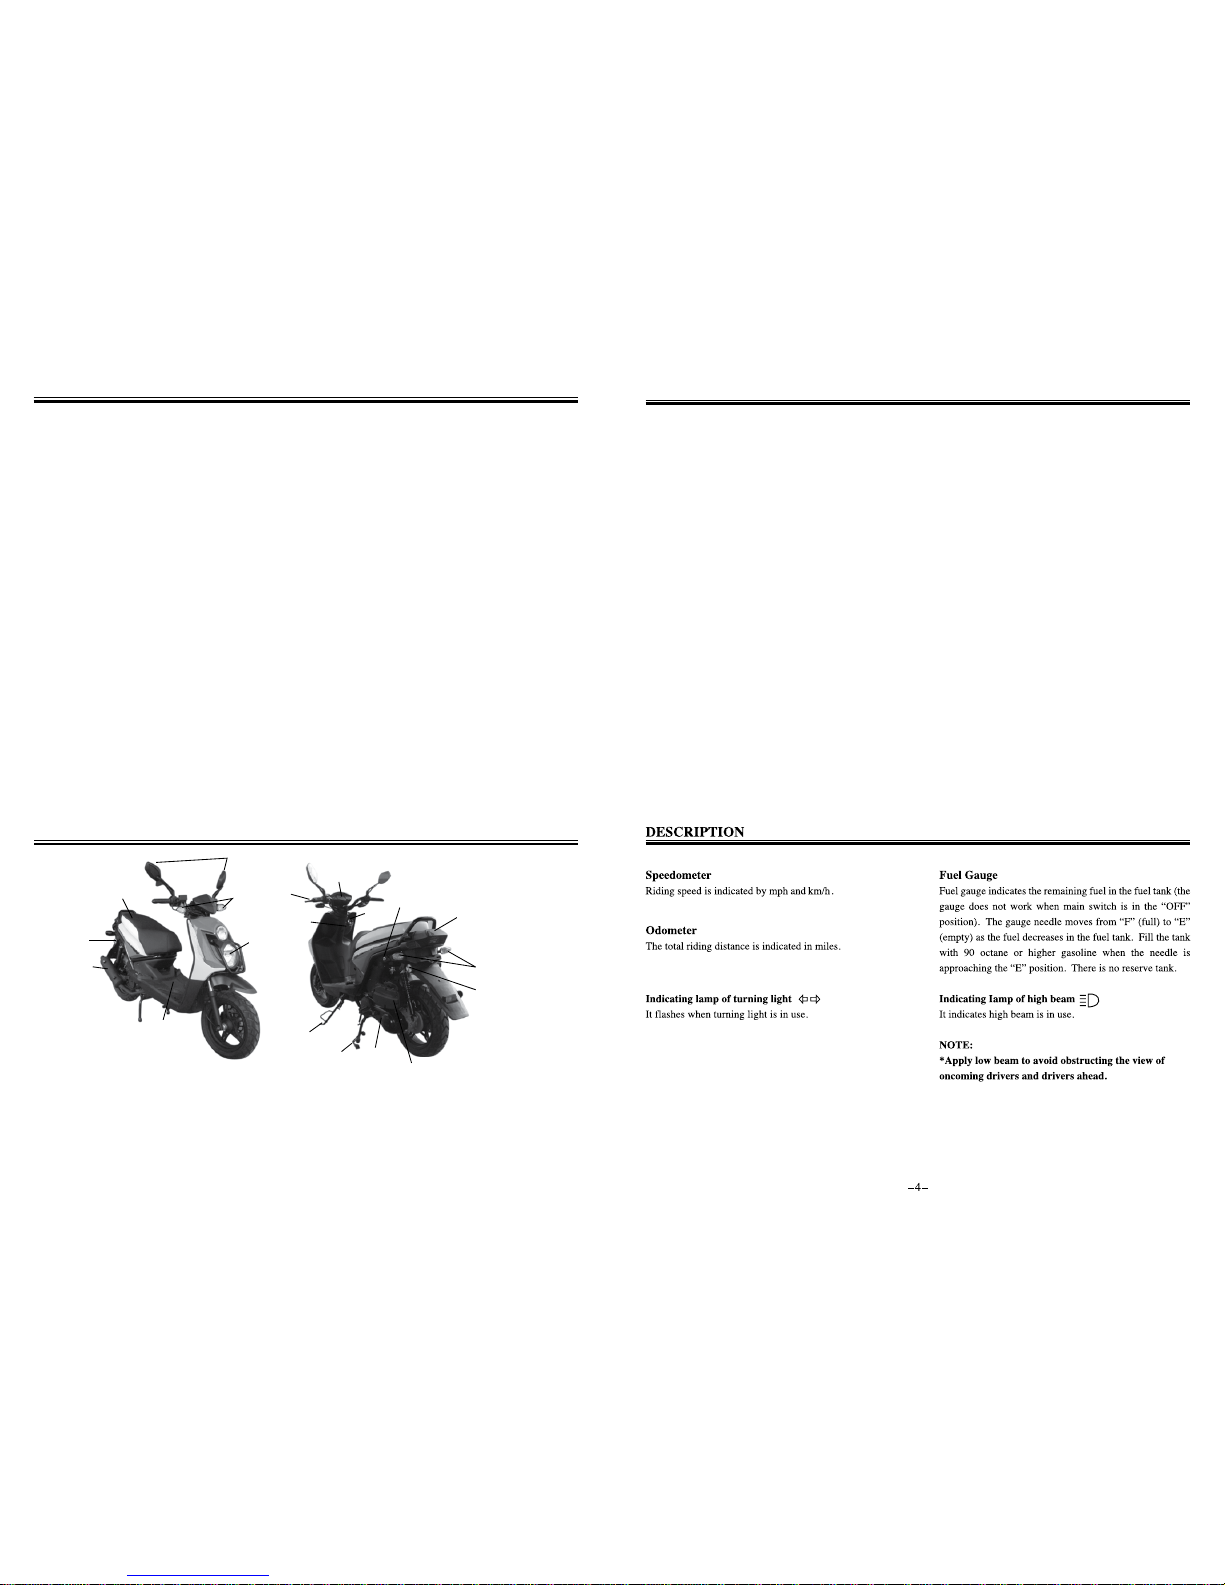
1. R and L rear mirror
2. R and L brake
3. Helmet hook
4. Speedometer
5. Main switch
6. Battery
7. Air cleaner
8. Seat lock
9. Rear light assembly
10. R and L reflector
11. Oil tank
12. Center stand
13. Kick starter
14. Side stand
15. Muffler
16. R and L rear turn signal
17. Headlights
18. L and R turn light
DESCRIPTION
-
3
-
11
7
10
16
8
3
2
4
13
12
9
5
15
10
1
18
6
17
14
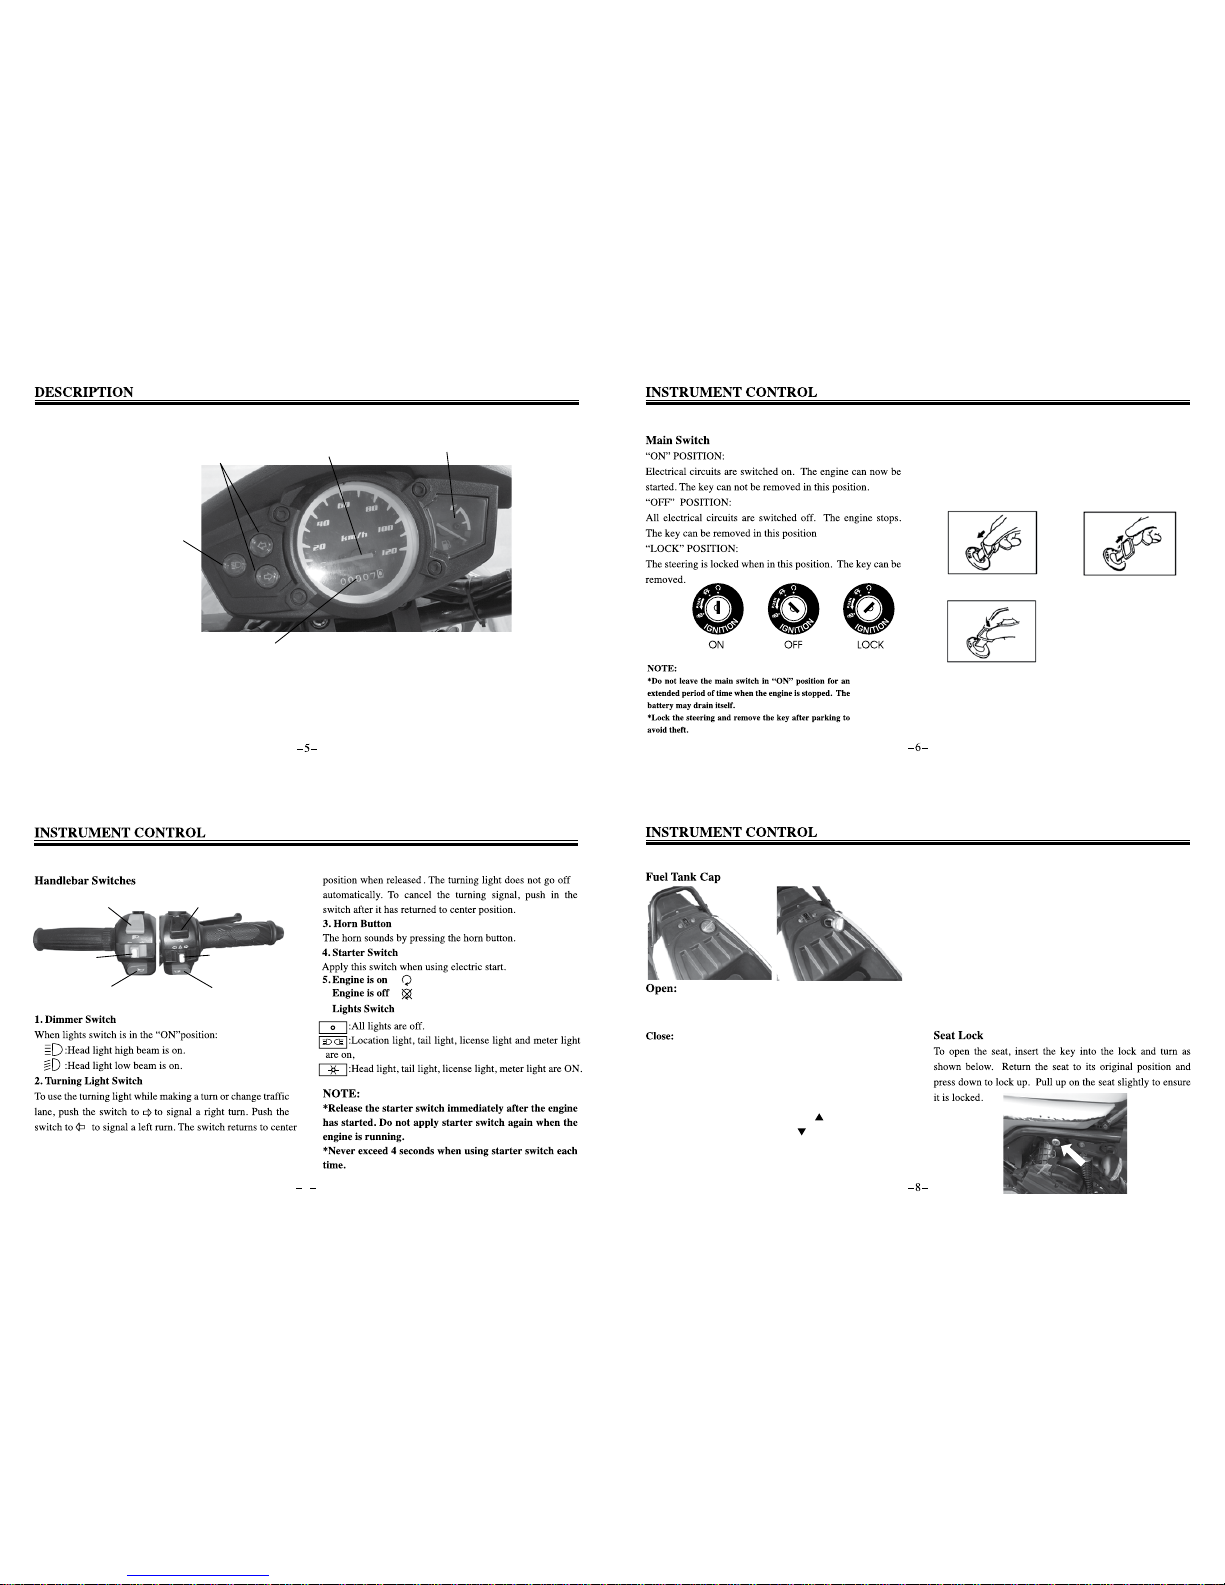
1. Speedometer
2. Odometer
3. Turn signal indicator
4. High beam indicator
5. Fuel gauge
2
4
315
Steering Lock
Turn the handlebar fully to the left and lock the steering as
show below to prevent theft:
Push the key in when it’s in OFF position Release the key
Turn to LOCK position
7
6.
1
2
34
6
5
Fuel tank is located underneath the seat cushion. To open,
turn the cap counterclockwise unil it unlocks.
Lock the fuel tank by pressing down on the cap and turning
it clockwise.
2. The “
.” mark on the fuel tank cap indicates that
when the key turns clock wise about 1/4 round, it will
be returned to this position by spring force.
3. The key can only be removed in the “lock” position.
NOTE:
*The fuel tank cap is not closed if it has not been locked
by the key.
*The key can not be removed if the fuel tank cap is not
locked properly.
Description:
1.When closing the fuel tank cap, the “ ” mark on the cap
should be in alignment withe the “ ” mark on the filling
hole.
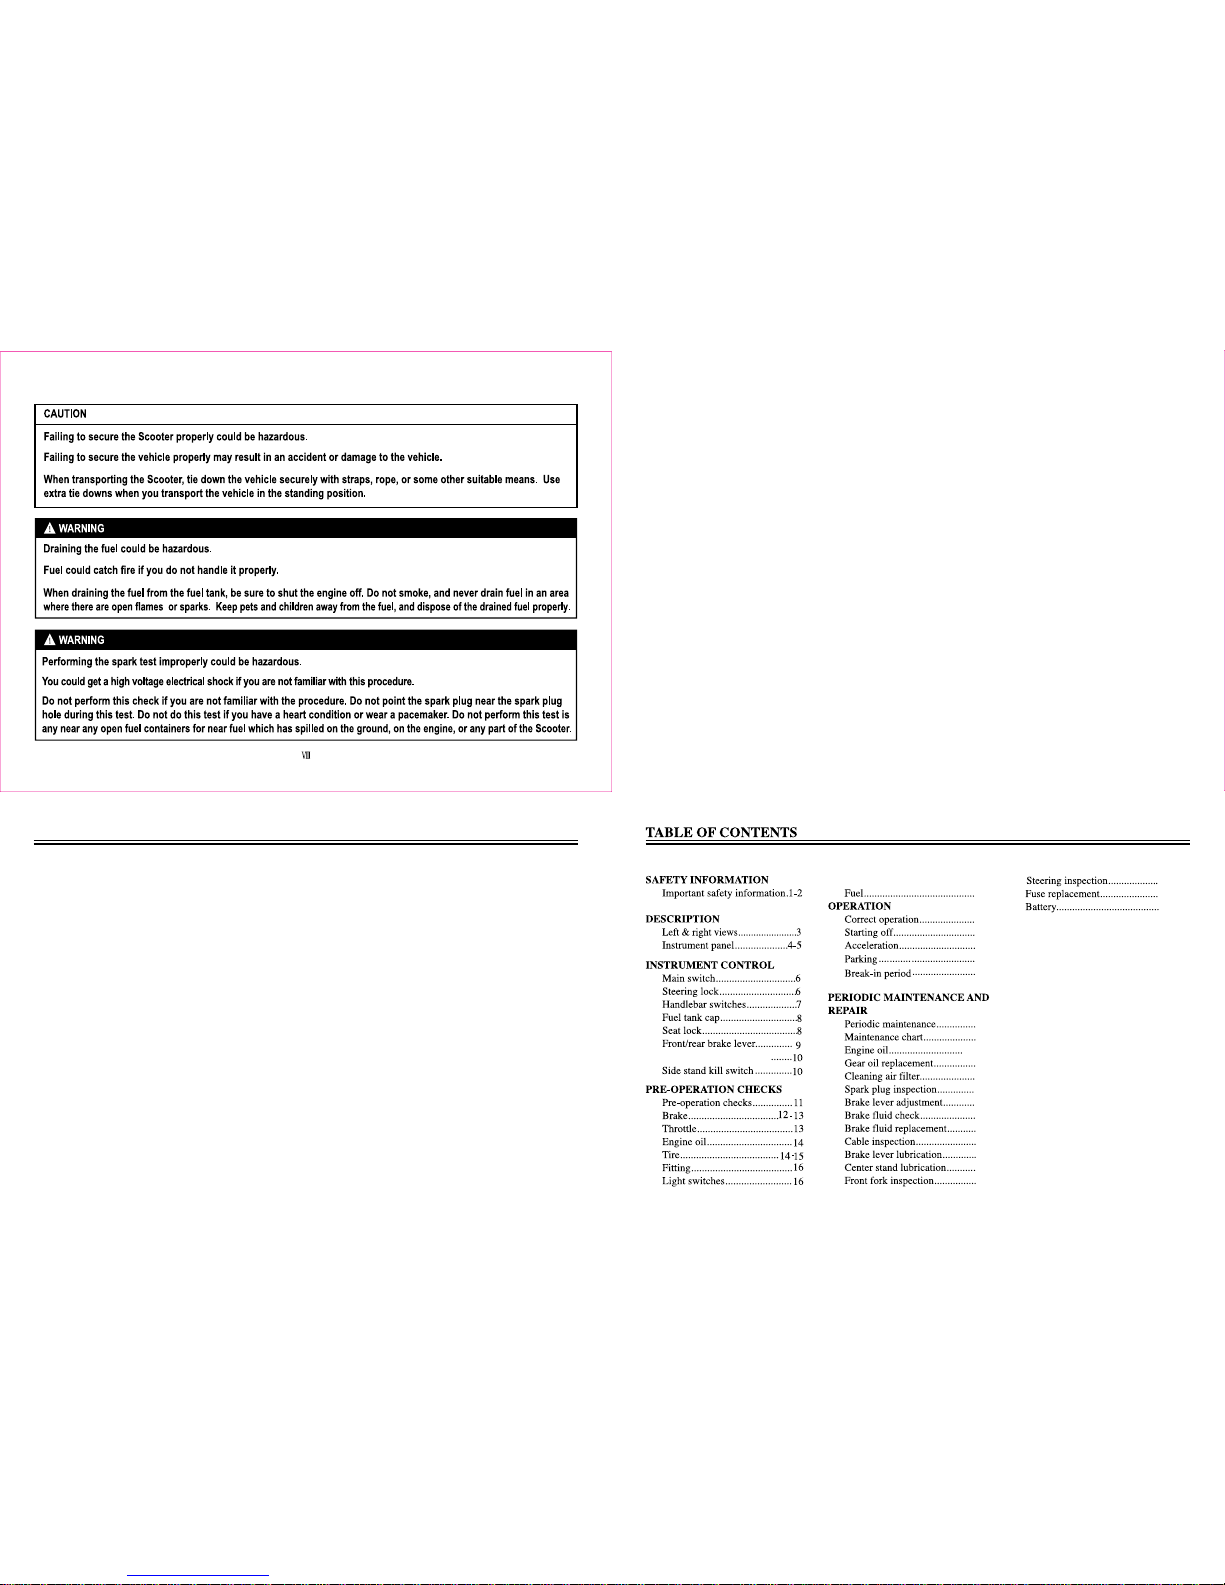
Table of contents
Other BMS Motorcycle manuals


Popular Motorcycle manuals by other brands

MV Agusta
MV Agusta Brutale 675 Workshop manual

APRILIA
APRILIA RSV MILLE - PART 1 1999 User manual content

Royal Enfield
Royal Enfield Himalayan 2018 owner's manual

SSR Motorsports
SSR Motorsports Lazer5 owner's manual

MOTO GUZZI
MOTO GUZZI 2005 Griso 1100 Use and maintenance book

KTM
KTM 85 SX 19/16 owner's manual


