BN Thermic W16CW User manual

1. PREPARATION REQUIRED FOR WIFI CONNECTION.
You will need an Android 4G mobile phone and wireless router. Connect the wireless router to the mobile phone
and record the Wi-Fi password (you will need it when the thermostat is paired with the Wi-Fi).
Step 1 Download the app to your phone
We recommend you use “Smart RM” available at the App Store. If you already have the app “Smart life” or wish
to use this, the thermostat is also compatible with it.
“Smart RM” App
Step 2 Register your account
After installing the app, click “register”.
Please read the Privacy Policy and press Agree to proceed to the next step. (Fig 2-1).
Registration account name uses your email or mobile phone number. Select Region, then tick “I Agree User
Agreement” box now click “Get Verification Code” (Fig 2-2).
You will receive a 6-digit verification code via email or SMS to enter on the next screen (Fig 2-3).
Please set a password. The Password must contain 6-20 letters and numbers, once set remember it and
click “Done” (Fig 2-4).
Fig 2-1 Fig 2-2 Fig 2-3 Fig 2-4
INSTRUCTIONS FOR:-
Wi-Fi Thermostat – APP CONNECTION
iOS Version (Apple Phones)
“Smart life” App

Step 3A Connect your Thermostat to your phone’s Wi-Fi signal (EZ distribution mode)
1.
Go to your Wi-Fi setting on your phone and make sure you are connected via 2.4g and not 5g. Most modern
routers have 2.4g & 5g connection. 5g connections do not work with the thermostat.
2.
On the phone press "Add Device" or " +" in the upper right corner of the app to add the device (Fig 3-1).
Under the small appliance section select the device type "Heating Thermostat" (Fig 3-2). Agree to Smart
RM having access to the device (Fig 3-3). Your phone should now show a screen similar to Fig 3-4.
3.
With the thermostat switched on, press and hold button and button at the same time until both
icons ( & ) flash to indicate the EZ distribution mode (Fig 3-4). This can take between 5-20 seconds.
4.
On your thermostat, confirm icons are rapidly blinking and then go back and confirm this on your
app. Tick the circle next to “Confirm indicator icon rapidly blink” and press “Next” (Fig 3-4). Enter the
password of your wireless router (this is case sensitive) and confirm. The app will connect automatically
(Fig 3-6 & 3-7). This may typically take up to 5 - 90 seconds to complete.
If you get an error message, make sure you have entered your correct Wi-Fi password (case sensitive any
typically found on the back / bottom of your router) and that you are not on your Wi-Fi’s 5G connection. If
this fails, try the alternative pairing method (AP Paring) on the next page.
Fig 3-1 Fig 3-2 Fig 3-3 Fig 3-4
Fig 3
-5 Fig 3-6 Fig 3-7
2

Step 3B (Alternative method) (AP mode pairing) Only do this if Step 3A failed to pair the device.
1.
On the phone press "Add Device" or " +" in the upper right corner of the app to add the device (Fig 3-1).
Under the small appliance section select the device type "Heating Thermostat" (Fig 3-2). Change mode in
top right-hand corner to “AP Mode” (Fig 4-1).
2.
With the thermostat switched on, press and hold button and button at the same time, until both
icons ( & ) flash. Now release your fingers and again press and hold button and button
together until just the icon flashes to indicate the thermostat is in AP mode (Fig 4-2). This can take
between 5-20 seconds. Now confirm this on your app by ticking the circle next to “Confirm indicator icon
blink” (Fig 4-1) and press “Next”. Screen will change to Fig 4-3. Press “Go to Connect” and screen will show
your phone’s Wi-Fi settings (Fig 4-4). Change network to “SmartLife-XXXX” and press the return button “<”.
The app will now attempt to add the thermostat (Fig 4-5). This may typically take up to 5 - 90 seconds to
complete.
3.
Once complete, the screen will change to Fig 4-6. Just click “Done” and the app will show the temperature
screen (Fig 4-7).
4.
You may need to change your phone’s Wi-Fi setting back to your usual network.
3
Fig 4-1 Fig 4-2 Fig 4-3
Fig 4-4 Fig 4-5 Fig 4-6 Fig 4-7
3

2. CHANGING SENSOR TYPE AND TEMPERATURE LIMITS.
Press the setting key (Fig 4-7) in the bottom right-hand corner to bring up the menu. Click the Sensor type
option and enter password (pre-set 123456). You will then be given 3 options:-
(1) “Single built-in sensor” Thermostat will only use the internal air sensor (DO NOT use this setting if you are
using the thermostat to control underfloor heating*).
(2) “Single external sensor” Thermostat will only use the external sensor or floor probe (ideal for bathrooms
where thermostat is installed outside the room).
(3) “Internal and external sensors” will use both sensors to read the temperature (Use for underfloor heating).
Once you have chosen the sensor type, check that “High Temp Protection” option is set to a suitable temperature
for your flooring (typically 27°C).
*A floor probe must always be used with electric underfloor heating to protect the flooring.
3. PROGRAMMING DAILY SCHEDULE.
Press the setting key (Fig 4-7) in the bottom right-hand corner to bring up the menu. At the bottom of the
menu there will be 2 stand-alone options called “Program Type” and “Weekly program setting”. “Program Type”
allows you to choose the number of days the schedule applies to between 5+2 (Weekday + Weekend) 6+1 (Mon
– Sat + Sun) or 7 days (all week).
“Weekly program” setting allows you to choose the time and temperature of your daily schedule at varying points.
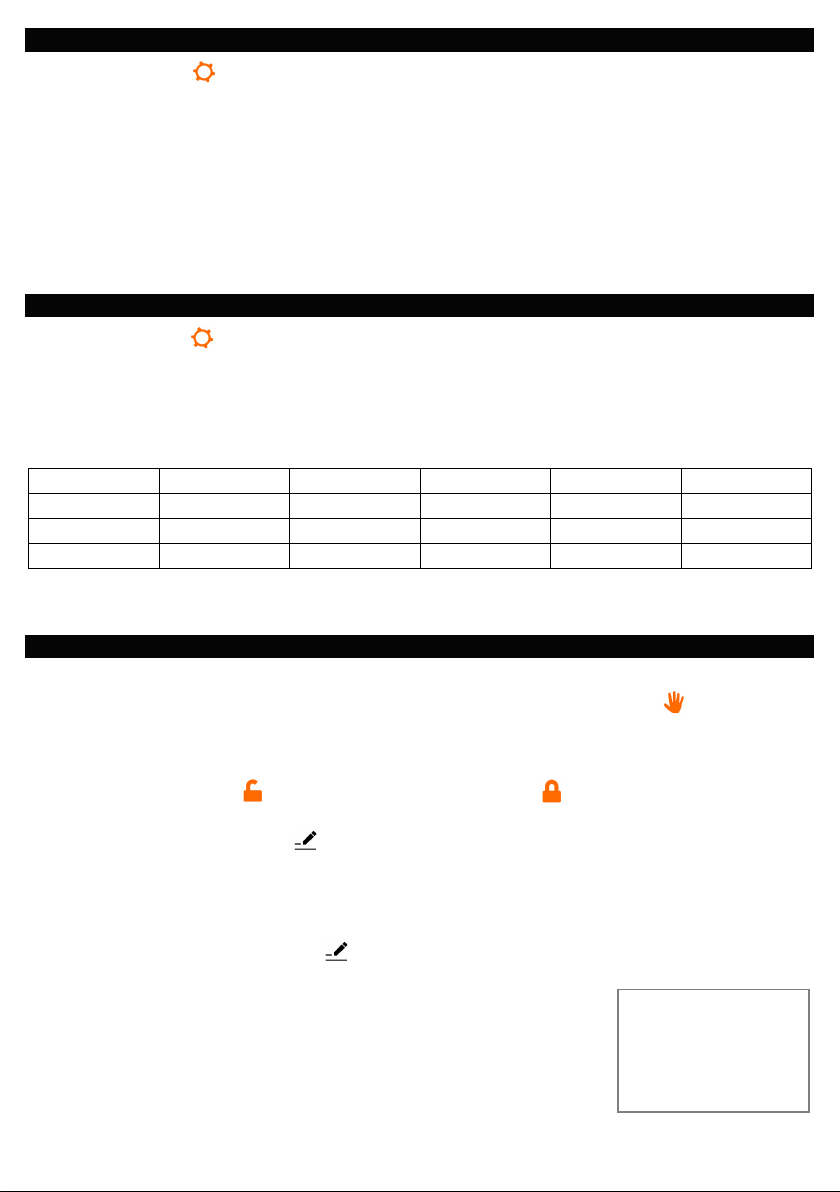
You will have 6 options of times and temperatures to set. See default example below.
Part 1
Part 2
Part 3
Part 4
Part 5
Part 6
Wake up
Leave Home
Back Home
Leave Home
Back Home
Sleep
06:00
08:00
11:30
13:30
17:00
22:00
20°C
15°C
15°C
15°C
20°C
15°C
If you do not need the temperature to rise and fall in the middle of the day, just leave thetemperature set to be
the same on Parts 2, 3 and 4 so that it does not increase again until the time in Part 5.
4. ADDITIONAL FEATURES.
Holiday Mode: - You can program the thermostat to be on for a set temperature for up to 30 days so that there
is background heat in your building while you are away. This can be found under the mode (Fig 4-7) section.
You have the option to set the number of days between 1 - 30 and a temperature between 5 - 20°C. Holiday
mode can be cancelled be selecting a different mode.
Lock Mode: - This option allows you to remotely lock the thermostat so no changes can be made. This can be
done by clicking the symbol (Fig 4-7). To unlock click the symbol again.
Grouping Devices: - You can link multiple thermostats together as a group and control them all simultaneously.
This can be done by clicking on the (Fig 4-7) in the top right corner and then clicking the “Create Group”
option. If you have multiple thermostats linked it will allow you to tick each one that you want to be in the group.
Once you confirm the selection you will be able to name the group.
Group Management: - You can add other people to your “Home” group and allow them to control the
thermostats you have linked. To do this they will first need to download the app and register it. You then go to
the home page of the app and click on the in the top right corner. Now click on “Share Device”. If you have
not set up “Home Settings” click on “Home Settings” (in blue). Set up your home or place of work and then click
on “Add Member”. When sending a new member an invitation, you must use the
mobile number or email address they have used to register the app. You can also
appoint them as an administrator, allowing them to make changes to the
thermostat. Be aware an administrator can remove a thermostat from the group.
NOTE: It is our policy to continually improve products and as such we reserve the
right to alter data, specifications and component parts without prior notice. IOSINS-v01
BN Thermic Ltd,
34 Stephenson Way,
Crawley, RH10 1TN
Tel: 01293 547361
bnthermic.co.uk
Table of contents
Other BN Thermic Thermostat manuals
Popular Thermostat manuals by other brands

ZIGBEE
ZIGBEE TMST-2B-ZBS quick start guide

Steam-Whirl
Steam-Whirl DELUXE installation instructions

Crestron
Crestron CHV-TSTAT Operation and installation guide

mithes
mithes FH10 operation instruction

Alpha
Alpha EASY-STAT2 user manual

Contemporary Controls
Contemporary Controls BASstat BAST-221C-BW2 user manual