BNB Products DBD-16H User manual
DBD-16H-Mini-Bender-Manual | Page 1
Tool Manual
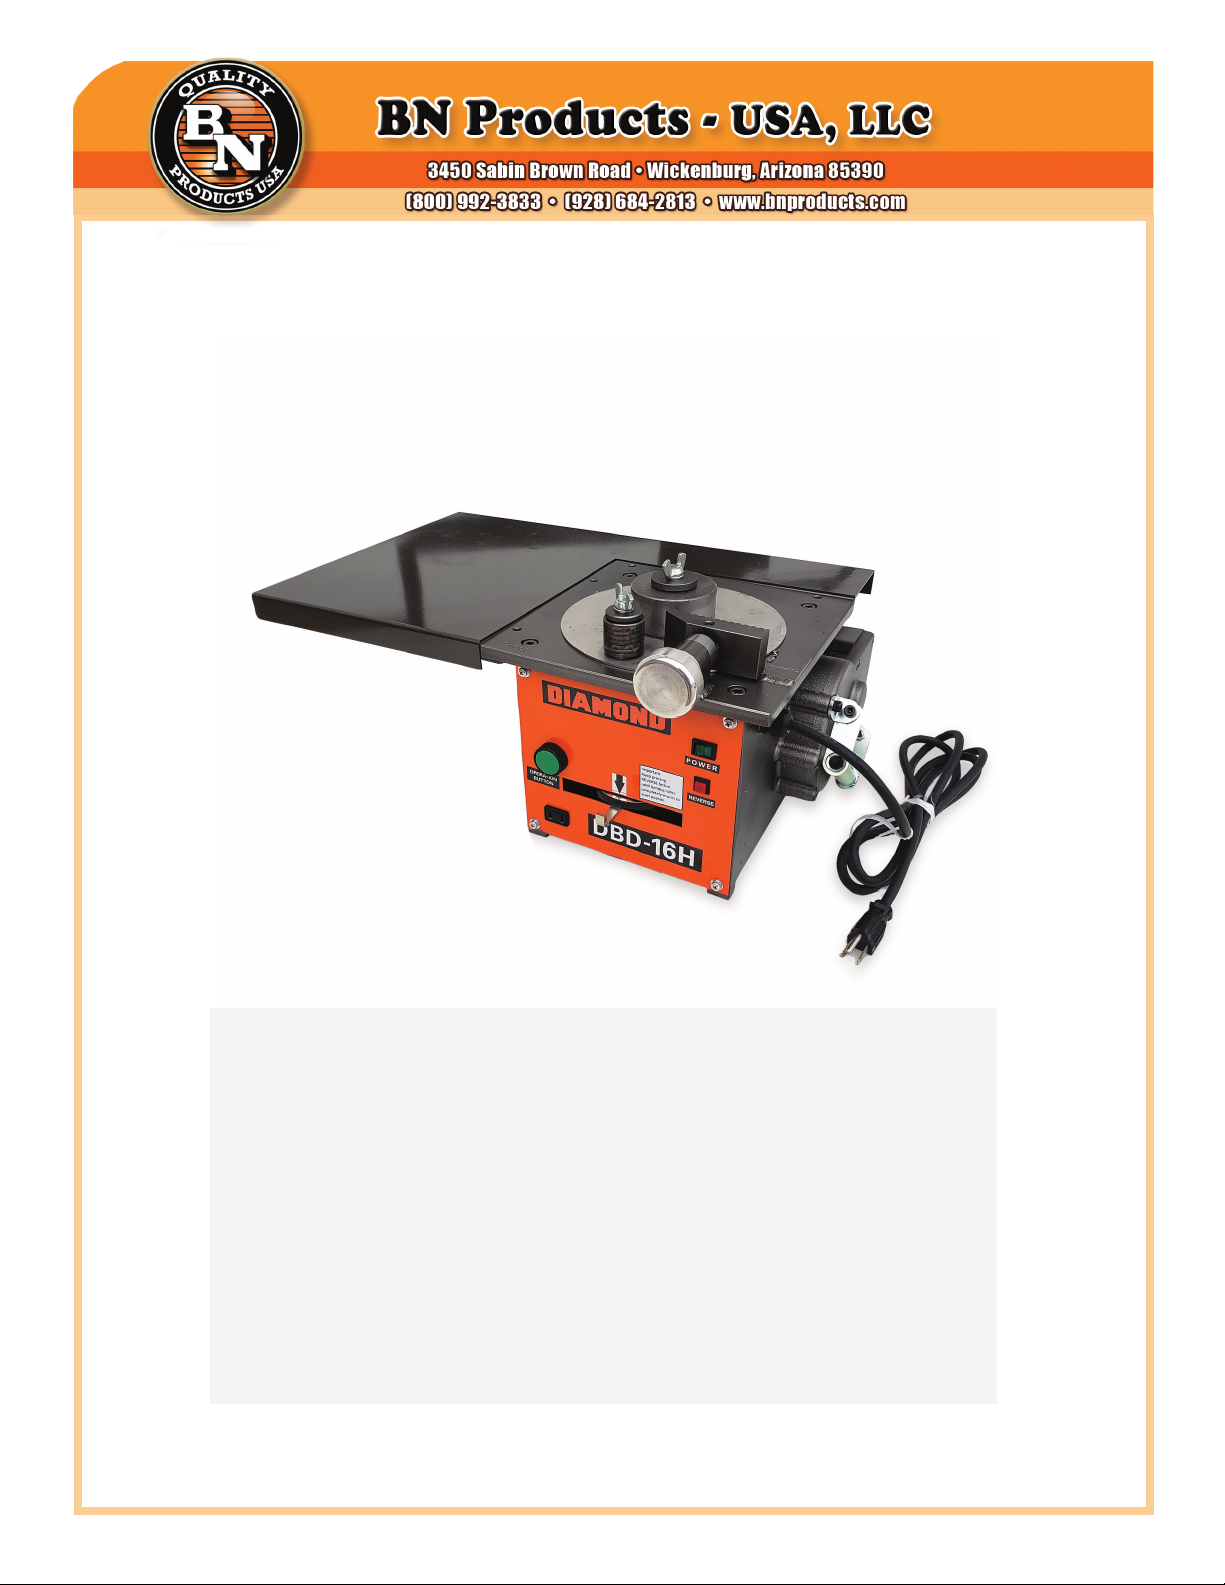
0-180 degree Rebar Bender
DBD-16H
PORTABLE MINI REBAR BENDER
Updated: October 23, 2020
e DBD-16H is a small lightweight portable rebar bender that can save
valuable time. e angle adjustment lever allows you to bend rebar up to
and including #5 (5/8”) grade 60 rebar. is is a strong electric/mechanical
bender that can dial-up bends from 1-180°. You can use it at your job site
or in your shop. e DBD-16H portable rebar bender comes complete with
a removable extension table, a tool kit, and a standard foot pedal control
switch for hands-free bending. BN Products-USA backs this tool with one-
year parts and labor warranty.
BN Products-USA backs this product
with a one-year warranty.
DBD-16H-Mini-Bender-Manual | Page 2
READ ALL INSTRUCTIONS AND SAVE
THEM FOR FURTURE REFERENCE
ank you for purchasing the DBD-16H Mini Rebar Bender.
Please read this instruction manual carefully before use, and
use the product safely and correctly. Please. Aer reading,
please keep it in a place where it can be seen at any time.
NOTE: When using electric tools, basic safety
precautions should always be followed to reduce
the risk of electric shock and personal injury,
including the followings items:
1. Keep hands away. From all moving parts and rollers
while operating.
2. Dress properly. Loose clothing or jewelry can get
caught in moving parts. Wear sturdy boots with non-
skid soles. Steel toed boots and safety glasses are recom-
mended.
3. Keep children and bystanders away. Distractions can
cause you to lose control.
4. Do not overreach. Keep proper footing and balance at
all times. is enables better control of the power tool in
unexpected situations.
5. Stay alert. Watch what you are doing and use common
sense when operating a power tool. Do not use a power
tool while you are tired or under the inuence of drugs
or alcohol. A moment of inattention while operating
power tools may result in serious personal injury.
6. Do not exceed the maximum number of bars that can
be bent at one time. Please refer to specications.
7. When positioning the bar between rollers, make sure to
lay it at on the machine surface. Failure to do so may
cause the rebar to y out.
8. Do not expose tool to rain or use in damp locations..
Do not use tool in presence of ammable liquids or
gases. Keep work area well lit. If the tool is used out-
doors, keep it covered when not in use and protect it
from rain or water.
9. Do not bend materials harder than “Grade 60 or 600N/
mm2” as they will either crack and y out or cause
machine failure.
10. Disconnect tool from receptacle when not in use. Dis-
connect when servicing or changing rollers to prevent
accidents.
11. Keep tool clean at all times for best and safest perfor-
mance. Follow instructions for lubricating and chang-
ing parts. Keep hands dry and free of oil or grease.
Inspect switches, tool cords periodically and have them
repaired or replaced by an authorized service center
if damaged. Check moving parts for alignment and
binding as well as for breakage and improper mounting.
Damaged parts should be repaired or replaced by an
authorized service facility unless otherwise indicated in
this instruction book.
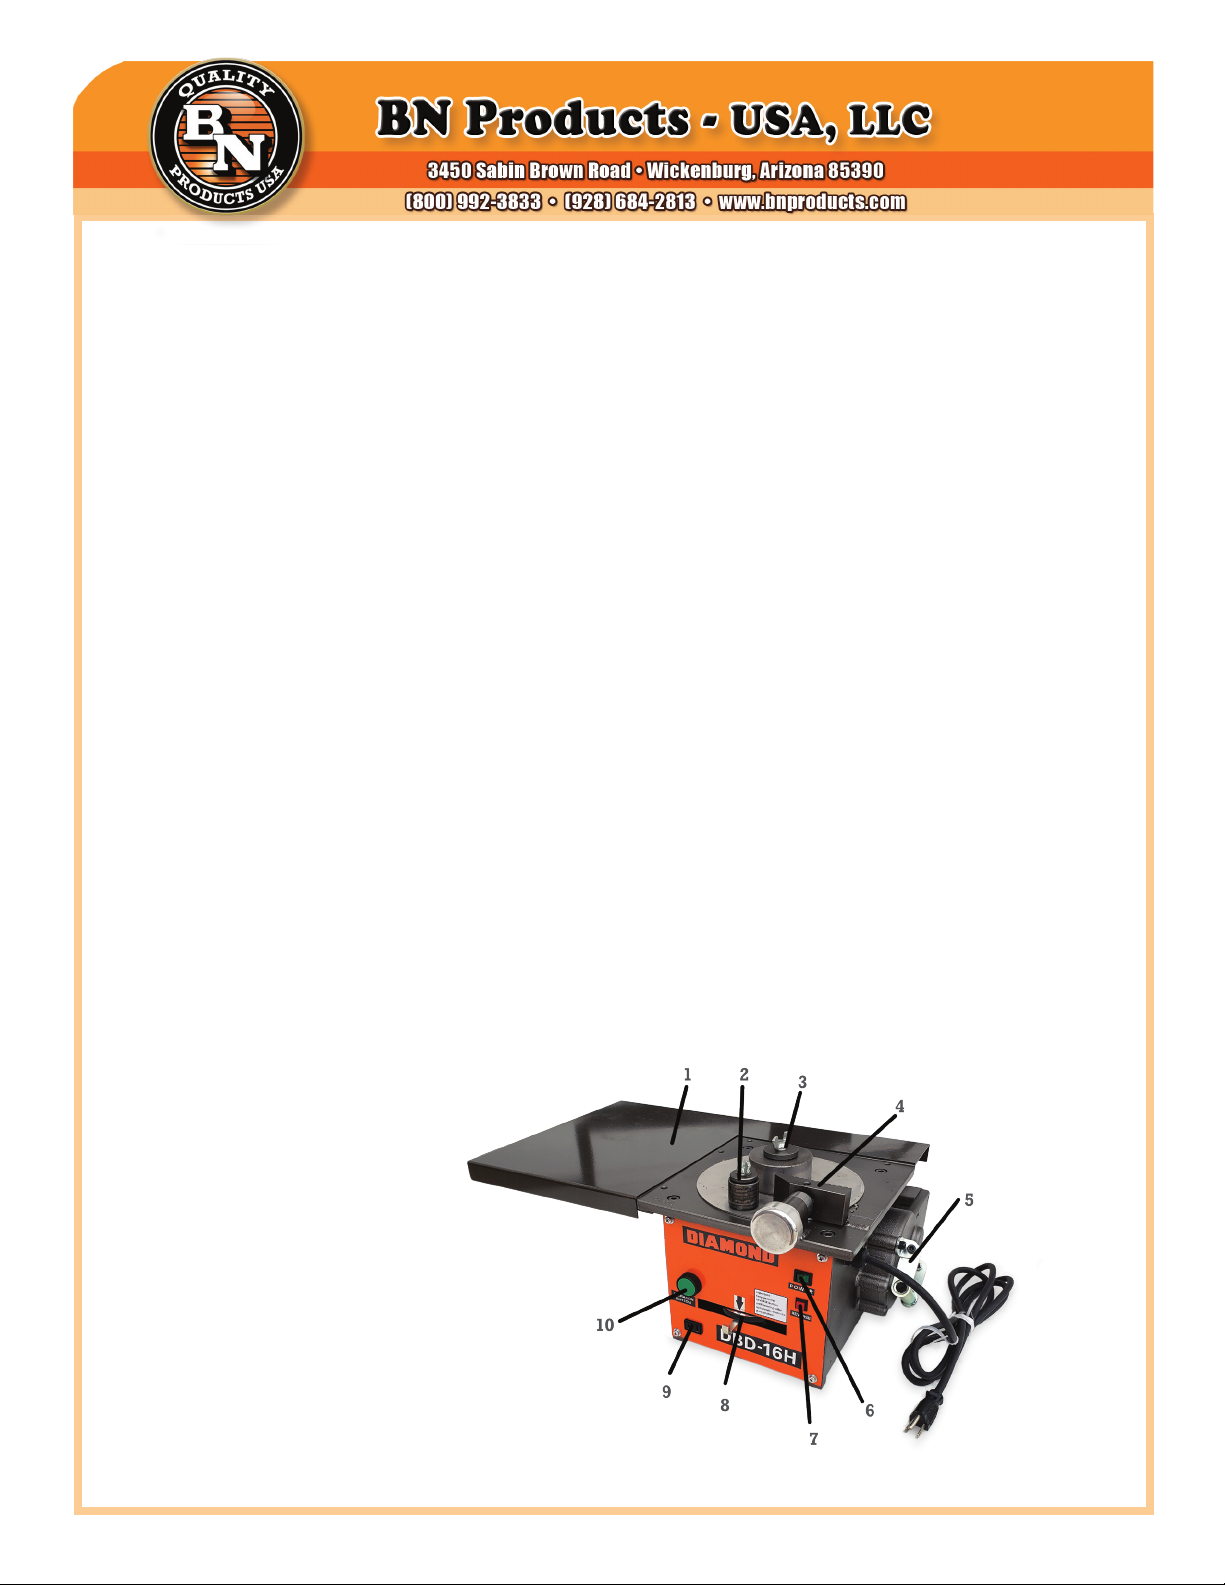
DBD-16H Portable Rebar Bender
1. Removable Table Top
2. Moving Bending Roller
3. Stationary Roller
4. Adjustanle Stopperr
5. Liing Handleh
6. Power Switch
7. Reverse Button
8. Angle selector
9. Foot Pedal Plug
10. Operation Button
DBD-16H-Mini-Bender-Manual | Page 3
WARNING - Incorrect use could result in death or serious
injury to the user or othes near by.
is product must not be used for purposes other than those
described in this instruction manual. .
Keep your workbench and surrounding workplace clean and
uncluttered..
Please use safety glasses, gloves and rubber-bottomed safety
shoes.
Use this tool on a stable surface with a stable working pos-
ture your feet rmly planted and balanced.
is is an electric power tool so be extremely careful of elec-
tric shock. Remember that moisture reduces the insulation
properties of the motor and may cause electric shock. Do
not use in the rain, wet places, or situations where water and
oil could easily enter inside the machine.
Please use a GFI power supply. Be sure the tool is grounded
correctly.
Please work properly. Baggy clothes, jewelry such as neck-
laces, ties, open cus, could get caught in the rotating part of
this machine.
Please be careful about ignition and explosion. Power tools
emit rectied sparks during use and when the switch is
opened and closed. Products emmiting amable fumes may
be ignited or explode Never use it in locations where these
dangers are present. Avoid using this tool in poorly venti-
lated places such as a closed area.
Do not mishandle the power cord. Do not carry the tool by
the power cord, or pull the cord to disconnect it from the
outlet. Be careful that the cord does not touch high-tempera-
ture heat, oil, chemicals, or sharp objects, etc.
Turn o the power tool and removing the plug from the
power outlet in the following cases;
when inspection, maintenance, repair are necessary and
when the tool is not in use
Before inserting the plug into the power outlet, make sure
that the switch is turned o.
Before use, carefully inspect the cord and protective parts for
damage, and make sure that it performs the desired func-
tion. Overheating can cause a malfunction.
Please use specied genuine parts when repairing this tool.
If you feel any abnormality while using the product, stop us-
ing it immediately and perform inspection and repair.
Do not exceed the maximum capacity
Handle power tools with care. If dropped or hit by mistake,
the outer frame may be deformed or damaged, take the time
to perform a thorough inspection before use.
Store power tools in places that are out of the reach of chil-
dren. Storage areas should be locked and where temperature
and humidity do not change suddenly. Storage areas should
also be free from direct sunlight and rain, free from mois-
ture, and dry.
Be careful of voltage drop when using extension cord.
is machine is a power tool intended for “bending work of
reinforcing steel used for concrete reinforcement”. Do not
use it for any other purpose.
Do not exceed the maximum capacity of the machine See
the specication chart.
When placing and using the product, use it on a level and
stable surface.
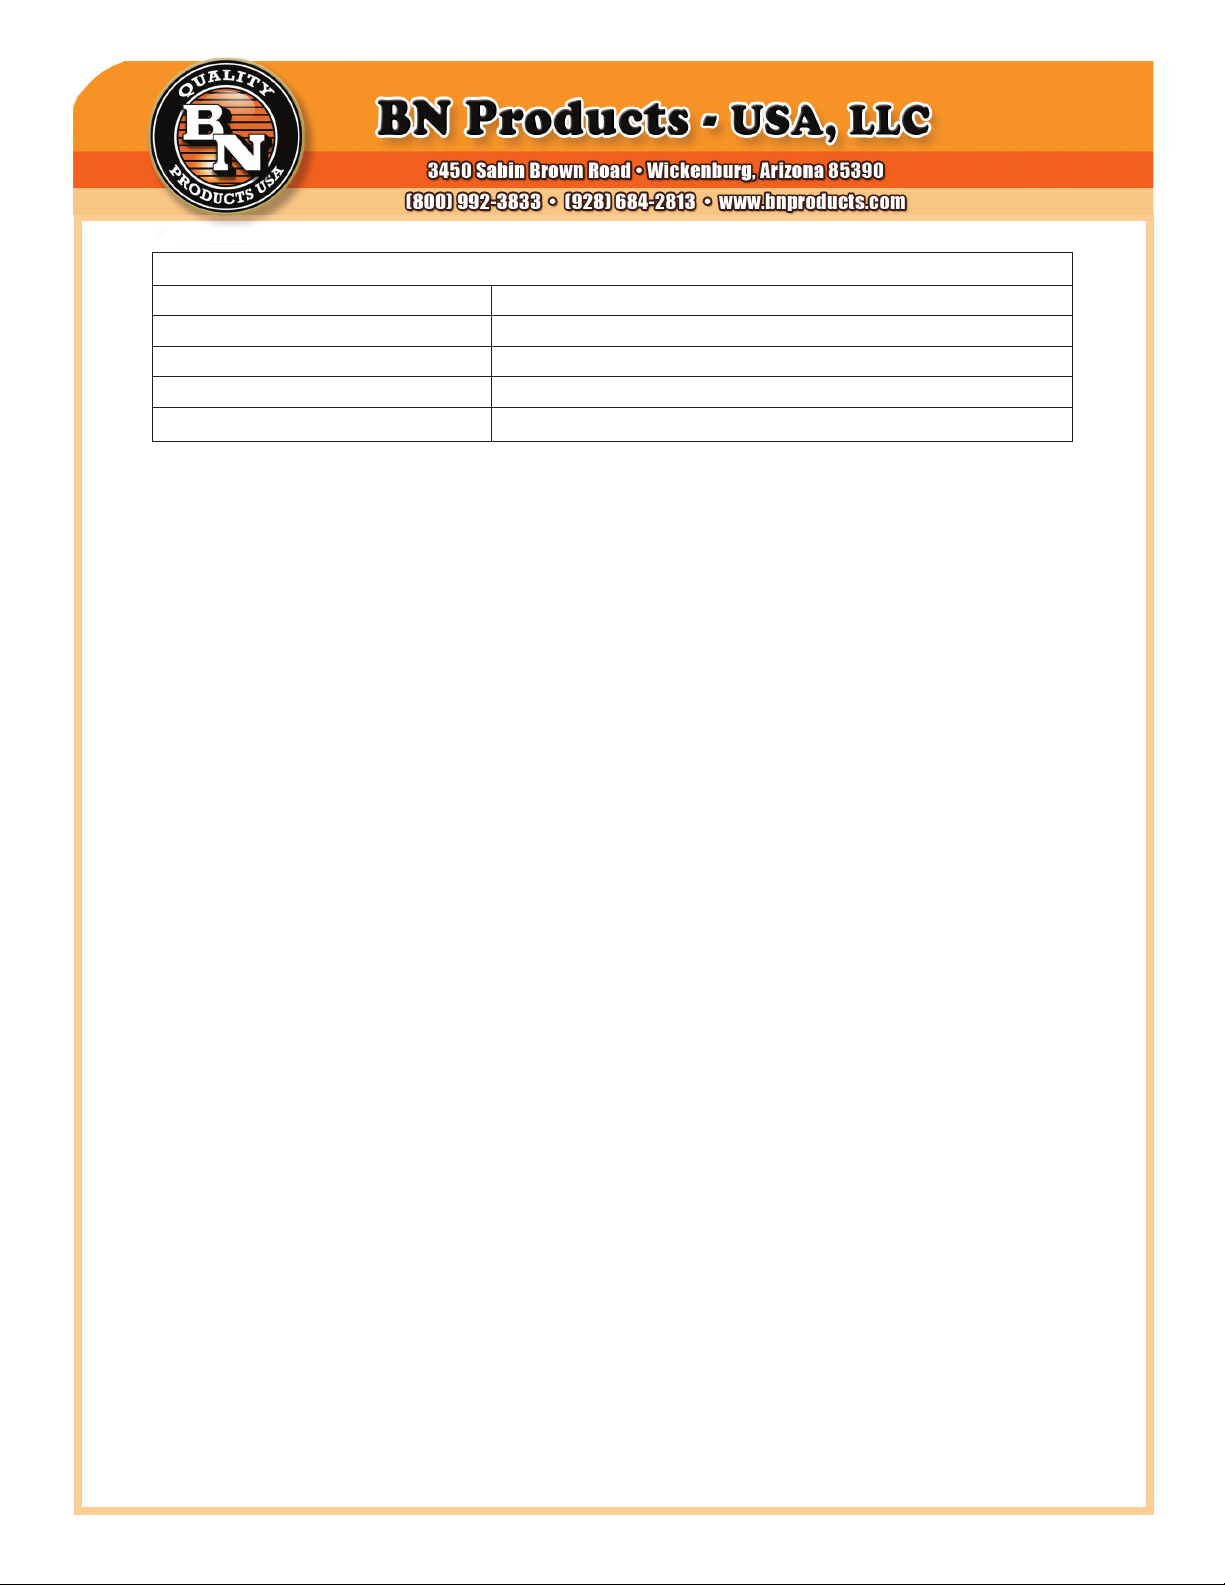
Specications:
Maximum Bending Diameter: 5/8” (#5) Rebar (16mm) Grade 60
Bending Angle / Speed Up to 180 degrees / 6 seconds
Voltage/Amperage: 100V 50/60Hz / 11 amps / 1050 W
Tool Weight: 40 lbs (20 kg)
Dimensions L x W x H: 12.5” (320 mm) x 13.75” (350 mm) x 9.65” (245 mm)

DBD-16H-Mini-Bender-Manual | Page 4
Do not touch the rollers or moving parts, or bring your
hands or face close to them during use.
Please wear safety glasses, ana other appropriate apperal
including gloves and rubber-bottomed safety shoes.
Do not leave this tool with the plug connected to the power
supply when not in use..
Be sure to ground (earth) to prevent electric shock. To avoid
electric shock, do not work with water or oil on your hands.
Do not leave this tool outdoors or use in the rain or snow.
WARNING:
ALWAYS UNPLUG THIS TOOL
BEFORE ATTACHING OR
REMOVING ROLLERS OR
ACCESSORIES.
1. Select and set the correct rollers for the bars to be bent.
See the table above.
2. Plug the electrical power cord into an appropriate outlet.
3. Lay the bar on the machine surface between the center
roller and bending roller. Adjust the stopper so that the
bar is parallel to the front edge of the machine.
4. Turn the main switch on and check that the pilot lamp
has lit up.
5. Set the angle and make a test bend. If the bent angle is
not exact, adjust the angle setter slightly to the right or
le. Lock in the angle stoppers to duplicate the same
angle each time.
6. Push the operation button or foot switch. e mov-
ing bending roller will automatically return to the start
position once the bend has been completed.
7. If it is necessary to stop the machine in an emergency,
push the emergency stop button or release your foot
from the foot operated switch. e bending roller will
return to the start position automatically.
BENDING ANGLES
CAN BE PRESET
1. Set the angle setter to 135° then tighten the right angle
stopper to lock the 135° position.
2. Set the angle setter to 90° then tighten the le angle
stopper to lock the 90° position.
3. Set the angle setter to 135°. Push the operation button to
make your rst bend.
4. Slide the rebar to the desired length and set the angle
setter to 90°. Push the operation button to complete
your second bend.
For stirrups, cut your rebar to the desired length before
bending. en make both bends for your turndowns. Finally
make your (3) 90° bends to connect your ends together. See
below.
WARNING: Never touch any moving parts or rollers while
the rebar bender is being operated.

DBD-16H-Mini-Bender-Manual | Page 5
INSPECTION AND MAINTENANCE
WARNING: ALWAYS UNPLUG TOOL BEFORE PERFORMING MAINTENANCE.
DO NOT USE PARTS OR ACCESSORIES THAT ARE NOT
GENUINE DIAMOND BRAND from BN Products-USA
1. At least once a month remove the bottom plate and grease all the visible gears and pinions. At the
same time, check the carbon brushes for wear or damage. Replace with new brushes if they are
worn out.
2. Check that there are no loose nuts and bolts before starting the operation.
3. Aer operation is completed, be sure to remove metal dust, dirt, oil, etc… adhering to the ma-
chine surface.
4. In order to empty the metal dust from the bender, (remove side cover DBD-25X and DBD-32X
models) then tilt the machine to one side allowing the debris to fall out of the catch pan. Be sure
to blow out any remaining dirt and dust with compressed air prior to using the tool again (wear
safety goggles to block blowing debris).
1C1961A Carbon Brush

DBD-16H-Mini-Bender-Manual | Page 6
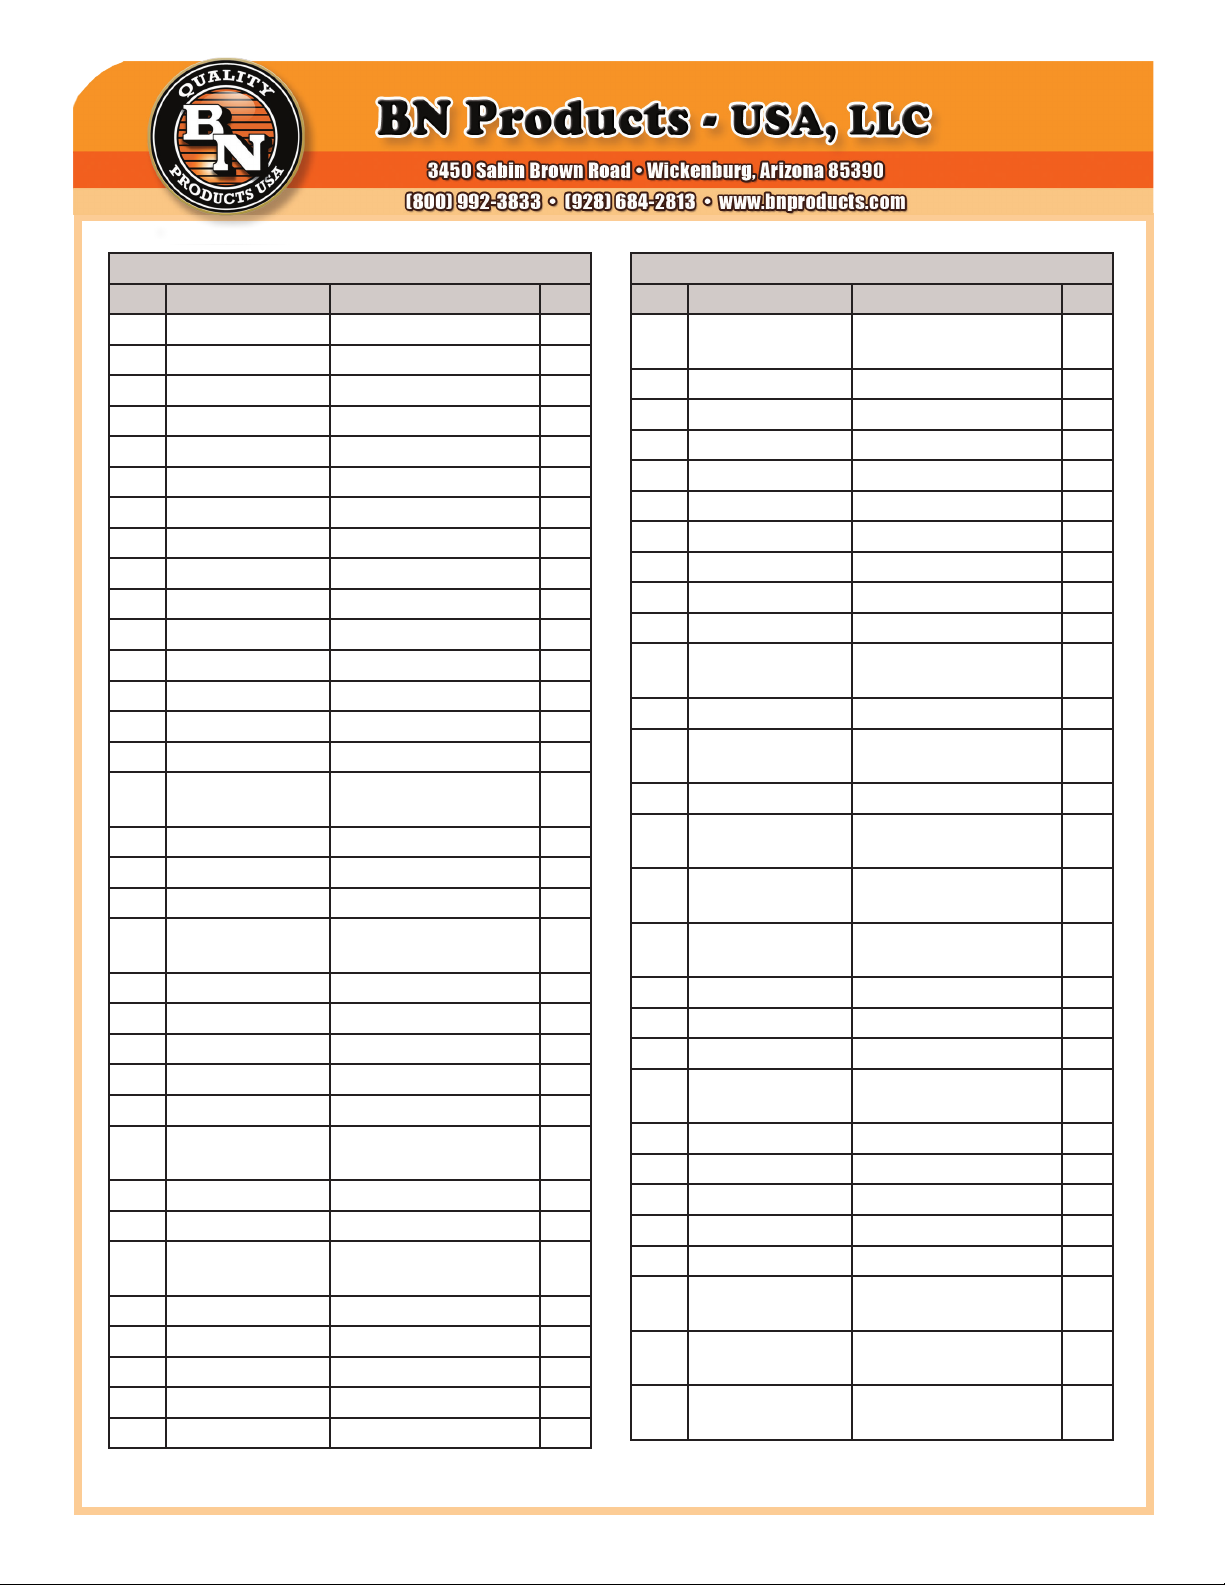
DBD-16H Parts List
No. Part No. Part Name Qty
1 1BDL1029100 FRAME 1
2 76304ZZ BEARING 6304ZZ 1
3 1BDL3143200 MAIN SHAFT 1
4 1BDL3143300 SWIVEL ARM 1
5 7K100829.5R2 KEY 10X8X29.5 1
6 7SS08008 SET SCREW M8X8 1
7 76206LLU BEARING 6206LLU 1
8 7K080729.5R2 KEY 8X7X2935 1
9 1BDL400131 COLLAR 1
10 1BDL3143400 SWIVEL GEAR 1
11 7SRS026 SNAP RING 26 2
12 7CIMRF34261 SHIM 2
13 7W688ZZ BEARING W688ZZ 1
14 1BDL4277700 PINION (1) 1
15 1BDL4277900 CLUTCH PLATE 1
DBD-16H Parts List
No. Part No. Part Name Qty
16 1BDL4277800 HELICAL GEAR 1
17 7HF1012 ONE-WAY CLUTCH 1
18 1BDL4278100 CLUTCH SPRING 1
19 1BDL4278000 SPRING GUIDE 1
20 76000ZZ BEARING 6000ZZ 1
21 1BDL400230 BEVEL GEAR 1
22 7SS04004 STOP BOLT M4X4 1
23 7K0303018R2 KEY 3X3X18 1
24 76202ZZ BEARING 6202ZZ 1
25 1BDL4278200 SHAFT 1
26 7K0606014.5R2 KEY 6X6X14.5 1
27 1BDL4278300 GEAR (2) 1
28 7SRS018 SNAP RING 18 1
29 76201ZZ BEARING 6201ZZ 1
30 7PP08015A PARALLEL PIN 8X15 2
DBD-16H-Mini-Bender-Manual | Page 7
DBD-16H Parts List
No. Part No. Part Name Qty
31 1BDL3143500 GEAR CASE COVER 1
32 7CB06014 CAP BOLT M6X14 6
33 1BDL400850 HANDLE 1
34 1BDL400840 HANDLE BRACKET 2
35 7NU006 U NUT 6 2
36 7CB06025 CAP BOLT M6X25 2
37 76301ZZ BEARING 6301ZZ 1
38 1BDL400200 BEVEL GEAR 1
39 7K0505016R2 KEY 5X5X16 1
40 1BDL4278400 PINION (2) 1
41 76302Z BEARING 6302ZZ 1
42 1BDL400210 BEARING COVER 1
43 7CB05015 CAP BOLT 5X15 3
44 1BDL1029200 SWIVEL PLATE 1
45 7CB08015 CAP BOLT M8X15 4
46 1BDL4278800 ADJUSTABLE
STOPPER
1
47 1BDL4278900 ADJUSTABLE BOLT 1
48 7SS08008 STOP BOLT M8X8 1
49 1BDL4279000 ADJUSTABLE NUT 1
50 1BDL4279100 ADJUSTABLE HAN-
DLE
1
51 7SH05006 STOP BOLT M5X6 2
52 1BDL4279200 CENTER PLATE 1
53 1BDL300151 ANGLE SET PINION 1
54 1BDL400160 BUSHING 1
55 7SS5GL2 LIMIT SWITCH 2
56 7P22.3015 SCREW WITH WASH-
ER M2.3X15
4
57 7N002.3 HEX NUT M2.3 4
58 1BDL4278500 DOCK 1
59 7P204016 SCREW WITH WASH-
ER M4X16
2
60 7NN008 N. NUT M8 1
61 7PW008 PLAINE WASHER 2
62 7WW008 WAVE WASHER 2
63 1BDL400181 ANGLE GEAR 1
64 1BDL4278700 ANGLE LEVER 1
DBD-16H Parts List
No. Part No. Part Name Qty
65 7P205012 SCREW WITH WASH-
ER M5X12
2
66 1BDL400411 ANGLE SCALE 1
67 1BDL4278600 ANGLE SHAFT 1
68 1BDL3143600 BOTTOM PLATE 1
69 7B206020 HEX BOLT 6X20 2
70 7N006 HEX NUT M6 2
71 1BDL401031 BOTTOM BOSS 1
72 76004ZZ BEARING 6004ZZ 1
73 7USB205010 UPSET BOLT M5X10 10
74 1BDL4279301 LS STAY 1
75 7CB205012 CAP BOLT W/WASH-
ER M5X12
2
76 1BDL3143700 CONTROL PANEL 1
77 7CWSB-
21NMKZMEF
LOCKER SWITCH 1
78 7AR22F0R10G START SWITCH 1
79 7ACT03FB03 SOCKET FOR FOOT
SWITCH
1
80 7DS430R PUSH BUTTON
SWITCH
1
81 7P305008 SCREW WITH WASH-
ER M5X8
4
82 1BDL4279400 CENTER COLLAR 1
83 1BL9402500 WASHER 1
84 7WB10020 WING BOLT M10X20 1
85 1BDL400381 BENDING ROLLER
16 φ34
1
86 7BM2028FB BUSHING DUB 2028 1
87 1BDL400390 WASHER 1
88 1BDL2072200 TABLE 1
89 7B08010 HEX BOLT M8X10 4
90 1BDL2072100 MOTOR COVER 1
91 7P305008 SCREW WITH WASH-
ER M5X8
6
92 7UMCSW1 CIRCUIT FOR MO-
TOR
1
93 7P204006 SCREW WITH WASH-
ER M4X6
4
DBD-16H-Mini-Bender-Manual | Page 8
DBD-16H Parts List
No. Part No. Part Name Qty
94 7P204016 SCREW WITH WASH-
ER M4X16
4
95 7M314619G02 ROTAR 115V 1
96 7M314620G02 STATOR 115V 1
97 7P204065 SCREW WITH WASH-
ER M4X65
2
98 7M419574G01 LEAD WIRE 1
100 7M210387H10 FRAME (MOTOR
HOUSING)
1
DBD-16H Parts List
No. Part No. Part Name Qty
101 7P852647H01 COVER 1
102 7P204006 SCREW WITH WASH-
ER M4X6
2
103 7P443111H01 RUBBER BUSHING 1
104 7M410728G01 CARBON BRUSH 2
105 7P857640H01 BRUSH CAP 2
106 7AG1610B CABLE GROUND 1
107 7HTK500399ZB CORD 115V 2.6M 1
More Tools
Table of contents


