Body Solid ENDURANCE B4UB User manual

B4UB
Endurance®B4UB Upright Bike
User Manual
V. B4UB-20190625

Table of Contents
Table of Contents......................................................................................................
Introduction................................................................................................................
Important Safety Information..............................................................................
Before You Begin.......................................................................................................
Assembly......................................................................................................................
Setting up B4UB.......................................................................................................
Dimension........................................................................................................................................
ConsoleOverview.....................................................................................................
ConsoleOperation....................................................................................................
Monitoring Your Heart Rate.................................................................................
Chest Strap Operation.............................................................................................
GeneralMaintenace.................................................................................................
Troubleshooting Guide..........................................................................................
Stretching & Flexibility...........................................................................................
Warm-Up/Cool Down Exercises..........................................................................
Parts & Hardware List..............................................................................................
Exploded Drawing...................................................................................................
2
3
4
5
6 - 13
14
15
18 - 19
20 - 26
27 - 28
29
30
31
32
33 - 39
40 - 43
44 - 45
Endurance®continually seeks ways to improve the performance, specications and product manuals in order to ensure that only superior
products are released from our factories. Please take the time to carefully read through this manual thoroughly. Instructions contained in
this document are not intended to cover all details or variations possible with Endurance®equipment, or to cover every contingency that
may be met in conjunction with installation, operation, maintenance or troubleshooting of the equipment. Even though we have prepared
this manual with extreme care, neither the publisher nor the author can accept responsibility for any errors in, or omission from, the informa-
tion given. Should additional information be required, or should situations arise that are not covered by this manual, the matter should be
directed to your local Endurance®representative, or the Service Department at Endurance®in Forest Park, Illinois.
c
Copyright 2012. Endurance®. All rights reserved. Endurance®reserves the right to change design and specications when we feel it will
improve the product. Endurance®machines maintain several patented and patent pending features and designs. All rights reserved on
all design patents and utility patents.
2

Introduction
Congratulations!!
Thank you for purchasing your new Endurance®Upright Bike.
Using state-of-the-art techniques, robust frame structure and superior ergonomic
design, Endurance®Upright Bike set a new standard for excellence. The
Endurance®Upright Bike can improve your quality of life by keeping you t and
healthy, increasing your energy levels and enhancing your lifestyle.
Endurance®wants to ensure years of quality workouts with your new Upright bike
so we recommend that you read this manual carefully and thoroughly to fully un-
derstand proper use and maintenance of this product. Retain this Owner’s Manual
for future reference.
Please use this Owner’s Manual to make sure that all parts have been included
in your shipment. When ordering parts, you must use the part number and de-
scription from this Owner’s Manual. Use only Endurance®replacement parts when
servicing this machine. Failure to do so will void your warranty and could result in
personal injury.
For information about product operation or service, check out the ocial Endur-
ance®website at www.bodysolid.com/Home/Endurance_Cardio or contact an au-
thorized Endurance® dealer or an Endurance®factory-authorized service compa-
ny or contact Endurance®Customer Tech Support at one of the following:
Toll Free: 1-800-556-3113
Phone: 1-708-427-3555
Fax: 1-708-427-3556
Hours: M-F 8:30-5:00 CST
E-Mail: service@bodysolid.com
Or write to:
Endurance® Service Department
1900 S. Des Plaines Ave.
Forest Park, IL 60130 USA
3

Important Safety Information
Save this Owner’s Manual!
Before beginning any tness program, you should obtain a complete physical
examination from your physician.
When using exercise equipment, you must always take basic precautions, including the
following:
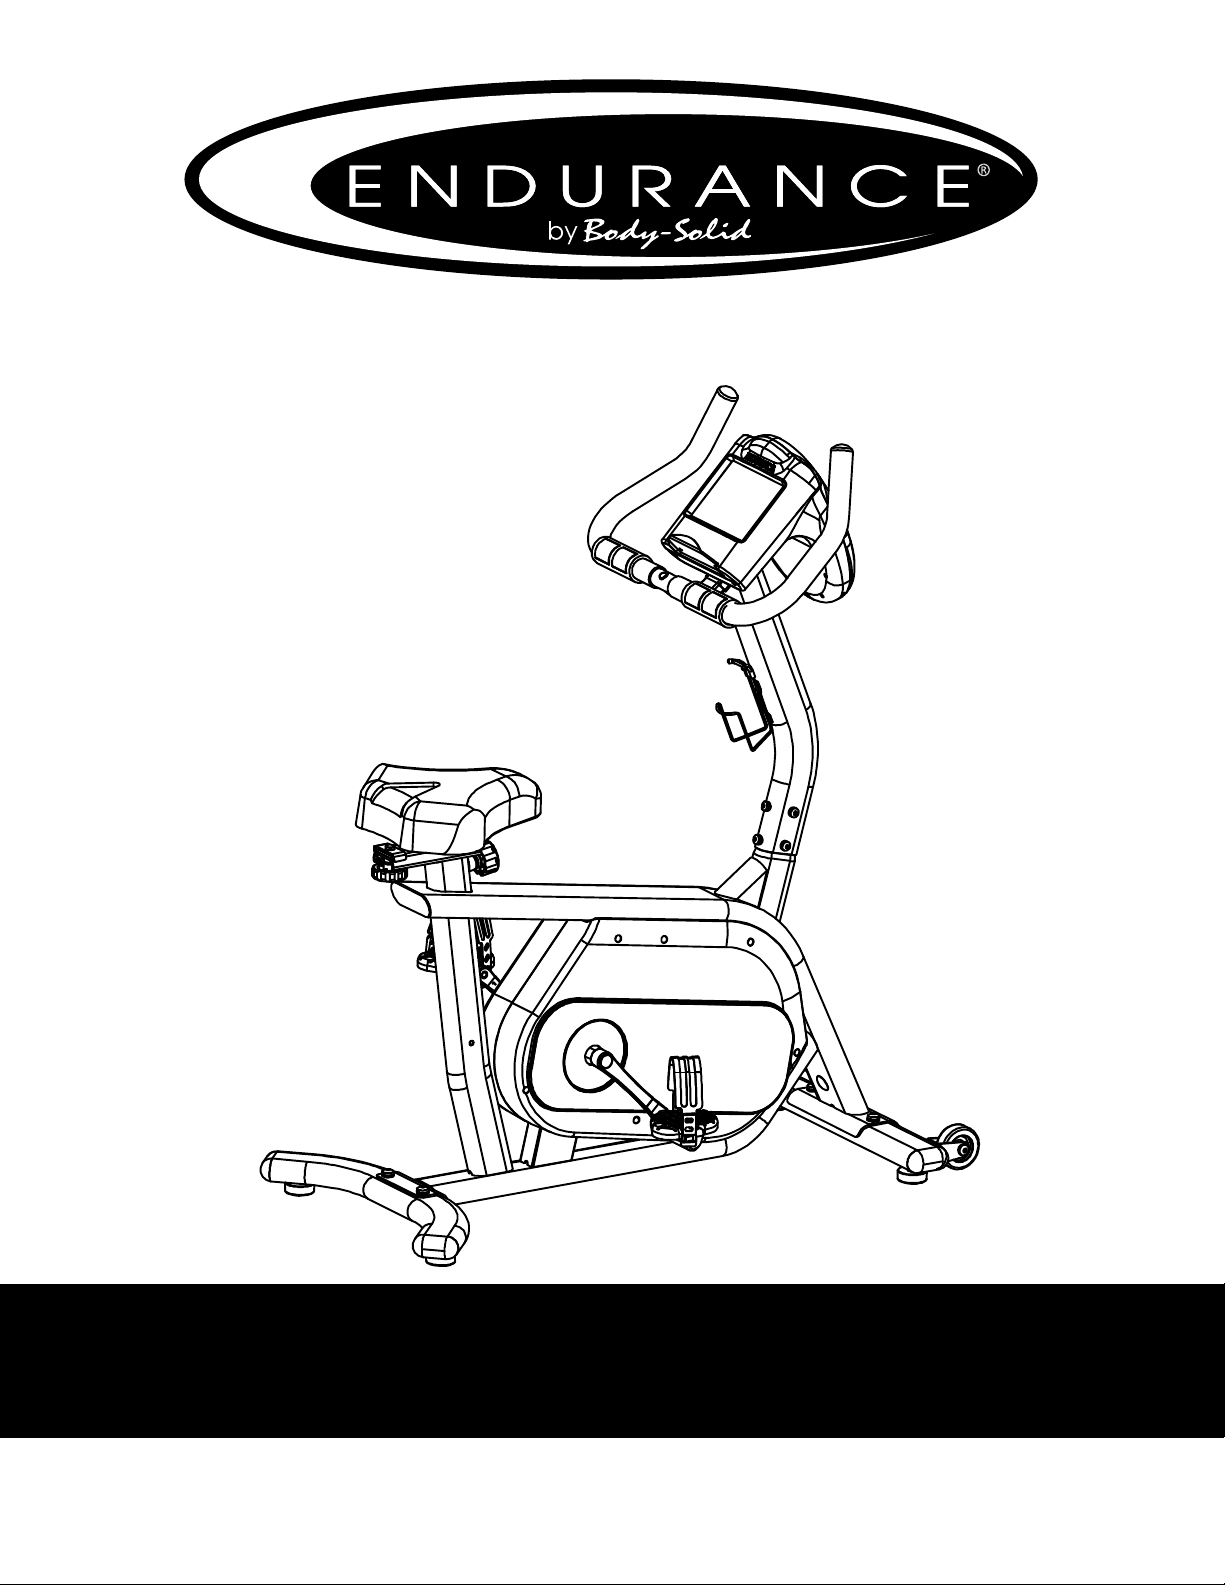
mRead all instructions before using your Endurance®Upright Bike.
These instructions are written to ensure your safety and to protect the unit.
m DO NOT allow children on or near the equipment.
mUse the equipment only for its intended purpose as described in this guide.
mDO NOT use accessory attachments that are not recommended by the
manufacturer. Such attachments might cause injuries and will void your warranty.
mWear proper exercise clothing and shoes for your workout, no loose clothing.
m DO NOT use cleats, spikes or any other non-athletic shoes.
m DO NOT use this product while barefoot or wearing only socks.
mUse care when getting on or o the unit.
mDO NOT overexert yourself or work to exhaustion. If you experience any pain such
as chest pains, nausea, dizziness, shortness of breath or abnormal symptoms, stop
your workout immediately and consult your physician before continuing.
mNever operate the unit when it has been dropped or damaged.
Return the equipment to a service center for examination and repair.
mNever drop or insert objects into any opening in the equipment.
mAlways check the unit for loose components before each use.
mDO NOT turn pedals by hand.
mDO NOT use the equipment outdoors or near water. It is imperative that your
Endurance®Upright bike is used in a climate controlled environment. If your
Upright bike has been exposed to colder temperatures or to high moisture
climates, it is strongly recommended that the Upright bike is brought to room
temperature before use. Failure to use this equipment in a climate controlled
environment may cause premature electronic failure.
m Endurance® recommends that a mat is placed under the unit to protect the oor or
carpet and for easier cleaning.
Endurance®Upright bikes are designed for your enjoyment. By following these precautions
and using common sense, you can have many safe and pleasurable hours of healthful exer-
cise with your Endurance®Upright bike.
4

Before You Begin
The Endurance® B4UB is carefully tested and inspected before shipment. We have
shipped the unit in several pieces that require assembly. Carefully unpack the unit in
a clear area and lay the pieces on the oor near the area where you plan to use the
equipment. Remove the packing material. Do not dispose of the packing material
until assembly is complete and the unit is working properly. Place the unit on a clean
level surface for assembly. Before assembling, the unit should be placed as close as
possible to its nal location. Be careful to assemble all components in the sequence
presented in this guide.
PERSONAL SAFETY DURING ASSEMBLY
mIt is strongly recommended that a qualied dealer assemble the equipment.
Assistance is required.
mBefore beginning assembly, please take the time to read the instructions
thoroughly.
mRead each step in the assembly instructions and follow the steps in sequence.
Do not skip ahead. If you skip ahead, you may learn later that you have to
disassemble components and that you may have damaged the equipment
which will void the warranty.
mAssemble and operate the Endurance®Upright bike on a solid, level
surface.
Locate the unit a few feet from the walls or furniture to provide easy access.
AFTER ASSEMBLY
Once the unit is assembled, you should check all functions to ensure correct opera-
tion. If you experience problems, rst recheck the assembly instructions to locate
any possible errors made during assembly. If you are unable to correct the problem,
call the dealer from whom you purchased the machine or call Endurance®Customer
Tech Support Hot Line Toll Free at: 1-800-556-3113.
5

Step 1
NOTE:
Some hardware components may be pre-assembled. Be aware of
Nylon lock nuts not fully screw onto bolts, they must be tightened
with a wrench to ensure proper engagement.
1A. Attach Front Stabilizer (J) to Main Frame (A) using:
Two M10x25mm Button Head Cap Screws (#9)
Two M10 Lock Washers (#10)
Two M10 Flat Washers (#11)
1B. Attach Rear Stabilizer (B) to Main Frame (A) using:
Two M10x20mm Button Head Cap Screws (#9)
Two M10 Lock Washers (#10)
Two M10 Washers (#11)
1D. Attach Left Pedal (F) to Left Crank (#1)
1E. Attach Righ Pedal (G) to Right Crank(#2)
6

Step 1
7
Above shows STEP 1 assembled and completed.
A
RJ
9
9
910
10
10
11
11
步骤一:
1:用内六角盘头螺钉(9)、弹垫(10)、平垫(11)将前底管(J)、后底管(R)锁紧
在主架(A)上;
2:
G
2
F
111
A
RJ
9
9
910
10
10
11
11
步骤一:
1:用内六角盘头螺钉(9)、弹垫(10)、平垫(11)将前底管(J)、后底管(R)锁紧
在主架(A)上;
2:
G
2
F
111

Step 2
NOTE:
Some hardware components may be pre-assembled. Be aware of
Nylon lock nuts not fully screw onto bolts, they must be tightened
with a wrench to ensure proper engagement.
2A. Connect Wire Harness (#15) to the Wire Harness (#18) on
the Main Frame.
2B. Attach Upright (B) to Main Frame (A) using:
Six M8x16mm Button Head Cap Screw (#17)
Six M8 Lock Washer (#19)
Four M8 Flat Washer (#20)
Two M8 Curved Washer (#21)
8

Step 2
9
步骤二:
1:先将感应线(18)与感应中继线(15)相连接;然后用内六角盘头螺钉(17)、弹
垫(19)、平垫(20)、弧垫(21)将把立管(B)锁紧在主架(A)上;
B
18
15 17
19
20
21
17
A
步骤二:
1:先将感应线(18)与感应中继线(15)相连接;然后用内六角盘头螺钉(17)、弹
垫(19)、平垫(20)、弧垫(21)将把立管(B)锁紧在主架(A)上;
B
18
15 17
19
20
21
17
A
Above shows STEP 2 assembled and completed.
步骤二:
1:先将感应线(18)与感应中继线(15)相连接;然后用内六角盘头螺钉(17)、弹
垫(19)、平垫(20)、弧垫(21)将把立管(B)锁紧在主架(A)上;
B
18
15 17
19
20
21
17
A

Step 3
NOTE:
Some hardware components may be pre-assembled. Be aware of
Nylon lock nuts not fully screw onto bolts, they must be tightened
with a wrench to ensure proper engagement.
3A. Attach Handle Bar (C) to Upright (B) using:
Four M8x16mm Button Head Cap Screw (#17)
Four M8 Lock Washer (#19)
Four M8 Flat Washer (#20)
3B. Connect Wire Harness (#15) & Heart Rate Cable (#16) to the
Cables of the Console (H)
3C. Attach Console (H) to Handle Bar (C) using:
Four M5x10mm Pan Head Phillips Screw (#29)
3D. Attach L Shape Holder (L) to Console (H) using
Two M5x10mm Pan Head Phillips Screw (#29)
4E. Attach the Water Bottle Holder (K) to Upright (B) using:
Two ST4.2x18mm Pan Head Phillips Screws (#26)
Two 9x4mm Flat Washer (#27)
10

Step 3
11
C
H
15
16
17
19
20
K
26
27
步骤三:
1:先将感应中继线(15)从把手结合(C)的表托板下端口穿入,上端口穿出,然后用内
六角盘头螺钉(17)、弹垫(19)、平垫(20)将把手结合(C)锁紧在把立管(B)上;
2:用十字盘头螺钉(29)将书报板(L)锁紧在电子表(H)上;用十字盘头自攻螺钉
(26)、平垫(27)将水壶架(K)锁紧在把立管(B)上;
3:先将握把线(16)、感应中继线(15)与电子表(H)相应线连接,然后用十字盘头螺
钉(29)将电子表(H)锁紧在 把手结合(C)上。
B
29 L
29
Above shows STEP 3 assembled and completed.
C
H
15
16
17
19
20
K
26
27
步骤三:
1:先将感应中继线(15)从把手结合(C)的表托板下端口穿入,上端口穿出,然后用内
六角盘头螺钉(17)、弹垫(19)、平垫(20)将把手结合(C)锁紧在把立管(B)上;
2:用十字盘头螺钉(29)将书报板(L)锁紧在电子表(H)上;用十字盘头自攻螺钉
(26)、平垫(27)将水壶架(K)锁紧在把立管(B)上;
3:先将握把线(16)、感应中继线(15)与电子表(H)相应线连接,然后用十字盘头螺
钉(29)将电子表(H)锁紧在 把手结合(C)上。
B
29 L
29

Step 4
NOTE:
Some hardware components may be pre-assembled. Be aware of
Nylon lock nuts not fully screw onto bolts, they must be tightened
with a wrench to ensure proper engagement.
4A. Loosen Threaded Stub Knob (#12) by turning counter-clockwise.
Insert Seat Frame (D) into the Main Frame (A).
4B. Attach Adjustment Bracket (E) to Seat Frame (D) using:
One T-Bracket (#22)
One Bushing (#14)
One Knob (#13)
4B. Attach Seat Pad (#23) to Adjustment Bracket (E) using:
Three M8 Flat Washer (#24)
Three M8 Nylon Lock Nut (#25)
12

Step 4
13
D
E
12
1314
22
23
24
25
A
步骤四:
1.用尼龙螺母(25)、平垫(24)将鞍座(23)锁紧在鞍座调节板(E)上。
2.先调整好鞍座调节板(E)的前后距离,然后用梅花柄螺母(13)、隔套
(14)、限位板(22)将鞍座调节板(E)锁紧在鞍管竖管(D)上。
3.先旋松弹销旋钮(12),然后将鞍管竖管(D)插入主架(A)的立管孔内,调
整适当高度,对好孔位后,用弹销旋钮(19)将其锁紧.注意:在运动之前必须确保鞍
座(23)锁紧在鞍座调节板(E)上。
D
E
12
1314
22
23
24
25
A
步骤四:
1.用尼龙螺母(25)、平垫(24)将鞍座(23)锁紧在鞍座调节板(E)上。
2.先调整好鞍座调节板(E)的前后距离,然后用梅花柄螺母(13)、隔套
(14)、限位板(22)将鞍座调节板(E)锁紧在鞍管竖管(D)上。
3.先旋松弹销旋钮(12),然后将鞍管竖管(D)插入主架(A)的立管孔内,调
整适当高度,对好孔位后,用弹销旋钮(19)将其锁紧.注意:在运动之前必须确保鞍
座(23)锁紧在鞍座调节板(E)上。
Above shows STEP 4 assembled and completed.

SETTING UP B4UB
14
PLACEMENT IN YOUR HOME
To make exercise a desirable daily activity for you, the B4UB should be placed in a comfort-
able and attractive setting. This bike is designed to use minimal oor space and to t nicely
in your gym/home.
Do not place or operate the B4UB outdoors.
Do not place the B4UB near water or in high moisture content environment.
It is highly recommended to place a dedicated equipment mat beneath your B4UB.
A dedicated mat provides superior stability and rmness for a proper workout.
MOVING THE B4UB
This bike is easy to move around safely.
To move the B4UB:
1. Grasp the back end Frame
2. Simply roll the B4UB on its two wheels
to the desired location.
LEVELING THE B4UB
There are ve Levelers can be
used to level the B4UB:
1. Rotate the Adjustable Pads clockwise
or counter-clockwise to adjust the level
of the bike.
UNLESS OTHERWISE SPECIFIED:
CHECKED
SIZE
APPLICATION
TITLE:
PROPRIETARY AND CONFIDENTIAL
INTERPRET GEOMETRIC
TOLERANCING PER:
Q.A.
FINISH
DWG. NO.
DATE
USED ON
A
DIMENSIONS ARE IN INCHES
TOLERANCES:
FRACTIONAL
ANGULAR: MACH
BEND
TWO PLACE DECIMAL
THREE PLACE DECIMAL
NEXT ASSY
MATERIAL
NAME
REV
DO NOT SCALE DRAWING
SCALE: 1:20
B4U
ENG APPR.
THE INFORMATION CONTAINED IN THIS
DRAWING IS THE SOLE PROPERTY OF
<INSERT COMPANY NAME HERE>. ANY
REPRODUCTION IN PART OR AS A WHOLE
WITHOUT THE WRITTEN PERMISSION OF
<INSERT COMPANY NAME HERE> IS
PROHIBITED.
COMMENTS:
DRAWN
MFG APPR.
SHEET 1 OF 1
2 1
A
B
A
B
12
<COMPANY NAME>
UNLESS OTHERWISE SPECIFIED:
CHECKED
SIZE
APPLICATION
TITLE:
PROPRIETARY AND CONFIDENTIAL
INTERPRET GEOMETRIC
TOLERANCING PER:
Q.A.
FINISH
DWG. NO.
DATE
USED ON
A
DIMENSIONS ARE IN INCHES
TOLERANCES:
FRACTIONAL
ANGULAR: MACH
BEND
TWO PLACE DECIMAL
THREE PLACE DECIMAL
NEXT ASSY
MATERIAL
NAME
REV
DO NOT SCALE DRAWING
SCALE: 1:20
B4UB_20190722
ENG APPR.
THE INFORMATION CONTAINED IN THIS
DRAWING IS THE SOLE PROPERTY OF
<INSERT COMPANY NAME HERE>. ANY
REPRODUCTION IN PART OR AS A WHOLE
WITHOUT THE WRITTEN PERMISSION OF
<INSERT COMPANY NAME HERE> IS
PROHIBITED.
COMMENTS:
DRAWN
MFG APPR.
SHEET 1 OF 1
2 1
A
B
A
B
12
<COMPANY NAME>

Dimensions
15

Console Overview
Take a few moments to review the console Screen layout.
16
DECREASE
MANUAL
INCREASE
PROGRAM
RESET
PERSONAL
ENTER
RANDOM
START/STOP
HRC
QUICK START
WATTS

Console Overview
CONSOLE DISPLAY
Resistance Level
The resistance level display is located on the upper left side of the screen . There are
24 resistance Levels to choose from.
User Prole
The User prole display is located on the upper right side of the screen. There are 5
user proles can be entered into the program.
Heart Rate
When the user’s heart rate signal is detected via heart rate sensor on the handlebar
or wireless chest strap, the user’s current heart rate will be displayed in the middle
right side of the screen.
Time
Time display is located on the lower left side of the screen. It shows the total elapsed
time or remaining time based on the current program.
RPM/Speed
RPM/Speed display is located in the lower middle side of the screen. It will alternate
the display between RPM/Speed. The unit for Speed is either Miles-per-Hour or
Kilometers-per-Hour based on current console setting.
Distance
Distance is located on the left side of RPM/Speed Display. The unit is either Miles
or Kilometers based on current console setting.
Watt/Calories
Watt/Calories display is located on the lower right side of the screen, It will alternate
the display between Watt and Calories.
17

Console Overview
CONSOLE BUTTONS
Quick Program Buttons
The Quick Program buttons all the user to launch a program quickly. The programs
are MANUAL, PROGRAM, FITNESS, WATT, PERSONAL, HRC and RANDOM.
Increase & Decrease Buttons
The Increase and Decrease arrow buttons are for adjusting values in both
program and setup modes.
Quick Start Button
Press the Quick Start Button to immediately launch the Quick Start program and
bypass data entry.
Start/Stop Button
Press the Start/Stop Button during the Setup Mode will start the program.
Press the Start/Stop Button during the Program Run Mode will Pause the program.
Enter Button
The Enter button will conrm the selection in the setup mode.
Reset Button
The Reset button will erase current data and return to the setup mode.
18

Console Operation
MODES
Setup Mode: When Powered on, the console beeps and then goes into setup mode.
Sleep Mode: When RPM Signal or Data is not detected for 4 minutes, it will
automatically enter Sleep Mode. Pedal again or press any button to start the
program again.
USER SETUP MODE
When entering the program, You have the option of entering your own personal
settings (Gender, Age, Height, Weight).
1. In the Setup Mode, hold the Reset Button until it display“U0” on the screen.
(Figure #1 & #2)
2. Press Increase or Decrease Buttons to choose from U0 ~ U4 and then
press Enter Button.
3. Press Increase or Decrease Buttons to choose the Gender and then press
Enter Button.
4. Press Increase or Decrease Buttons to adjust the Age and then press
Enter Button.
5. Press Increase or Decrease Buttons to adjust the Height and then press
Enter Button.
6. Press Increase or Decrease Buttons to adjust the Weight and then press
Enter Button.
19
Figure #1 Figure #2

Console Operation
QUICK START PROGRAM
This is the quickest way to start a workout. After the console is powered up, Press the
Quick Start Button to begin the workout program. In Quick Start Mode, Time will count
up from zero and all workout data will start to accrue. Resistance Level can be adjusted
by pressing Up or Down Buttons. There are 24 levels of resistance available.
PRESET PROGRAMS
There are seven Pre-Set Programs (MANUAL, PROGRAM, FITNESS, WATT,
PERSONAL, H.R.C., RANDOM) to choose from.
MANUAL
This program allows the user to have the complete control over their workout
(Figure #3). The user can make adjustment on resistance level from 1 to 24.
To start the program,
1. In the Setup Mode, Press Increase or Decrease Buttons to choose MANUAL
program and then press Enter Button.
2. Press Increase or Decrease Buttons to adjust the Level and then press Enter
Button.
3. Press Increase or Decrease Buttons to adjust the Time and then press Enter
Button.
4. Press Increase or Decrease Buttons to adjust the Distance and then press
Enter Button.
5. Press Increase or Decrease Buttons to adjust the Calories and then press
Start Button.
20
Table of contents
Other Body Solid Exercise Bike manuals