2
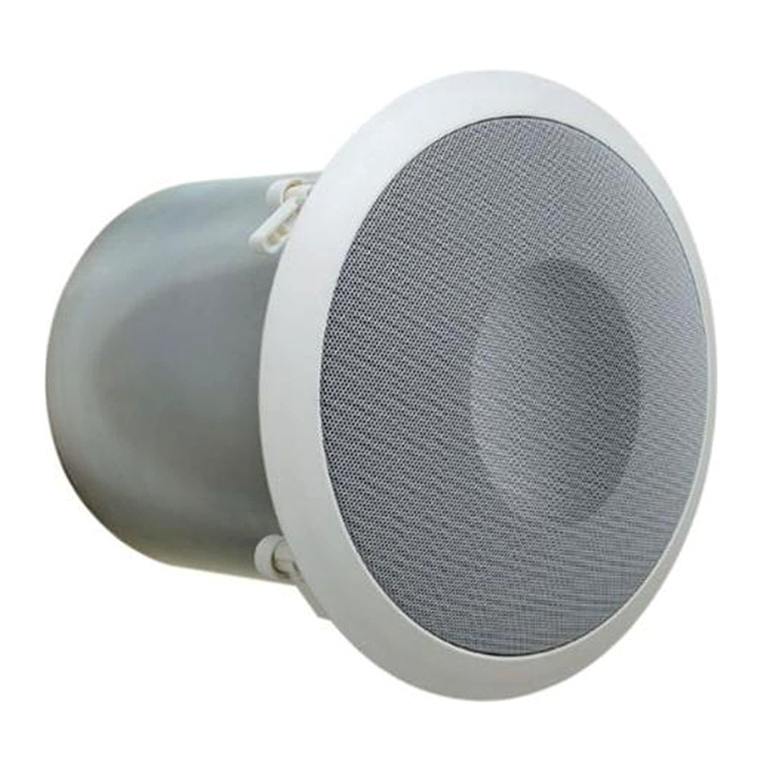
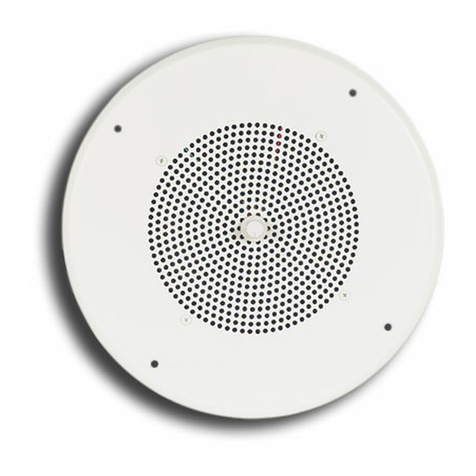
The CSD2X2U-V2 ceiling speaker has an 8″ driver and a tap selector that allows it to be run as a ¼W to 4W speaker
at 25V or 70V. It also includes a wire that bypasses the transformer and allows the speaker to operate at 8Ω. The
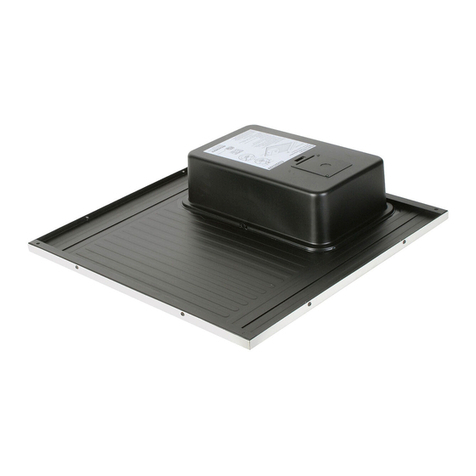
V2 version of the speaker includes a unique mounting plate to greatly expand its capabilities by allowing several of
Bogen’s Nyquist products to be mounted to the speaker.
Mounting Plate
The mounting plate allows for the addition of several of Bogen’s Nyquist products, including the NQ-GA10P, NQ-
GA10PV, NQ-GA20P2, NQ-GA40P3, and the NQ-GAXMR1. Through this product integration, the CSD2X2U-V2 can
operate as a Nyquist PoE-enabled active loudspeaker system as well as a VoIP intercom station.
Passive Speaker Conguration
Electrical Connection
1. Remove cover, install cable clamp (if desired), and feed intercon-
necting cable into the electrical box (see Figure 1).
2. See table on the right to select speaker leads for desired system
type.
3. Cut bare wire tip off of unused speaker leads. Secure all mechanical
connections and reinstall the cover.
4. Set tap selector switch to proper tap setting.
Note: All wiring must comply with NFPA 70.
Nyquist PoE Amplier and Speaker Conguration
Necessary components: NQ-GA10P or NQ-GA10PV.
Figure 2 shows the positioning for the mounting of the VoIP Intercom Module (NQ-GA10P) onto the speaker’s mount-
ing plate. For a closer look at the mounting plate, refer to Figure 3.
Mounting Intercom Module (GA10PV Shown)
Figure 2: Mounting Intercom Module (NQ-GA10P shown)
V2 MOUNTING PLATE
NQ-GA10P
V2 MOUNTING PLATE
NQ-GA10P
COLOR LEAD
RED 70V
YELLOW 25V
BLUE 8Ω
WHITE Connect to BLUE for 70V and
25V; disconnect for 8Ω Input
BLACK COM
!"!#"#$
#$
!"!#"#$
#$
OR
Figure 1: Electrical connections.
.25
.5
1
2
4
5
3
-
5
9
7
4
-
0
3
C
2
5
V
O
R
7
0
V
WATTS
