Bolymedia SG570-12mHD User manual
Infrared Digital Scouting Camera
User Manual
SG570-12mHD

Content
1Instruction ..........................................................................1
1.1 General Description ......................................................1
1.2 Application .....................................................................1
1.3 Camera Overview ..........................................................2
1.4 Shooting Information Display.....................................3
1.5 Saving Images or Videos ..............................................3
2Cautions...............................................................................4
3Easy Operations .................................................................5
3.1 Power Supply .................................................................5
3.2 Insert the SD card .........................................................5
3.3 Power on and Entering into the ON Mode ................6
3.4 Enter into the TEST Mode ...........................................7
3.4.1Customer Settings....................................................7
3.4.2Manual Capturing....................................................7
3.5 Power Off........................................................................8
4Advanced Operations ........................................................9
4.1 Settings Menu ................................................................9
4.2 Setting Items ................................................................10
4.3 Default Settings ...........................................................11
4.4 View Image...................................................................12
4.5 Delete Image or Video ................................................13
5 Trouble Shooting ...............................................................14
Appendix I: PIR Detection Zone.........................................15
AppendixⅡ: Technical Specifications ...............................16
AppendixⅢ: Parts List.........................................................17

SG570-12mHD 1Instruction
Page
1
1Instruction
1.1 General Description
This camera, a digital scouting camera, is a
surveillance camera working automatically. It
can be triggered at once by any movement of
human (or animals) in a certain region of
interest (ROI) monitored by a high sensitive
Passive Infrared (PIR) motion sensor, and then
automatically captures high quality pictures or
records video clips (720P HD) according to
default settings or preset customer settings.
It takes color pictures or videos under sufficient
daylight. While at dark night, the built-in
infrared LEDs function as flash light, the camera
then takes clear pictures or videos
(monochrome).
It is resistant against water and snow for outside
uses. Furthermore, the camera can be used as a
portable digital camera. Pictures or videos can
be taken manually by pressing OK on the control
in TEST mode (The wired control needs to be
connected).
1.2 Application
This camera can be used as an automatic
surveillance device for guarding and recording

SG570-12mHD 1Instruction
Page
2
unexpected intrusion to homes, shops, schools,
depots, offices, taxies, worksites etc. It can also
be used as a trail camera for hunting or
monitoring animals by recording the traces of
wild animals. It can be left alone for months and
it will save event records automatically in digital
format.
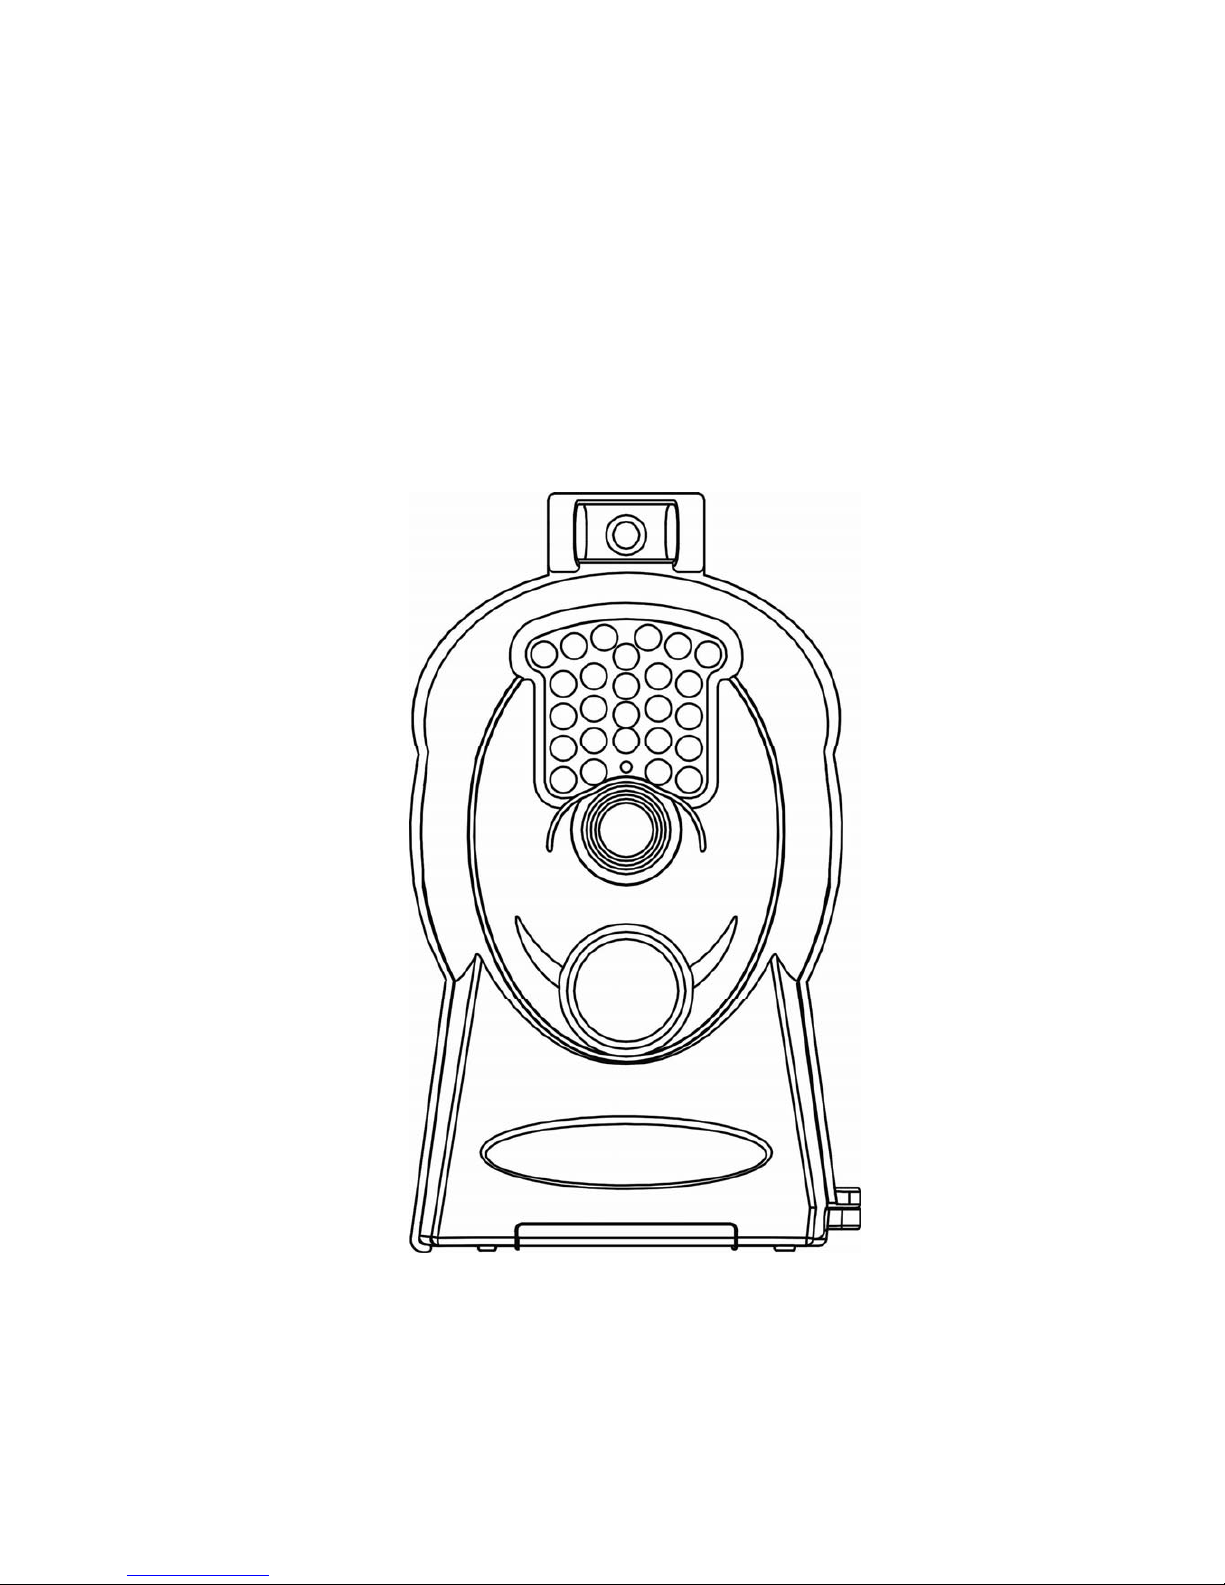
1.3 Camera Overview
The camera has the following I/O interfaces:
USB connector, SD card slot and external DC
power connector.
Take a few moments to familiarize with the
camera controls and displays. It is helpful to
bookmark this section and refer to it when read
through the rest of the manual.

SG570-12mHD 1Instruction
Page
3
1.4 Shooting Information Display
When the camera is turned on (the power switch
is slid to ON position), the shooting information
will be displayed on the monitor.
1.5 Saving Images or Videos
The camera uses a standard SD (Secure Digital)
memory card to save images (in .jpg format) and
videos (in .avi format). SD and SDHC (High
Capacity) cards up to a maximum 32 GB
capacity are supported. Before inserting the SD
card be sure that the SD card is unlocked.

SG570-12mHD 2Cautions
Page
4
2Cautions
★ Please install batteries according to shown
polarity.
★ Must insert the SD card before power on
camera. The camera will not work properly
unless a working SD card is detected by the
camera
★ Please unlock the write-protect before
inserting the SD card.
★ Please insert the SD card when the power
switch is at OFF position before testing the
camera.
★ Please do not insert or take out the SD card
when the power switch is at ON position.
★ It is recommended to format the SD card by
the camera when used for the first time. Many
other SD cards formatted by other cameras
have poor compatibility with different brands
of cameras. So it is best to format the SD card
with this camera or on a computer.
★ In the TEST mode,the camera will shut
down automatically after 3 minutes if no
operation is done. Please turn on the power
again if you want to continue to work with the
control.

SG570-12mHD 3 Easy Operations
Page
5
3Easy Operations
3.1 Power Supply
Use 4 AA batteries or 6V external battery for
power supply.
Use high-capacity and high-performance
alkaline batteries (recommended), rechargeable
Lithium batteries or rechargeable NiMH
batteries.
3.2 Insert the SD card
The camera has no internal memory for saving
images or videos. If no SD card is inserted, the
camera will shut down automatically.

SG570-12mHD 3 Easy Operations
Page
6
3.3 Power on and Entering into the ON Mode
Before switching on, please pay attention to the
follows:
1. Avoid temperature and motion
disturbances in front of the camera such as big
leaf, curtain, air-conditioner, air outlet of the
chimney and other heat sources to prevent from
false triggering.
2. The height from ground for placing the
camera should vary with the object size
appropriately. In general, one to two meters are
preferred.
Slide the power switch to the ON position to
power on the camera and enter into the ON
mode
.
After switching on the camera, the motion
indication LED (red) will blink for about 10s.
The 10s is a buffering time before autonomic
capturing photos or videos, e.g. for closing and
locking the bottom cover, fixing the camera on a
tree and walking away.
In TEST mode, it requires to connect the control
then to do further customizing settings, when
the user complete the settings, it requires to
unplug the control to enter into normal use, that
is, if the wired control still be connected with the
camera, the camera will not work. The camera

SG570-12mHD 3 Easy Operations
Page
7
(the control must be unplugged when in ON
mode) will take pictures or videos automatically
according to the default settings or preset
customer settings.
3.4 Enter into the TEST Mode
Connect the wired control, then switch to the
ON position and enter into the TEST mode.
There are some functions in TEST mode:
Customer settings, manual capture and preview.
The control is needed in this mode.
3.4.1 Customer Settings
Press MENU on the control to enter into menu
settings. The camera can be taken over control
to manually customize the camera settings
which display on the LCD screen of the camera.
The detailed operations will be described in
“Advanced Operations” chapter.
3.4.2 Manual Capturing
Press SHOT to manually capture photos or
record videos. It is also SHOT key to stop the
manual capturing of a video.

SG570-12mHD 3 Easy Operations
Page
8
3.5 Power Off
Switch the camera to OFF position to power off
the camera. Please note that even in the OFF
mode, the camera still consumes certain power
at μA level. Therefore, please remove the battery
if the camera will not be used for a long time.

SG570-12mHD 4 Advanced Operations
Page
9
4Advanced Operations
From the basic operations of the camera in
previous chapter, we know that the camera has
three basic operation modes:
1. OFF mode: Power switch is at OFF position.
2. ON mode: Power switch is at ON position.
3. TEST mode: Power switch is at ON position
and the control needs to be connected.
In the above three modes, the OFF mode is
the specified safe mode when replacing the SD
card or batteries and transporting the camera.
This chapter explains the advanced operations
for customizing the camera settings. The settings
can only be customized in TEST mode and
control is needed.
4.1 Settings Menu
To view the camera settings menu, press MENU
in the TEST mode (Power switch is at ON
position; control needs to be connected). The
settings menu will be shown on the LCD of the
camera.
Use “▲” or “▼” key to select sub-menu, use “►”
or “◄” key to select the different options, then
press “OK” to save the settings. The options will
be un-highlighted.

SG570-12mHD 4 Advanced Operations
Page
10
4.2 Setting Items
Setting
Items
Description
Camera
Mode
There are two camera modes:
Photo or Video. You can enter the
Setup interface to set the camera
mode or use shortcut key to switch
the camera mode.
Via shortcut key: press “▲” key to
set to Video and press “▼” key to
set to Photo in TEST mode.
Set Clock
You can change the date and time
when necessary, e.g., after every
battery change. The date format is
month/day/year, the time format
is hour: minute: second. Press “►”
to select item, press “▲” or “▼”to
change the value.
Photo Size Choose the image size:5MP or
12MP.
Photo
Burst
It means the shooting number of
each triggering in Camera mode.
You can choose from 1 to 3 Photos.
Video Size Choose video size:1280x720(720P
HD) or 640x480(VGA).
Video
Length
Choose duration of recording
video.

SG570-12mHD 4 Advanced Operations
Page
11
PIR
Sensitivity
Choose sensitivity of PIR. The
higher, the easier the motion
sensor would be triggered. It is
recommended to use Normal
mode. The sensitivity of PIR is
strongly related to the
temperature. Higher temperature
leads to lower sensitivity.
PIR
Interval
This parameter means how long
the PIR sensor will be inactive
after each triggering in ON mode.
During this time the PIR of the
device will not react to the motion
of human or animals.
Format SD
Format the SD
card.
A
ll images
and videos in the SD card will be
deleted.
Default
Set
Restore all customer settings to
default values.
4.3 Default Settings
Setting
Items Default Options Submenu
Camera
Mode Photo Video
Set Clock Enter
A
djust
Clock

SG570-12mHD 4 Advanced Operations
Page
12
Photo
Size 12MP 5MP
Photo
Burst 1 Photo 2 Photo,
3 Photo
Video Size
1280x720 640x480
Video
Length 10 seconds
5–60
seconds
PIR
Sensitivit
y
Normal High, Low
PIR
Interval 5 sec
0–55
seconds,
1-60
minutes
Format
SD Enter Yes, No
4.4 View Image
We know that the camera has three basic
operation modes,please slide the power switch
to ON position and connect the control to enter
into TEST mode. Then Press OK to view the
latest picture (or video) on LCD screen on
camera. Press UP or DOWN for other pictures.
Press OK to return to info display.
Note: Only pictures can be playback on the LCD
display.

SG570-12mHD 4 Advanced Operations
Page
13
When view images, the total number of all
images in the SD card and the index of the
displaying image will be shown respectively.
4.5 Delete Image or Video
View the image (or video) which will be deleted.
Press MENU to display the DELETE SELECT
menu. Then press SHOT to select delete One or
All images.

SG570-12mHD 5 Trouble Shooting
Page 14
5 Trouble Shooting
1 There is something in front of the camera lens.
Is the camera broken?
A: The camera is not broken. It’s an IR-Cut filter.
When the camera is powered on, the IR-Cut will
be reset and cover the lens. Only when the
camera is powered off, the IR-Cut will be at a
random place.
2 The camera controller is not working anymore.
A: Most likely, no SD card has been inserted in
the camera when it is turned on. Please make
sure a working SD card has been inserted in the
camera before it is turned on.
3 The display screen is suddenly black.
A: To reduce power consumption, the camera
will shut down automatically after 3 minutes if
no operation is done. Please turn on the power
again if you want to continue to work with the
control.

SG570-12mHD AppendixⅠ:PIR Detection Zone
Page 15
Appendix I: PIR Detection Zone
This camera has a new design of PIR and this
new PIR is patented. The new patented PIR’s
detection range can reach to 73ft(in good
environments). Following picture shows the
compared detection zone between normal PIR
and the new patented PIR.
The PIR detection angle (α) is just smaller than
the field of view (FOV) angle (β). The advantage
of this design is to reduce empty picture rate and
capture most, if not all, motions.

SG570-12mHD AppendixⅡ:Technical Specifications
Page 16
AppendixⅡ: Technical Specifications
Image Sensor 5MP Sensor
Lens F/NO=2.2
FOV(Field of View)=55°
Detection Range
Up to 73ft
Display Screen 1.44” LCD
Memory Card Up to 32GB
Video Resolution 1280x720
640×480
Trigger Time 1.2s
Weight * 0.2 kg
Operation/Stora
ge Tem. -20 - +60°C / -30 - +70°C
Power Supply 4×
A
A
Stand-by Current < 0.25 mA (<6mAh/Day)
Low Battery
Alert LED Indicator
Display Screen LCD display on control
Mounting Rope/Belt/Python lock
Dimensions
145x 82x 36
mm
Operation
Humidity 5% - 90%
Security
authentication FCC, CE, RoHS
*without battery

SG570-12mHD Appendix Ⅲ: Parts List
Page 17
AppendixⅢ: Parts List
Part Name
Quantity
Digital Camera
One
Wired control
One
USB Cable
One
Belt
One
User Manual
One
Warranty card
One
(Version 1.6)
Table of contents
Other Bolymedia Digital Camera manuals


