SRM100 User Guide
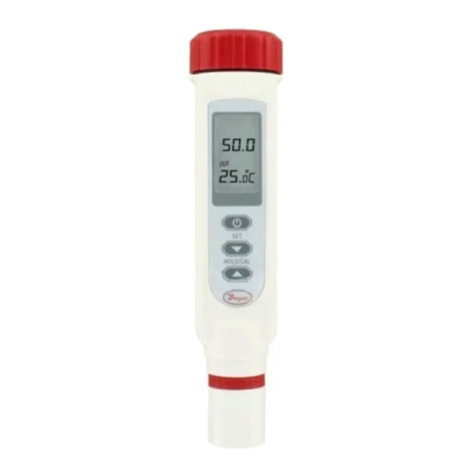
The SRM100 measures both surface resistivity and resistance to
ground. To measure surface resistivity, simply place the meter on
the surface of the material that requires measuring, and press the
blue test button. The meter will then light the appropriate LED from
103–1011 Ohms per square or insulative. To measure resistance to
ground, repeat this process and insert one of the test leads into one
of the two 3.5mm sockets located on the top panel of the meter
attaching the croc clip to your ground point.
The meter uses correctly spaced parallel bars for sensing its
measurements and operates with a 9 volt PP3 battery, giving over
40 hours of testing time. Calibration of the unit is recommended every 12 months.
SRM100K User Guide
1. Check that a good quality Alkaline PP3 battery is
fitted; the battery compartment is located at the rear
of the enclosure. If at any time the battery voltage
drops below 6.5 volts the Blue battery low indicator
will turn off.
2. Insert the 2 x 3.5mm Jack plug test leads into the 2 x
3.5mm Jack sockets located on the top panel of the
meter.
3. Connect the two 2.5 kilo (51b) weights, to the other
end of the test leads via the 4mm banana plugs (Red
& Black). Place the weights gently onto the surface that requires testing, and press the test
button. The Resistance of the surface under test will be displayed in Ohms. GREEN LED’s
will indicate a Conductive reading and the measurement is taken at a test voltage of 10
volts. The YELLOW / ORANGE LED’s indicates dissipative. These measurements are taken
automatically at a test voltage of 100 volts.
The RED segment indicates Insulative
4. The Black conductive carry case comes with carrying handle and is lined with conductive
foam. (SRM100K ONLY)
Test instruments are assembled at Bondline.

