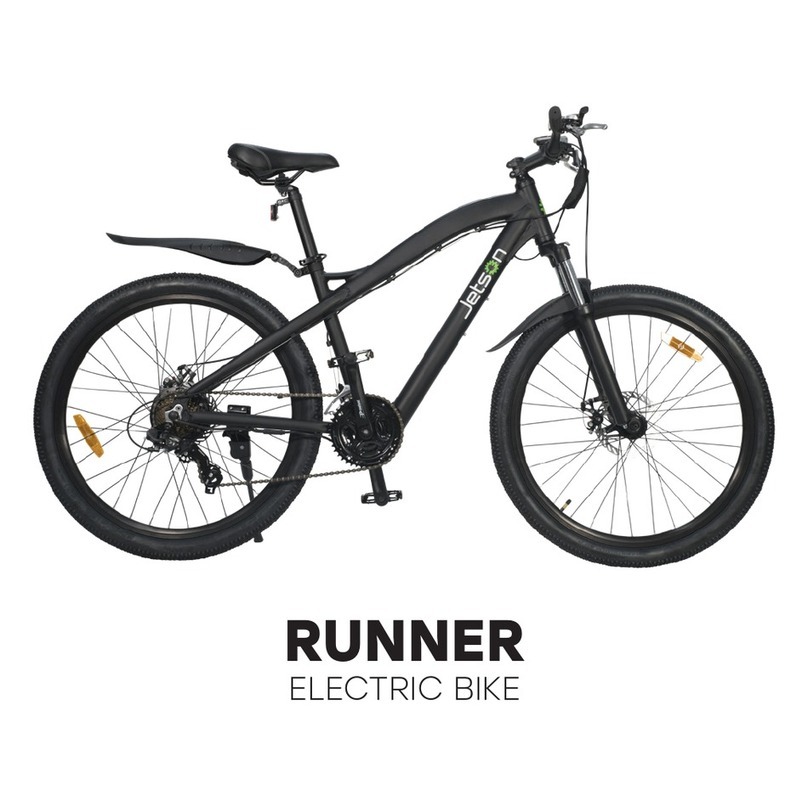
BOOSTBIKES Scout User manual

OWNERS MANUAL

Thanks for purchasing a
BOOSTBIKES Scout electric bike.
Our bikes are a unique style electric bike manufactured
to the highest standards using only reliable quality brand
components. Enjoy your new Scout!
Open the carton box and take out your Scout carefully.
The package contains the following items:
CHARGER
PEDALS
FRONT WHEEL AXLE
Headlight
Remove all zip ties and packing material.
Attention: be careful when using cutters or sharp
edges near the frame, tyres and rims to avoid damage.

Contents
1: Install Handle bars
2: Install Headlight
3: Install Front wheel
4: Install Pedals
5: Saddle Height
6: Battery Charging
7: Battery Power. On / O
8: Battery Tips
9: Headlight Controls
10: LCD Display / Operation
11: Riding Your Scout
12: Trouble Shooting
13: Warranty

1: Install Handle Bars
- Loosen the 4 bolts and remove cap,
place handle bar in position and re-attach cap.
- Tighten the 4 bolts to install handle bar
as shown in picture.
- Adjust handle bar angle and fasten the 4 bolts
diagonally one by one to 20N.M

2: Install Head Light
- Use supplied bolts and bushing to install head light
on front brackets.
- Adjust height and angle, then tighten all the bolts.
- Connect the light power cable to the colour coded
yellow plug from frame.
Headlight Frame.

3: Install Front Wheel
- Loosen axle nut and washers before positioning wheel
- Make sure the brake disc is placed in the center of
caliper gap and front wheel can rotate freely without
any noise.
- DO NOT pull brake lever when the brake disc is not
in the gap.
STEP 1
STEP 2 STEP 3

4: Install Pedals
- Use the pedal marked with an “L” on the le side
and the right pedal marked with an “R”on the right
side (side with drivetrain gears).
- The right-side pedal has a right-hand thread
(removes counterclockwise, installs clockwise);
- The le side pedal has a le-hand thread
(removes clockwise, installs counterclockwise).
Be careful to not cross thread the pedals.
LR

5: Saddle Height
- Insert the seat and post into frame tube and using the
quick release lever, adjust the height to suit.

6: Battery Charging
- Charge the battery before your rst ride.
- The charger plug is located underneath the tank on le
side, when connected to the charger adaptor, red light
indicates charging, while green light indicates charging
is nished and charger has auto-stopped charging.
-Full charge takes approx 4 - 6 hours

7: Battery Power ON / OFF
- Beside the charging port, you’ll nd a separate switch
to power ON/OFF your battery.
- Make sure switch on before your ride, and o aer
riding. It helps protect the battery from draining itself.

8: Battery Tips
• Lithium battery capacity slowly decreases as the number
of charging cycles increase, the SCOUT genuine battery
provides approximately 800~1000 charging cycles.
• Stay away from extreme temperatures and environments.
Most suitable temperature for battery operation is 0 – 35
degrees Celsius.
• Battery indicator bar on LCD display sometimes retains
memory. To get a more accurate indication, try to run totally
out of battery then charge it to full.
This will reset the indicator.
• Frequent accelerating and braking can drain the battery
much more quickly than expected. If you are getting low on
power try and use a low PAS setting and less throttle.
• 8 hours of not using the battery still consumes around 5%
battery capacity, make sure you check battery level if the
bike is not used for a while. Avoid using the battery if it has
less than 10% capacity.
• The bike is water resistant but only splash proof. Please do
not subject the bike to water deeper than 15cm, otherwise
the controller box and other electrics are at risk of damage.
• DO NOT charge the battery for longer than 12 hours as this
may cause damage to the Samsung cells.

set
6KM
8
!controllerreceiving error
KM/H
25
.3
00100
km
ODO
120.6Km
TRIP ECO
4
PAS
9: Headlight Control
- On the le side of handle bar, there is a separate
switch for head light.
O - Button is set to middle zero setting.
Low Beam - Push button up to one bar setting
High Beam - Push button down to two bar setting
- Don’t forget to switch o the light and battery when
you nish riding. This helps a lot with your battery life.

10: LCD Display
- To switch the eBike system on or o,
Press power button on handle bar control.
- Aer switching on the eBike system, press Set button to
switch between ECO, STANDARD, and POWER modes
- Press +or – to adjust PAS speed level.
There are 5 PAS levels by default.
- Hold Set button for 2 seconds to enter setting interface,
where you have various options to customize.
8!
Walking mode
Error Code
Current Speed
Odometer
Battery Status
Trip
Mode
Power Level
controller receiving error

11: Riding your Scout
• Aer you have set the bike up and checked battery is fully
charged you are ready to ride.
• Once the bike os powered up and LCD screen is on you can
choose to ride using pedal assist or throttle, or a combination
of both.
- The pedal assist is activated when you push either pedal
approximately half a rotation, you will feel the power kick in
as you pedal.
- The twist throttle on the right hand grip also activates the
motor, you can use this on it’s own or in combination with
the pedal assist. Please note that using throttle only will
reduce your range substantially.
• Frequent accelerating and braking can also drain the battery
much more quickly than expected. If you are getting low on
power try and use a low PAS setting and less throttle.
-The disc brakes are operated by pulling either le or right
levers, when activated the power to motor automatically
cuts out as a safety feature. This is also useful if you want to
manoeuvre in tight spaces with no throttle - very slight
pressure on lever will de-activate motor wthout braking,
more pressure will activate disc braking.

Replace controller
Disconnect throttlewire (located in
controller box, or infront of handle bar
if the bike has waterproof quick release
connector) and see whether the ERROR
code disappears. If YES, contact service
agent
Re-connect motor wire (located
underneath chainstay at right side).
If problem remains, contact service agent
Contact service agent for analysis of rear
motor rotor
Disconnect 2 brake ever wires(locatedin
front of handle bar to see whether the
ERROR code disappears. If yes,replace
the brake lever and reconnect brake lever
wire to controller.
Fully charge the battery
Do not block motor from rotating freely
Disconnect all wires (brake lever, display,
throttle, and motor) then reconnect.
Check all connectors are in good condi-
tion and are connected properly
Current error or MOS damaged
Throttle Abnormality
Motor Abnormality
Motor Hall Abnormality
Brake Abnormality
Under voltage
Motor stalling
Communication controller
receiving error
Communication display
receiving error
1
2
3
4
5
6
7
8
9
ERROR
CODE DEFINITION SOUTION
If there are problems with the electronic control system,
the error code will appear automatically.
12.Troubleshooting

13. Boostbikes WARRANTY
Boostbikes Limited warrants that all new Scout electric Bicycles and main
components therein sold by an authorized Scout Bikes retailer are warranted
to the original retail purchaser against manufacturing defects in materials
and/or workmanship for a period of: Five years on frame, 1 year on battery
and all electric components from the date of original retail purchase.
This warranty does not apply to the tyres, spokes, brakes, rims, and other
mechanical components of the bicycle that are subjet to normal wear and
tear.
Full details of the warranty are available online at:
www.boostbikes.co.nz
For any questions on assembly, operation of the bike, or warranty
please contact us on:
info@boostbikes.co.nz
Please note: Boostbikes Ltd is not required to provide a refund in the
instance that a customer has changed their mind aer purchase - please
choose carefully.
Table of contents
