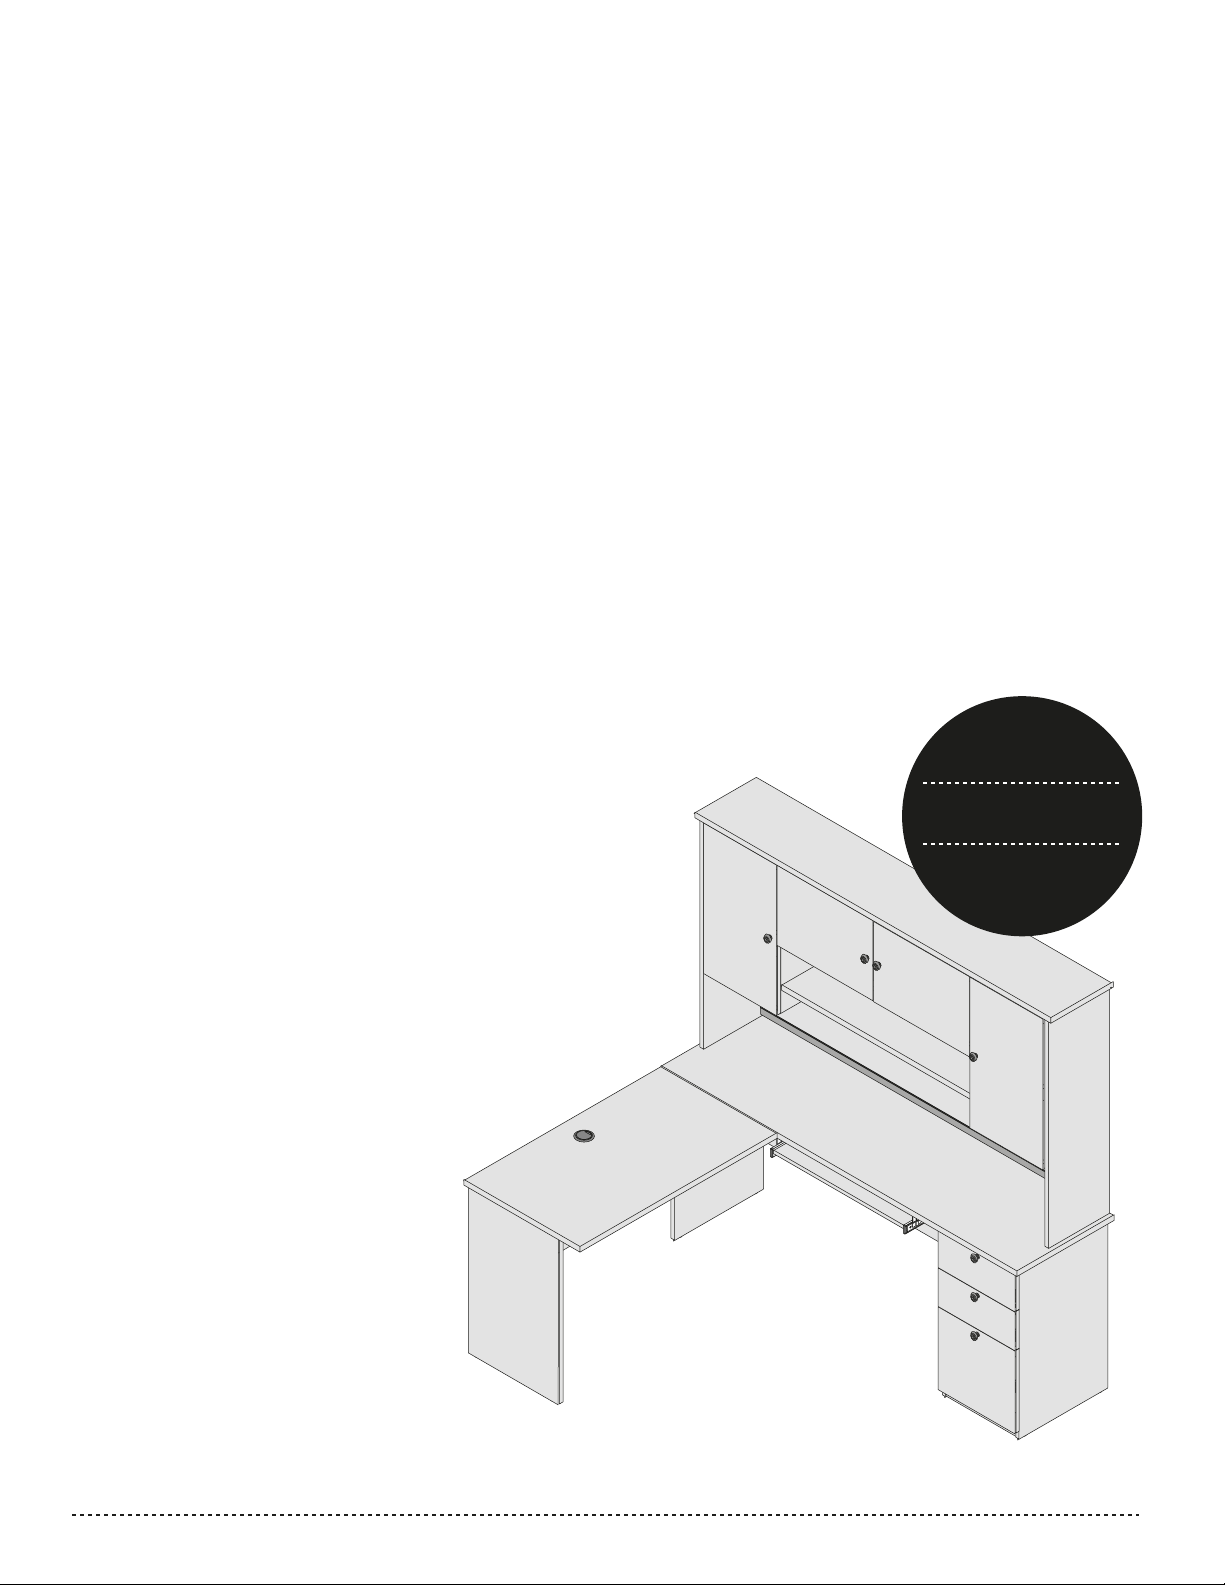
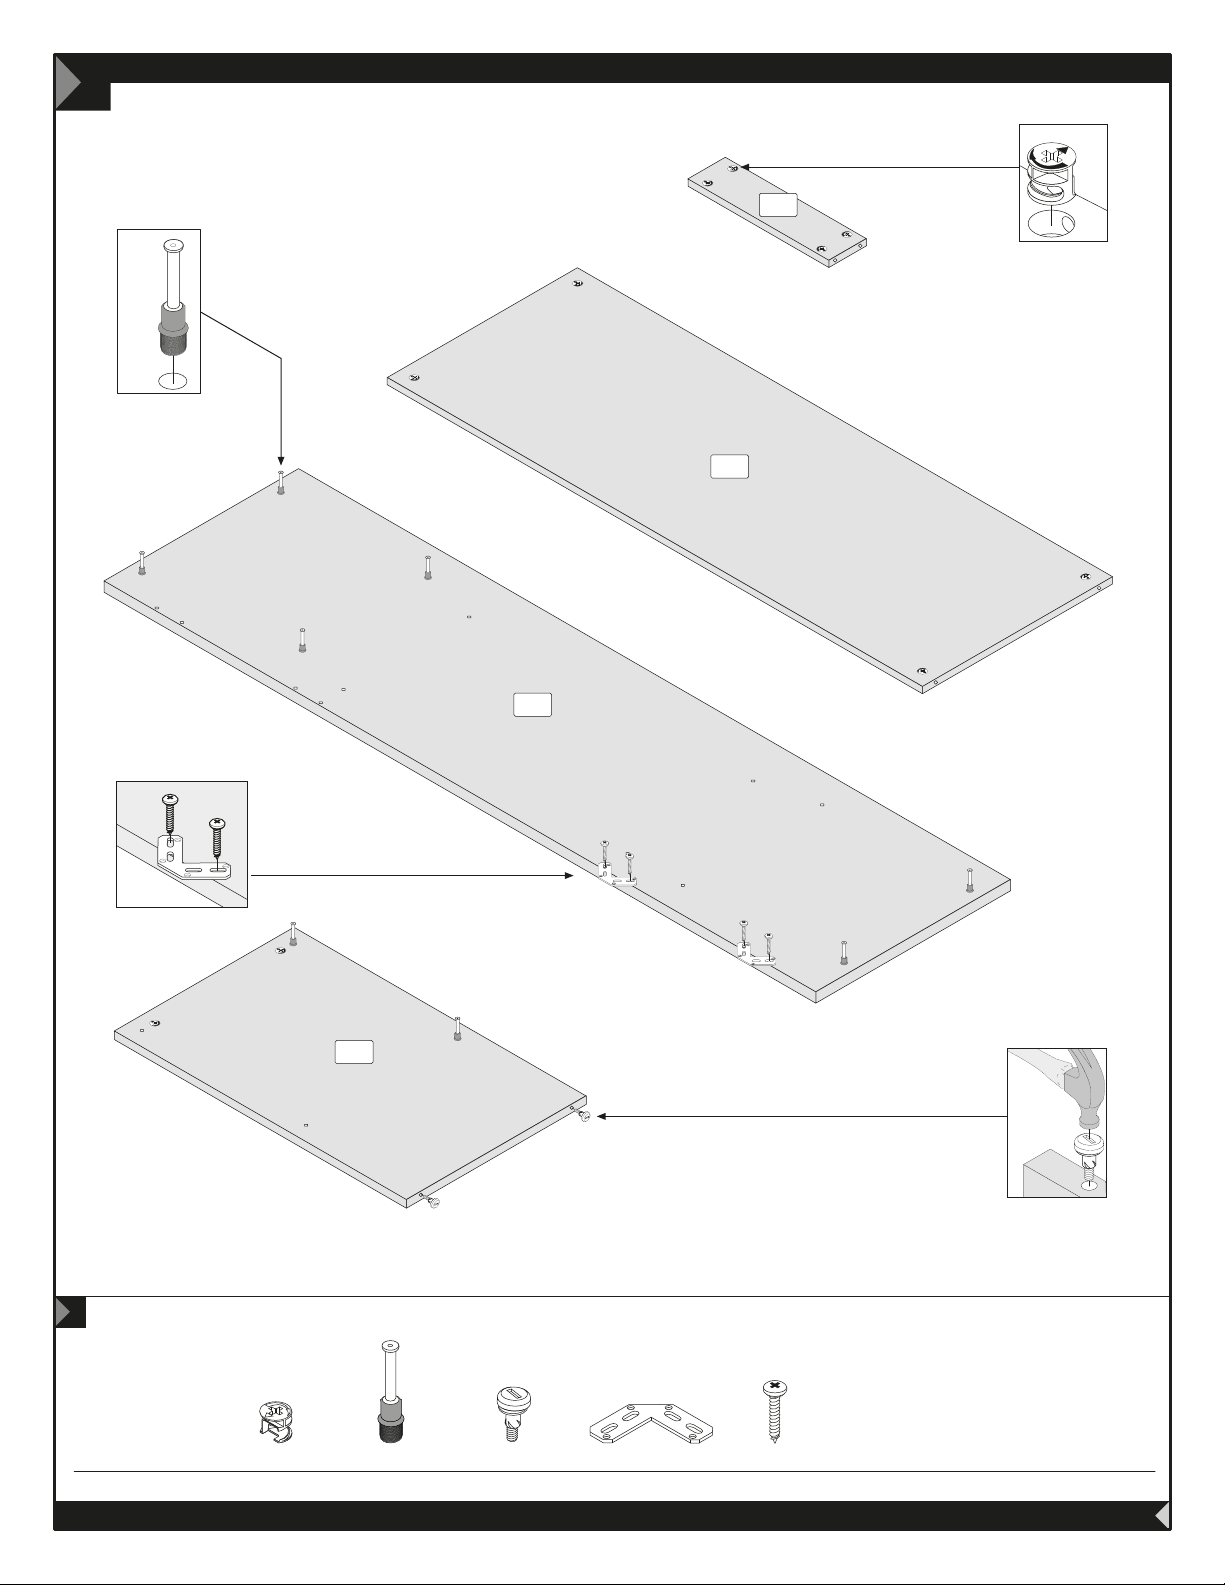
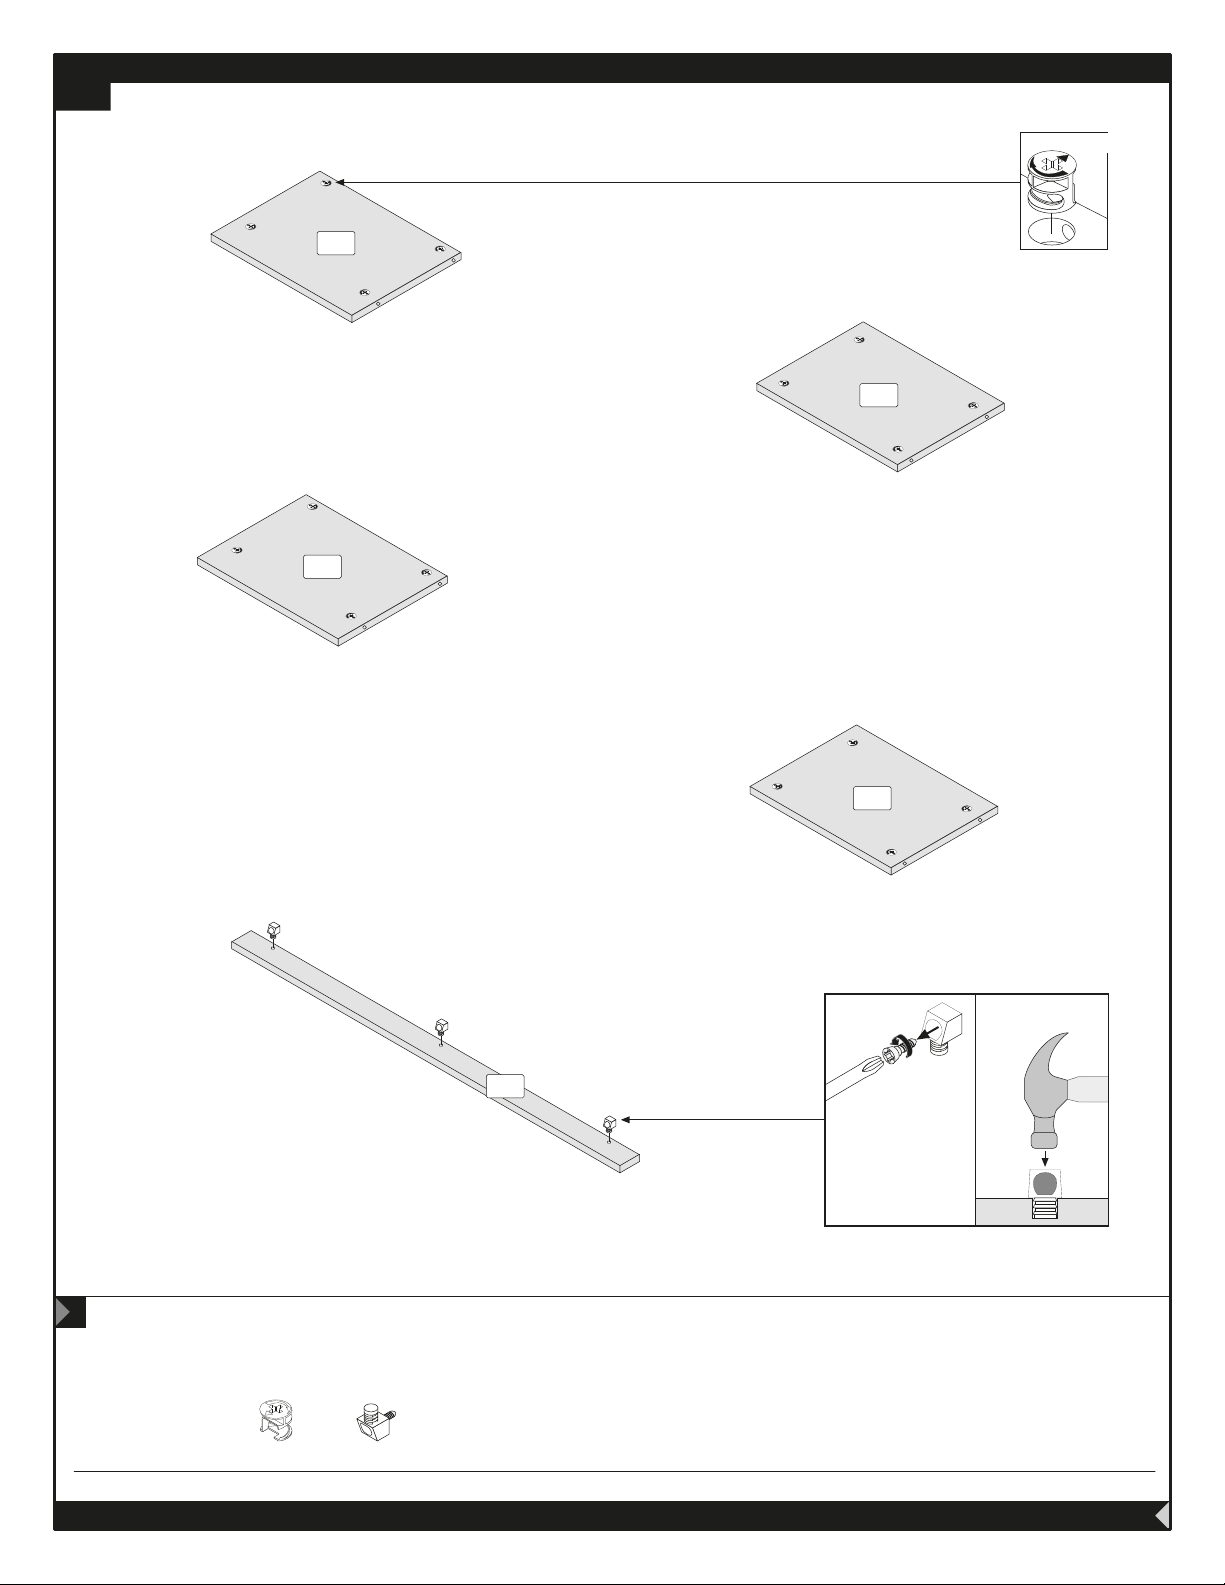
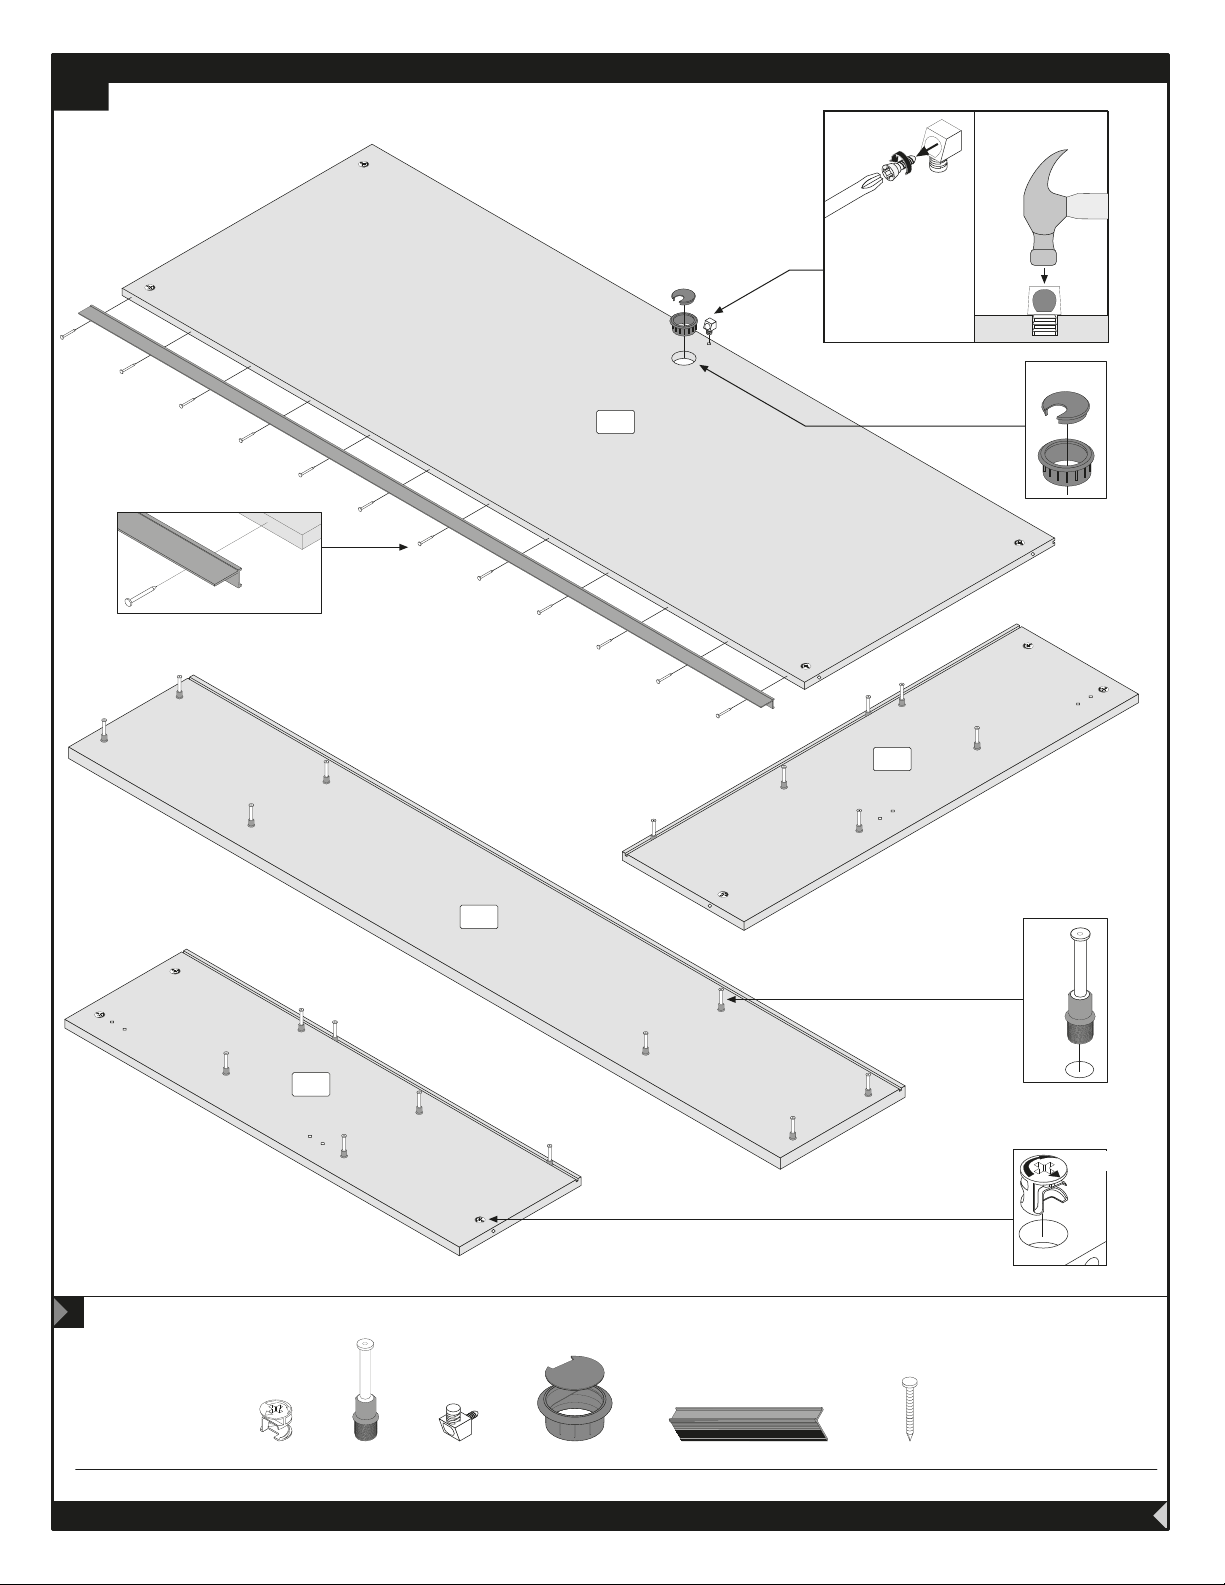
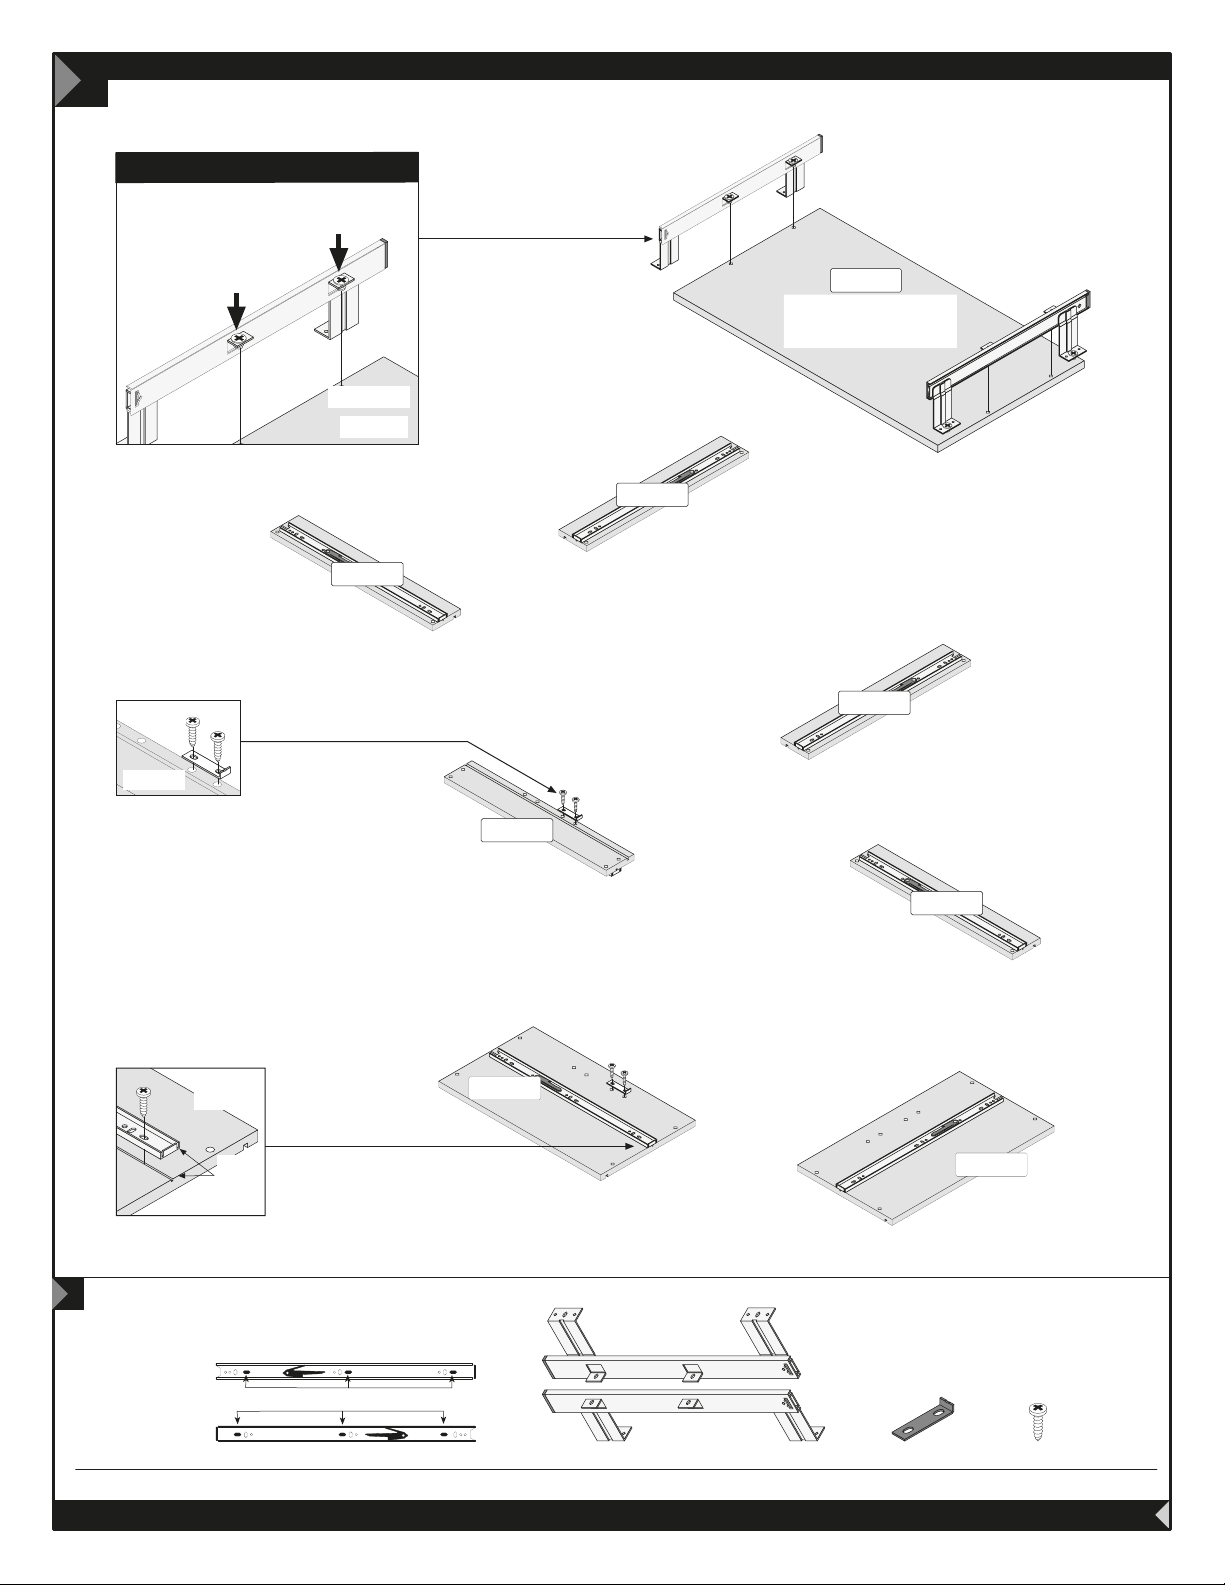
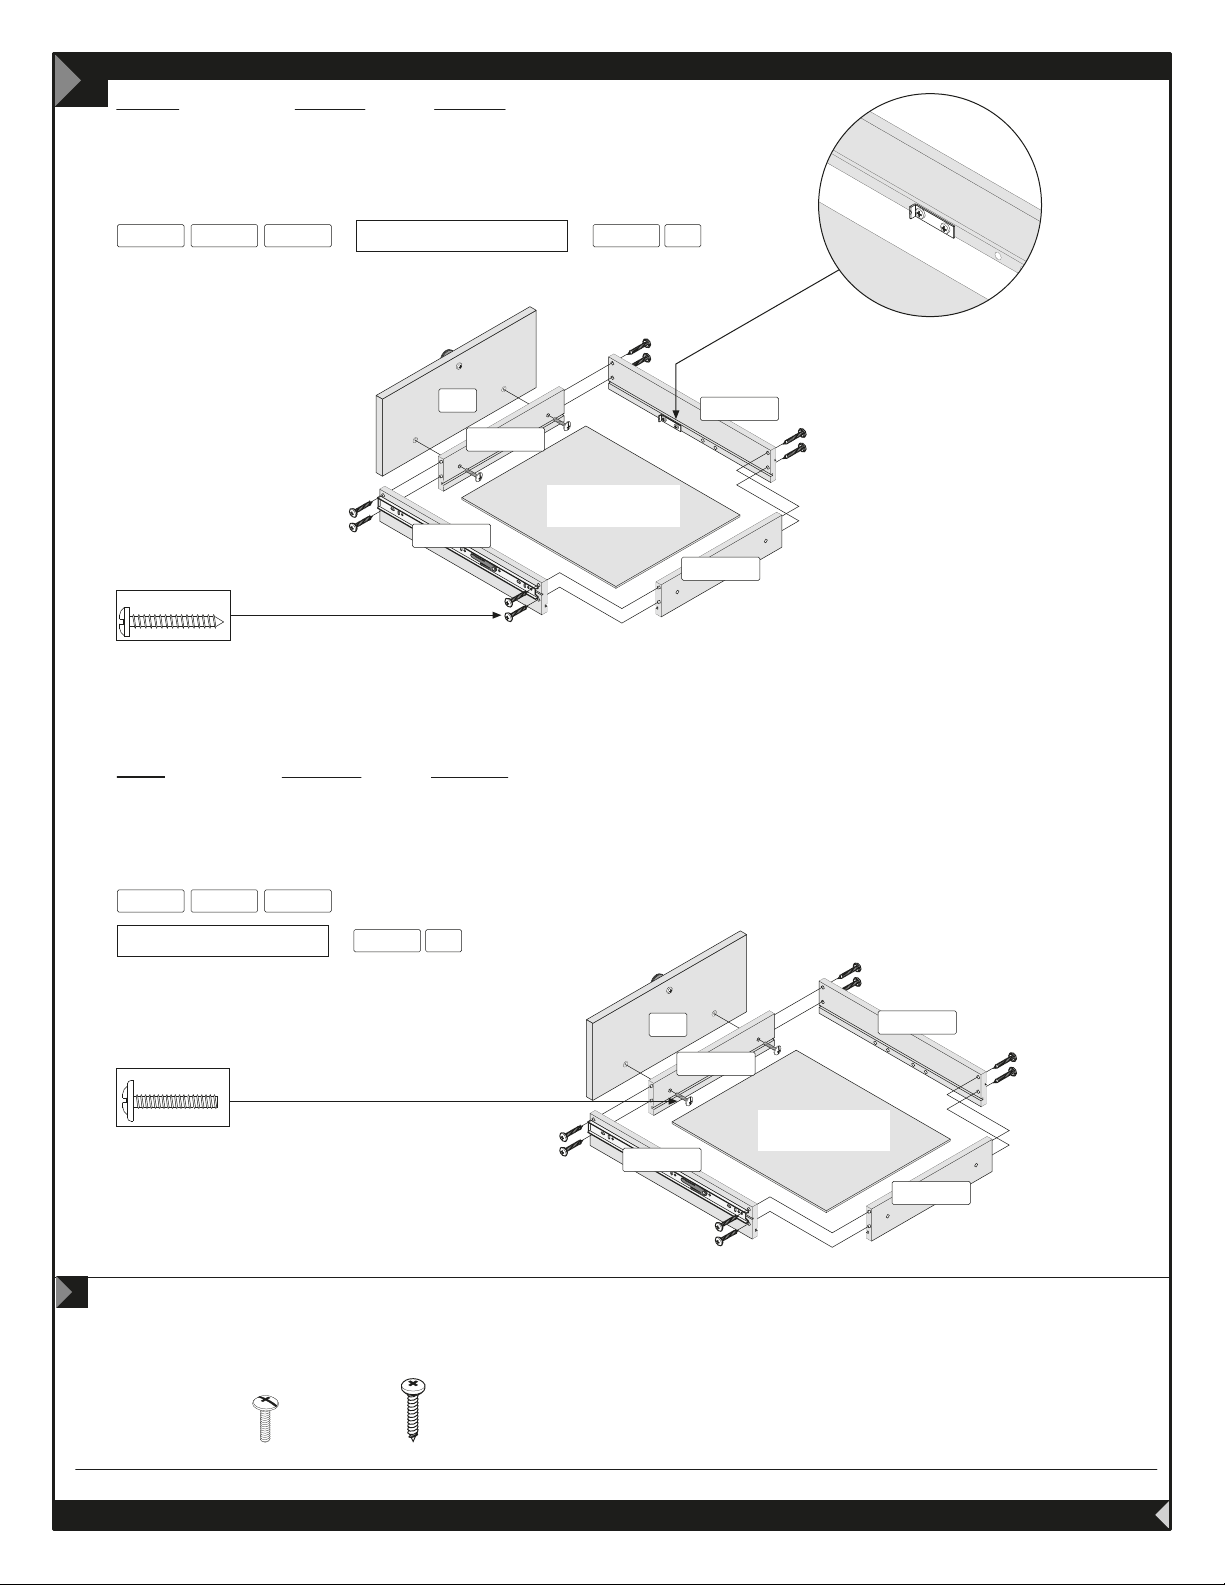
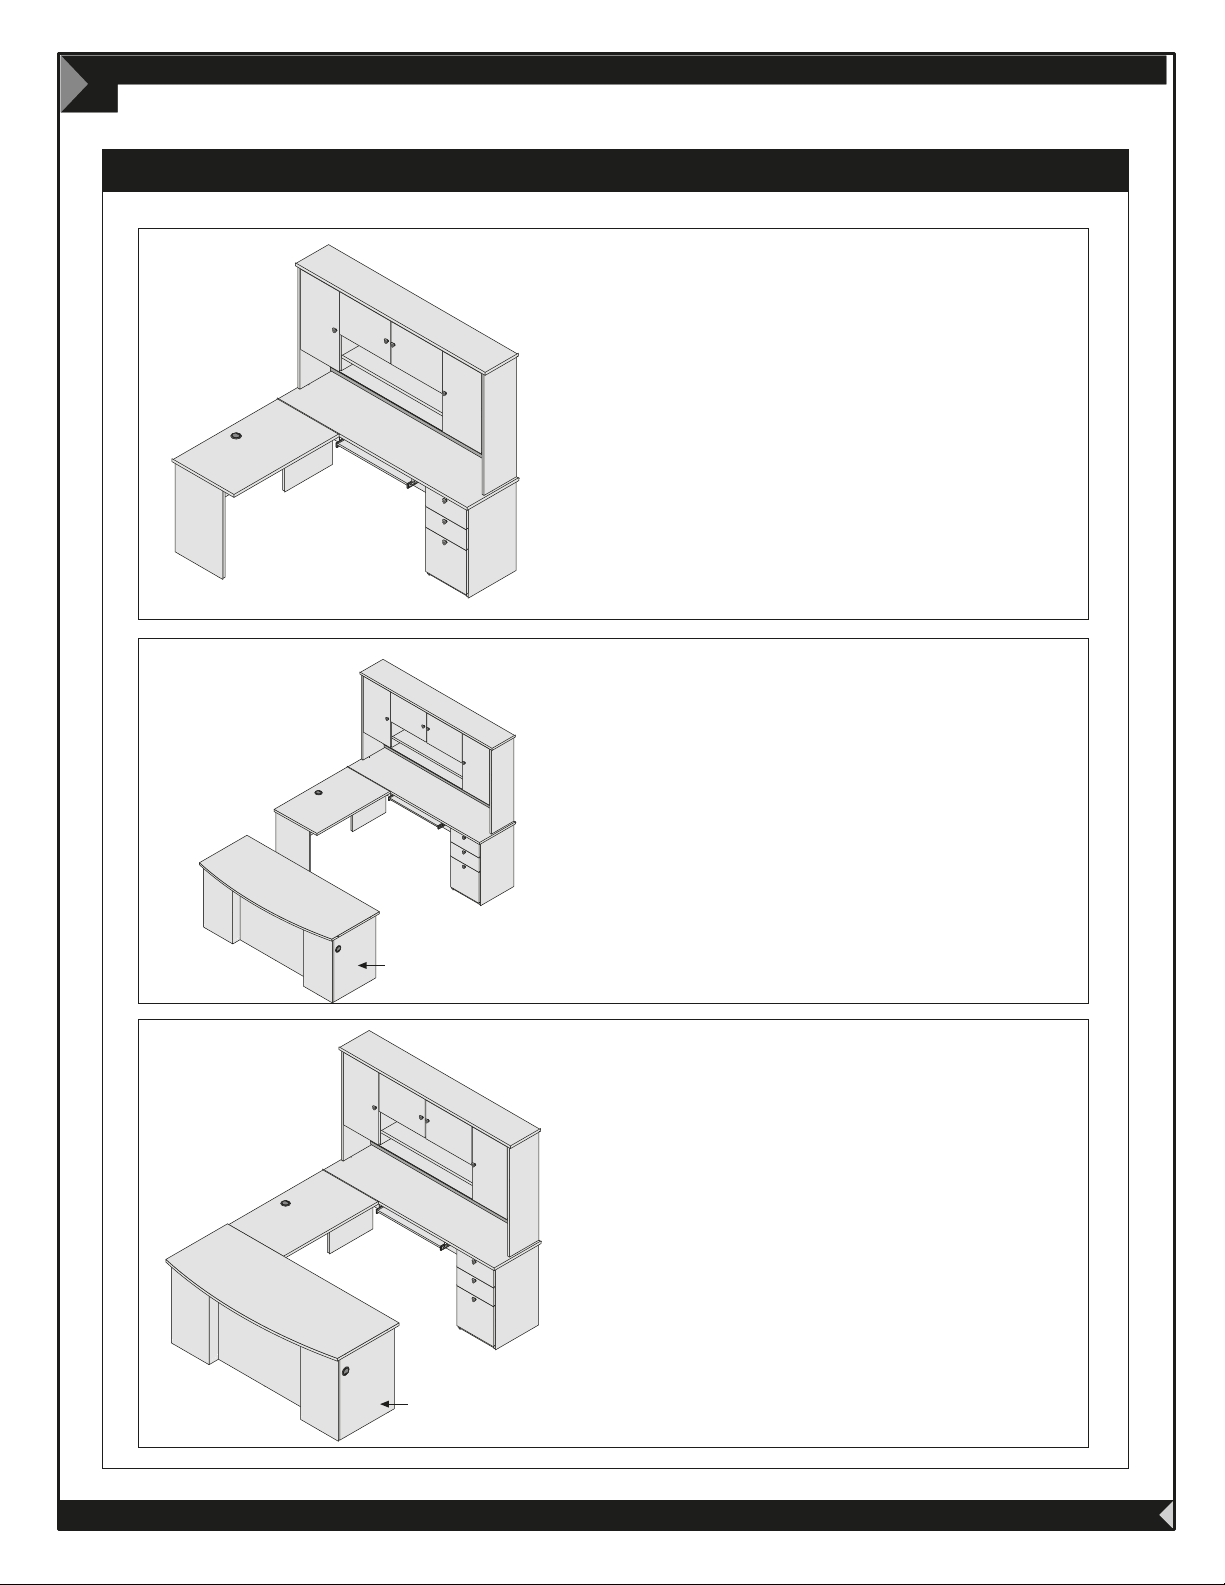
Bordeaux L-Shaped User manual


Popular Indoor Furnishing manuals by other brands

Politorno
Politorno PLATINA 2323 Assembly instructions

ApexDesk
ApexDesk Vortex M Edition Assembly guide

Safco
Safco Task Master 5144 Assembly instructions, illustrations & parts list

Rani
Rani X1 Assembly manual

Hooker Furniture
Hooker Furniture 5750-75213-SLV Assembly instruction

Madeli
Madeli B700-30-001 series Specification & installation guide

Whitewood Furniture
Whitewood Furniture TV-36 Assembly instructions

Safavieh
Safavieh Noam CNS3500 quick start guide

BROSA
BROSA Elizabeth Entertainment Unit Assembly guide

Argos
Argos Hallingford 305/2323 Assembly instructions

overstock
overstock 193DR15814- 84 Assembly instruction

BDI
BDI Avion 8527 Assembly instructions

Monarch
Monarch I 3270 Assembly instructions

&Tradition
&Tradition MEZCLA JH21 User instructions

eliving FURNITURE
eliving FURNITURE CHB-0554PCSGRY Assembly instruction

SEI
SEI Modesto CK642200TX Assembly instruction

Sunset Furniture
Sunset Furniture NAPOLEON DLU-BR-B50-A-RTA Assembly instruction

Forte
Forte RDNL1611B Assembling Instruction