BOULANGER Oglo TT-B500 User manual

BLUETOOTH TURNTABLE
TT-B500

Please read the following safety instructions and respect the
warnings before the appliance is operated:
1. Always follow basic safety precautions when using this appliance, especially
when children are present.
2. Children should be supervised to ensure that they do not play with the
appliance.
3. Do not damage the power cord, place heavy objects on it, stretch or bend it.
4. Do not attach extension cables. Damage to the power cord may cause fire or
electric shock.
5. If the supply cord is damaged, it must be replaced by the manufacturer, a
service agent or similarly qualied persons in order to avoid a hazard.
6. Ensure that the unit is plugged into an AC 100-240V 50/60Hz power outlet.
Using higher voltage may cause the unit to malfunction or catch fire.
7. If the power plug does not fit into the socket, do not force it.
8. Turn off the unit before unplugging it from power source to completely switch
it off.
9. Do not disconnect or connect the power cord with wet hands. This may cause
an electric shock.
10. If the unit is not going to be used for a long period time, disconnect the power
supply.
11. Ensure that the mains plug is always easily accessible.
12. This product does not contain any parts that are serviceable by the user.
In case of a fault, contact the manufacturer or authorised service department.
Exposing the internal parts inside the device may endanger your life.
13. The manufacturers guarantee does not extend to faults caused by repairs
carried out by unauthorized third parties.
14. Do not use this product immediately after unpacking. Wait until it warms up
to room temperature before using it.
15. Ensure this product is used in moderate climates only (not in tropical/
subtropical climates).
16. Place product on a flat, stable surface that is not subject to vibrations.
17. Ensure the product and its parts are not overhanging the edge of the
supporting furniture.
18. To reduce the risk of fire, electric shock or damage to this product,
do not expose it to direct sunlight, dust, rain and moisture.
19. Never expose it to dripping or splashing and do not place objects
filled with liquids on or near the product.
20. Do not place objects filled with liquids, such as vases, on the apparatus.
SAFETY INFORMATION
1

21. Do not install near any heat sources such as radiators, heat registers, stoves, or
other apparatus (including amplifiers) that produce heat.
22. Do not place the product where the humidity is high and ventilation is poor.
23. Ensure a minimum distance of 5 cm around the apparatus for sufficient
ventilation. Do not block any ventilation openings of this product.
24. Always ensure that the ventilation openings are not covered with items such
as newspapers, table-cloths, curtains, etc.
25. NEVER let anyone, especially children, push anything into holes, slots or any
other openings in the unit’s casing as this could result in a fatal electric shock.
26. Storms are dangerous for all electric appliances. If the mains or aerial wiring is
struck by lightning, the appliance might get damaged, even if it is turned off.
You should disconnect all the cables and connectors of the appliance before a
storm.
The exclamation point within an equilateral triangle is intended to aler
t the user to the presence of important operating and maintenance
(servicing) instructions in the literature accompanying the appliance.
DISPOSAL OF THE EQUIPMENT
Do not dispose of this product as unsorted municipal waste.
Return it to a designated collection point for the recycling of WEEE
in accordance with local law. By doing so, you will help to conserve
resources and protect the environment. this symbol means that the
product should be disposed of in an environmentally friendly manner
and not with general household waste.
Trademarks:
The Bluetooth word mark and logos are registered
®
trademarks owned by Bluetooth SIG,. Inc.
2
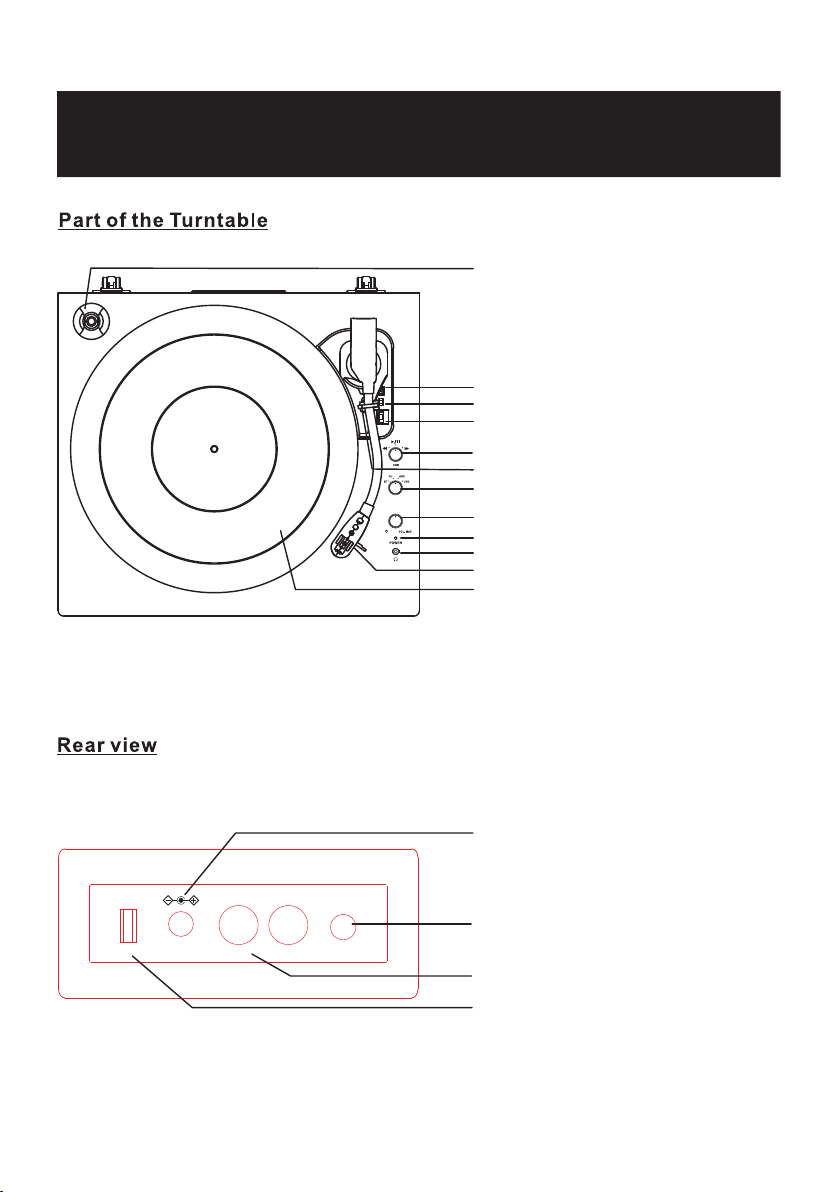
1. Record adaptor
2. Cue lever
3. Auto-stop switch
4. Speed switch (33/45/78)
11. Stylus
12. Turntable
7. Mode
8. Power/ Volume knob
10. Earphone jack
15. USB jack
13. Aux input jack
12. Power adaptor
14. Right/Left line output jack
PRODUCT OVERVIEW
6. Tone arm holder
9. Indicator light
3
5. Play/pause/ Previous/ Next
USB
DC IN LINE OUT
R L
AUX IN

protector
2. Connect the power adaptor to the DC input jack on the rear panel.
3. Unlock the Tone arm and test the Cue lever before you place the
Phono record.
4. Remove the Needle protector by gently pulling towards the front
of the unit.
NOTE:
It is strongly recommended that this product
should be operated only from the type of power
source indicated on the marking label.
1. Remove the packaging materials from the unit.
SETUP
4
3.5mm earphone jack
POWER ON
1. Connect the power adaptor into the DC INPUT JACK on the rear panel.
2. Rotate the POWER/VOLUME KNOB on the front panel to power on the unit.
The indicator turns on.
SELECT MODE
Rotate the MODE KNOB to select the play mode:
Bluetooth mode (indicator: flash blue- pairing status; solid blue- BT paired),
Phono mode (indicator: solid red),
Aux in mode (indicator: solid red)
USB mode (indicator: solid blue).
VOLUME CONTROL
1. Rotate the POWER/VOLUME KNOB to adjust the volume.
2. For private listening, first reduce the volume level to the
minimum.
3. Insert the earphones’ plug into the EARPHONE JACK,
then adjust the volume up by the volume knob.
NOTE:
Avoid listening by earphones for long time, otherwise it can damage the hearing.
BUTTON OPERATION

5
LISTENING TO THE PHONO RECORD
1.
The indicator lights solid red.
2. Gently put the Phono record on the turntable.
3. Select the record speed and use the record adaptor
to fit the record size if necessary.
4. Raise the Cue Lever to lift the Tone arm off the holder.
5. Move the Tone arm gently to the edge of the record (or the starting point).
The turntable will begin to play the music.
6. When the playback has finished, slight lift the tone arm by using the Cue Lever
and return it to the Tone arm holder.
PHONO RECORD- USB RECORDING FUNCTION
1. Insert the USB storage device into the USB jack on the rear panel of the unit.
2. While playing the Phono record, press the PLAY/PAUSE KNOB, the indicator
flashes red (it’s recording the tracks).
3. Press the PLAY/PAUSE KNOB again to stop recording.
Rotate the MODE KNOB to enter the PHONO MODE.
PHONO OUTPUT (BLUETOOTH OUTPUT MODE)
Bluetooth wireless speaker
Bluetooth wireless earphone
1. This play mode enables the Phono unit to play the record via other wireless
speakers by Bluetooth transfer mode.
2. Turn on your external Bluetooth speaker to the Bluetooth mode.
3. While the unit is playing Phono record, press and hold the PLAY/PAUSE KNOB
to enter the Bluetooth output mode.
4. The indicator light flashes blue, it is in Bluetooth pairing mode. It is searching
for devices with Bluetooth signals in the surrounding environment.
5. The indicator lights solid blue once the Phono unit found a Bluetooth speaker
device, they immediately pair with each other.
6. The sound of the Phono record will come over from the paired Bluetooth
speaker.
7. Press and hold the PLAY/PAUSE KNOB again will disconnect the Bluetooth
output pairing.

The stylus should last about 300 hours under normal use. It is recommended that
the stylus be replaced as soon as you notice a change in sound quality.
REMOVE THE STYLUS FROM THE CARTRIDGE
1. Place your fingers at the tip of the stylus and
push down to “A”.
2. Pull the stylus out toward the direction “B”.
NOTE:
When applying force to the stylus, to much
may damage or break the cartridge.
INSTALL THE STYLUS
1. Hold the tip of the stylus and insert the other
edge by pressing toward the direction “C”.
2. Push the stylus up toward the direction “D”
until it locks at the tip.
CAUTION:
1. Do not remove or bend the stylus needle.
2. Do not touch the needle to avoid injury to your hand.
3. Turn off the power before you replace the stylus.
4. Keep out of reach of children.
REPLACE THE STYLUS (#AT-3600L)
Amplifier
USB
DC IN LINE OUT
R L
AUX IN
LINE OUTPUT MODE
1. While playing the Phono unit, use the RIGHT/LEFT AUDIO CABLE to connect
the LINE output jack on the rear panel with other amplifier device.
2. The connection through the amplifier leads the playback a better audio effect.

6
AUX IN MODE
1. Use the 3.5mm-3.5mm aux in cable to connect players with aux in jack.
2. Or, use the 3.5mm-RCA cable to connect the players with RCA jack.
3.Rotate the MODE KNOB to enter the AUX IN mode, the indicator lights solid red.
4. Play the music by your external device. The operation is controlled by your
external device.
1. Rotate the MODE button to enter the Bluetooth mode.
2. When the indicator light flashes blue, it is in Bluetooth pairing status.
3. Turn on the Bluetooth function on the external Bluetooth device, then enter
the Bluetooth search page, and search for the pairing name “TT-B500”.
4. Select the Bluetooth pairing name to pair the unit.
5. When they pair successfully, the indicator light stop flashing.
6. The playback operation is controlled by your external Bluetooth device.
NOTES:
1. Input the password “0000" if required.
2. Place the Bluetooth devices within 10 meters.
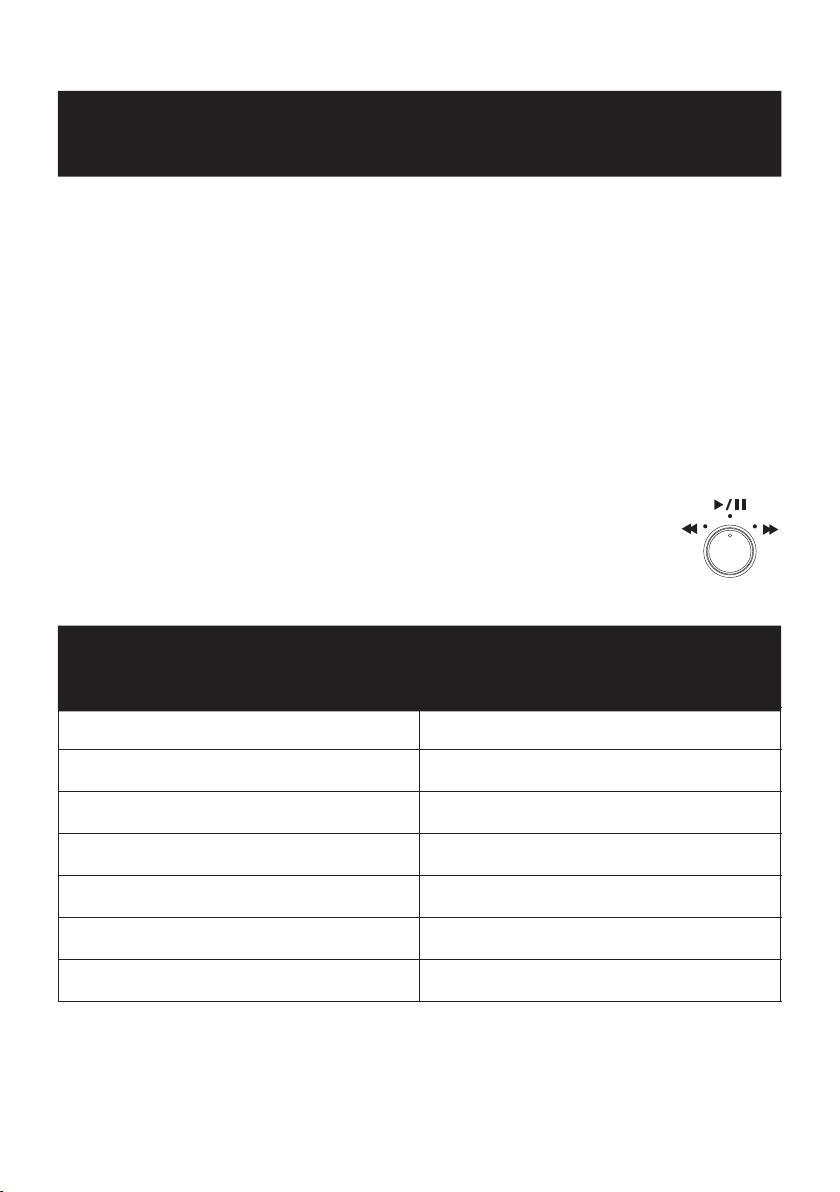
PLAY/PAUSE KNOB / PREVIOUS/NEXT
1. Press and hold the KNOB to disconnect the Bluetooth. Press and hold this knob
again to reconnect.
2. Slightly press the KNOB to pause or continue playing the music.
3. Rotate the KNOB to skip to next track or previous track.
BLUETOOTH MODE
DVD playersL/R RCA cable3.5mm aux in cablePad/phone/MP3
USB
DC IN LINE OUT
R L
AUX IN
7
USB PLAYBACK MODE
1. Insert the USB flash device on the rear panel of the unit.
2. Rotate the MODE KNOB to enter the USB playback mode. The indicator lights
solid blue.
3. Once the Phono unit finished reading the USB flash device, it starts playing
automatically.
NOTES:
1. The Phono unit supports the USB with memory capacity less than 64GB.
2. It may take a bit long for the unit to read the USB memory stick if it contains a
plenty of tracks/ files.
3. The Phono unit supports the music files with formats like mp3, wav, wma.
4. Do not create too many folders in the USB or files in multiple folders, otherwise
the machine may not read the tracks or will skip this part of the files.
PLAY/PAUSE KNOB / PREVIOUS/NEXT
1. Slightly press the KNOB to pause or continue playing the music.
2. Rotate the KNOB to skip to next track or previous track.
SPECIFICATION
Bluetooth version
Operating distance
Power output
Power consumption
Power adaptor input
9W
Bluetooth V5.1
10 meters (33 feet)
100-240V ~50/60Hz, 0.5A max.
2 x 3W
AUTOMATIC STANDBY MODE:
After 15 minutes without any audio input, the appliance automatically switches
to standby mode.
Power adaptor output 9V, 1A
Operating temperature 5 C ~ 35 C
。。
Table of contents
Popular Turntable manuals by other brands


Pro-Ject Audio Systems
Pro-Ject Audio Systems RPM 9.2 Instructions for use

Sony
Sony Walkman WM-FX900 operating instructions

COMO AUDIO
COMO AUDIO Como Audio Turntable user manual

Audio Technica
Audio Technica AT-PL120 Installation and operation guide

Sony
Sony PS-LX310BT operating instructions

Dual
Dual CS 731 Q Service manual